
Every day, the modular origami is becoming more popular and demand. The art of creating features from simple paper was very liked not only to adults, but also for children. It is interesting to watch, how simple pieces turn into something beautiful and very gentle, such as a swan. Beautiful modular origami swan enjoys a huge love of many masters. This paper figure can be simple and more complex, white and multicolored. To make a double swan, you will need more time, forces and materials.
Double squeezed
A master class on a double swan will tell me novice needlewomen how to make a figure as fast as possible, efficiently and beautiful. This will help the video.
After the work done, this is the creation:
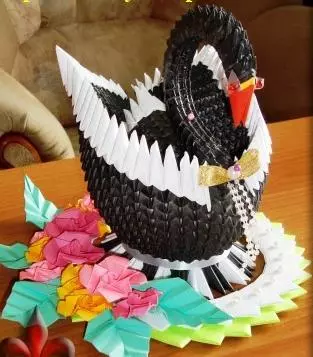
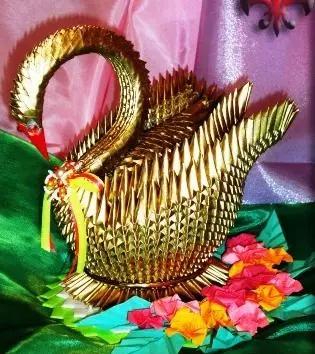
Using paper of different colors, you can create contrast swans - black, white, rainbow and many others. A couple of such figures will be a good gift for the bride and groom. Wedding Swan can be a good and interesting decoration of the festive table.
Rainbow miracle
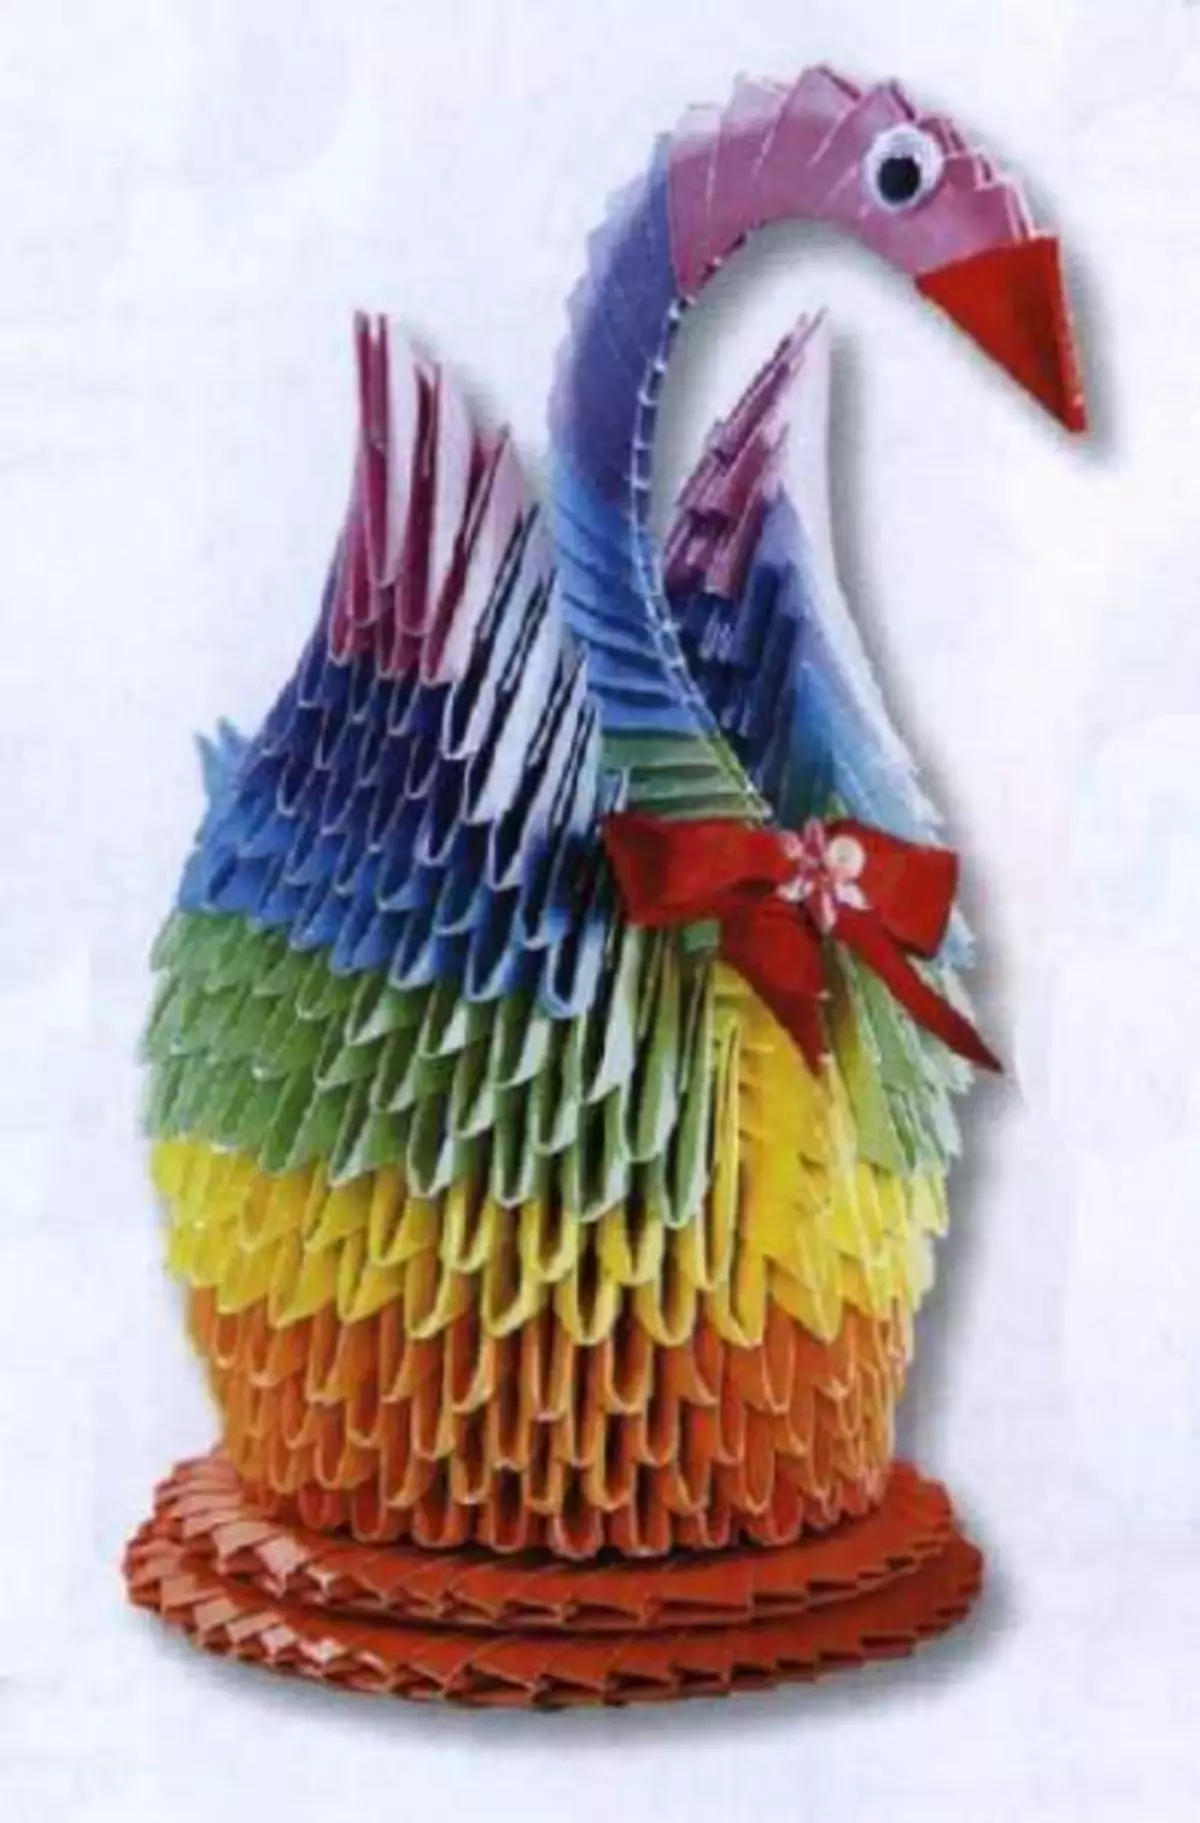
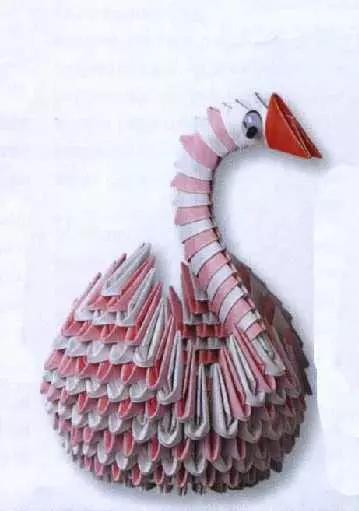
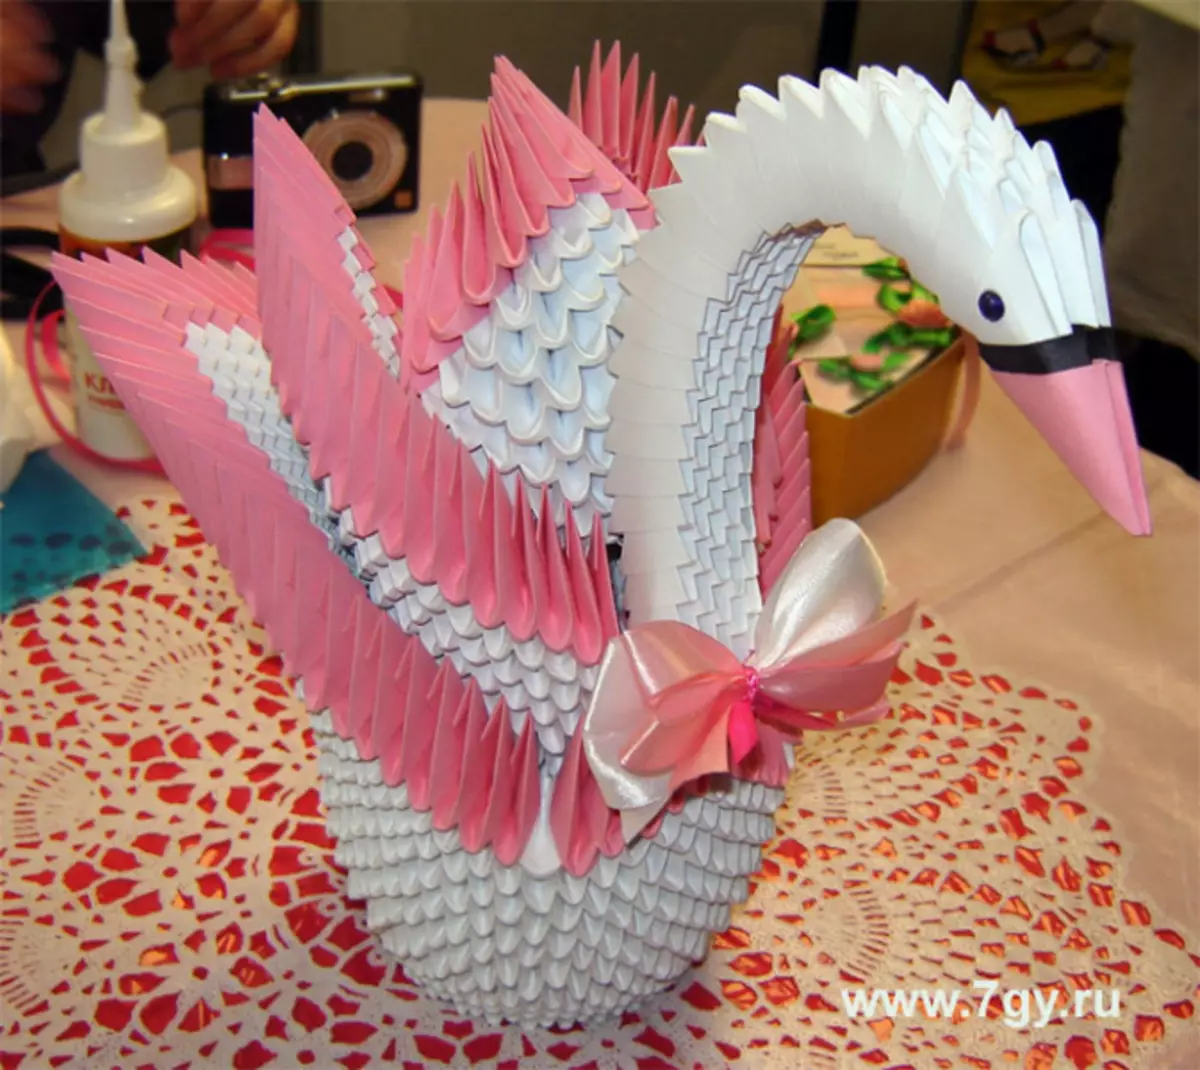
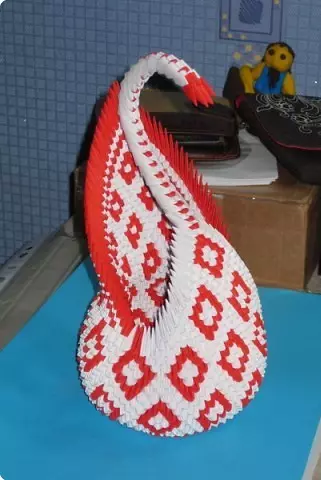
Using multicolored modules, each wishes can create rainbow swans. They will become a real decoration of any interior and harmoniously fit into the bedroom, children's room, living room.
Rainbow Swan is made from multicolored modules:
- 136 pink;
- 1 red;
- 90 orange;
- 36 blue;
- 60 yellow;
- 19 purple;
- 78 green;
- 39 blue.
Making modules best of all of paper size 6 per 4 centimeters - they will be not very small, but not big.
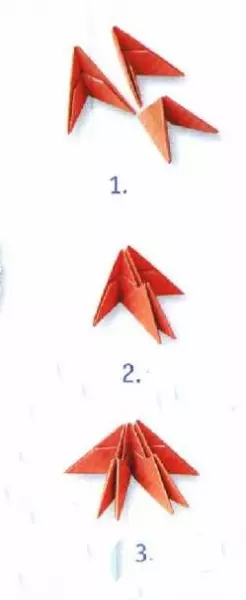
- The swan assembly begins from pink modules. The corners of two pink modules are inserted into the pockets of the third, as in the picture at number 1 and 2, then two more are joined, the image at number 3.
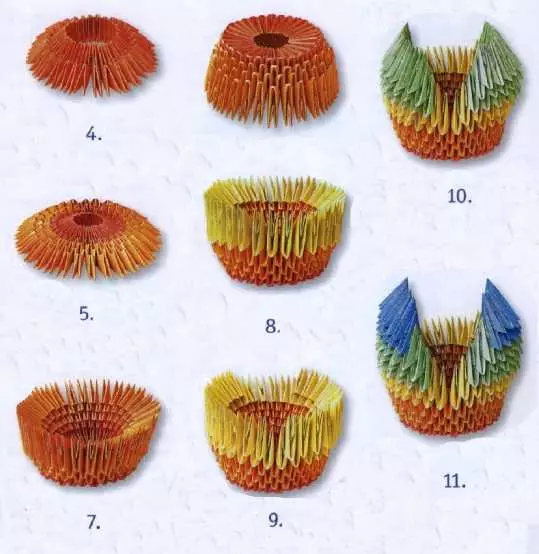
- Thus, you need to collect two rows of modules in the form of a ring. Each row should have 30 modules. During the assembly, it is necessary to hold the growing chain, and to assemble in the form of the ring, its ends (4) are fixed by the last module.
- The third row is made of 30 orange modules, but in the same time in the pockets you need to insert the corners of two different modules (5).
- 4 and 5 row of orange blanks (6) are also made.
- The edges of the obtained billets are neatly taken and somehow turned out to be a form, as in the photo (7).
- From yellow modules, 6 row is formed, but it is necessary to wear them from above (8).
- Wings are made from the seventh row. To do this, you need to select a couple of corners of adjacent modules and leave them for the neck, and put it left left and right on 12 modules (9).
- Next, the wings are laid - the next row of green modules are 1 less than yellow - 11, then the green row is once again, but already 10 leaves per each wing, then 9 modules (10).
- The following rows of wings also continue to be made from modules, the number of which decreases by 1 in each wing. Blue row - 8, then 7 modules (11).
Article on the topic: how to sew soft home slippers with your own hands - master class in pictures
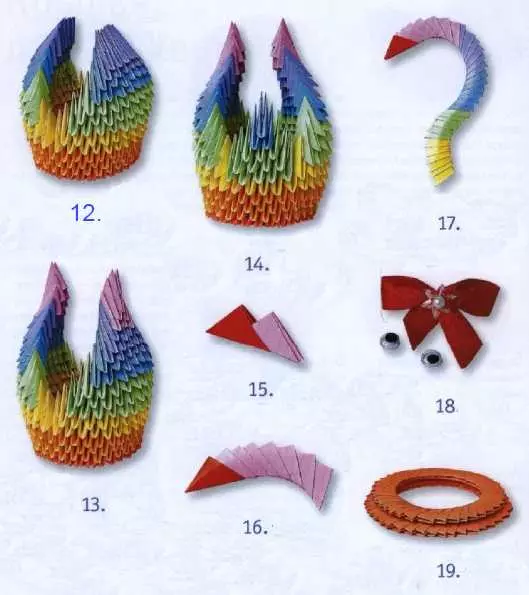
- After that, there are several rows of blue modules of 6 in each wing, then 5 and 4 (12).
- We make the wings using violet modules, row 3, a number of 2 modules and fix the latest modules of the wings and give them a form (13).
- When the wings are ready, go to the tail. We make it from the opposite side of the neck. We lay out three rows of green modules and two of the blue, reducing their number to one (14).
- We start collecting the neck of the swan. The red module is attached to purple (15).
- In the same way, another 6 purple modules (16) are inserted.
- Next, the neck is made from the same number of blue, blue, green and yellow modules, while creating the correct bending of the neck (17).
- The neck must be fixed on two corners between the wings, and then add additional details with additional details - a bow, eyes, and so on (18).
- To keep the swan well and did not fall, it is best to make a stand in two rings. The first ring is made of 36 modules, and the second of 40. The modules are connected to each other as during the manufacture of the neck. The best rings to sneak and glue and swan to them (19).
This is such a simple scheme will create really beautiful and original figures that will be an ideal addition to any interior. A huge number of different master classes and schemes created for beginner needlewomen will help learn to make modular origami very quickly and efficiently.
Create origami using modules - real art and this occupation will appreciate adults and children. Beautiful and bulk figures, small and elegant, various useful interior items - vases, caskets, decorative plates. All this can be done quickly and at the same time not to spend big money for this passion.
Article on the topic: Stand for the handles do it yourself from a plastic bottle and a tree
Video on the topic
To better figure out how to make rainbow swans, you can watch a video.