Origami's decorative and applied art allows you to create a bulk figure of any living being. The boundaries of origami capabilities are determined only by the author's fantasy. It is especially interesting to create animal figures will be children who can handle the whole zoo. Hare origami from paper is a great start for him. Today we offer you a lesson on creating this animal.
We start creating
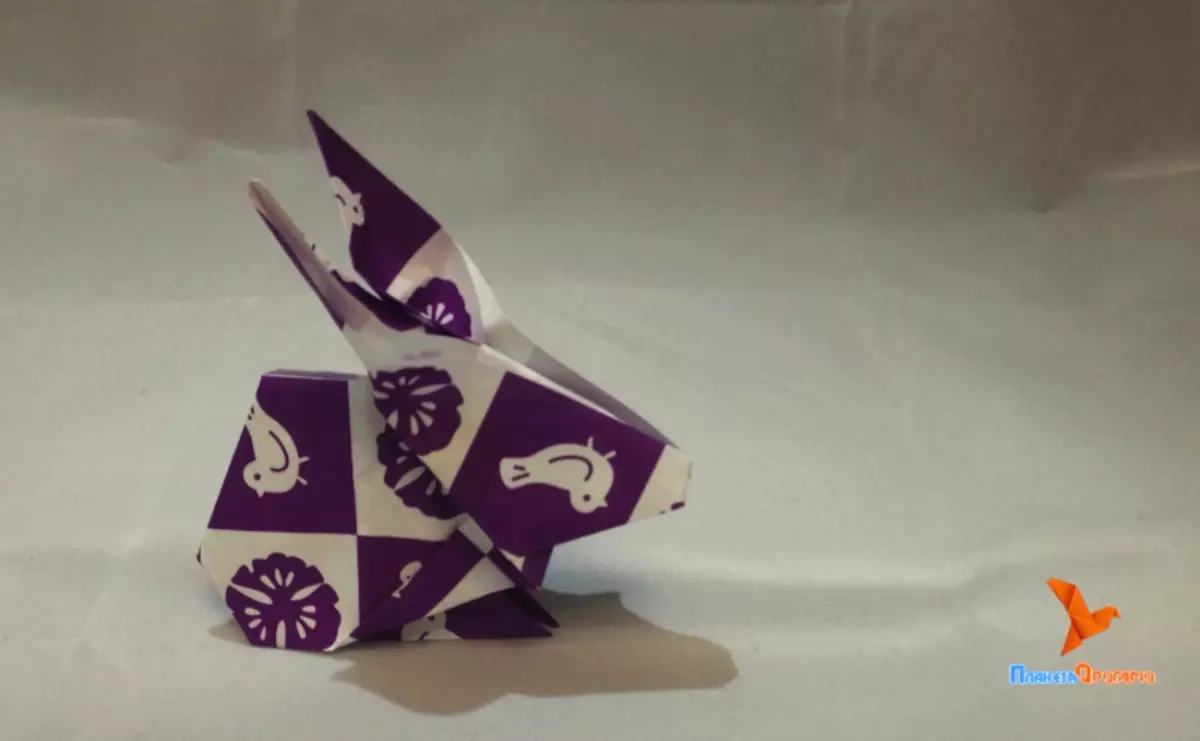
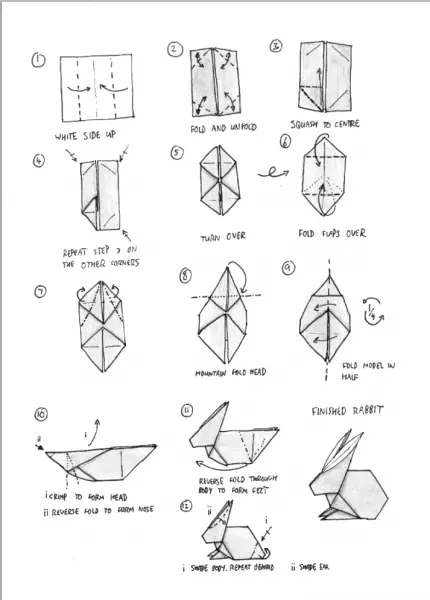
The assembly scheme, how to make a hare in the Origami technique, not at all complicated.
To make such a little animal, you will need a small square sheet of paper (15 sch15 cm, it is possible less) and 5 minutes of free time.
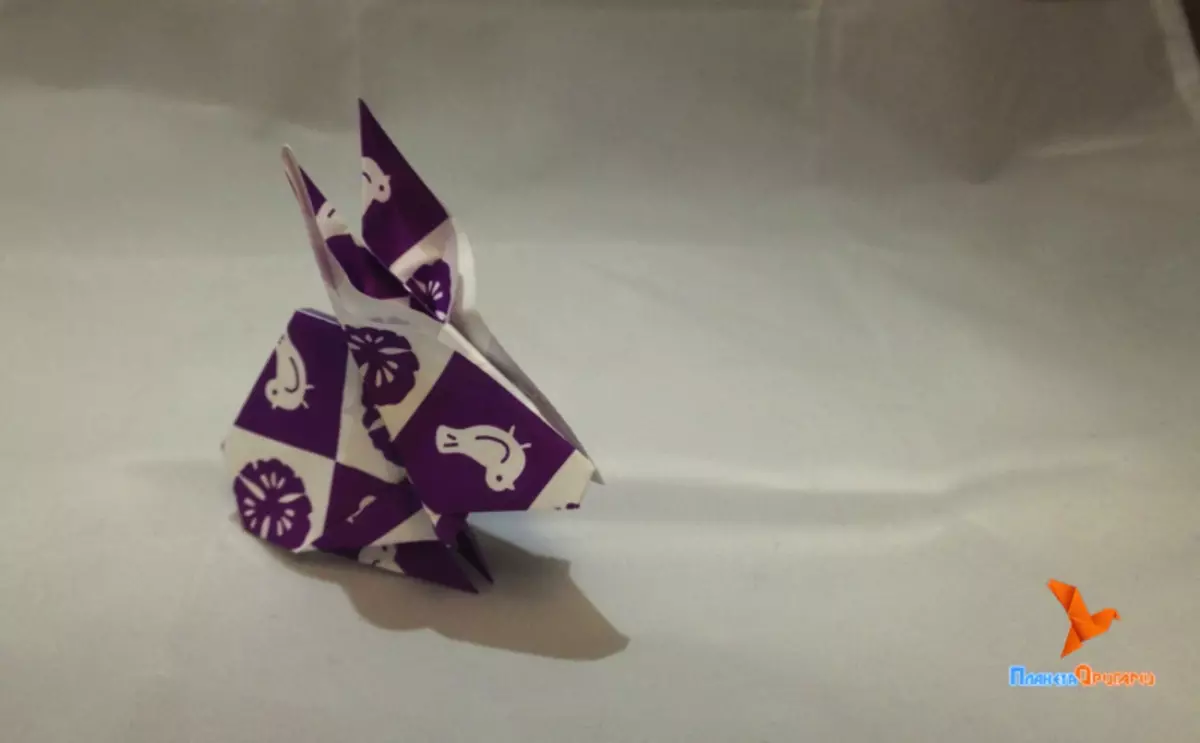
Fill the sheet of paper in half, then wrap the edge again to the center. It turns out a small envelope.
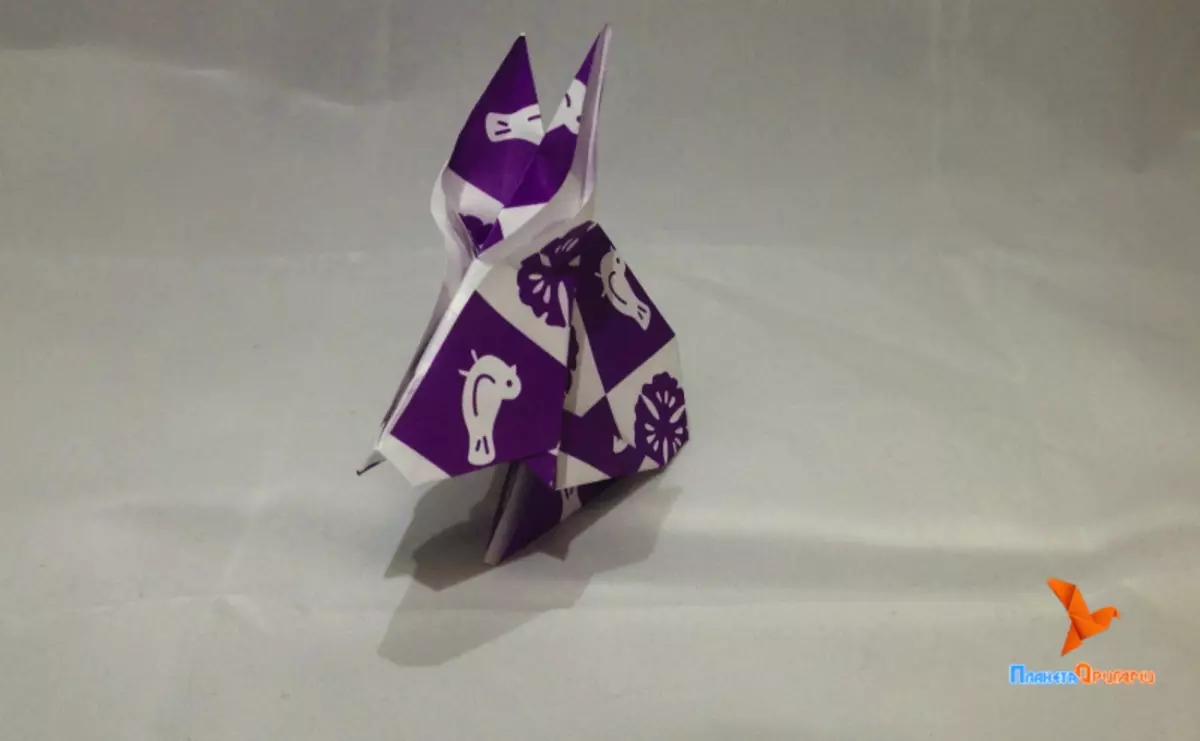
Now bends are made, by turning into small corners of the rectangle. After that, the smaller sides of the figure add up to the middle, unfold and bend into inside the corners made earlier.
More detailed technique is visible in the following scheme:
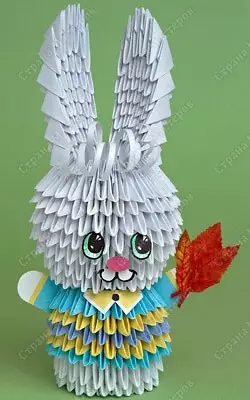
Another technique for creating a hare is modular origami.
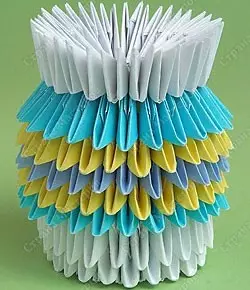
For the finished figurines you will need 522 modules. Moreover, it is advisable to use colored paper. Then the quantitative ratio will be 402 white modules, 48 blue and yellow, 24 blue. Then the bunny from the modules will be particularly bright and interesting!
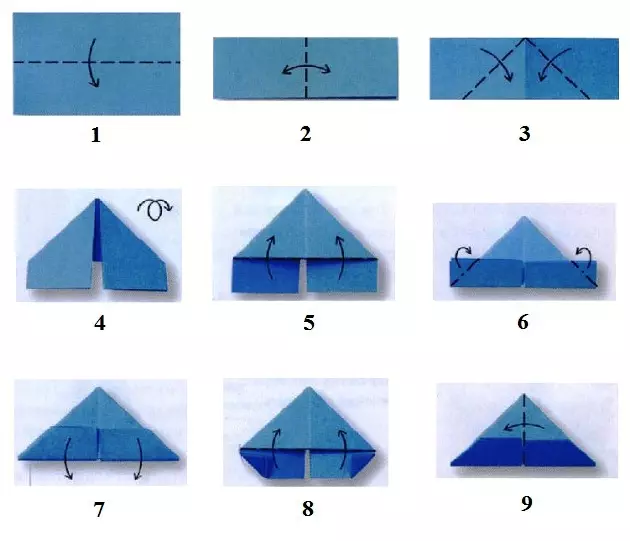
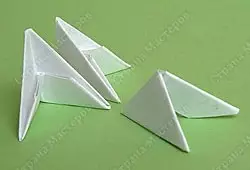
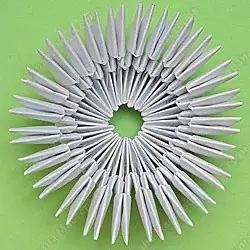
The triangular modules themselves are standard and assemble along the usual assembly scheme.
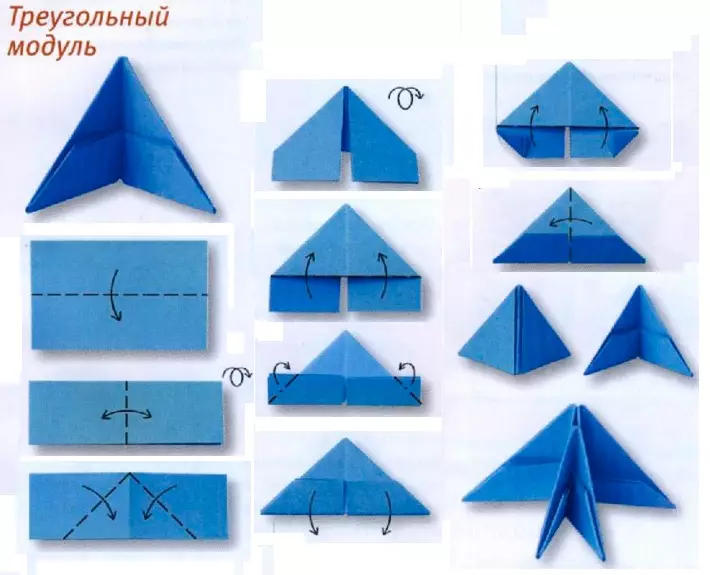
When the modules are ready, you can proceed to assembling modular origami, step-by-step instructions will help in this.
Collect the first two rows of 24 modules in each.
Make the following row.
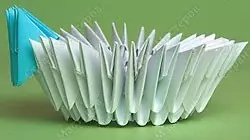
After that, remove the figure and proceed to a color row, consisting of 24 modules.

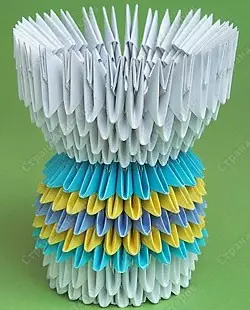
The final option should look like this:
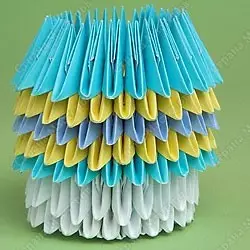
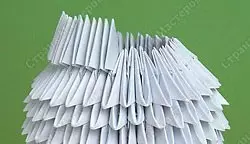
Now start to wear white modules with the other side.
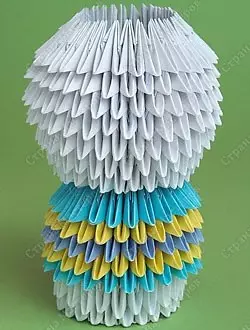
The next step will need to wear 30 modules with the other side relative to another row. It turns out that on each 4th module two others are satisfied.
Article on the topic: coat with spokes: Schemes and description of the regulated for full women
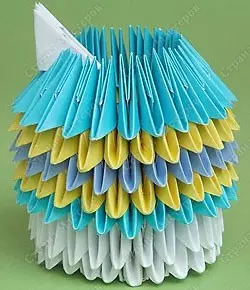
Continue to collect bunny on, gradually giving the shape of the head.
For the ears, you put on 6 modules with the reverse side as follows.
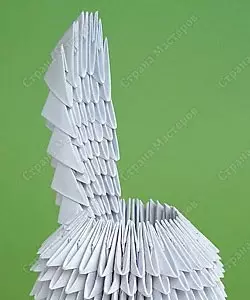
This form is obtained if the second row contains 5 modules, the third - 6, etc. (There is a gradual expansion). After 7 rows, it is necessary to narrow the ear, removing 1 module. Those. The eighth row will contain 5 modules, ninth - 4.
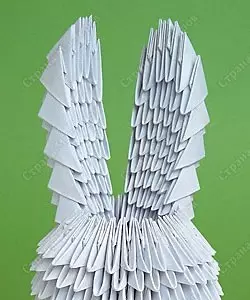
Cut out paper and glue missing parts. Your new friend is ready!