
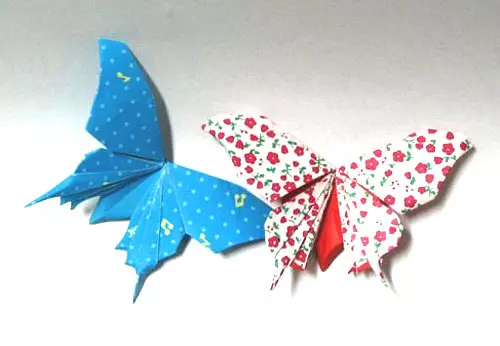
Already in kindergartens, children teach various crafts from paper. One of these products that are found very often are products performed in the style of origami. For small arms should be simple, so in the master classes provided in this article, it is shown how the Origami butterfly is done. A simple scheme will help to figure out and those who have never met with such creativity. And here are such interesting and bright butterflies, you can decorate any room, sticking onto a wallpaper, hacking on the curtains. Such an occupation with the child perfectly develops his petty motorcy and fantasy, which is undoubtedly important for the kid.
In addition, such moths began to use for decorating flowers bouquets, greeting cards. And now we turn to simple lessons with which you can learn to make very bright and beautiful origami butterflies.
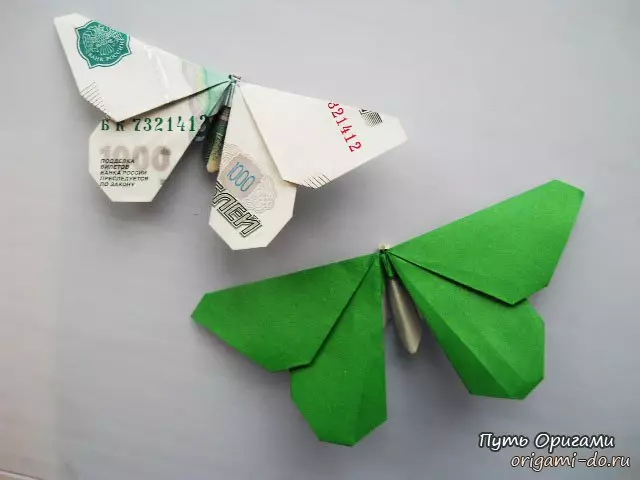
Insect from bills
Many are known to the Origami-style butterflies from ordinary colored paper, but there are no limits of fantasies of creative people. And therefore, moths made from bills began to appear. Of course, you do not need to think that such decorations are made from the real money, they are most likely of fakes, but they look quite interesting.
In this master class, it is proposed to make a butterfly manigami from monetary bills. Not only ordinary colored paper can be the basis for beautiful products, but also money.
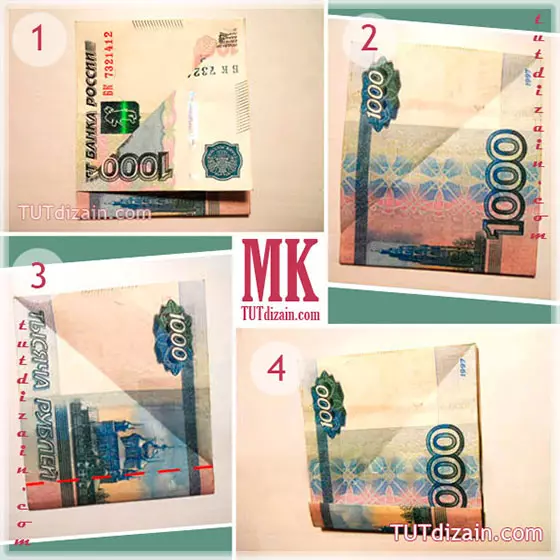
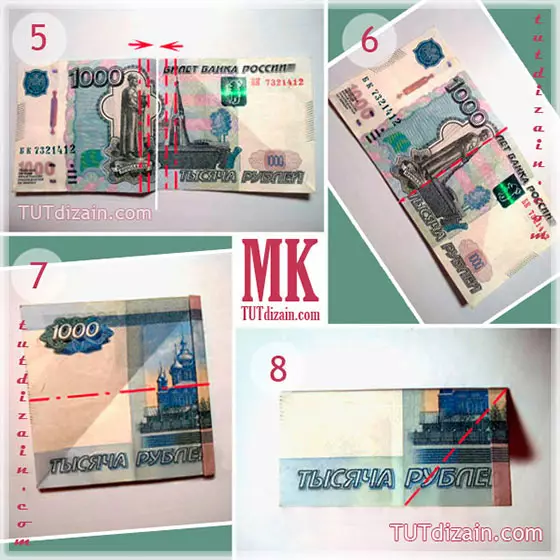
We proceed to the creation of a butterfly. We take the chosen bills and bend in half the upper part diagonally, as is done in the photo below. Next, weighed and do the same, but on the other hand, we look at the photo number 3. Now we need to adjust the lower strip of paper.
Article on the topic: Topiary from coffee do-it-yourself: Master class on sunflower with photos and video
Then we deploy and bend two folds that were formed. Denushka should be shorter. Now we fold in half and across, and also along.
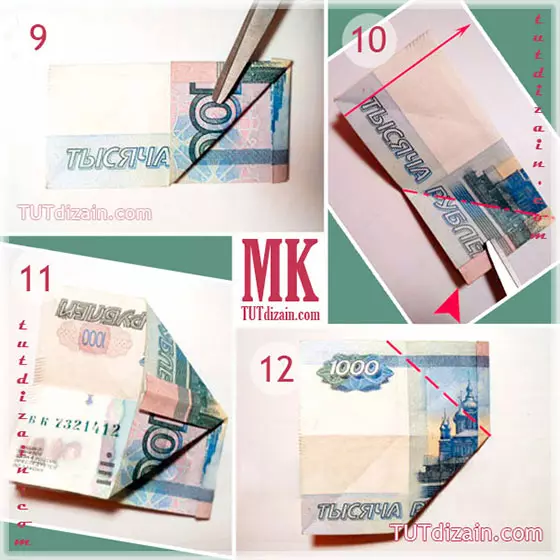
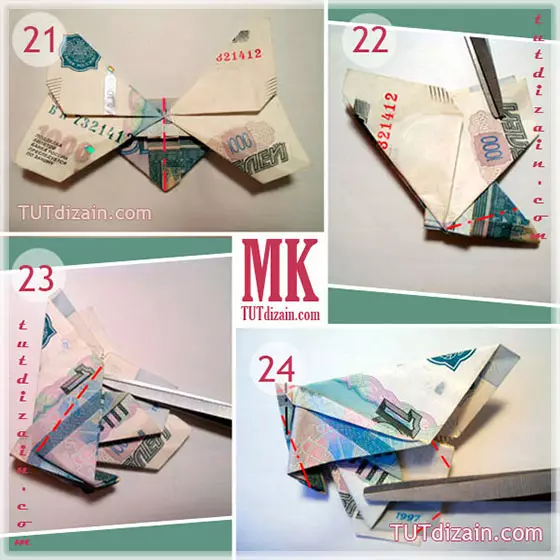
Now we need to bend the angle of bills, which is left, raise the top and reveal the pockets on the right at this time, turn the product. By doing what is indicated in photo 9 and 11, we will be able to repeat the same variations on the other hand. Must get a detail as an arrow. Now the right corner needs to bend left, while we plan a horizontal bend mark, then exaggerated. Further diagonally you need to bend the upper left part, we see the top of this detail on the photo at number 15. Next, we flex a strip that is vertical. We look at the following photos all the time.
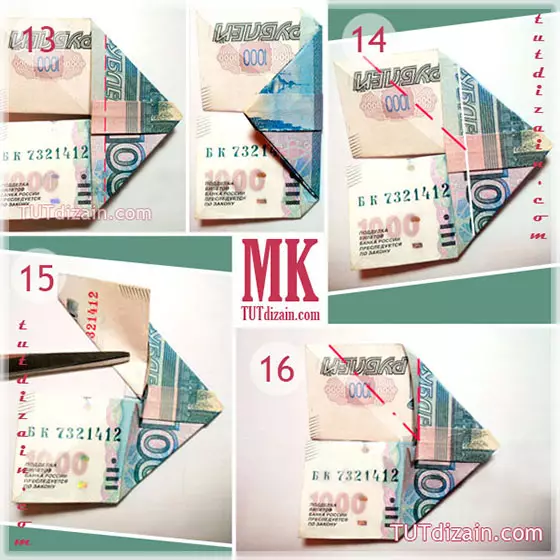
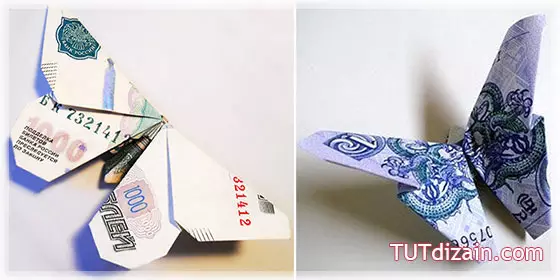
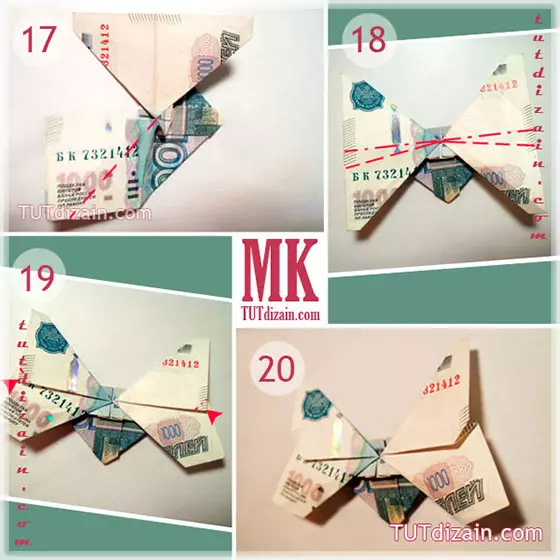
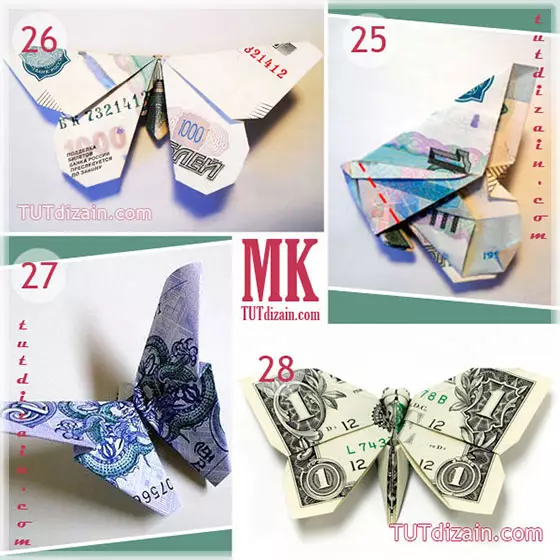
We reveal the pocket and make the repetitions that are indicated in the photo 14 and 16, but we already fold from the parallel side. It should turn out that the butterfly should reveal its wings. Now we need to form a fold that will get rid of the upper wings from the lower. And we swallow the median corners of the wings. Now we make the body of our craft. We need to bend the product in half. We begin the corner in the rear and the median strip, while opening the corner on the left side. Now they do the same action on the other side. Then make your head, for this we need to drive the corner of the head - the body is rounded. Now bend two corner at the bottom of the wing, it should work out, as in the photo at number 25. We reveal our product, with the wings bend along the body. And so it turned out our butterfly from bills.
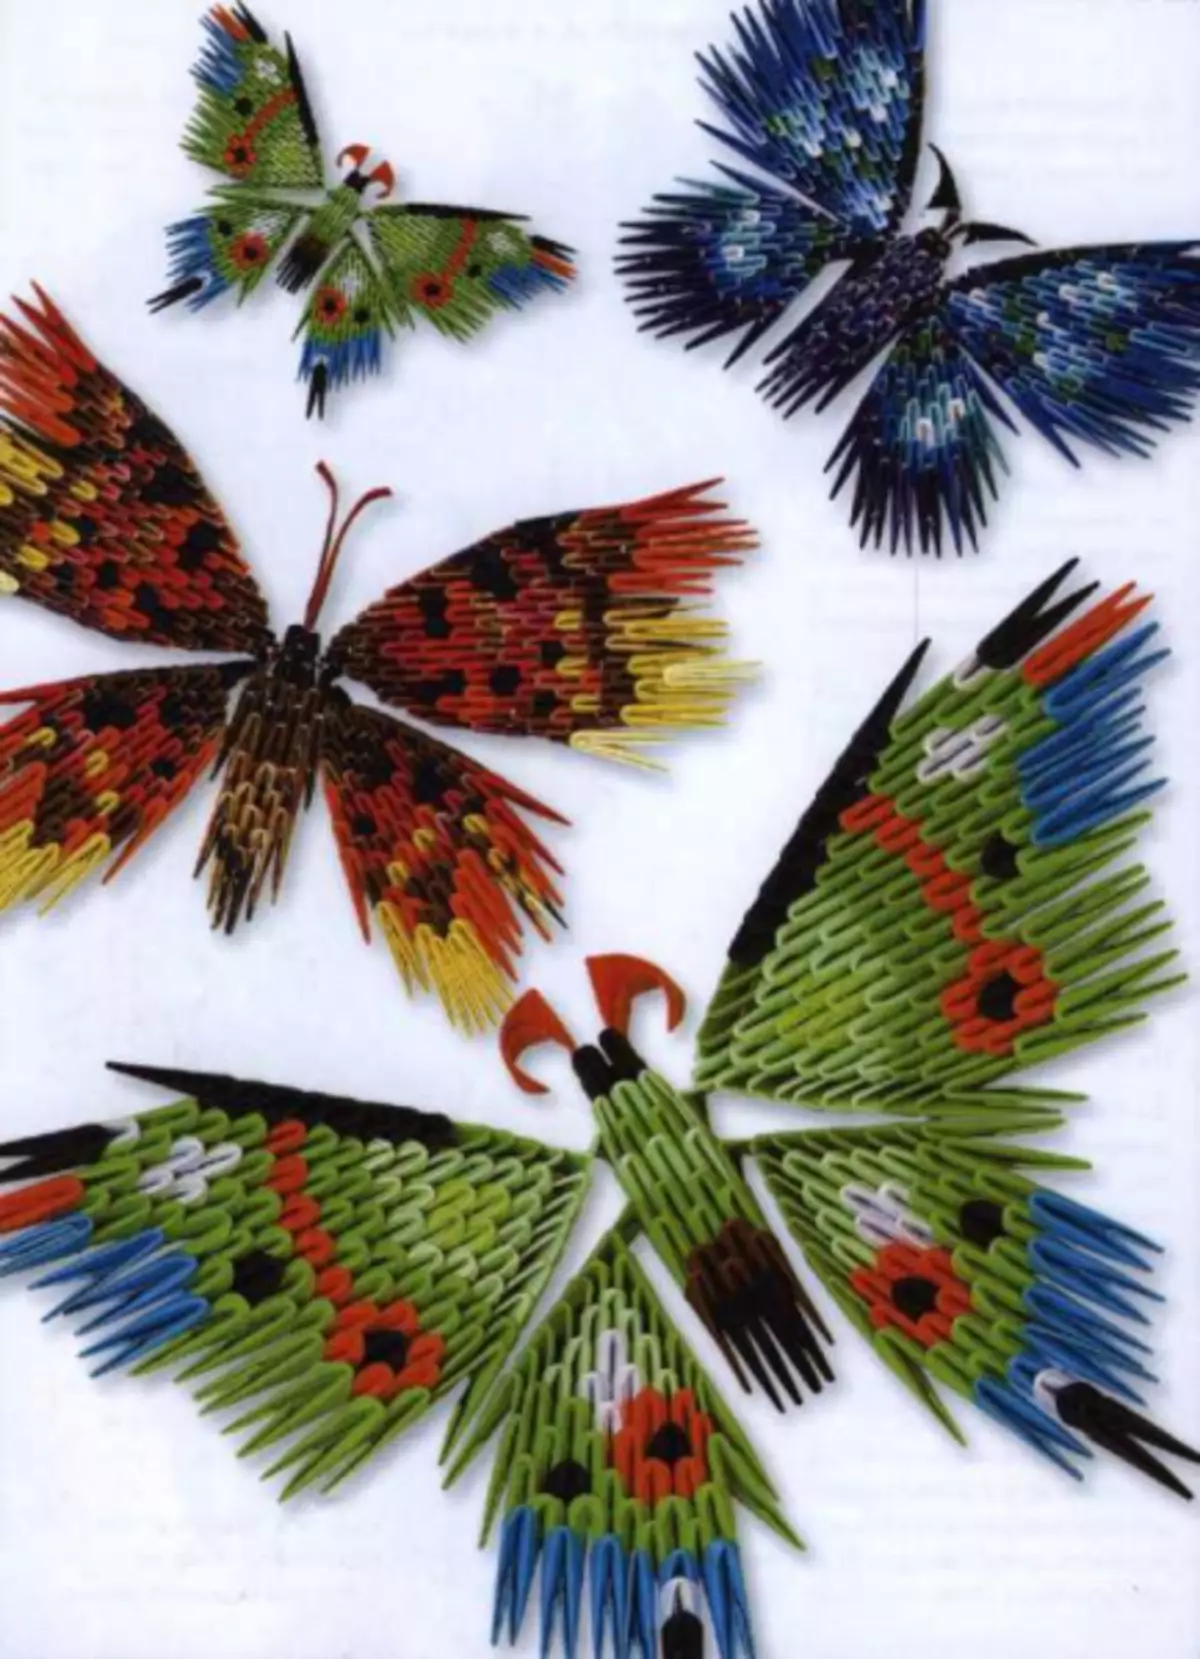
Moth modules
Modular execution is one of the simplest, but when the butterfly is performed, the main thing is to choose the color gamut. It is the color of butterflies in nature and in creativity, very important. Origami from the modules is always quite bright, bulky and beautiful.
Article on the topic: Round Tablecloth with Crochet: Step by step description with a diagram and video
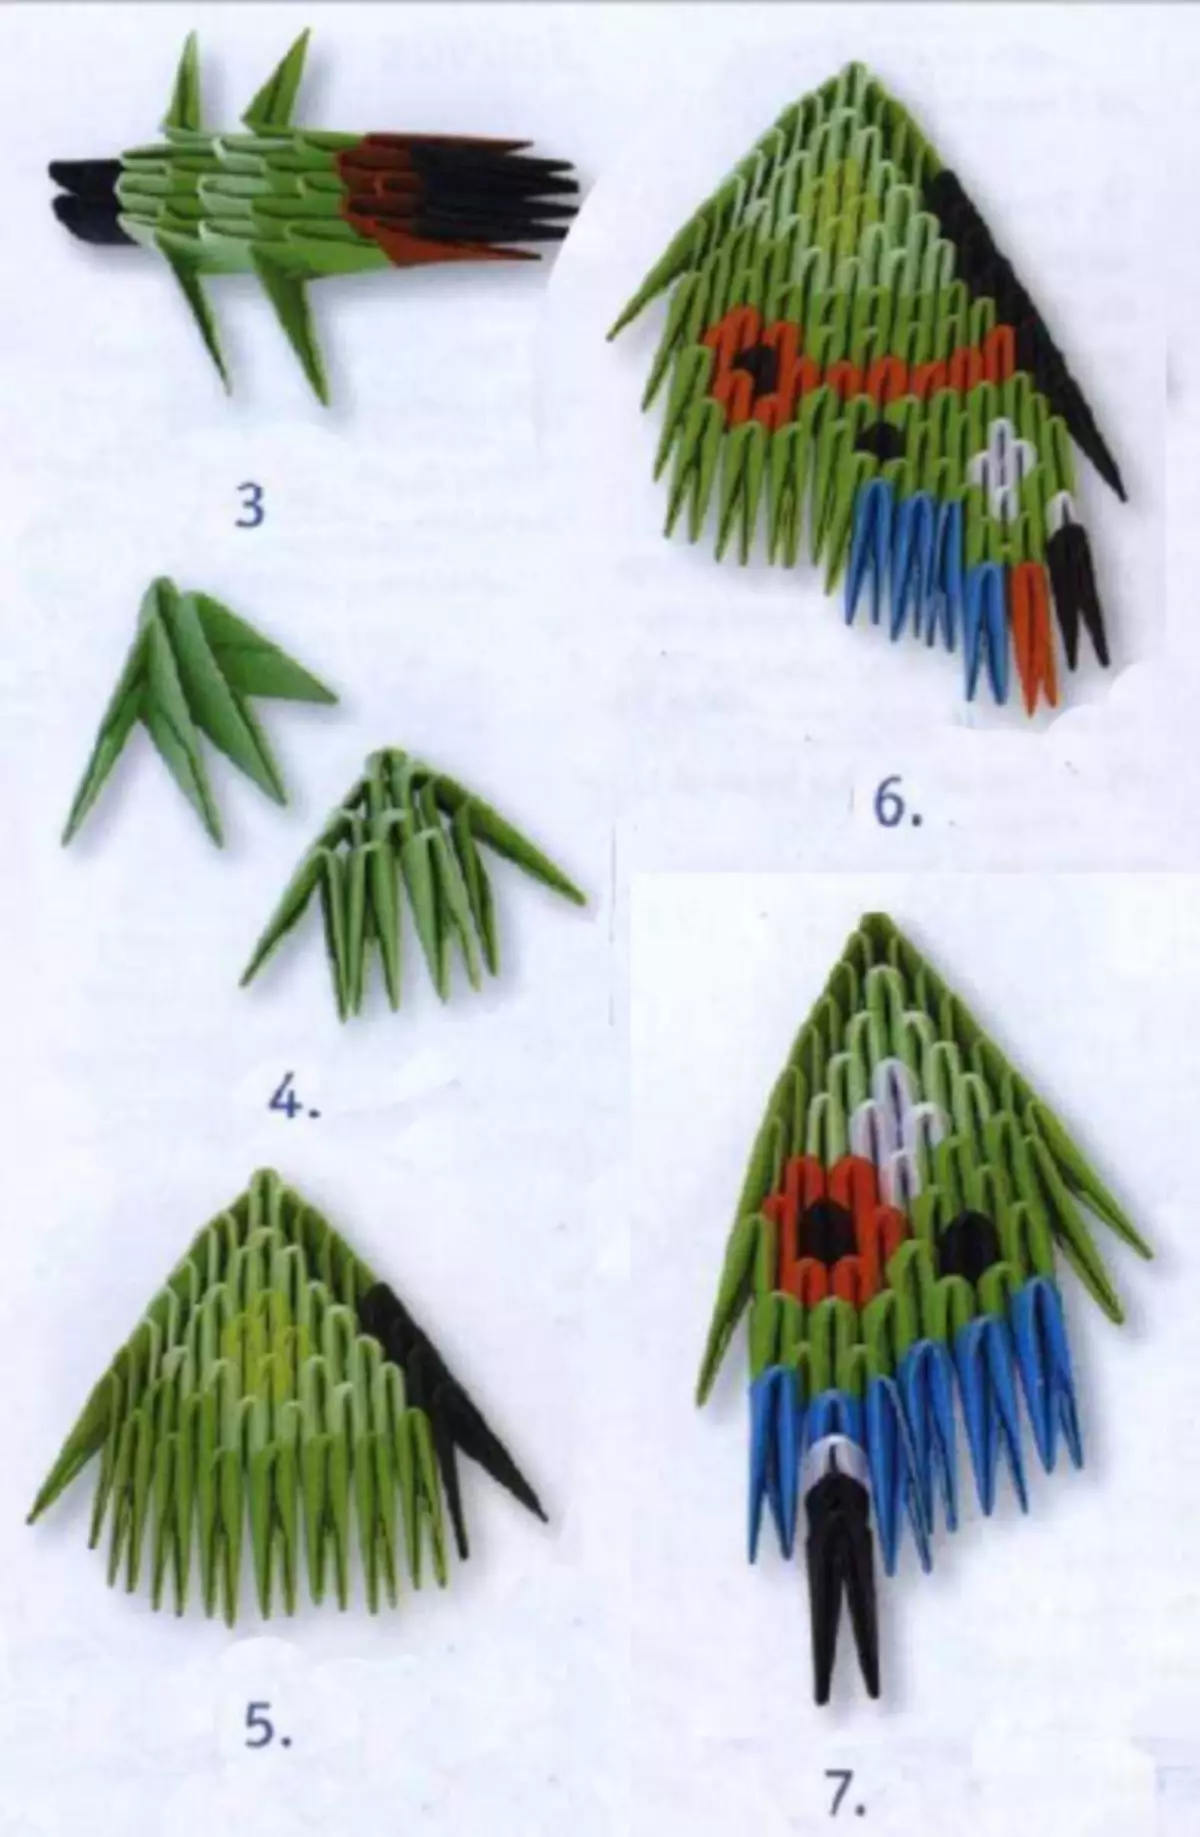
To perform a butterfly, we need to do the torso first. We take 4 modules and connect them in pairs. We debug - this is our first and second row. Now we do the third row: we take 3 modules, connect the middle modules. Fourth row: 2 modules. Fifth: I fix 3 more details, while we need to capture the corners of the last and penultimate rosters. In order to fasten the wings, you insert the modules into two pockets that are located on the edges.
We collect on, the sixth row - 2 modules, the seventh - we do the same as in the fifth, eighth - 2, ninth - 3, tenth - 2.
Now we make the right wing, which is located on top.
At the base of the wing, we need to use one module, and in each subsequent row it is necessary to add one by one module.
On the extreme corner of this pattern to wear outdoor pockets. To make a drawing, you can alternate colored modules or lay out on a flat surface. When there will be 8 modules in the set, then the ward must be rounded. This is done like this: in each row we reduce one by one. But when there are already 12 modules from above, we also start rounding. The second wing is made in the same way.
When assembling the left wing, you need to remember that this assembly should be a mirror so that it turned out beautiful and correctly. Now we need to wear the wings on the protruding corners of the body. You can glue the wings to the body. But the mustaches are made of two modules, which are twisted with a pencil.
Here is our butterfly and ready!
Video on the topic
This article provides a video selection with which you can learn to make butterflies in Origami technique.