
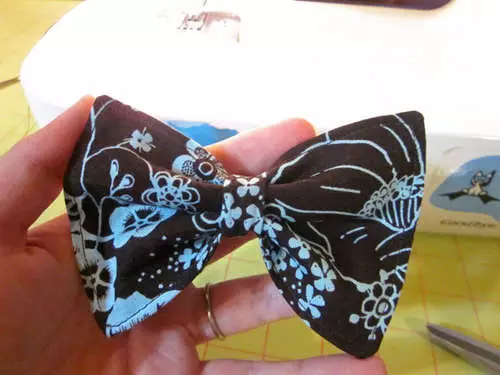
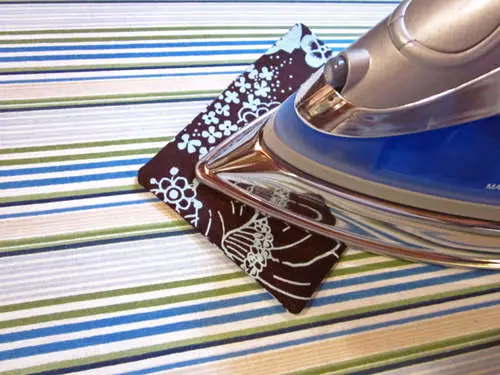
Dear our needlewomen, the next master class is dedicated to you. The online magazine "Handwork and Creative" has already told and showed how to make various decorations with my own hands: for clothes, for hair, etc. Today I would like to talk about a separate detail of any decoration - about bays. Bows and bows were always in fashion, today they can be seen everywhere: on clothes, on bags, on shoes, as a gum or hairpin. Bows: silk, satin, velvet, large and tiny - a wide range of sale. We offer to make a simple and cute tissue bowl with your own hands.
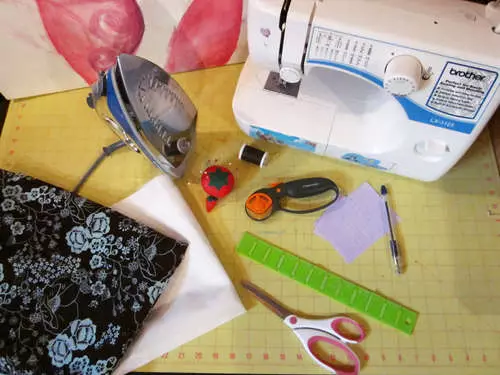
Required materials and tools:
- small segment of the fabric;
- Lining material;
- Suitable threads;
- sewing machine;
- iron;
- scissors;
- Pins (invisible);
- Pencil and ruler.
Beginning of work
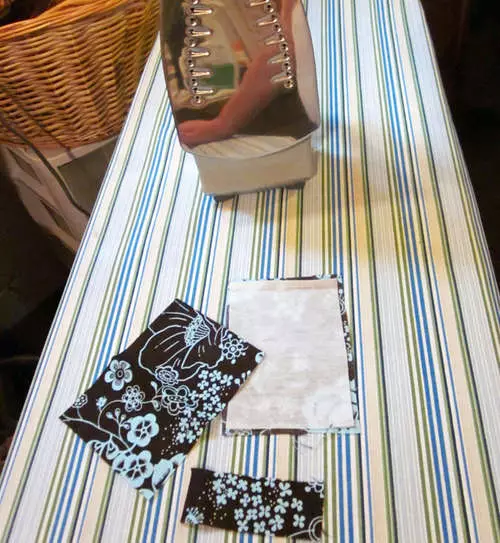
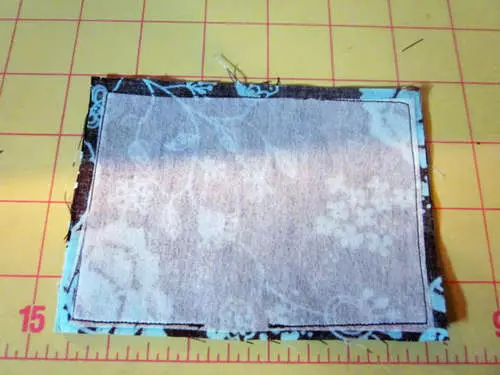
The work is very simple, it will not take much time. The template can not do, because You will have to cut just a couple of squares from the fabric. Think in advance which sizes there will be a bow of fabric made with their own hands. Now cut from the fabric two identical squares and one straight strip, and one square, the same in size as the two previous, only from the lining fabric.

Work with material
Place the lining tissue between two pieces of fabric and fly away.
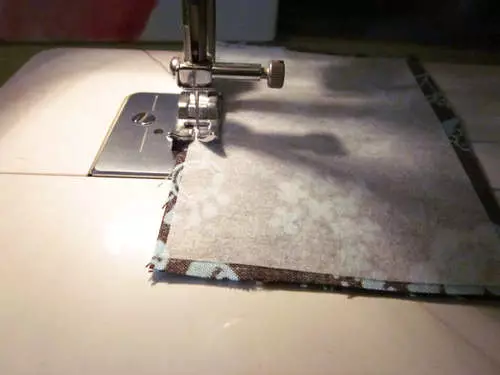
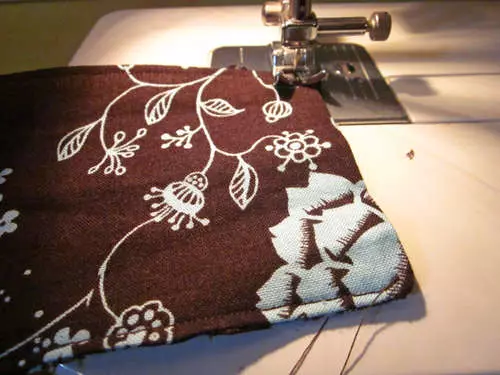
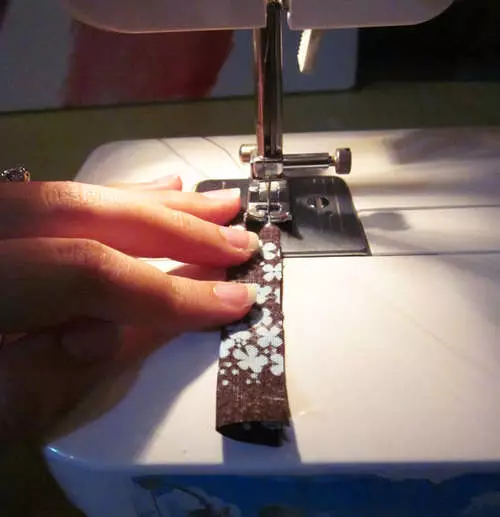
Then put the top face fabric so that the lining was on top. Now all together walk with a machine line. Start from the center and go through the entire perimeter of the outer edge. Leave a small distance between the beginning and the end of the line. This is necessary in order to then turn out the fabric on the front side.
Finish
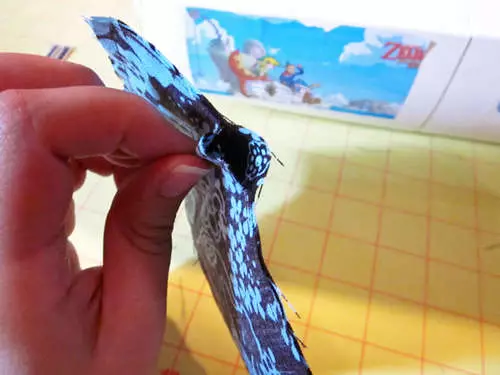
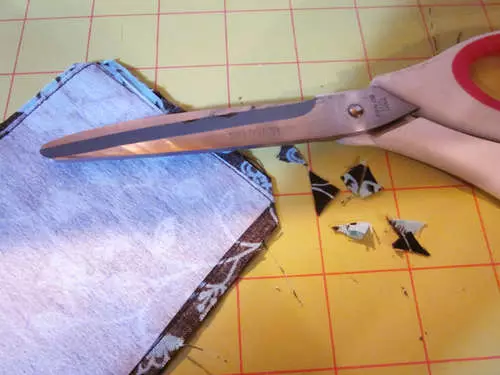
Before twisting the fabric, carefully cut the corners, not too close to the line. Now you can turn out. Build the remaining space and turn again.
Article on the topic: Topiaria from Foamyran: Master class with photos and video
Colek for bow
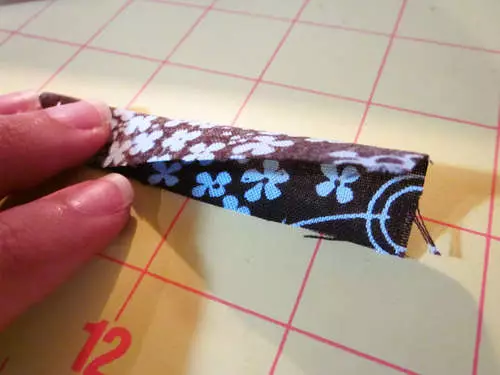
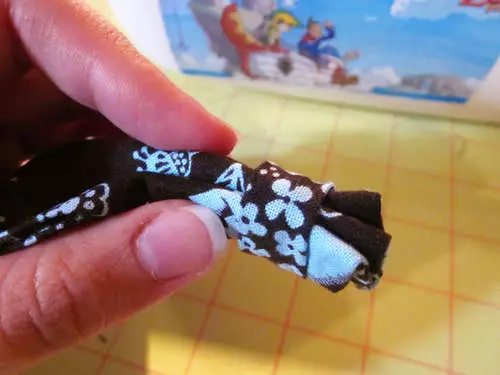
The remaining fabric strip is the last detail of a tissue bow. Take it and fold in half, push around the perimeter for the same principle to then turn it out.
Now wrap it around the harvested rectangle to get a bow. So you will mark the required ring diameter. Next and step up, do hard.
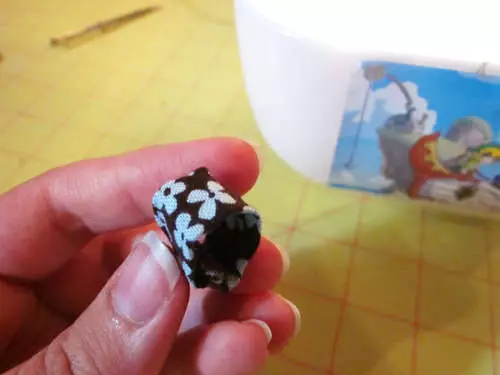
Now thread the cloth in the ring and place it in the center. Bow ready!
If you liked the master class, then leave a couple of grateful lines to the author of the article in the comments. The simplest "thank you" will give the author of the desire to please us with new articles.
Encourage the author!