
Every year, crafts from paper are becoming more improved and original. Already simple products that we did in childhood went into the past, and there were volumetric, multicolored to replace them. Now not only children are fond of similar creativity, but also adults. Especially the peak of such craft begins during the holidays, especially in the New Year. I want to decorate my house with something unusual and at the same time symbolic. For example, such decorations can be paper balls. But it is not necessary to acquire such accessories, you can make paper balls with your own hands.
Each of us went to school a course of geometry and studied a ball. After all, it is this geometric body that a person meets every day. And so to decorate your New Year holiday, we will make beautiful toys from paper on the Christmas tree.
Technique Kushudama
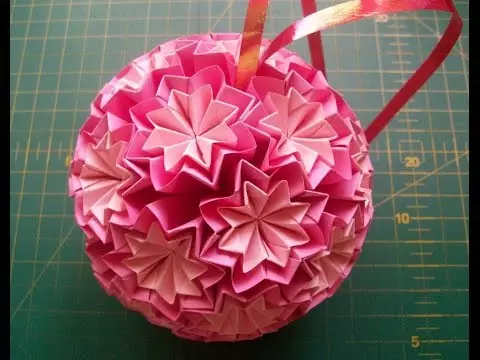
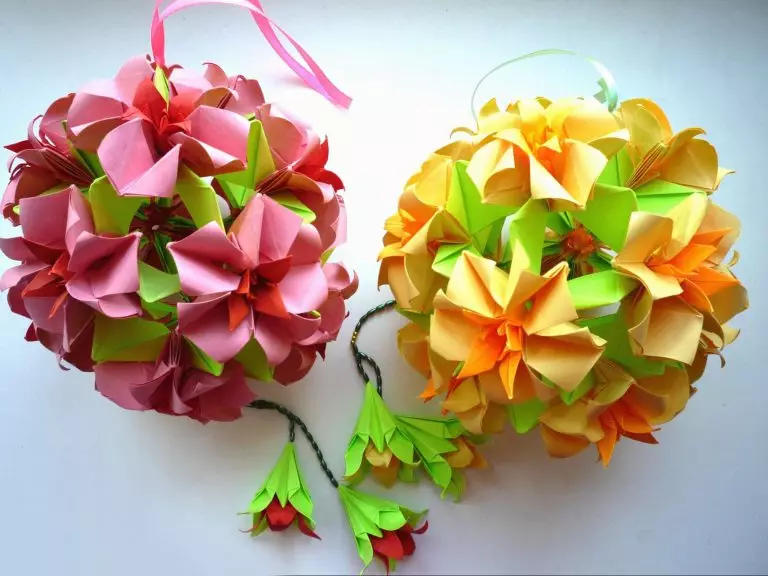
The execution of balls in the technique of Kushudama is for the creative people of the find. It turns out very interesting and original products. It may seem at first glance that it is difficult to do them, but even a beginner can cope with this task. This type of art came to our country from the Far East - Japan, where children from the very early age are trained in paperwork. As a result, beautiful balls are obtained, which are made from all available material. Kosudama is one of the types of origami, where you can create a ball with modules. Our master class will show how you can make a ball in this style in the form of a lily flower.
What needs to be prepared:
- paper dense different colors, we need three;
- needle and string;
- Ribbon and beads.
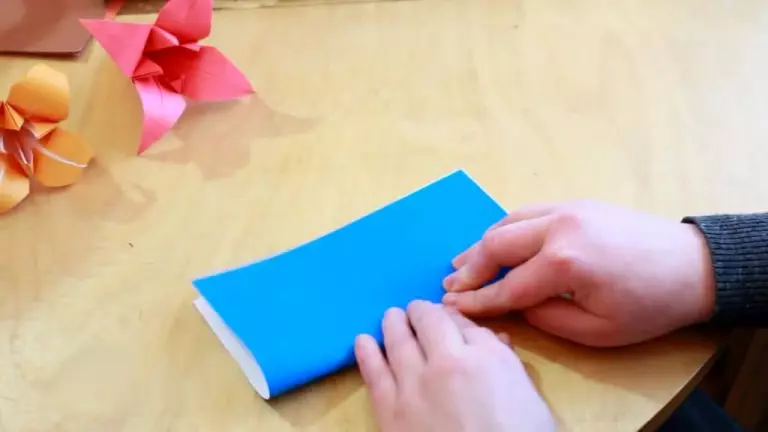
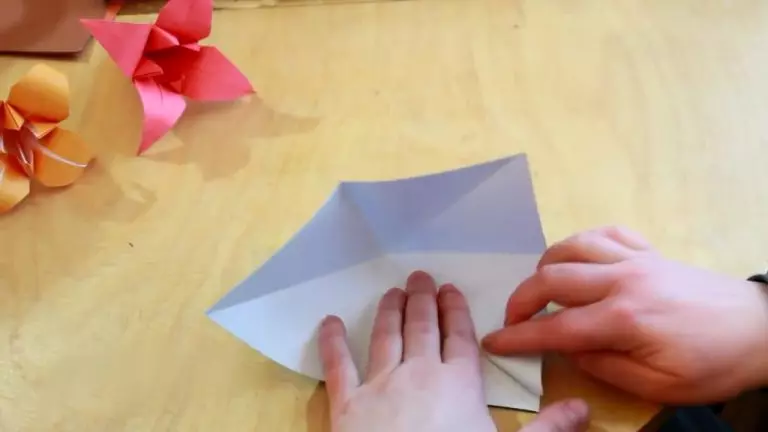
At the first stage, make a flower. We need a leaflet from which we will make an equilateral square 9 to 9 cm. The resulting figure bend in half and carefully smooth your fingers.
Article on the topic: Sleeve "Rlan": Pattern, learn the correct construction of the regulated photo and video
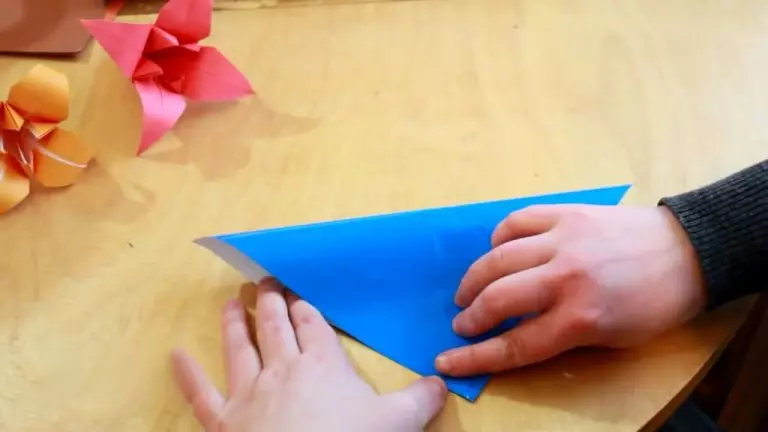
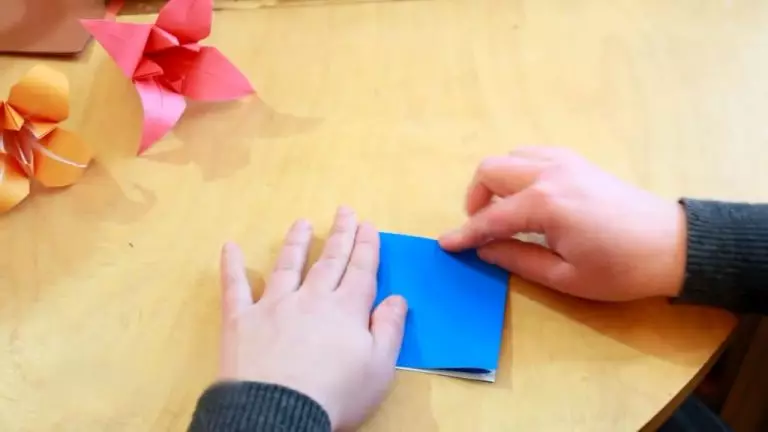
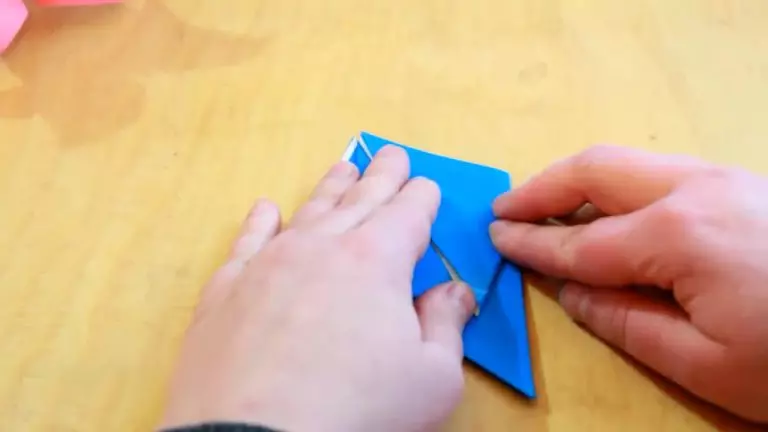
Align the leaflets and now you need to fold the corner to the corner in the form of a slave, stroke. Then, align and repeat the first two actions again. Press the partial sheet and fold the sheet so that we have a double square. We look at the photo below the sequence of actions. Now every edge of the figures extend and stroke, as shown in the picture, thus we do with four corners.
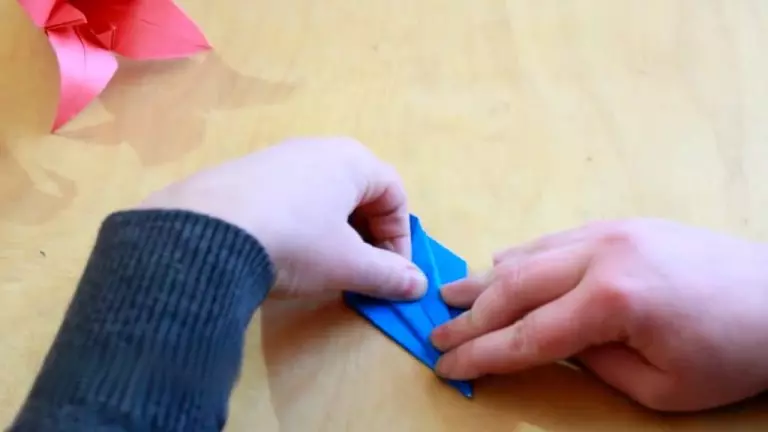
The resulting product has now bend corner to the center. Replaced the resulting pocket, while westing the bottom of the pocket to the top. We do it with all four corners.
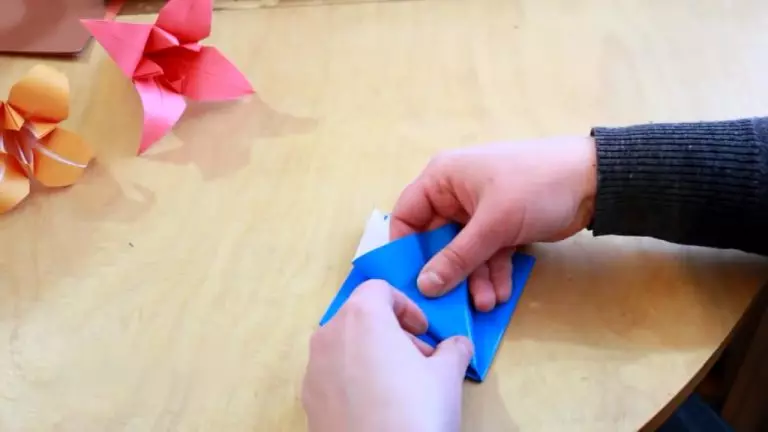
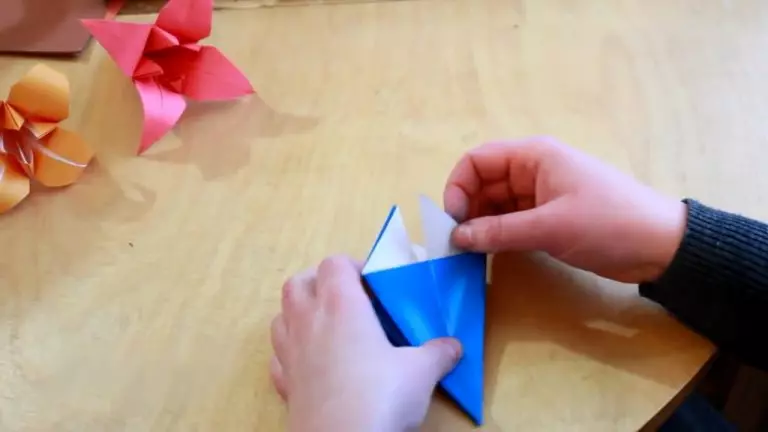

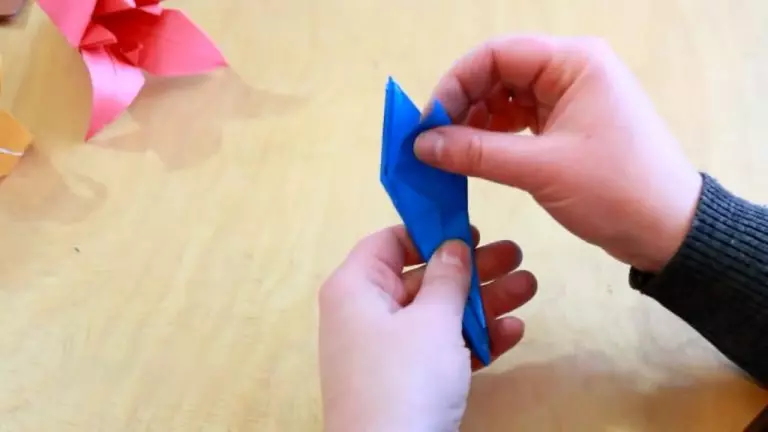
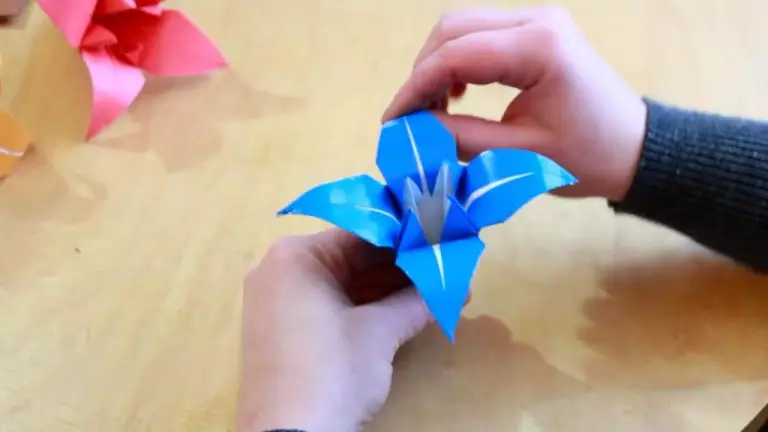
Now the product needs to be turned over so that it turned out to be a smooth side. Corner now wrap to the middle. Place the resulting petals so that they look down. It remains only to straighten and with scissors to make from rounded. Flower ready. To create a ball, you must perform such 36 lilies.
When everything is ready, you need to sew three lilies with a needle and thread. So we do with everyone else, in the end there should be 12 inflorescences that we connect to one ball.
For the decor, you can attach to the middle of the ribbon on which the beads are risen, and here the ball will be finally ready.
Origami
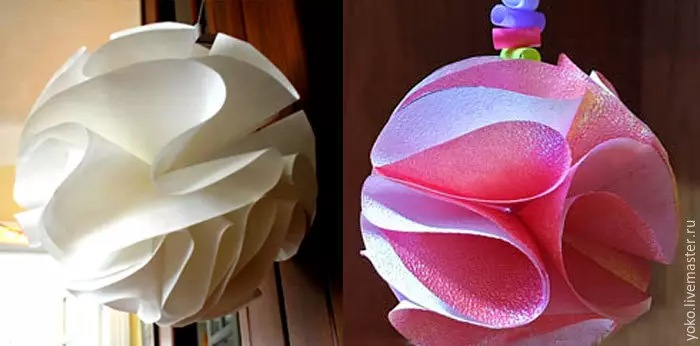
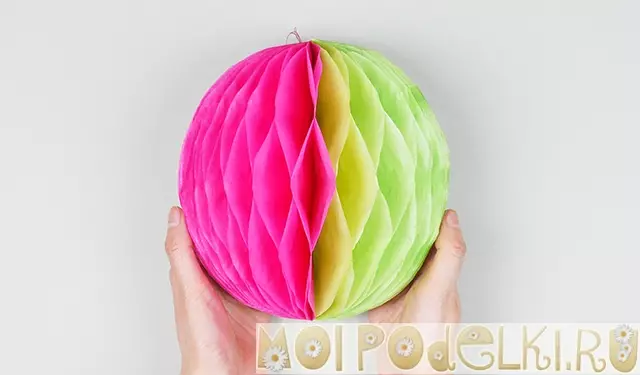
To arrange any holiday, you need a lot of balls. But that the holiday was successful and extraordinary, you can use not ordinary balls, but paper. In our master class we will make them from corrugated paper. Such balls are obtained very volumetric, air. This species is called Chinese, because in China very often use decorations made of paper, including such balls.
What you need to prepare:
- corrugated thin paper;
- glue;
- cardboard paper;
- white leaf of paper;
- scissors;
- needle with string.
Article on the topic: Women's tunic with sleeves Rlan: Pattern and master class on sewing

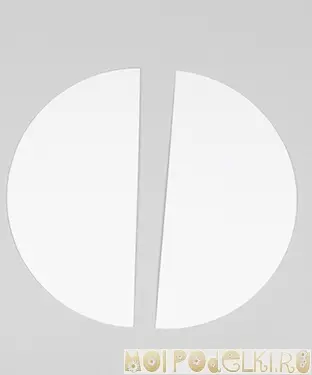
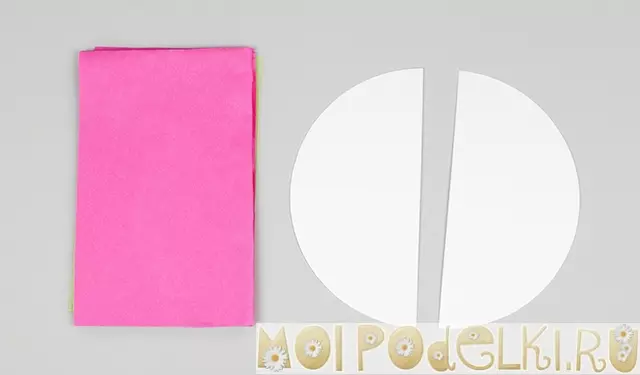
In order to start making a ball, first find out what size is needed. Now take cardboard paper and draw a circle on it, cut out. Next, the resulting figure is cut in half. We take several leaves with a conventional thin paper and put one on the other. We fold them in half to get several layers. We cut on rectangles that must be more halves of the circle. It is necessary so many layers as you need. In our master class, we will use 40 or 50 such figures.
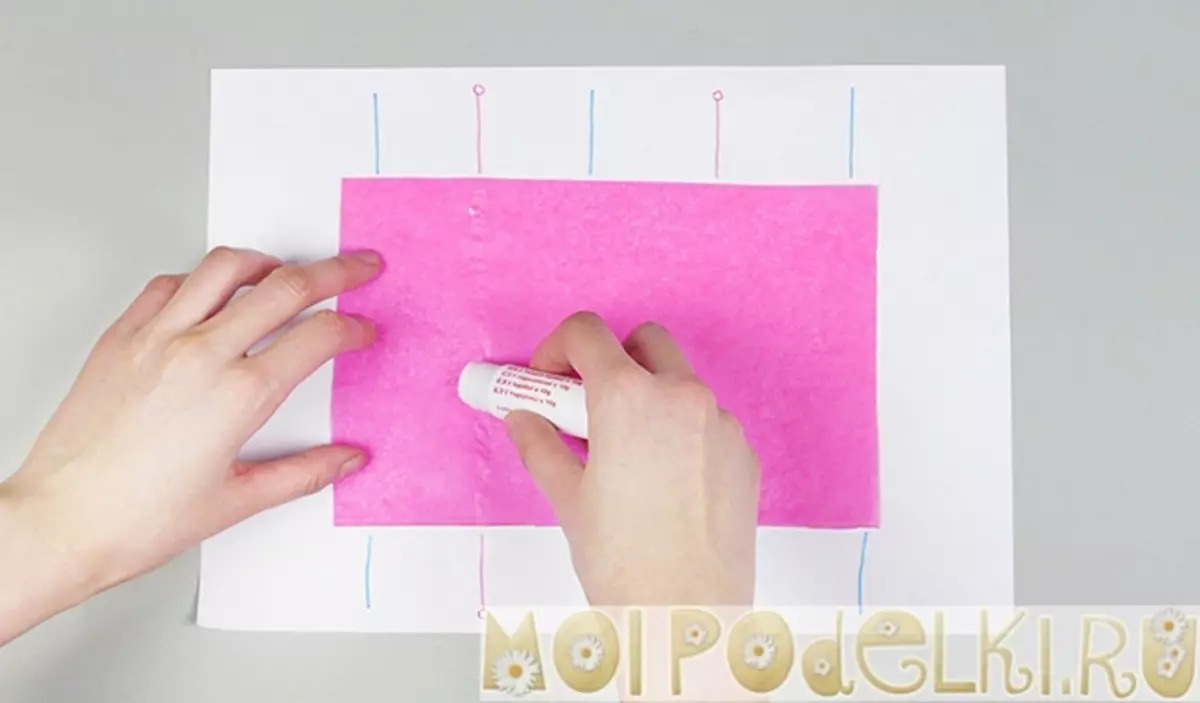
Now we take one rectangle from corrugated paper and put on a white sheet of paper. It is necessary to divide the figure for several identical parts - width. To do this, on a white sheet of paper, we draw divisions, look at how it should look, in the photo below.
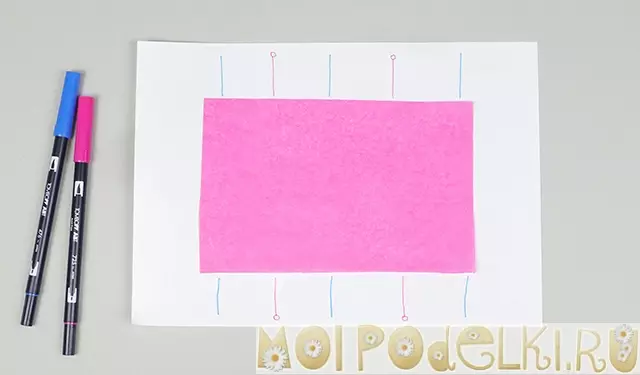
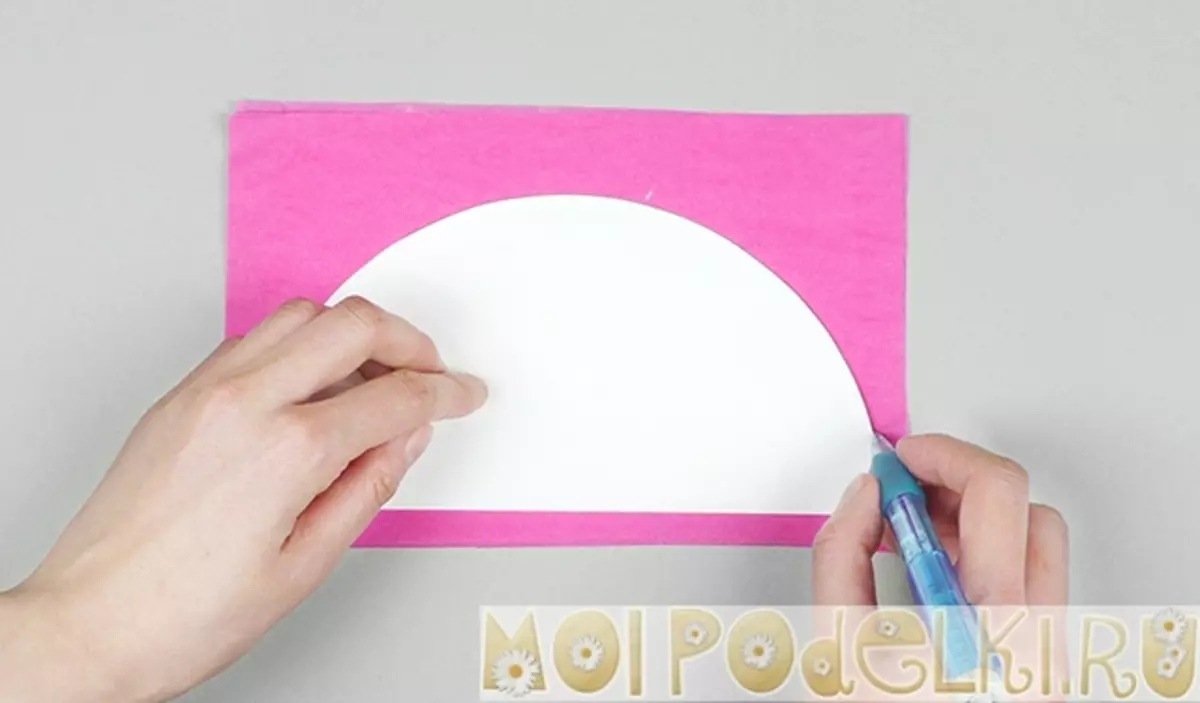
Next, we carry out glue along the lines of the same color, that is, through one, and so on the entire sheet of paper. But you should not do too thick lines. Now we put the next sheet of paper on top and press well, while we glue two sheets with each other. On this leaf to apply glue, but already on the lines of another color. So we make with all the remaining sheets of paper, while alternating the bonding line. When all the leaves are glued, put on top of the semicircle from thick paper on them and supply along the contour.
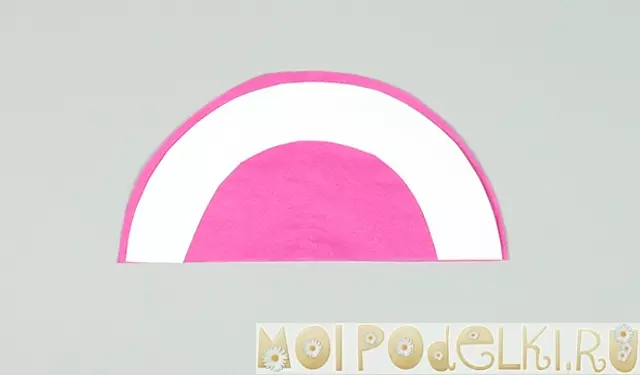
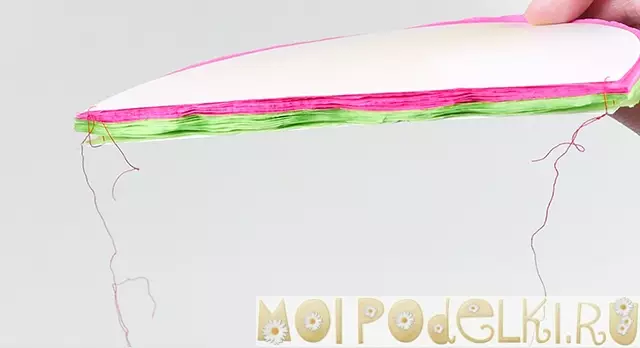
The resulting drawing cut out, it is better to take more scissors, as a lot of layers. Further, from the cardboard pattern, cut the upper part and we get an army with a width of 5 cm. And after we glue from two sides to corrugated paper. Now we take a string with a needle and stretch through the corners of the product. In each corner you need to tie a nodule, but small. Threads should hang out, it will help to reveal our ball. Keep behind cardboard overlays, carefully plastered the ball. It remains to glue the cards, and here our ball is ready. Production schemes are not difficult, the main thing is attentiveness and diligence.
Article on the topic: Cosmetic bags with your own hands
Video on the topic
This article presents video with which you can learn how to make balls from paper with your own hands.