
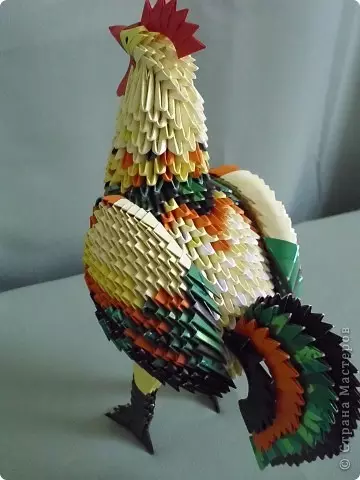
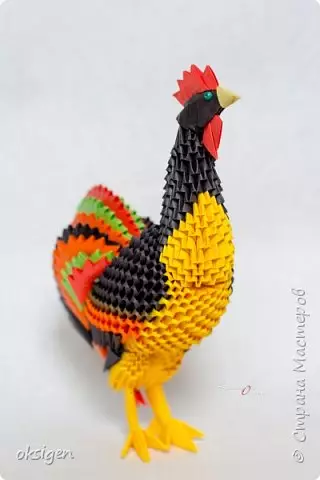
DIY, made by their own hands, especially origami, are often popular among the needlewomen, especially beginners. That is why we suggest creating a beautiful craft of a rooster from origami modules with your own hands.
Paper rooschok
We propose not to lose the slightest second and start creating a beautiful and bright cock from the origami modules, this master class will help this.
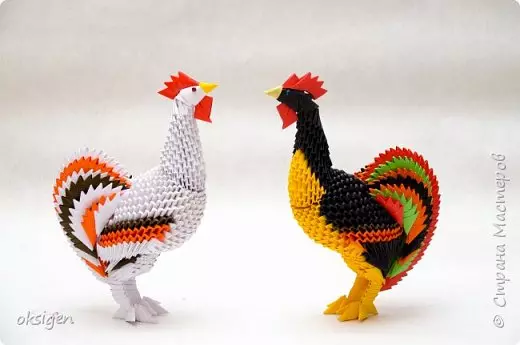
In order to make a contrasting rooster, you will need to take a bright paper of orange, red and yellow. As a basis was taken black. Also do not forget the second glue and PVA glue.
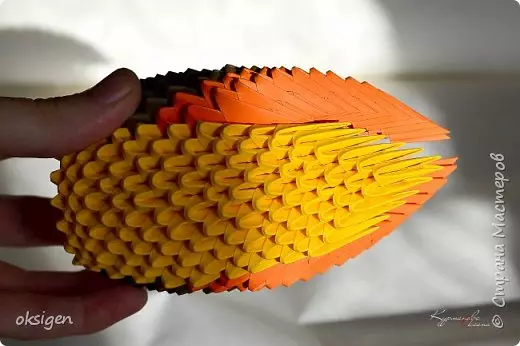
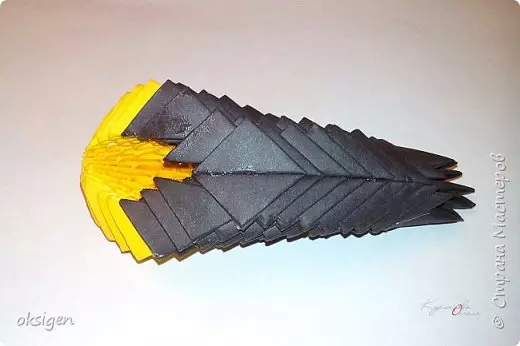
Modules make 1/32 size. We all needed about 900 modules, namely, 386 modules were used for the body, 150 on the head with a beard and neck, at forty modules for each leg, 245 modules were taken to the tail for the rooster.
First step, we need to assemble the body for the rooster. To do this, score twenty modules in a circle. In the first row we take 8 yellow, and the rest is black modules. Before the fifth row (inclusive), the amount of yellow blanks is reduced by 1, the number of black modules is growing at 1. In the sixth and seventh row, add yellow modules (one by one), we remove black. In the eighth row, you first pick up five yellow modules (center cockerel), then one brown module and five black.
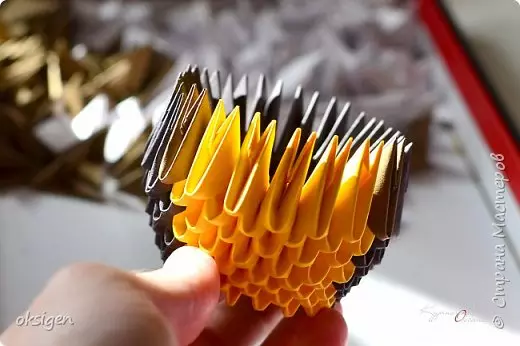
Rear remains free six corners. In this place we will incur in the future tail.
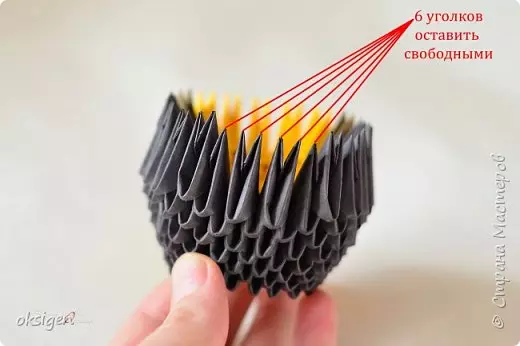
In the next row, we recruit six yellow, one brown module and five black. Please note that the last black modules must only be put on one corner.
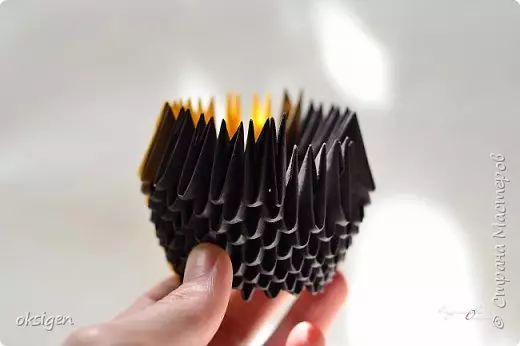
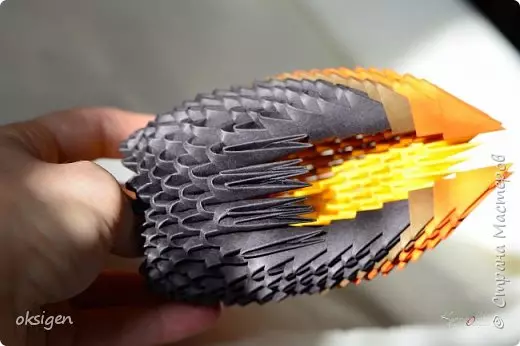
At this stage, an orange strip is added. It must be introduced in such a sequence: in the tenth row 5 yellow, then one orange module, after brown and four black blanks. In the following layer, add one yellow module. In 12 rows, we recruit 5 yellow, 2 orange, 1 brown, 3 black modules from each moan. Then add one yellow module in the next circle.
Article on the topic: Envelope for money: Scrapbooking for beginners in a master class
In the fourteenth row we wear five yellow, then we skip two corners on each side, after which there are two orange, then 1 brown and two black modules. The same is done on the second side of the rooster. Wings and abdomen will be assembled separately from each other.
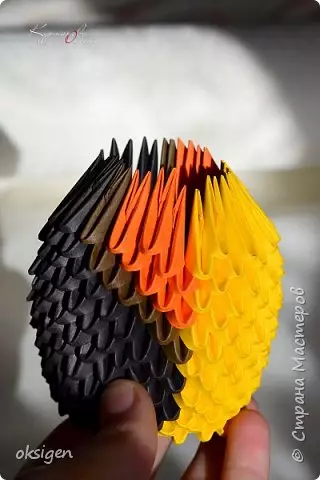
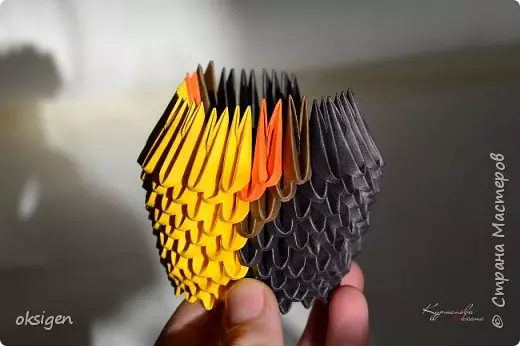
We start collecting the abdomen. Alternately alternate the amount of yellow modules (six, then five). In the twenty-first row we have four yellow modules, and then their number decreases with each near one. The belly is already ready.
Now it approached the wings. In the fifteenth row, we recruit two orange, one brown and a couple of black modules. In the following two layers we remove one black module. We will work in pairs, that is, we do one action in two rows. In 16 and 17, do not take black modules, and in the following two only orange blanks are typing. In 22 and 23 rows there is only one orange module. According to this scheme, we recruit the second wing.
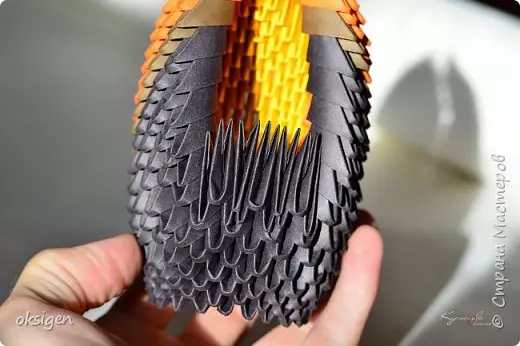
For each free corner (except the first) put on the black module.
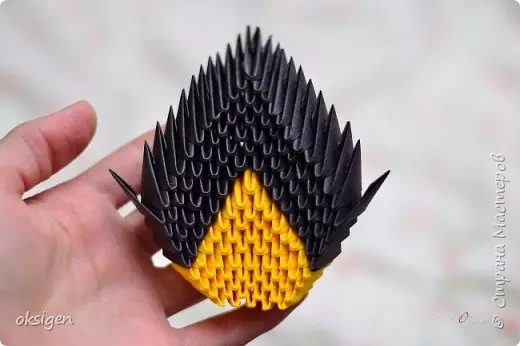
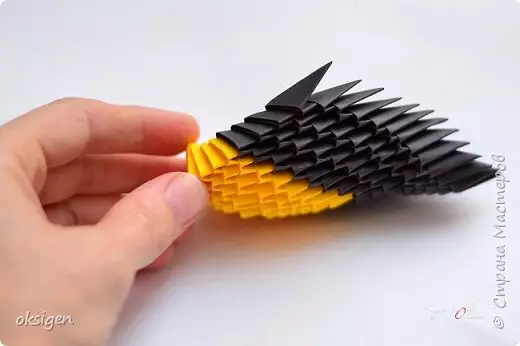
Give the wings and the abdomen the necessary shape and sample.
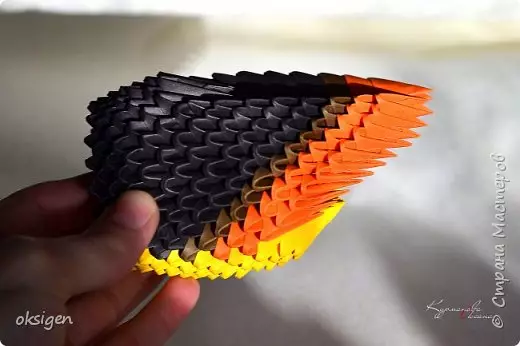
It is also necessary to put on the back of black modules for each empty corner.
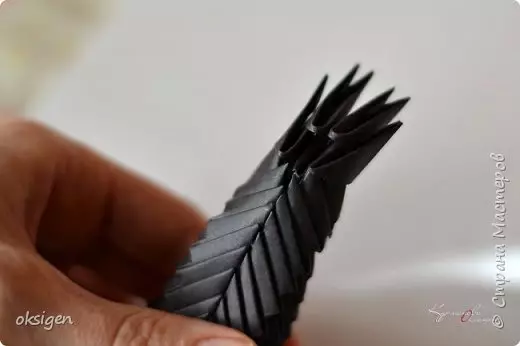
After that, we make a number of five modules (the tail will be glued between their corners).
The next step will need to do neck. To do this, score five yellow modules, to the fourth row, their number grows on one in each layer. In the fifth row, we recruit along the edges of one black module, and in the middle of seven yellow. Up to 11 rows we reduce the number of yellow modules and increase the number of black, but from the eighth row we make four black blanks at the edges. In the twelfth layer, we recruit 8 black modules, reduce the amount per one with each number.
Article on the topic: Knitted bag with knitting and beach Panama Crochet
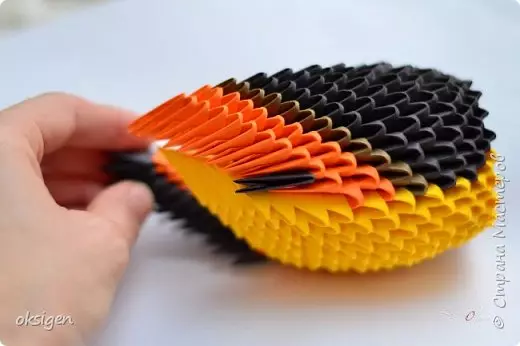
We give the shape, wound and scrub the glue from the inside of the product.
Tightly fold and glue the neck.
After a complete drying of the details, the neck no longer collapse.
Add a pair of black modules for inclination.

And then we wear two large modules.
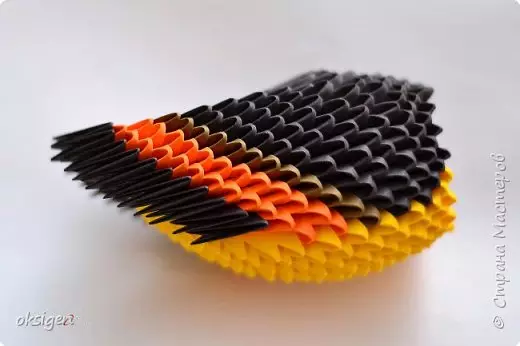
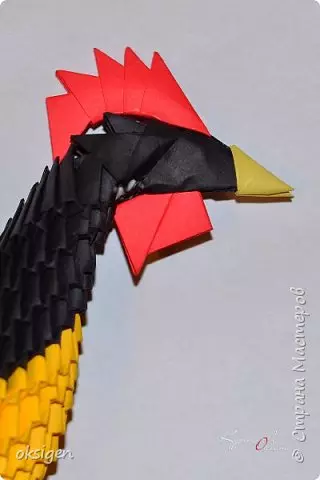
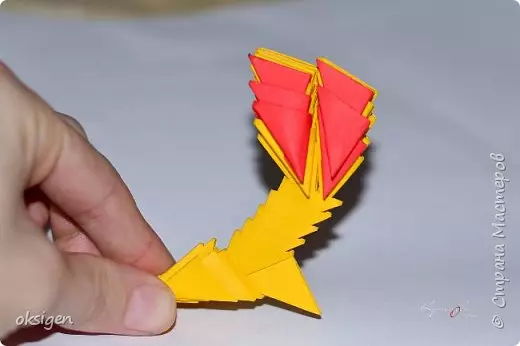
Then we need to make a scallop and a beard for a rooster. For the beard we take two red modules and stick them between the corners of black large modules. Then take five red modules and glue them as shown in the photo. The beak for the rooster is also made of the module, the size of which is two times less than 1/64. Combining centers, glue all the details.
The next photo shows how the legs for the cock are collected.
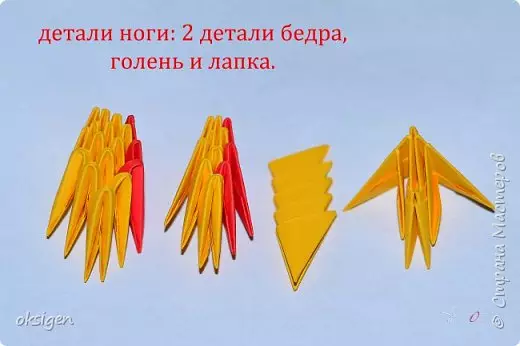
After we did, glue the details of the fence, turn the corners and glue the corners in pairwise. As a result, we had three fingers. Then glue all the details between themselves and add one more finger from behind.
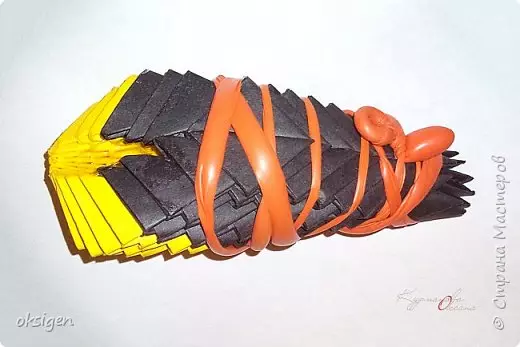
The last step we make a tail for a cockerel. Everything is already individually. You need to make stripes of different colors and different lengths. In our case the length of the longest strip of thirty-five modules. Immediately determine with the tail shape and glipulate the strips between the corners of the black modules.
First glue two legs with each other, and then put the cock on your feet.
Please note that you need to choose the right place on the trouser so that the cockerel stood.
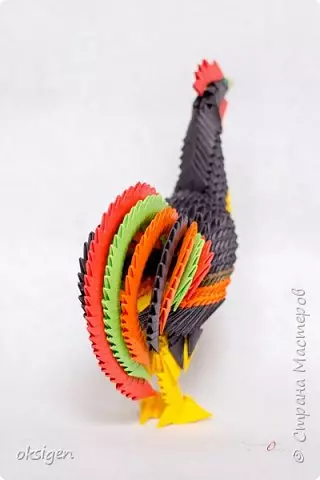
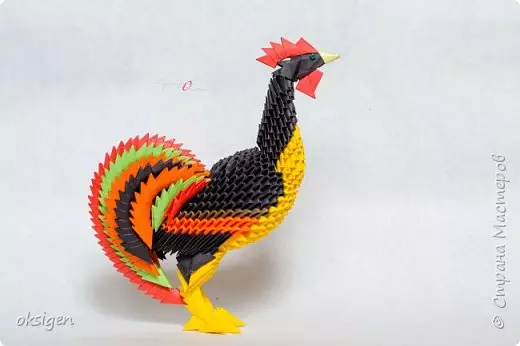
Optionally, we glue the beads of the eyes. Here is such a bright and proud rooster from us.
Option in white:
Video on the topic
We offer to see a selection of video lessons on how to create a bright cock in the Origami technique.