
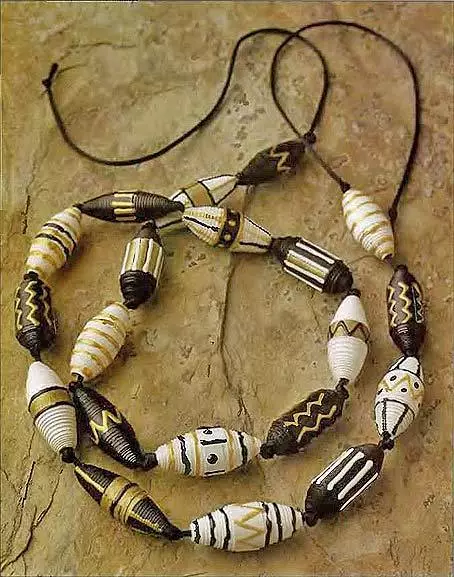
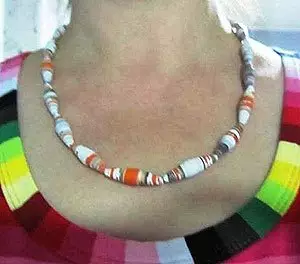
I have already become a legendary master class on the manufacture of beautiful African beads from paper.
You will not believe - these African beads are made of paper! But this does not say this at all. How deceptive appearance! I invite to the master class on the manufacture of this jewelry.
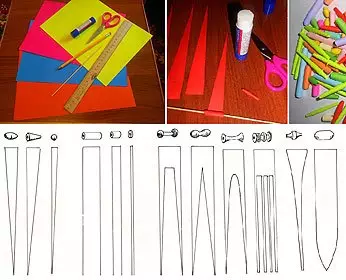
Preparation of paper stripes
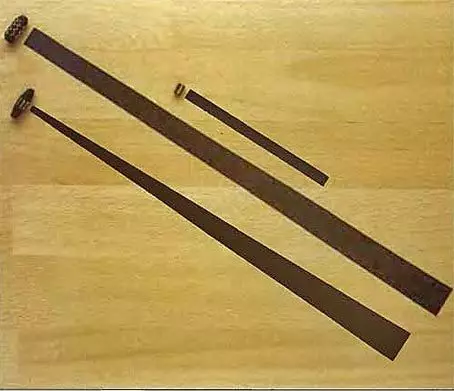
With the help of a divemic knife and a ruler cut out a template from black paper for each type of beads.
On the photo from left to right shown beads and paper strip sizes:
"Rugby ball" - length 40 cm, width 3 cm, strip gradually narrowed up to 6 mm;
"Barrel" - length 45 cm, width 3 cm, strip is narrowed to 1.5 cm;
"Little cylinder" - length 15 cm, width 8 mm.
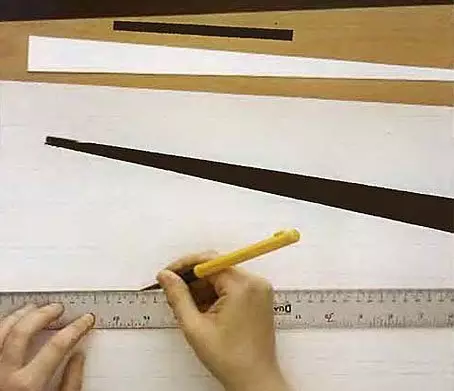
Place each template on white paper sheet and circle a pencil
Cut white bead blanks using a diverse knife and a ruler.
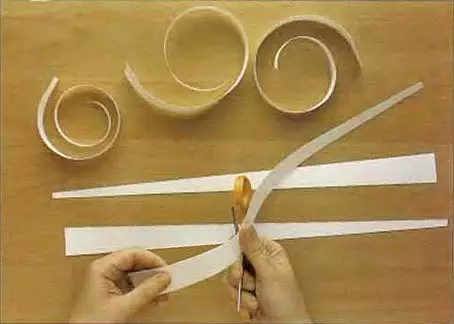
Find each strip of scissors blade
A paper strip prepared in this way becomes a militant and convenient for further work.
Paper twisting process
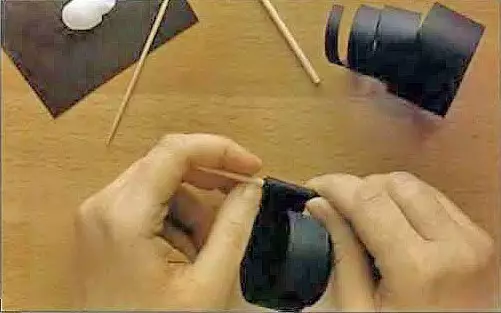
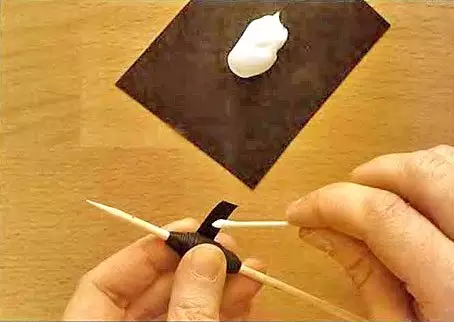
Cut into scissors several wooden skewers so that suitable rods come. Attach a wide edge of the strip to the rod and start tightly attenna. Make sure that the edges of the beads are smooth on both sides.
Skinning scrubs
When the bead is almost ready, apply glue plow glue with a cocktail stick on the inner side of the tip. Fix the strip and press for a few minutes with your finger, waiting until the glue is grabbing. Repeating these actions, make the remaining beads. Keep in mind that each wooden rod can be put up to three beads at the same time.
Article on the topic: Snooth knitting needles: master class with photos and videos
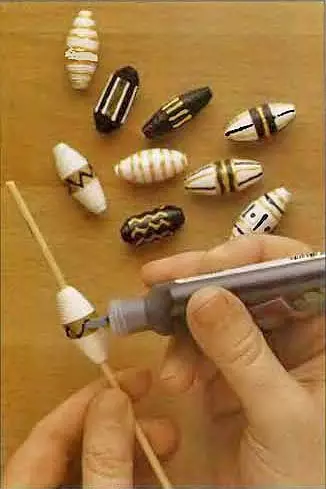
Draw transverse pattern
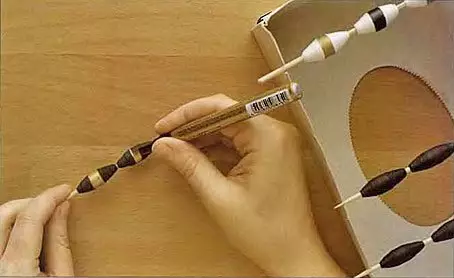
Decide with a pattern that you are going to decorate each bead. If transverse stripes are present in it, start applying them with markers, trying to the lines to be smooth and clear. In order to simplify the task, you can first designate the outer edge of each strip and only then paint it the middle.
Apply protective coating
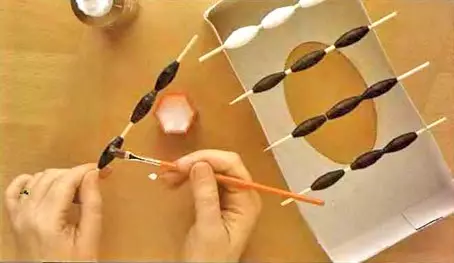
Take a flat brush and cover each beads with a thick layer of the plow-diluted glue, it will protect the decoration from moisture and will not "crumble" the design. In order to dry beads, take a blank cardboard box and place peculiar kebabs on it - halves of skewers with beads planned on them.
Coloring beads
After the protective layer is dry, engage in "decorated". Using relief paint for the fabric, let the will of its fantasy: draw gold, black and white zigzags, lines, dots on beads, lines, and all that you want. Dry beads with an already tested way, and then carefully remove each of them from the skewer.
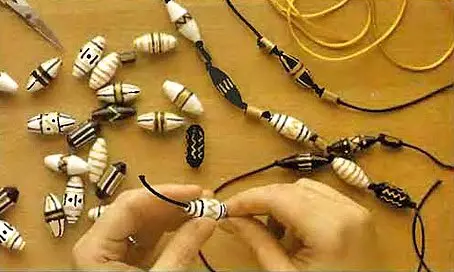
Making beads
Spread ready-made beads on the table in your chosen order. Try to get the most spectacular combinations of colors, shapes and patterns. Start vanit beads in turn on the lace (silk, leather, elastic synthetic) or tape. Having drove the bead, tie the lace with a double knot - such nodules located between beads will help to fix each of them in their place.
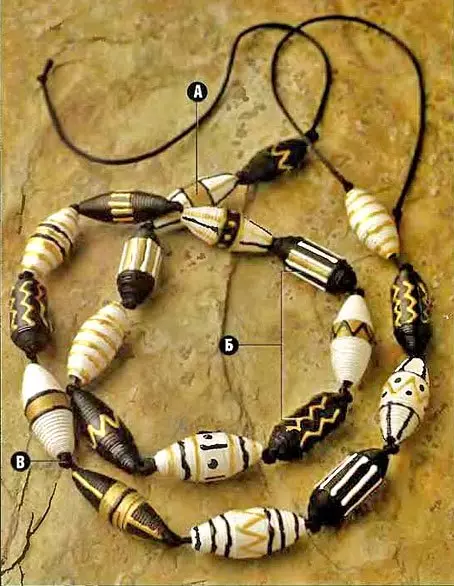
Sketchy description
A - Factor PatternRelief paint makes a more diverse texture of beads, forming protrusions that smoothly enhance their rounded surface.
B - patterns
On beads, the same patterns are repeated - zigzags, lines and points. In addition, all beads are withstanding in black and white-golded gamma. Thanks to this, each of them fits organically into the shared necklace pattern.
Article on the topic: Owl with knitting with a scheme and description: Master class with video
In - Safety nodes
The nodules tied to the necklace not only hold beads in place, but also become part of a general decorative pattern.
Beads are ready! As you can see, they are done very quickly and from affordable materials.
Video master class
In this video, it is shown how such beads can be made from magazines.
Useful links on the topic
Step-by-step guide to create original paper beads from old logs can be found at
http://doit-yourself.ru/people/user/2/blog/273/
Also on the page is told the history of the second emergence of this direction in needlework. Where did these beautifulness come from? Who popularized this type of needlework in the masses.
The next master class in details tells about the technique of twisting paper strips. This is very important, because from how you twist the blanks will depend on the appearance of future beads. Here is a link to work
http://www.sami-svoimi-rukami.ru/item/2030/kak-sdelat-busy-iz-bumagi-foto
Also on the page you can find the paper cutting scheme for the manufacture of beads.
And the next link will not be just a master class, but a whole set of different variations of folding beads of blanks. By templates presented on the site, you can twist a lot of interesting options for beads. This manual can be recommended by mothers for collaborative lessons with children. Link to master class
Developing paper beads for children
In the article, in addition to, in fact, the master class, there are also lessons for attention, the development of logic and ability to creatively think. Be sure to visit!
Good luck in all creative endeavors! With love, home-sweet.ru