
In today's article, we offer to create the most popular toy among boys - a plane from paper, origami - a technique that will help improve the small motility of the baby's hands, and also take this a few minutes. You can create with the child and help him in complex processes, having spent more free time with the most expensive little man on this planet.

Simple option
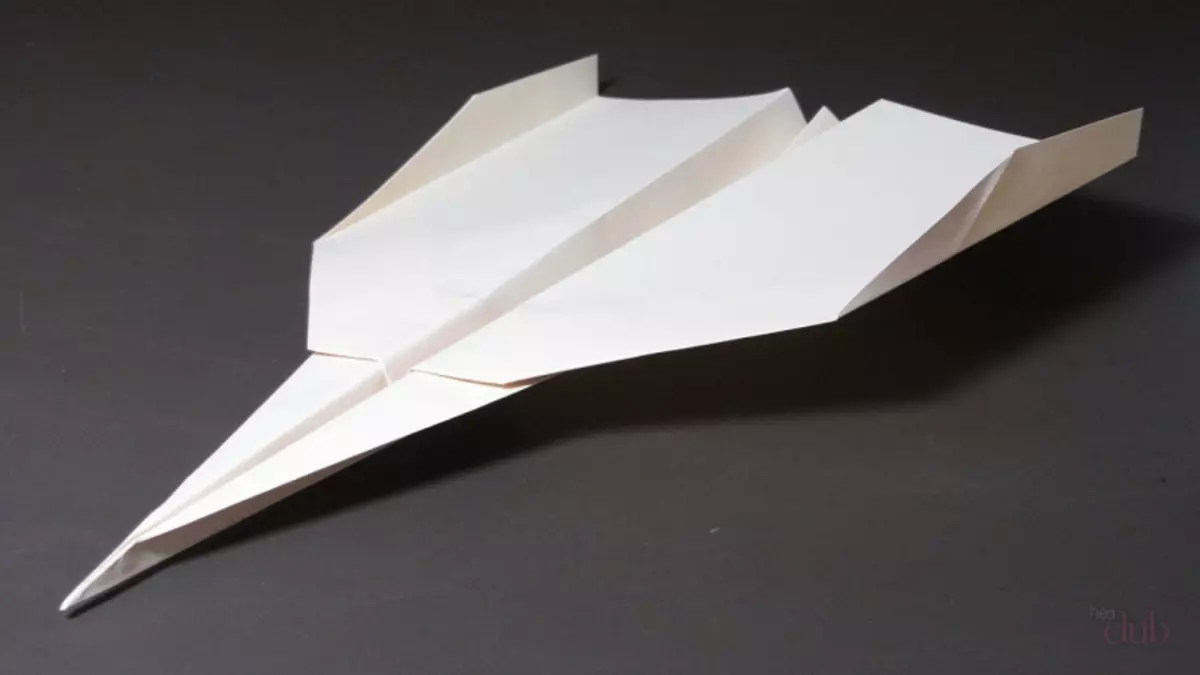
There is a huge number of options for creating a paper aircraft with your own hands and one of them is origami. This technique came to us from Japan and helps to create very beautiful and cute crafts from paper. For the classical methodology, you need to prepare a solid sheet of paper or corrugated cardboard. Another origami characteristic is that you will not need to use scissors and glue, so we advise you to make the installation of the aircraft precisely with the baby to develop a small motility of his hands. The manufacturing process can be traced on the example of step-by-step instructions.
As materials, use thin paper, just one sheet, as well as markers or color pencils.
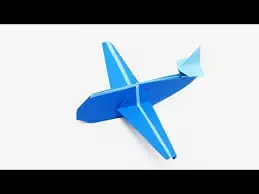
Now proceed to the creation. The first thing vertically fold a sheet of paper, then deploy. We fold two upper angle to each other along the fold line. Do not deploy. These corners fold one more time. You should get such a result: the edges are not connected between themselves and do not intersect on the central bending. Then the upper sides are reducing down the right and on the left side. At the last stage, lift each part of the figure and place the wings of the aircraft. That's such a toy with us turned out only five minutes.
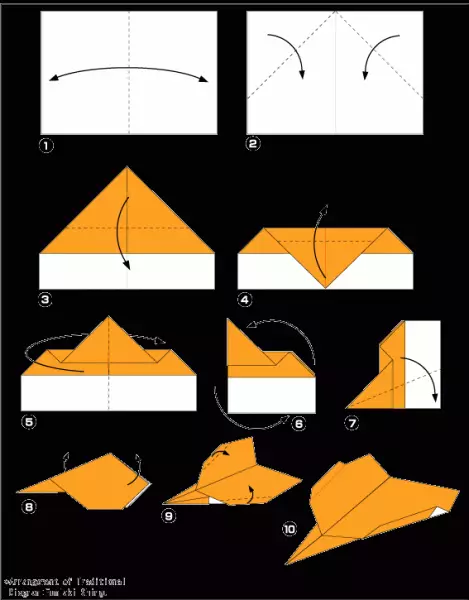
In the previous photo you can see a scheme for creating an airplane made by Origami technique in this master class.
Article on the topic: how to make a hat with your own hands
I conquer the sky
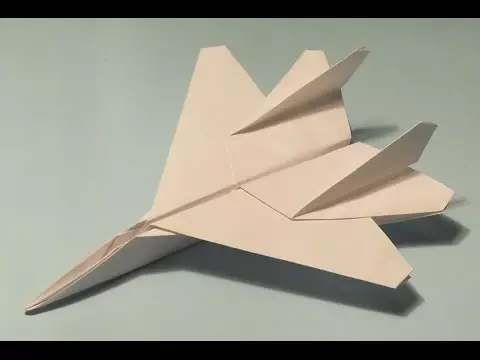
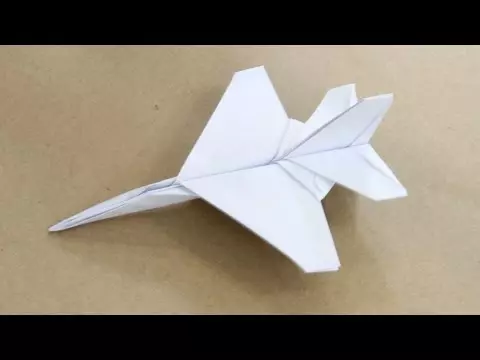
We all know that the children of preschool age are very much like to make something from cardboard, paper and even a match box. So let's make a flying apparatus from ordinary paper. In the next stage of the article, we will tell you in detail how to make an airplane that is able to take off, with your own hands.
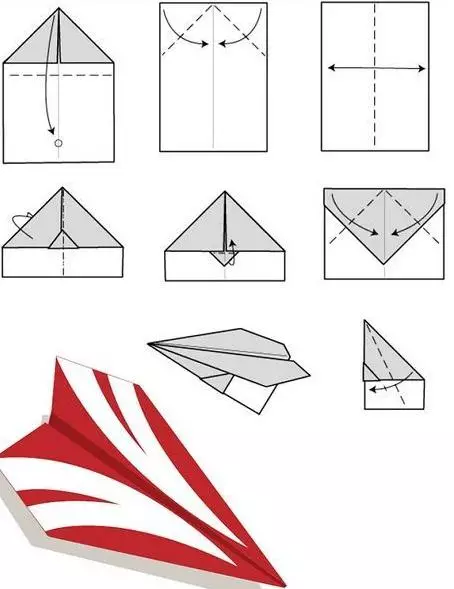
Take a thin piece of cardboard and make a square from it. Fold the sheet diagonally, and then cut or tear off the excess, the bottom. After that, we deploy the workpiece and fold it in half. All the upper edges bend to the workpiece. We got a triangle that we curb. Again to the middle of the edge bend, and then in half the whole sheet of paper in half. Bend the corners, so you have turned the wings of the aircraft.
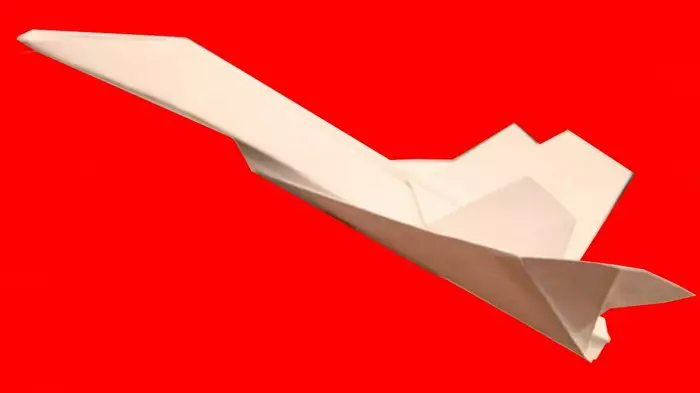
If you are used in the work of corrugated cardboard, then you can get a very spectacular tail or bulk wings. Thanks to this, small aircraft will be able to stay in the air longer. If you want your airplane longer to hold, then throw it up with all my might. In the photo you can see which beauty we turned out.
If your baby is so passionate about and makes a huge number of aircraft, then offer to make it a whole aviation fleet. And where will it be? For sure, you need to make an airport. It can be made of a box and a huge sheet of paper. On Watman, we simulate the real routes of aircraft, the blacks of the landing line, deploy points in which the plane lands and sent. In fact, you or even your baby can easily with the ease of a huge number of game options with aircraft, the most important thing is to make them, and how you have already seen above. Using fantasy, you can improve the aircraft or decorate it with additional materials.
Article on the topic: ultrasound cancer
Layout of the airplane
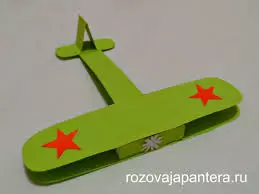
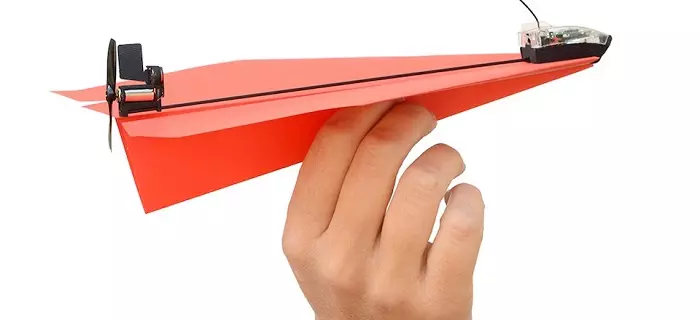
Well, the last stage we propose to make an exact copy of the aircraft from the paper and the matchbox. We got an unusual, and the folding plane, but, unfortunately, it can not fly independently. It's not a problem. You can easily attach the rope to the central point, and then your baby will be able to independently manage a whole aircraft running on the street.
To create an aircraft, prepare materials such as paper (red), cardboard, pencil, glue, matchboxes and stationery. Also take the scissors.
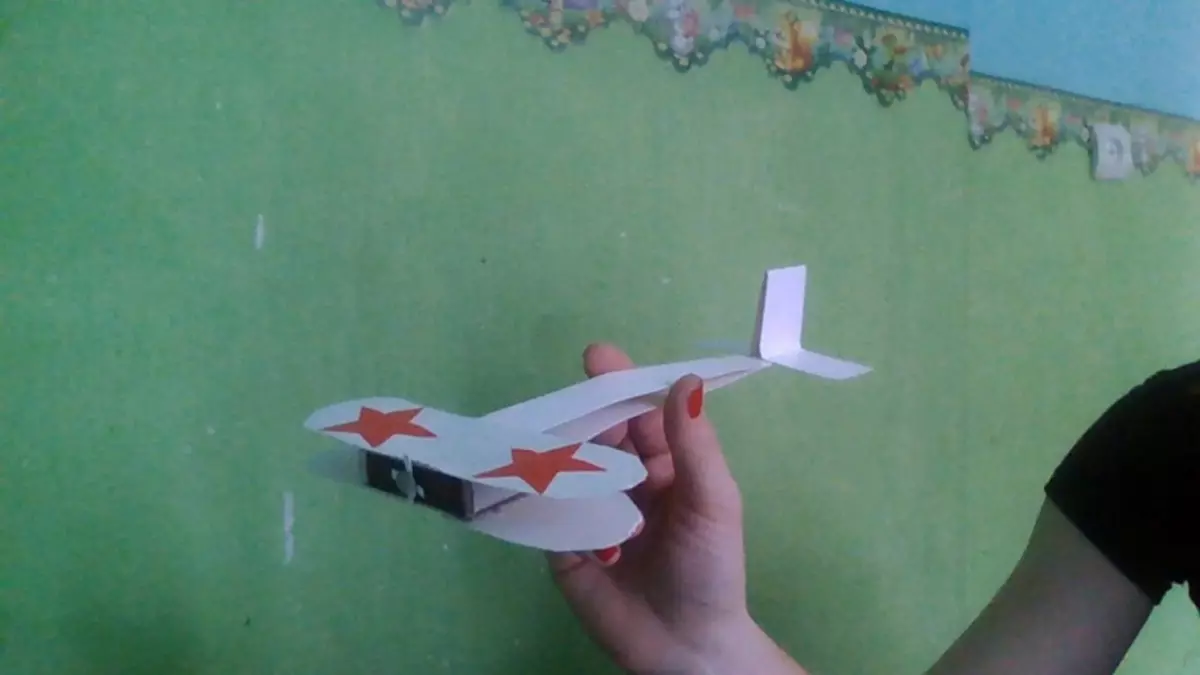
From the cardboard, cut out two completely identical stripes. It will be the founding of the aircraft. One end of these strips glued together, and on the second end, we place the matchbox in the center, which we glue with cardboard. We make one more cardboard strip, and glit it in a triangular form so that it turns out the tail. The form itself is shown in the photo.
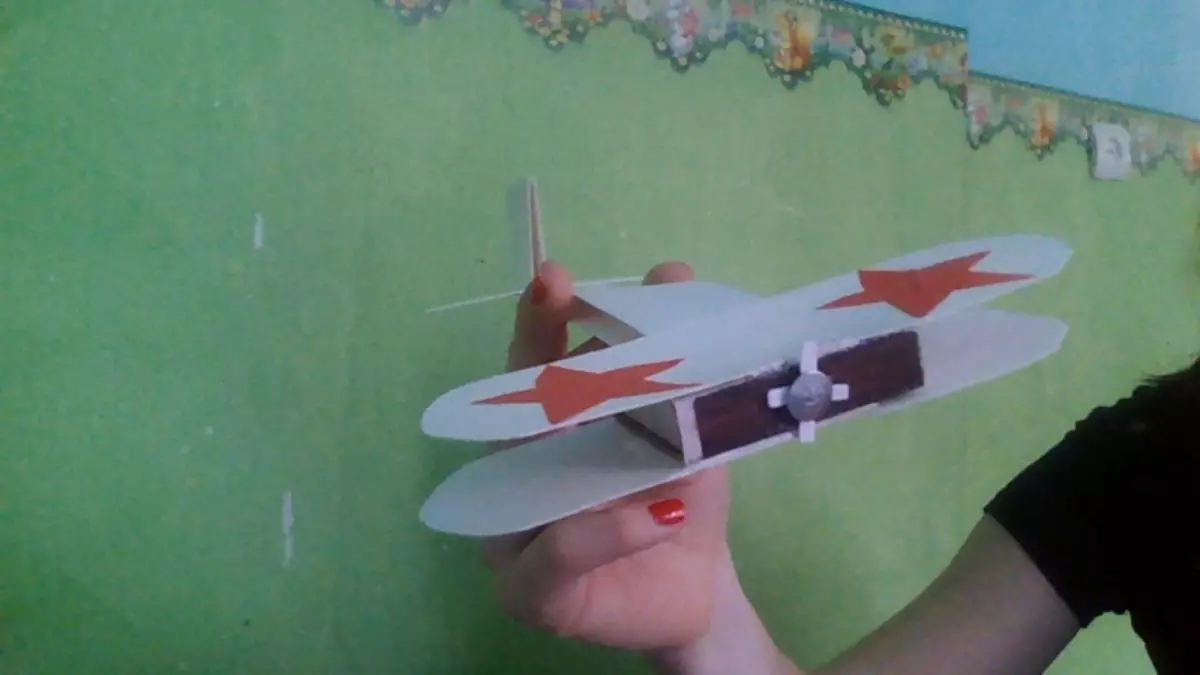
From the paper, cut out a small cross, which is attached to the stationery button in front. Then cut out two identical stripes and make wings. You can decorate them with sprockets from red paper. In fact, you can glue everything that your little thoughtman will wish.
Video on the topic
We offer to see a selection of video on how to make a paper plane with your own hands.