
The master class on the cold chorcelain did not meet in the network, probably, only lazy. Cold china quickly gained popularity among needlewomen due to its tender texture and ease of use. This beautiful material is quite often found in handmade stores, as well as there are recipes for independent manufacture of porcelain, so each needlewoman must try it in action. Basically, cold porcelain is used for the modeling of colors. Such flowers are incredibly beautiful: gentle, fragile, as if alive.
In order to create a rose, you will need:
- Cold porcelain (cold china without cooking is used here;
- PVA glue;
- Painting pigment;
- Wire;
- A piece of foam;
- Children's cream.
Step-by-step lesson
So, all materials for creating roses are in your hands. Why start?
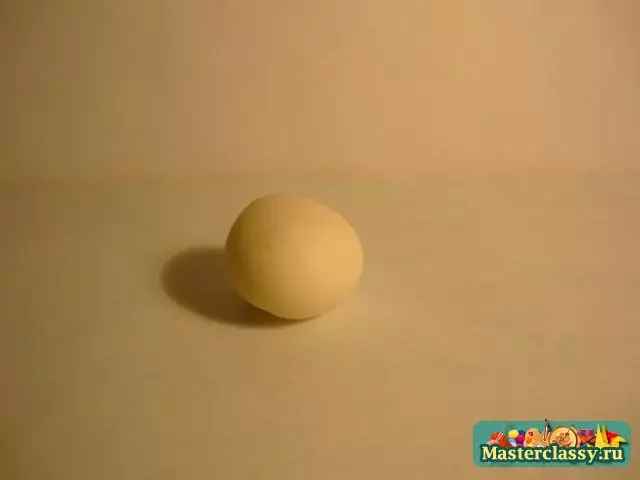
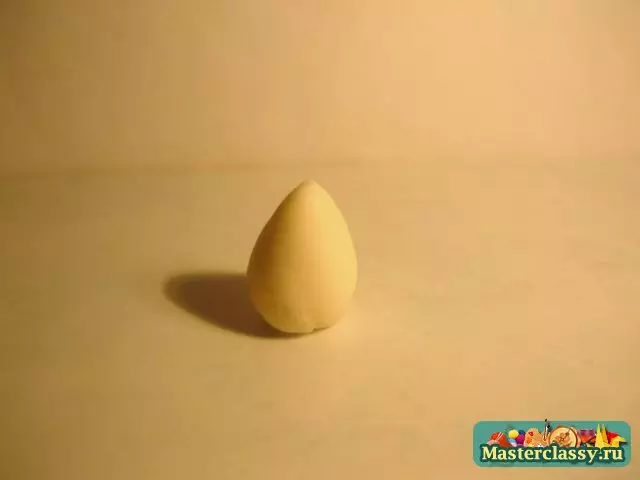
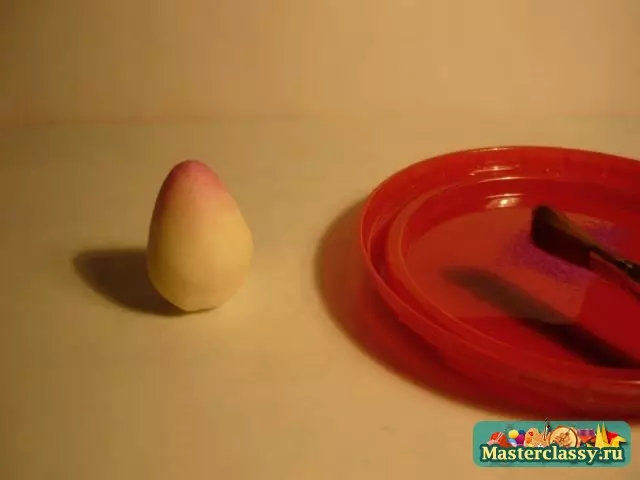
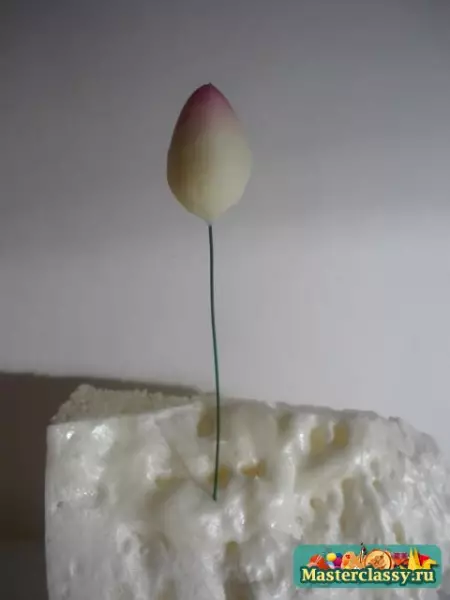
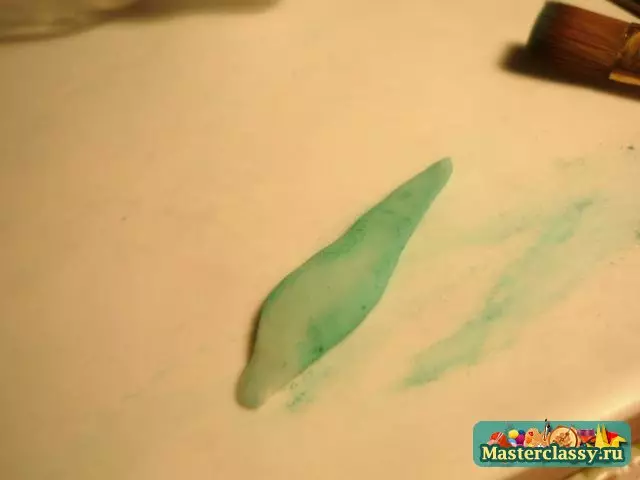
First of all, it is necessary to make the basis for roses - its bud. Take a piece of porcelain, roll it into a smooth ball and sharpen from one end. Pull the resulting droplet slightly, it should become a slightly oval form, and not round. Paint the sharp part of the pigment bud and suck the other end on the wire.
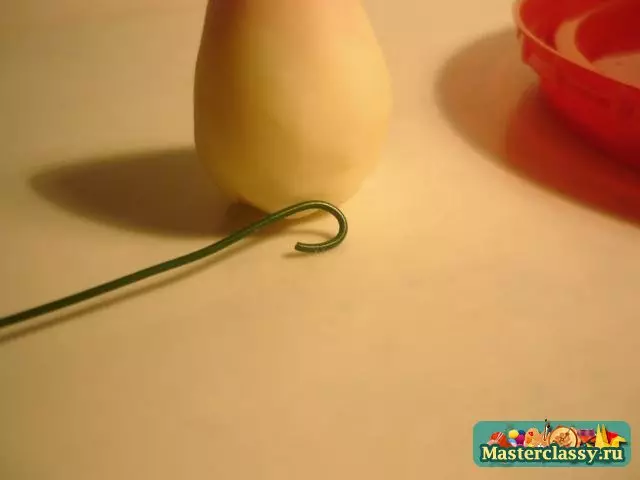
Private wire with a crochet, and its straight end stick to a piece of foam so that it is steadily fixed.
Excellent! The first step towards creating a rose is made. On this design, you will be comfortable to sculpt a rose.
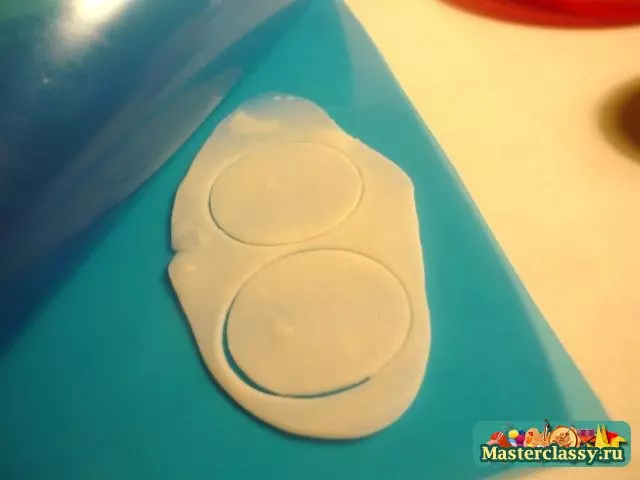
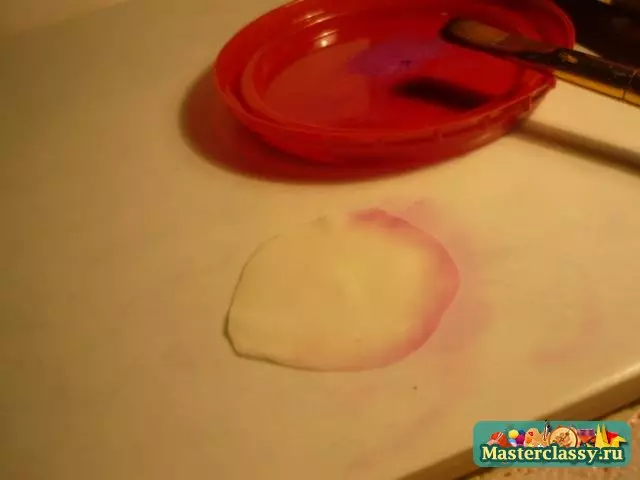
The basis for the future flower is ready. It is necessary to collect it to "around" the petals. On a flat and smooth surface, roll the porcelain layer. The roller use is optional, the usual smooth item is suitable: Pencil, lipstick tube, small spray bottle. But then you will be more convenient. Porcelain should be rolled not too thin, about 3-4 mm. So that the mass does not stick to the hands or to the blackboard, use some cream.
Article on the topic: Close loops with spokes with an elastic edge: video for beginners
From this layer cut out small circles. As a cutter, you can use lids from decorative or leaving cosmetics. In this master class, the petals were cut with half from the yellow packaging "Kinder Surprise".
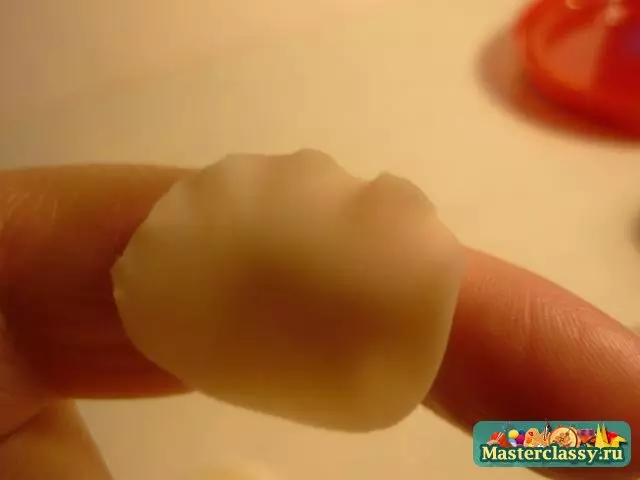
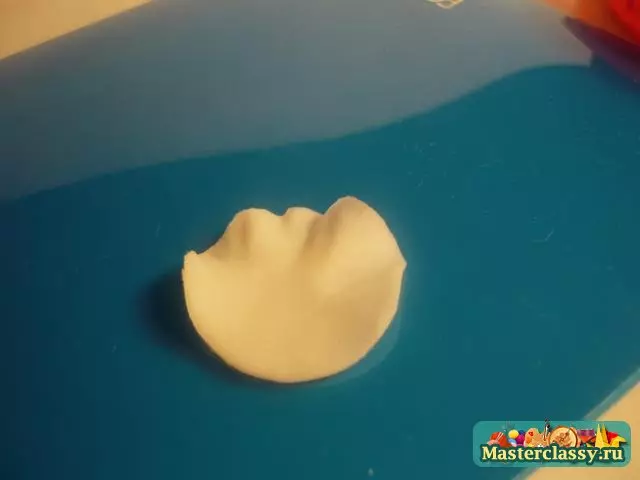
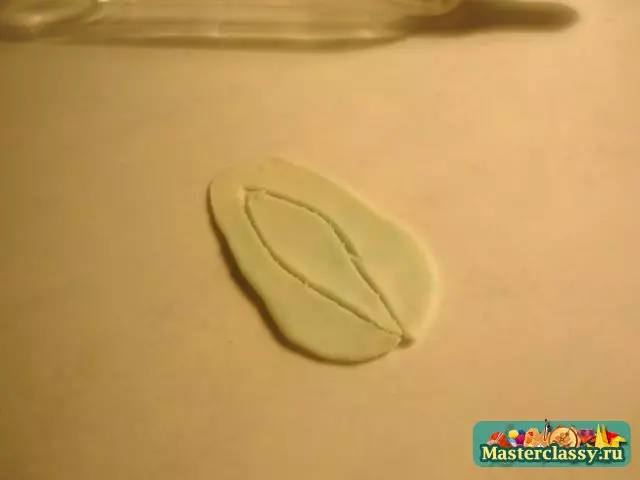
Take a circle, roll one side on the toothpick's finger.
Try to give the petal as much subtlety as possible, even if porcelain will be bored in some place, it is not scary.
Such flaws only give the final result of realism, because torn petals are often found in nature in roses.
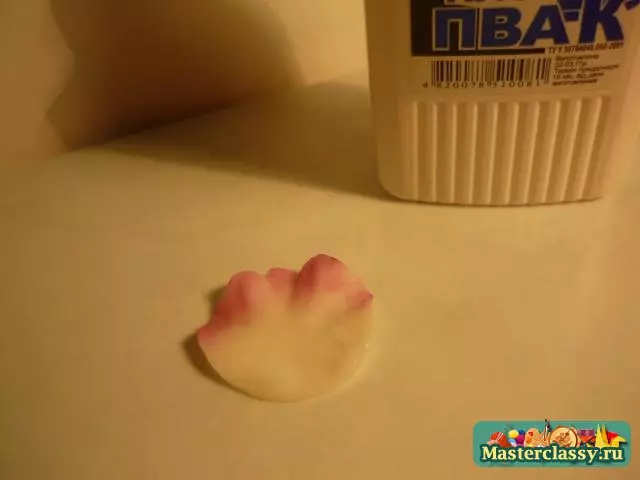
With the help of pigment, paint the petal. It turns out a very beautiful, smooth transition of color. After that, slightly lubricate the unpainted end of the petal of the PVA glue and take it gently to the prepared bud.
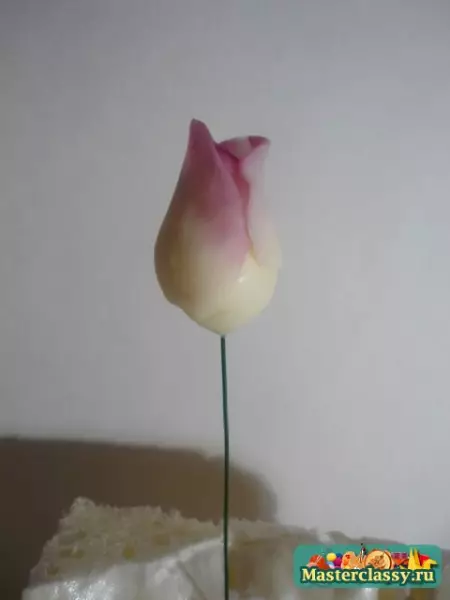
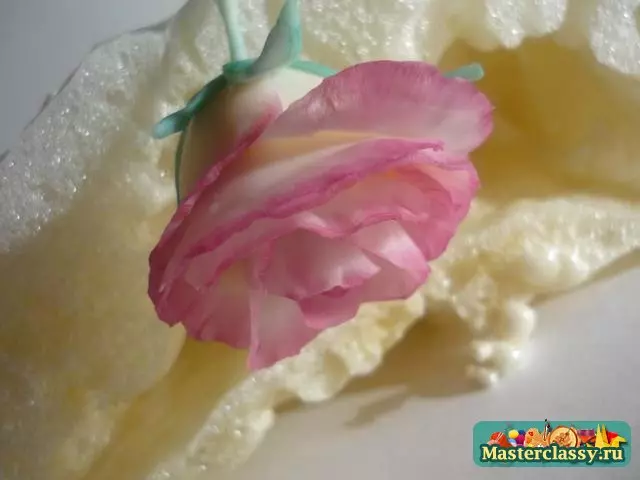
Thus, attach two or three petal to the workpiece so that a real bud is. For further petals, roll off the blanks more accurate, make them more. Press the toothpick vertically on the sheets, making the recesses in them - this will add a rose of naturalisticness.
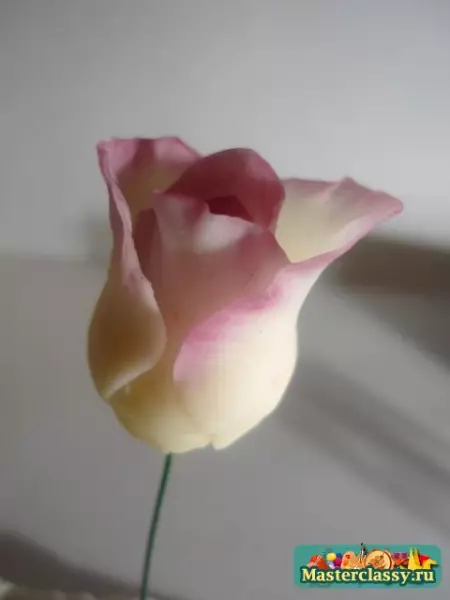
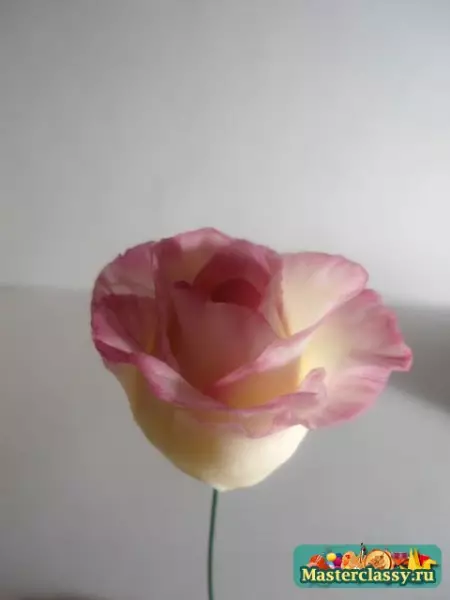
Continue to stick the petals, making them every time a little more, until your rosette becomes ready. When should I finish? It depends only on what version of the flower you will enjoy more. But still be careful and do not turn the rose into the "ball" - such a product will be too heavy and not aesthetic. Speak to stop on time.
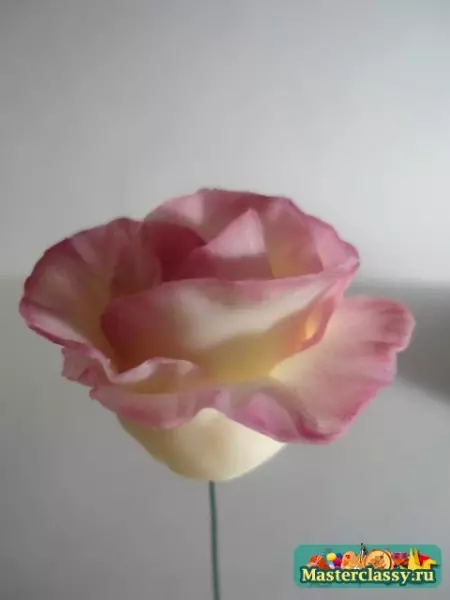
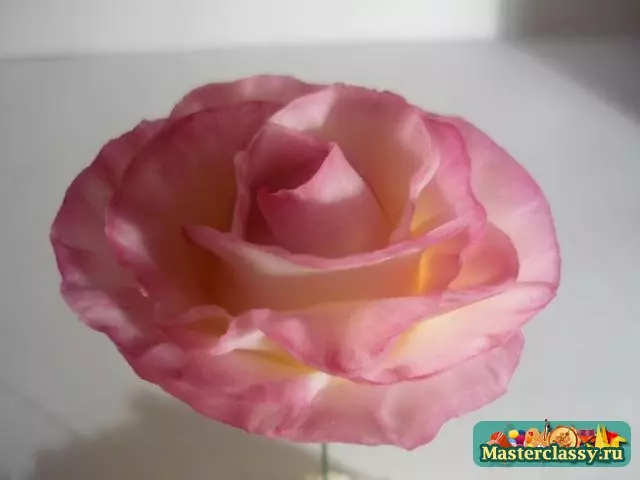
See what kind of beauty turned out! True queen of flowers.
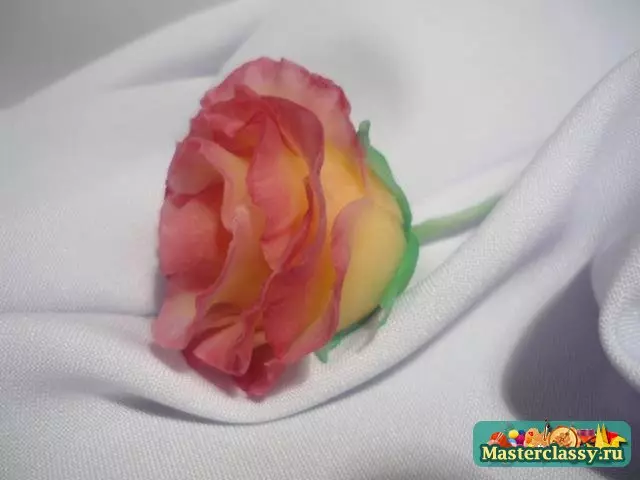
From the remnants of a rolled porcelain cut down the cups and paint them with a green pigment. You can get off the wire, but to paint it green, symuting the flower stem. Attach to the base of the rosette of the chashelistic.
Admire your creation!
Leave a rose to dry in a dark dry place. The whole process will take about 4 days and after that flower will be fully ready.
Useful advice
Small secrets of this wizard class for beginners. So, what coloring pigment can be used as decoration of roses? Actually very simple. This rose was painted with extractive pastel, and conventional cosmetic pigments are suitable: shadows, blush, powder, etc.
Article on the topic: DIA from the bead: master class with schemes and photos
The base for roses (bud-droplet) was made of cold porcelain, but the final result was too heavy and the wire quickly bent. If you want to use a rose in the future as part of the decor, it is better to cut out the "Droplet" foam and fly away with porcelain.
But most importantly: always create. Look for inspiration and create your masterpieces!
Video on the topic
Of course, in photos, you can not quite understand the entire technique of creating roses from a cold porcelain, especially if you have never been kept earlier. These videos will help you understand all the details of working with a cold china and give answers to any questions if they stayed.