
Today it is difficult to find a person who never launched an air snake into the sky. In the summer, especially in a sunny day, you can find in the street of children running such a toy. So, today we will learn to make the air snake with your own hands! But few people think about the history of this wonderful design.
A bit of history
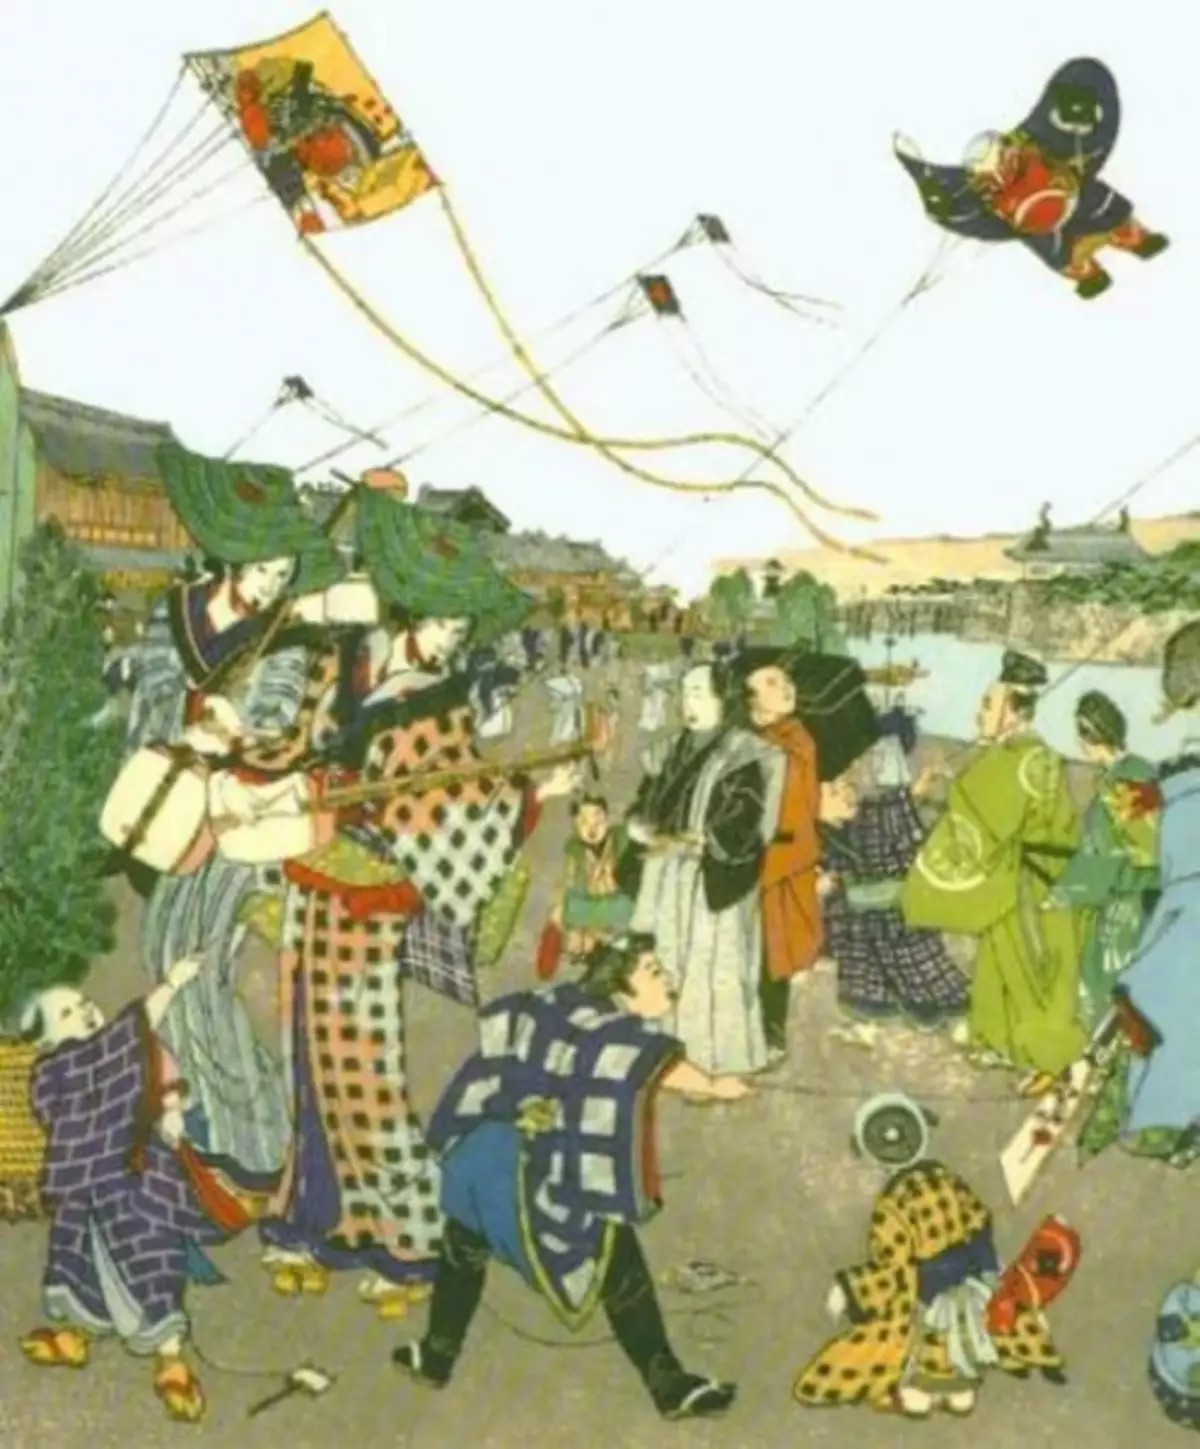

The kite appeared in ancient China in the second century to our era.
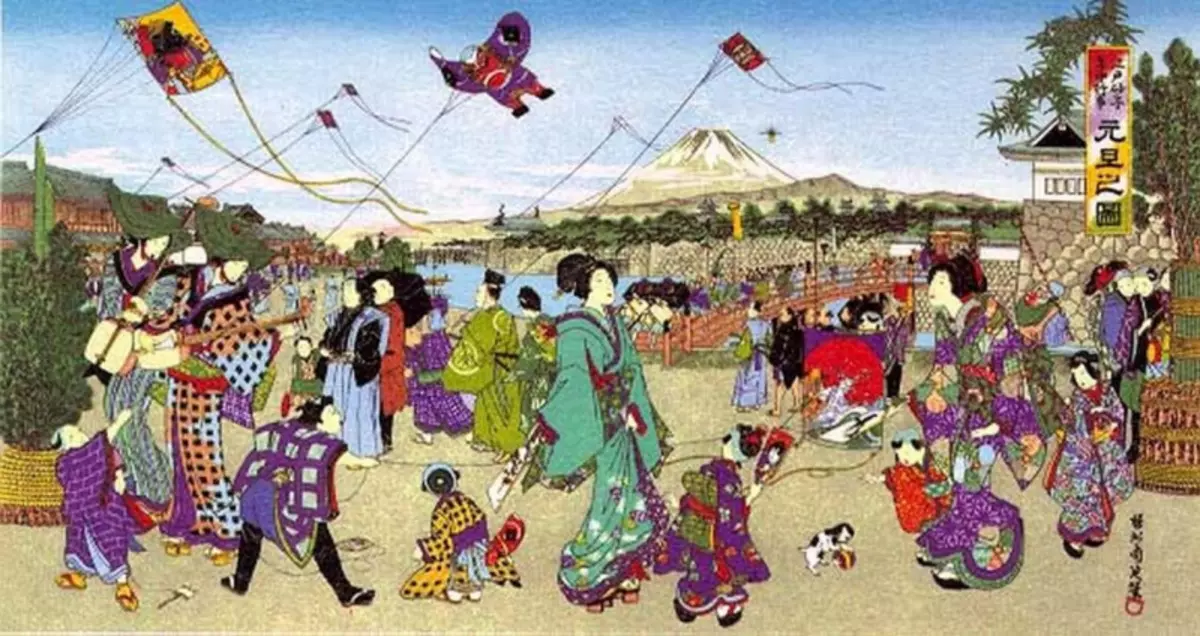
But she was not only a toy. It was used for construction. They helped throw ropes through ravines for the construction of bridges. They were also used for military tasks. With the help of air coils, gunpowders sent to the territory of the enemy, and also exploited the territory itself. Interestingly, it is this toy that opened the Aerodynamic law, thanks to which the aircraft began to build in the future.
The great scientist Mikhail Lomonosov used the air serpent for his experiments. With the help of the snake, he was able to study the lightning, as well as the upper layers of the atmosphere. Mikhail used this toy as a conductor and during a thunderstorm launched it. Of course, the scientist almost lost his life, but he was able to get the discharge of statistical electricity.
Make an air serpent is not difficult, as it may seem at first glance, but if you work hard, you can make this wonderful toy.
Instructions for manufacture
Now we will look at stages how to make an air serpent of paper.
- We take a thick sheet of paper of any color, whose size A4. Now the right bottom angle is aligned with the left long side so that the one is combined with short. So we turned out a triangle with an upper one. Without it, we turn the sheet and the square is obtained;
Article on the topic: Takes crochet: Master class for beginners with video for the winter
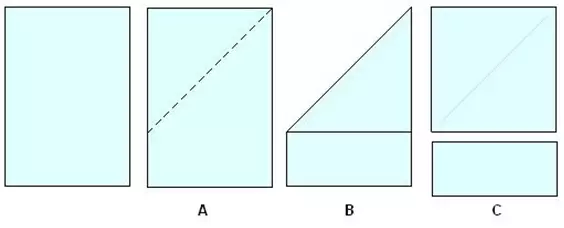
- Now we take the resulting square and pencil with a line between two angles, that is, point the axis of the square;
- Will be a leaf so that the right and left side of the square lay on the axis;
- Angle twice bend up like a harmonica;
- In the middle of this harmonic, we glue the thread, the length of which should be about 35 centimeters;
- Carefully and accurately in the center of the "Bridle" tie the rope to run and manage the snake.
No tail - no flight stabilization
Do not forget about the tail. It can be made of ribbons or threads. We bind them to each other, and at the bottom we will tie a bow. How to make a tail for a snake, you can consider Read more:
- Prepare about 20 segments from ordinary threads. Their length should be at least 55 centimeters;
- Now fold the segments together, and at the end, send them a bow. Some goss out the pigtail or several braids. You can also decorate with triangles, squares, butterflies, and so on;
- Below in the corner, make a small hole and to inhale the resulting tail of the air snake or stick it.
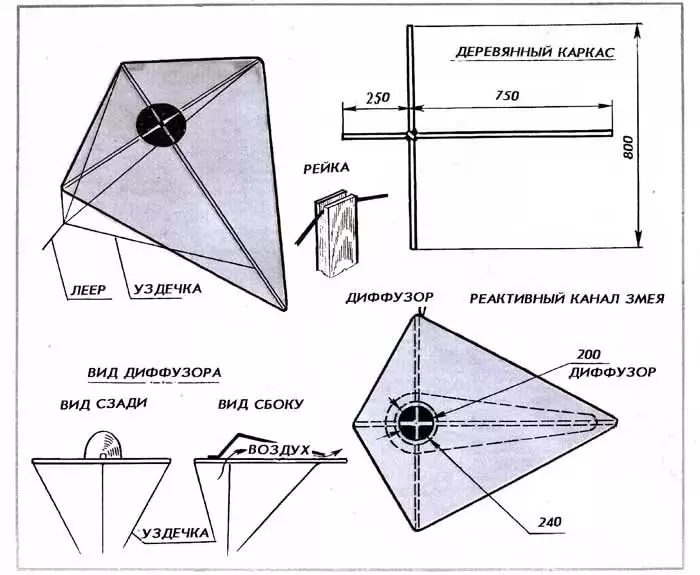
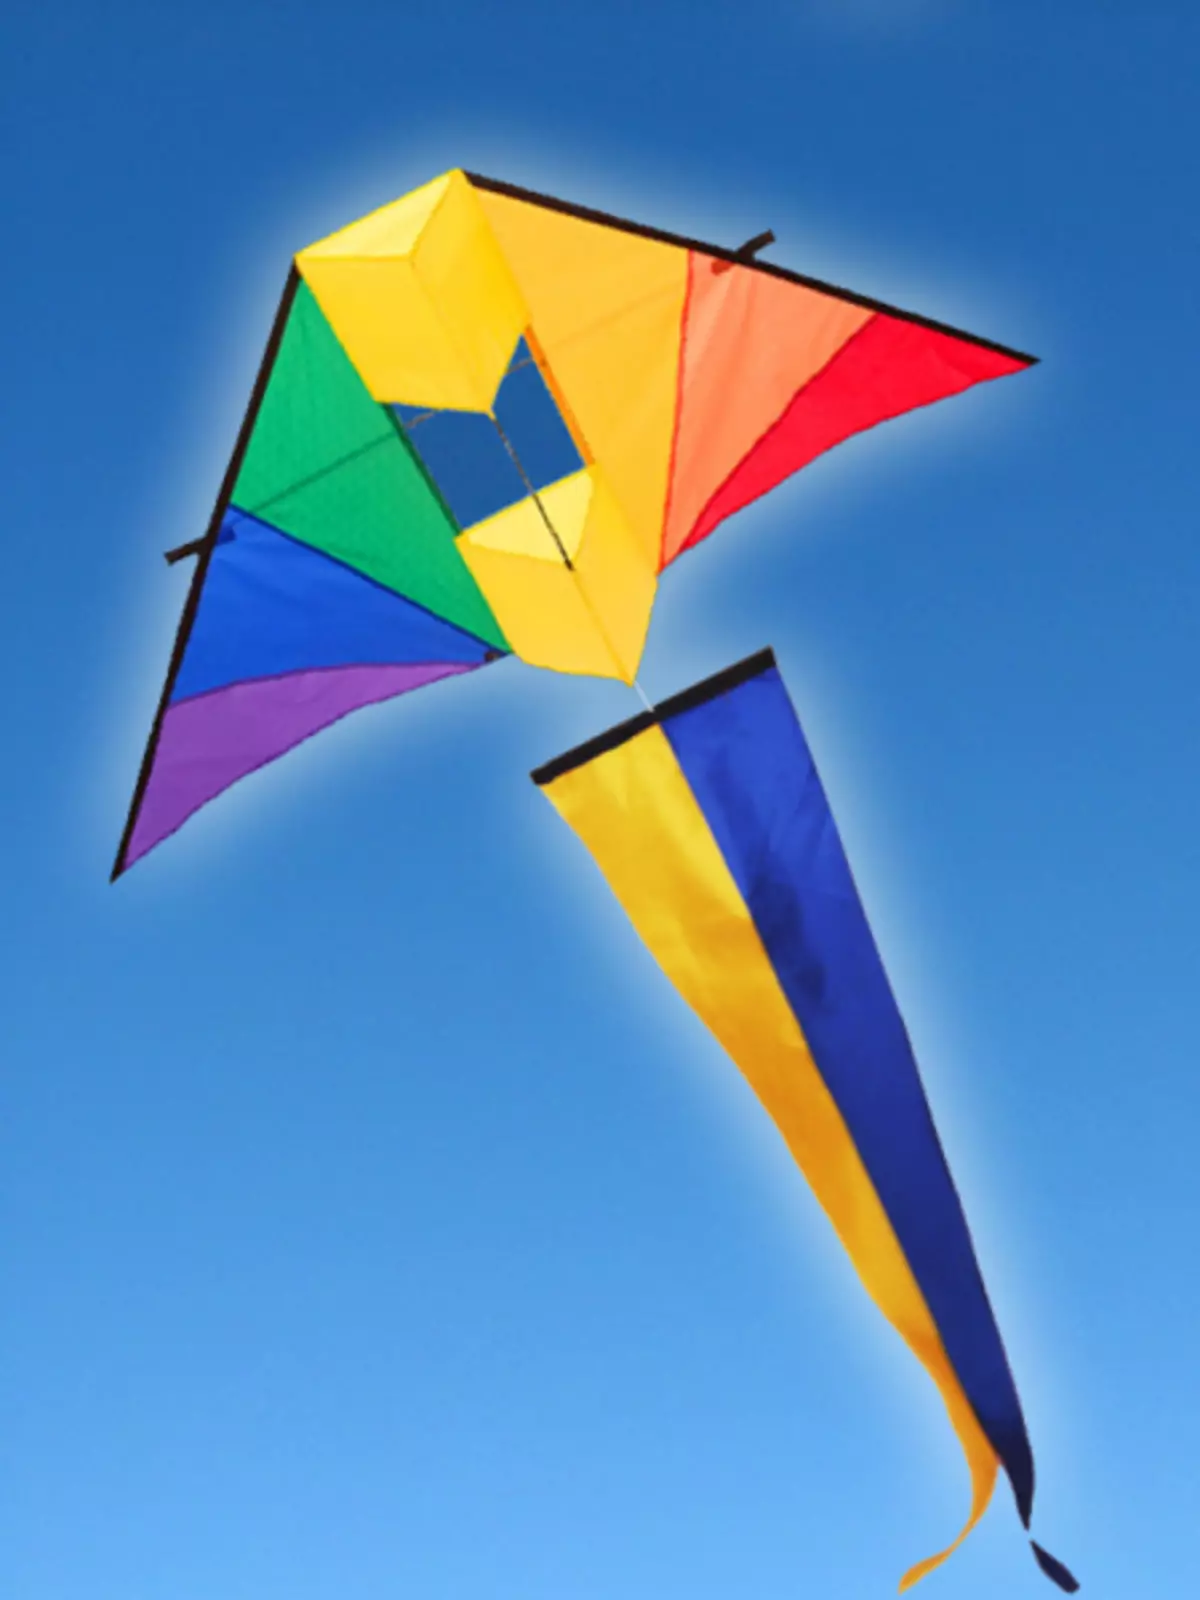
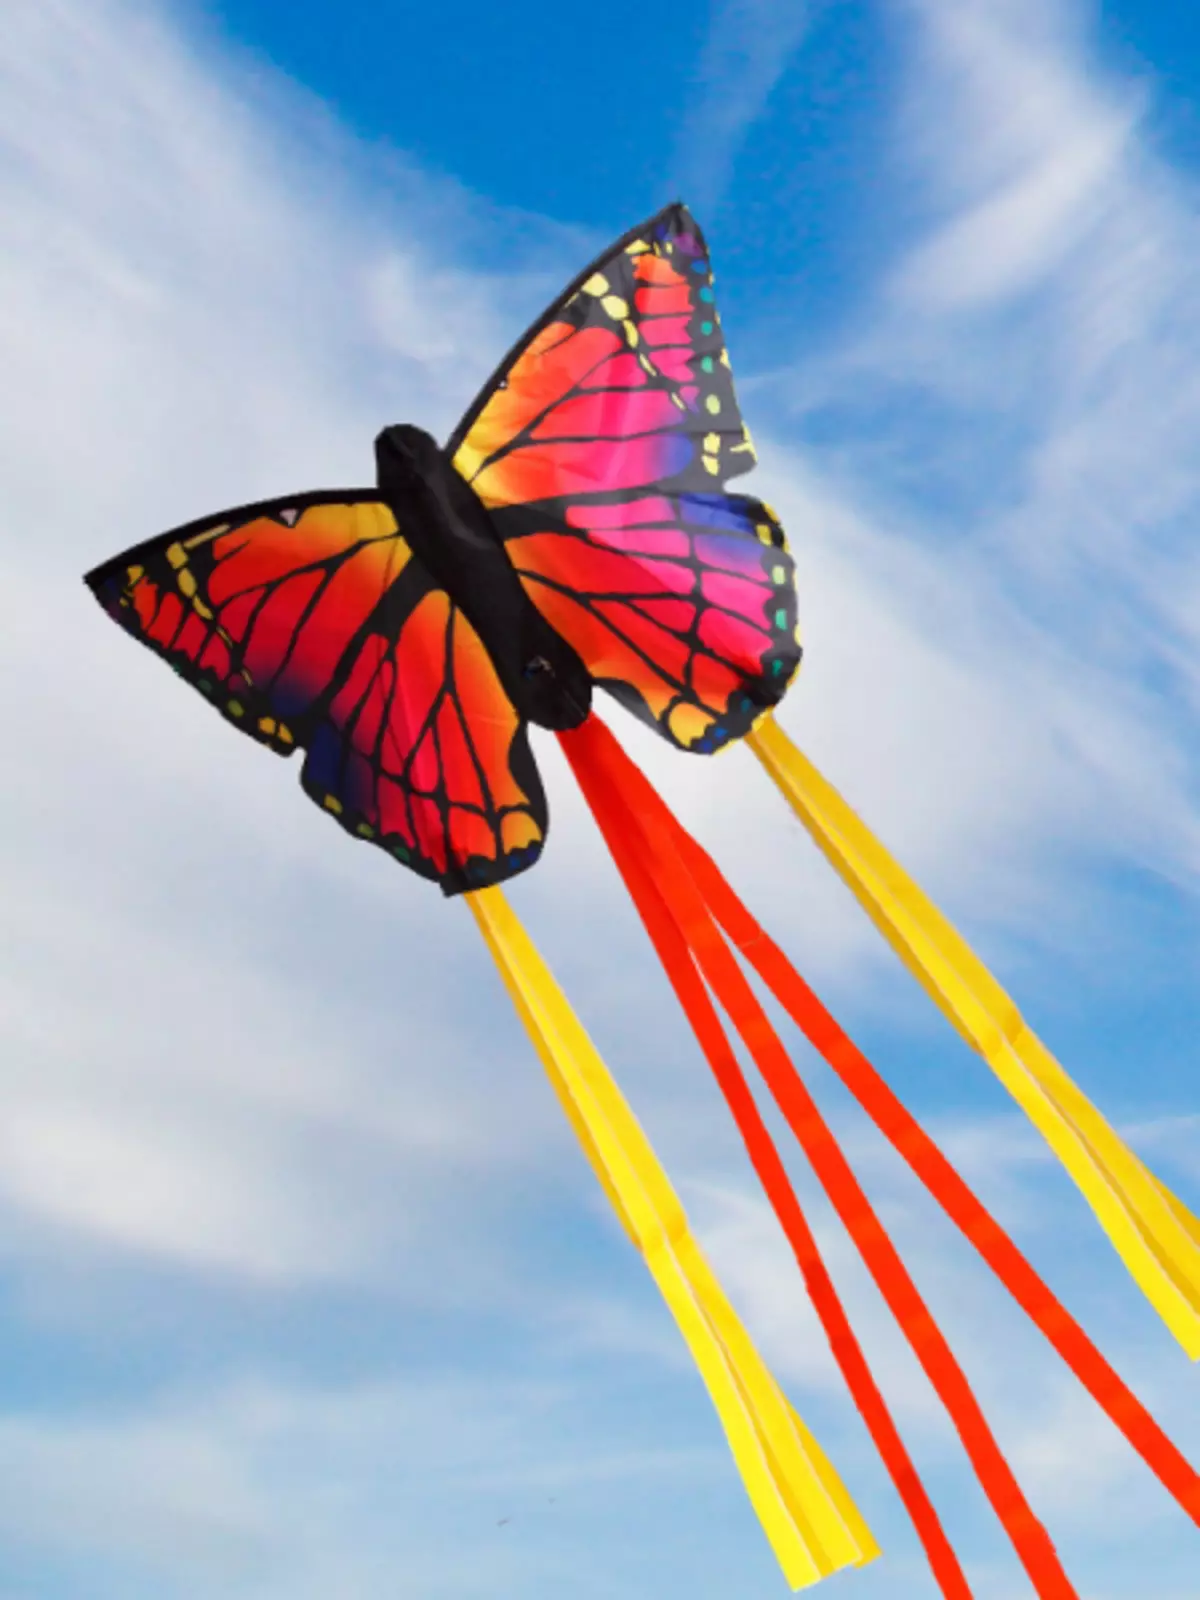
Going the following links, you look at some air snake drawings that you can come in handy.
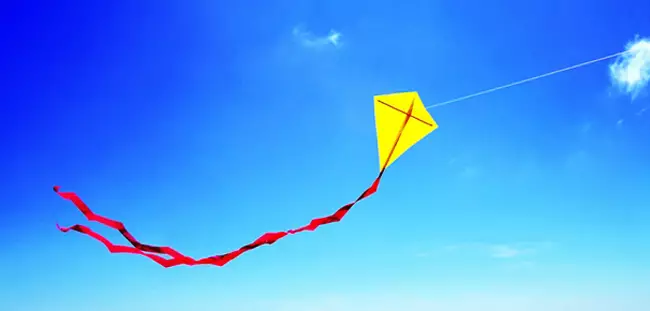
Here's how paper kites look like in the photo:
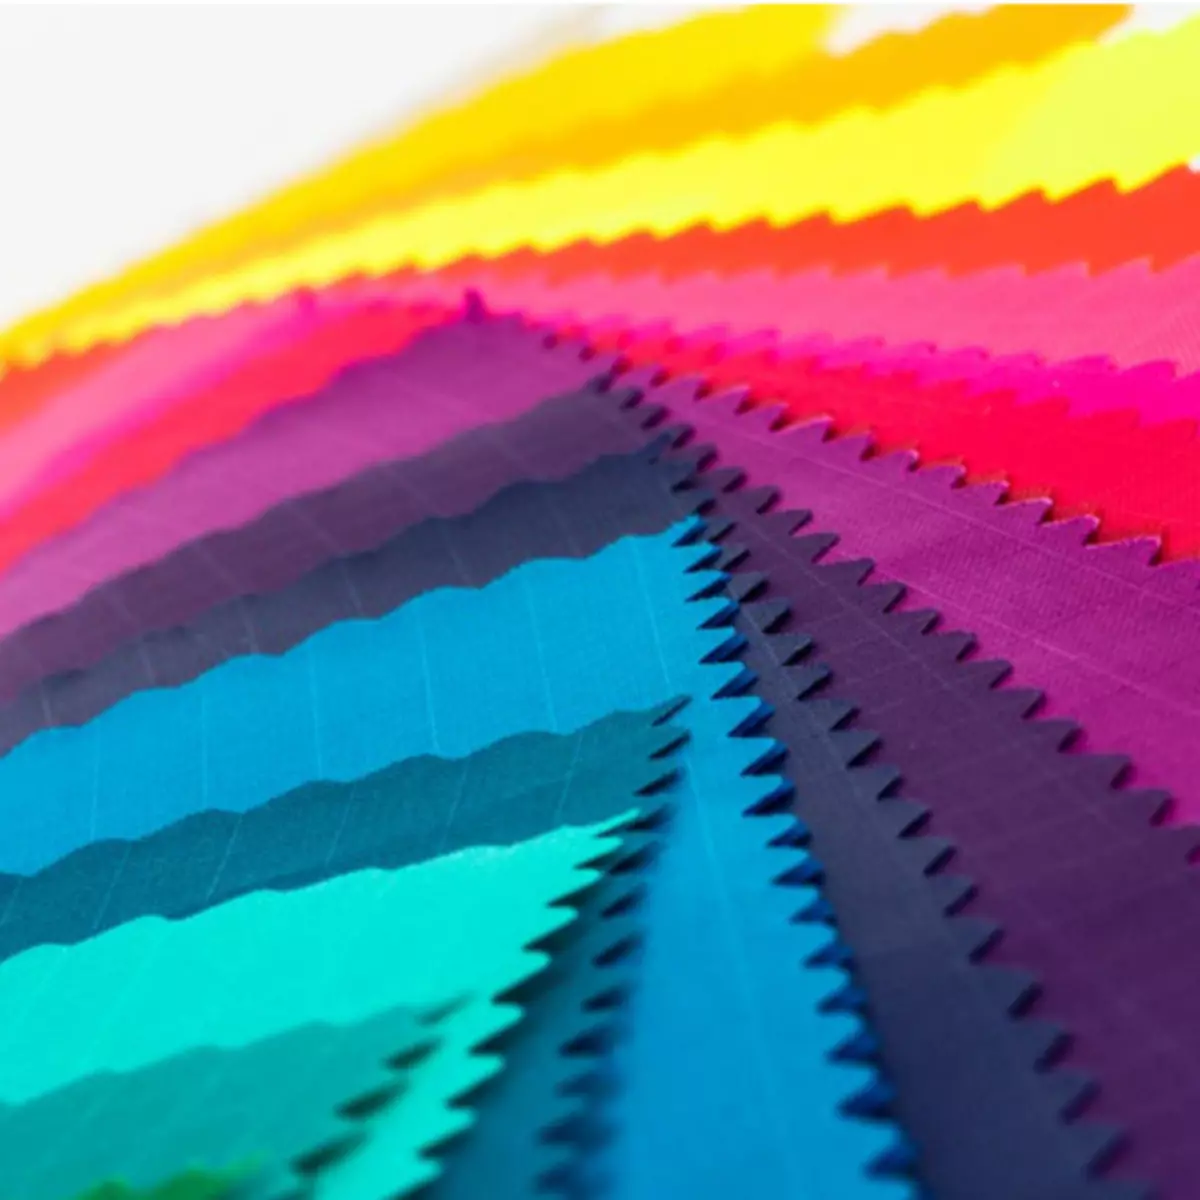
There are other materials for the manufacture of an air serpent. Among them are cellophane packages, fabric.
If the wind is quite strong, then the air snake is best made from felt. It is a dense felt that can withstand a strong wind and will serve for a long time.
We hope that the above instruction will help you to create your own unique air snake and enjoy a wonderful pastime with this toy.
Plastic bag
You can also make a snake from the polyethylene package.
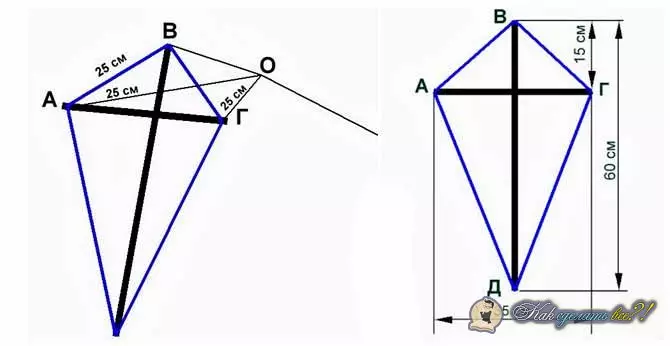
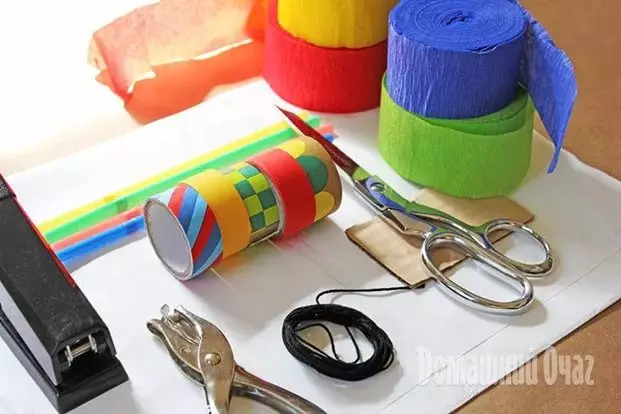
To do this, we will need a package, two rails whose length is thirty and sixty centimeters, a fishing line and scotch.
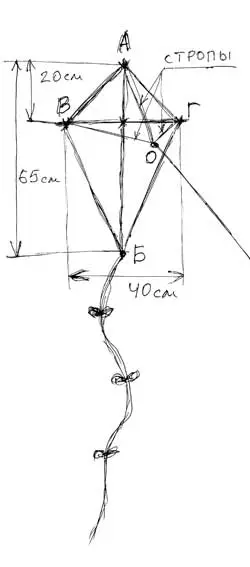
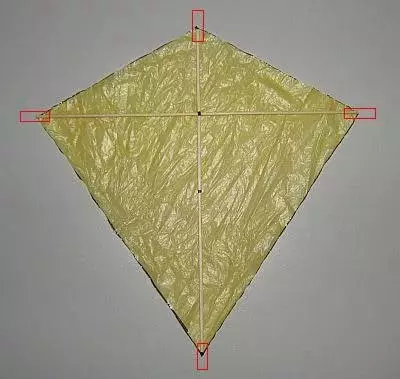
First, we put two rails on each other so that the short cross the long approximately at an altitude of 15 centimeters. They can be fixed with scotch or rope. Put the resulting workpiece on the plastic bag and cut it on the line of rhombus. Now pull it on the cross, and if surplus remains, then wrap them and tide. At the place of intersection of the rails and at the bottom corner of Rhombus, tie the line.
Article on the topic: Master class on beadwork: Top lessons with photos and videos
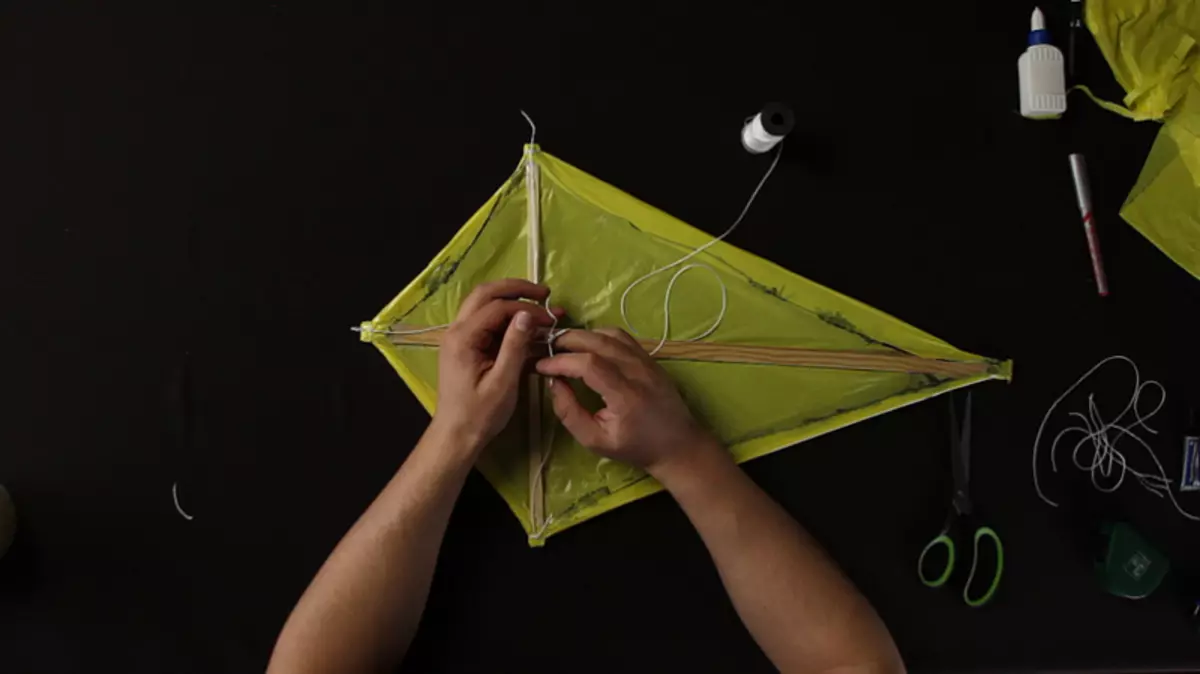
Tie a tight fishing line and attach the fishing line with the coil. It turns out the bridle. Now to the lower end of the big rail, tie a plastic tail. It is important that the tail itself was about ten times the most reason. Then the snake will fly well.
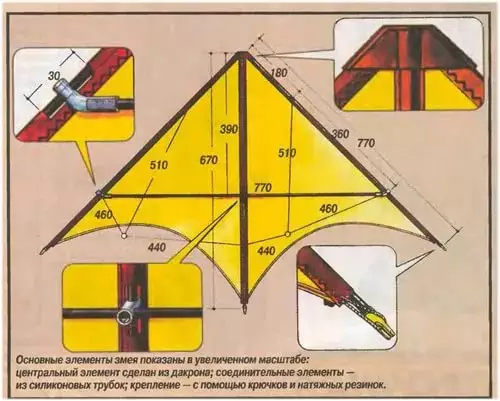
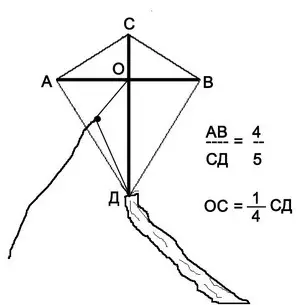
You can use the following scheme:
Some important advice

- The wind should be at a speed of 3 m / s;
- Run the air snake in an open area where there is no nearby any obstacles.
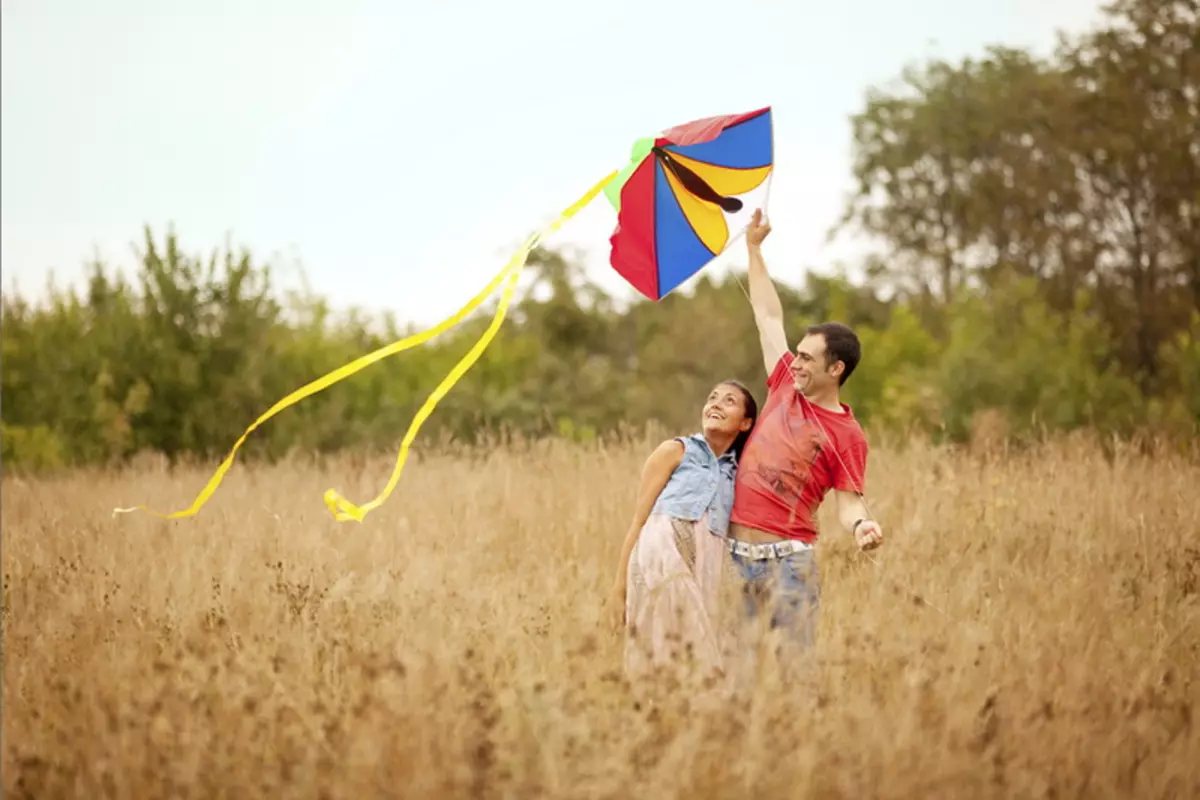
We are confident that for children, homemade air serpent will be a wonderful gift! One kite can be bored into the sky. Therefore, collect the company, curls of friends and together are pleased to spend time with this beautiful and amazing toy!
Try and you will be sure! Of course, you need to work hard, but it is worth it.