
Creating a cardboard box with your own hands is a very interesting and exciting occupation. Manufacturing will require some time and patience, and the result will exceed all expectations. Such caskets will decorate your home and give the decor originality.
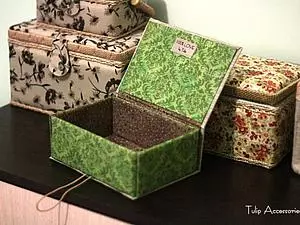
We start with simple
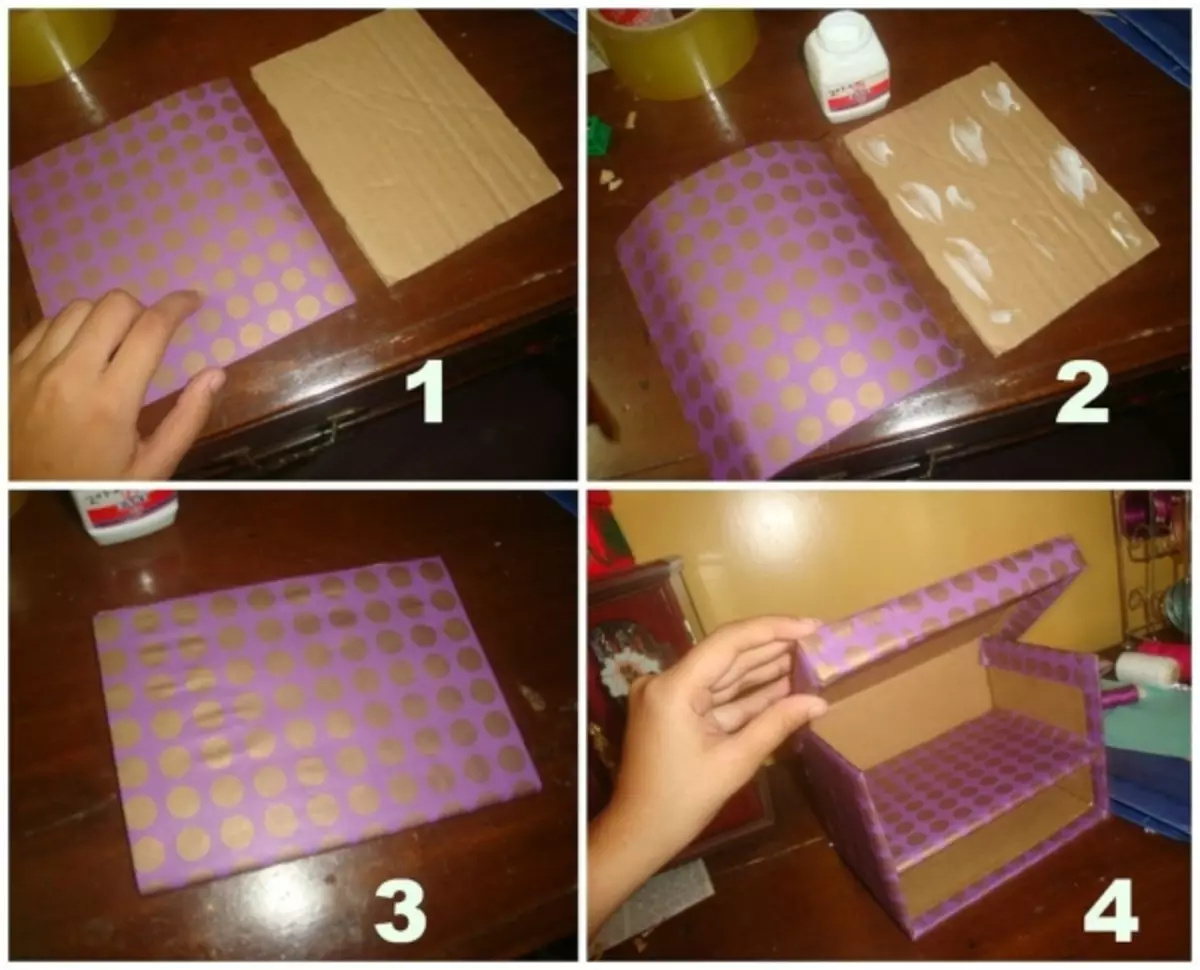
On the example of the master class, where the manufacturing process is step by step, you can trace how to make the original box.
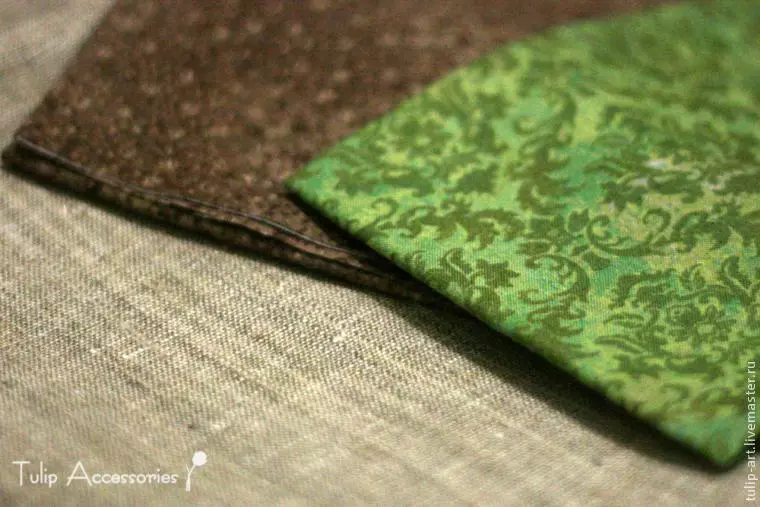
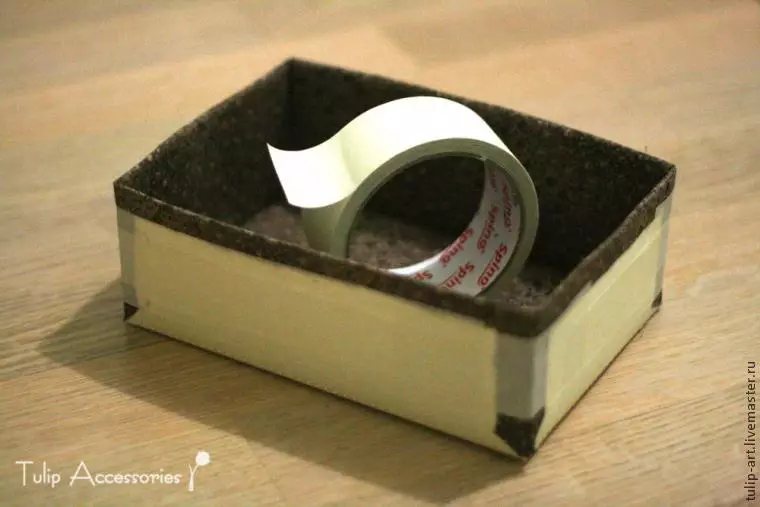
In order to create such a casket, we need a dense binding cardboard, a thin cardboard, a pair of fabric species, glue, fleece, attributes for decor, scotch tape, knife, scissors, ruler, clips.
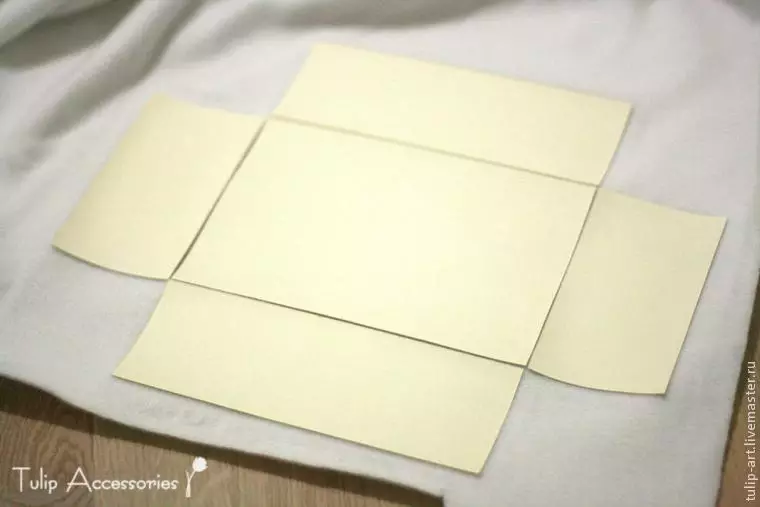
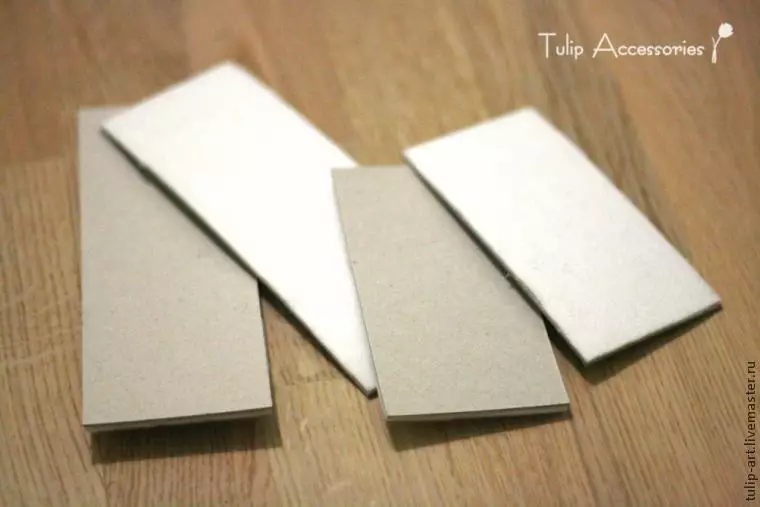
From thick (darker) and thin (lighter) cardboard, cut out the details: Seven-to-thirteen blanks 4 parts, 4 parts seven nineteen cm two couples, light detail seven nineteen cm, dark detail 7 * 20 cm, couple of light color items 13 * 19 cm and two dark color blanks 14 * 20 cm. All billets are shown in the following photo:
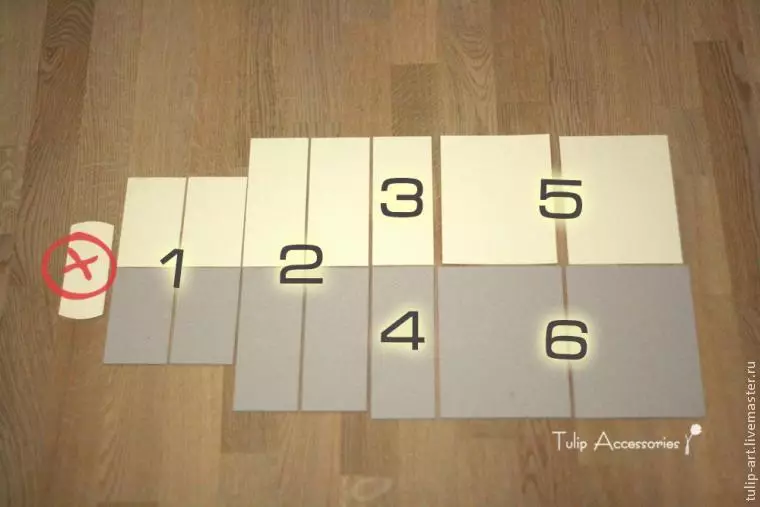
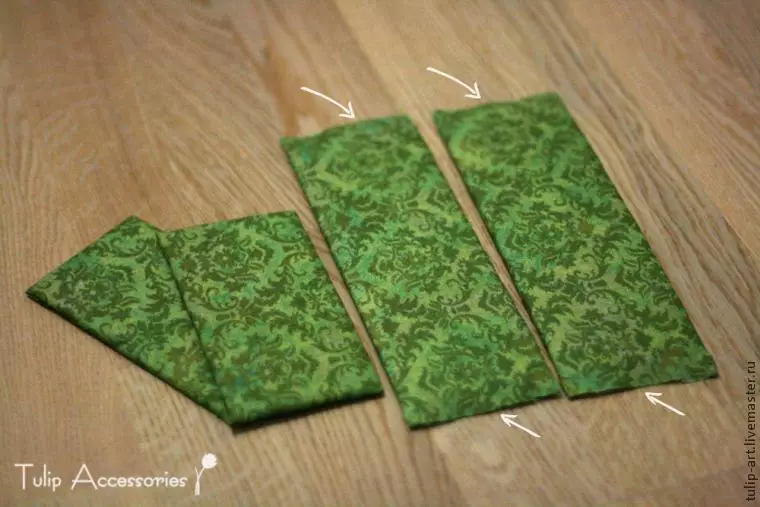
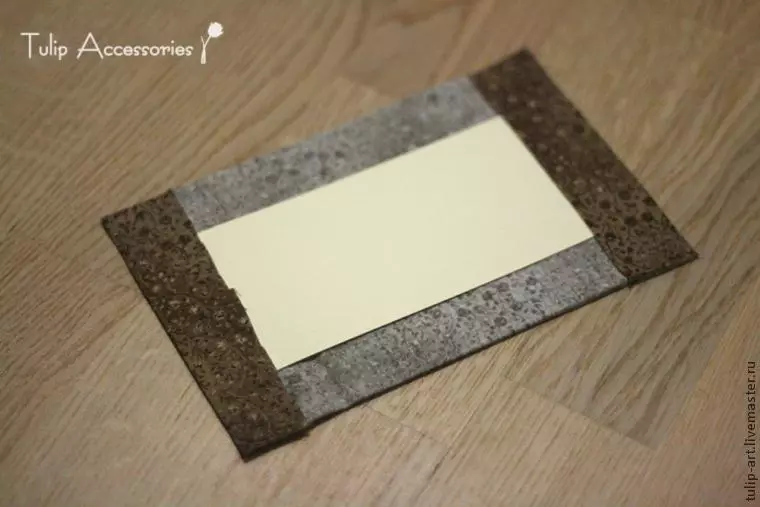
Take the workpiece at the numbers 4 and 6 and stir them on the fabric.
We apply parts on the fabric and cut the rectangle, making a margin of about 1.5 cm.
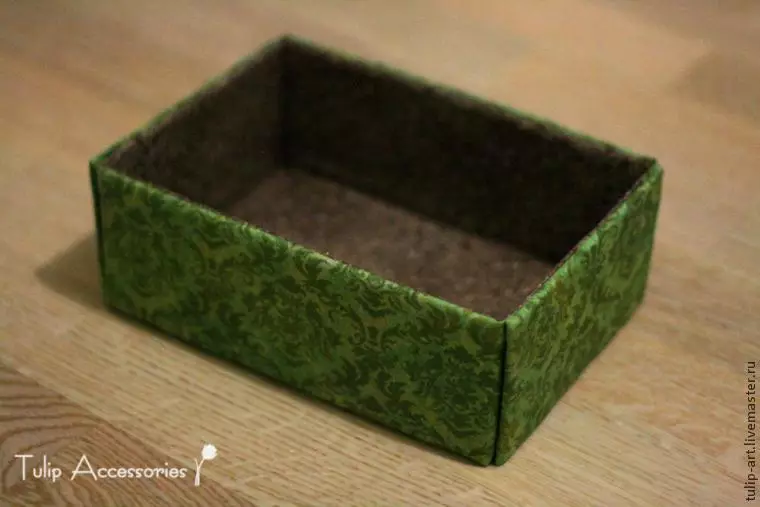
On the inner side of the edge glue. We will do such a technology more than once. The outer part is ready. You can decorate it using bispers, sequins, buttons.
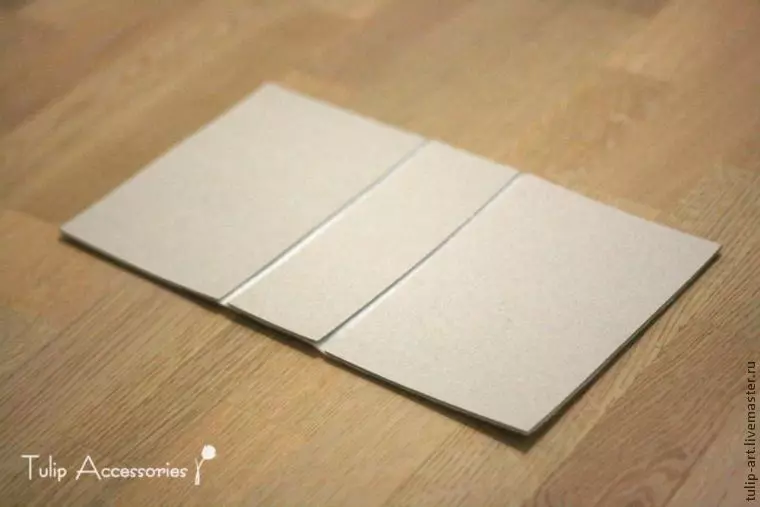
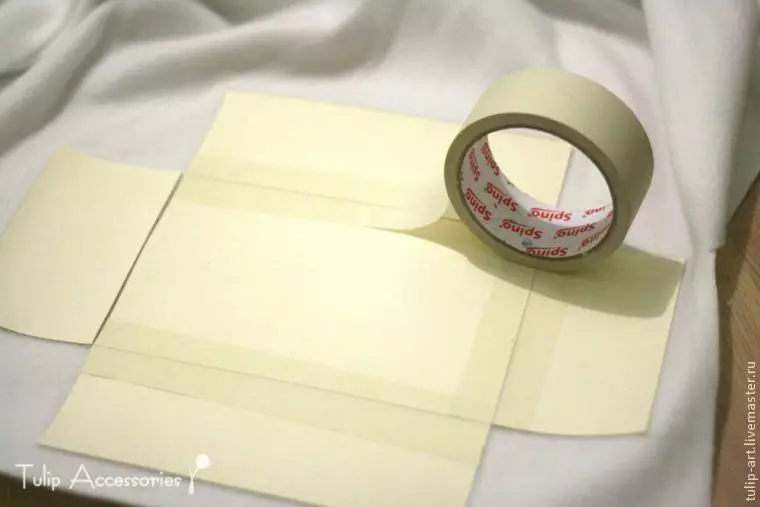
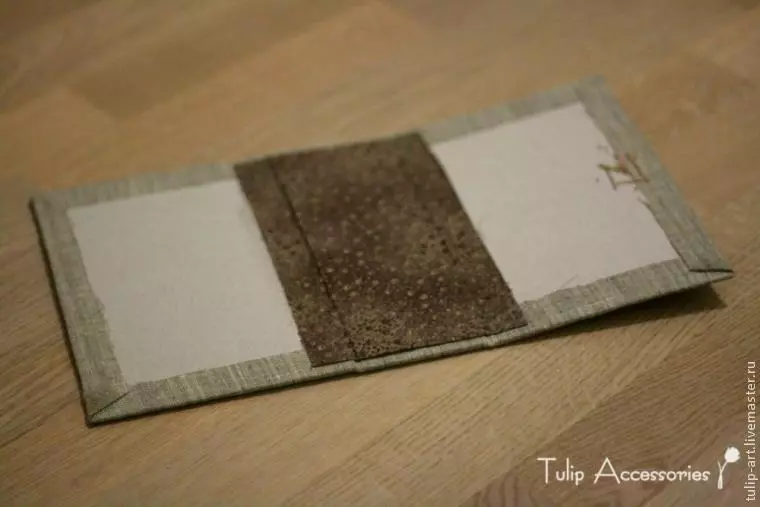
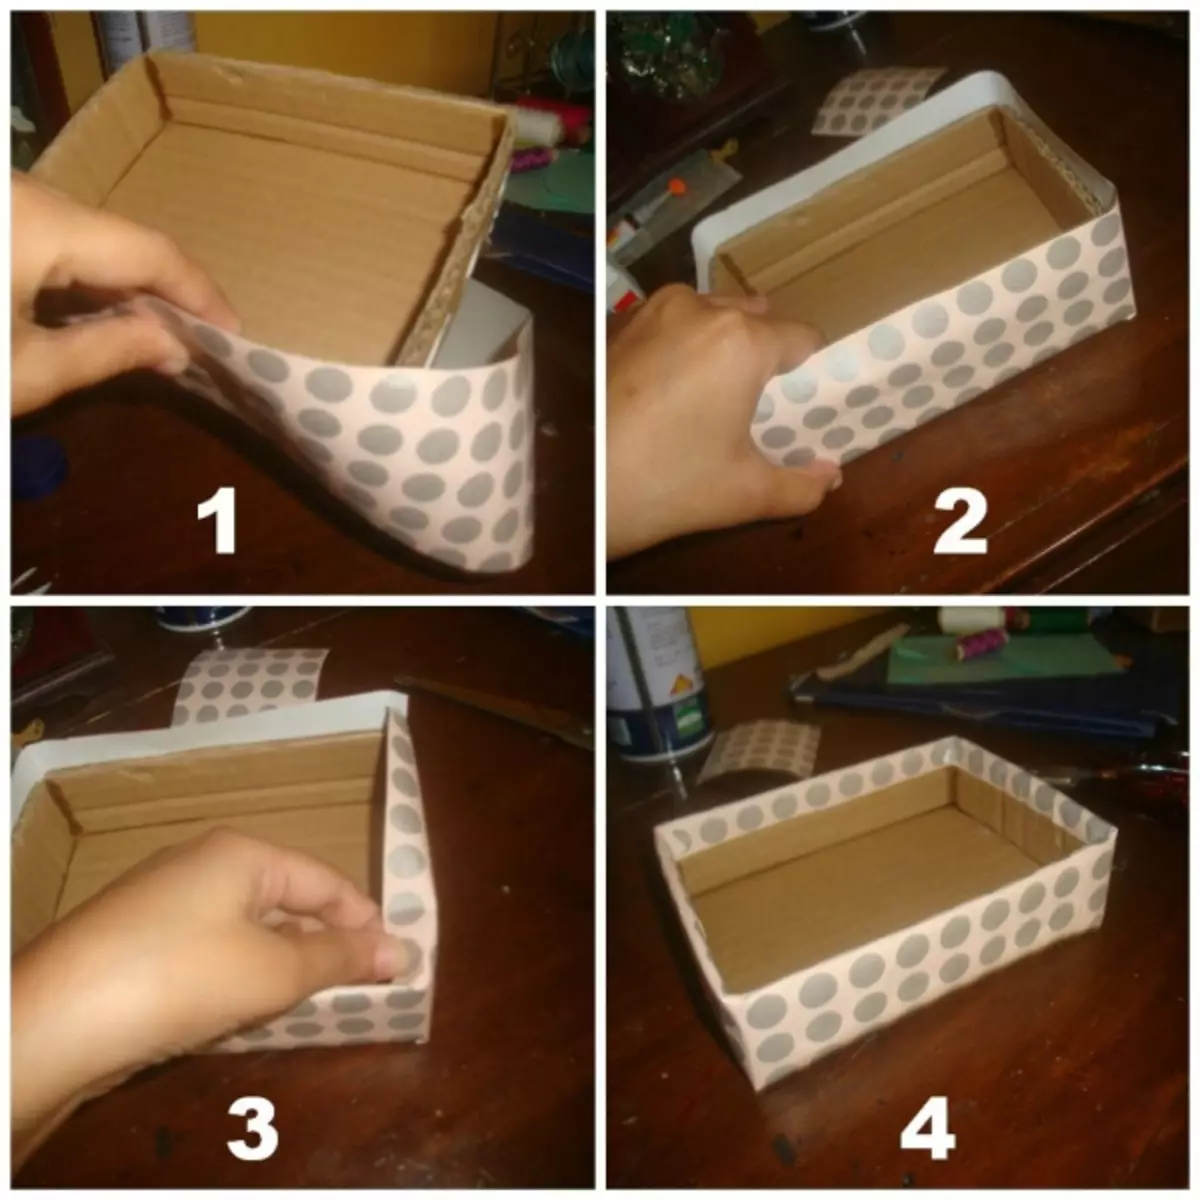
Take the workpiece 1, 2, 5, put on the fleece, as needed, shown in the photo, and then stir them on the fabric.
The distance between the billets strengthen the scotch.
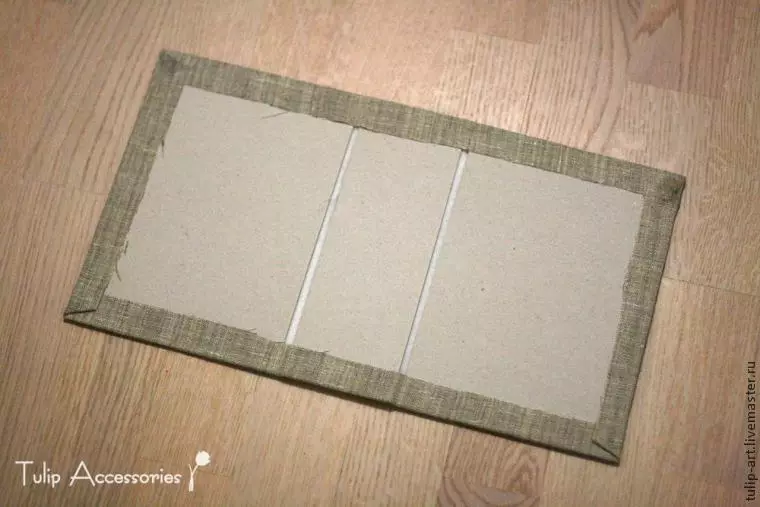
Again cut out the workpiece from the fleece. From the inside, fix the edge of the fabric.
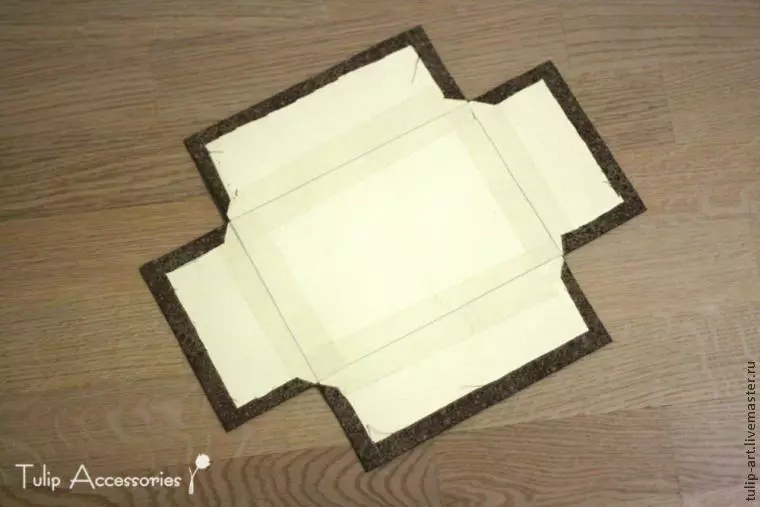
Stitch the fold line.
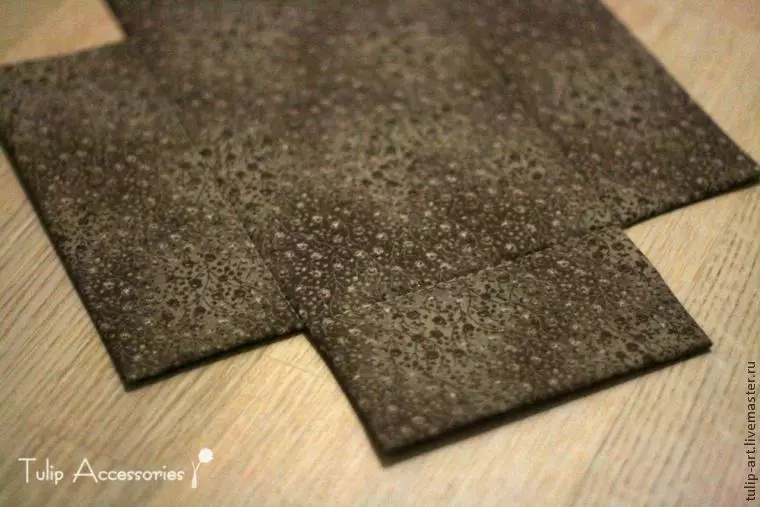
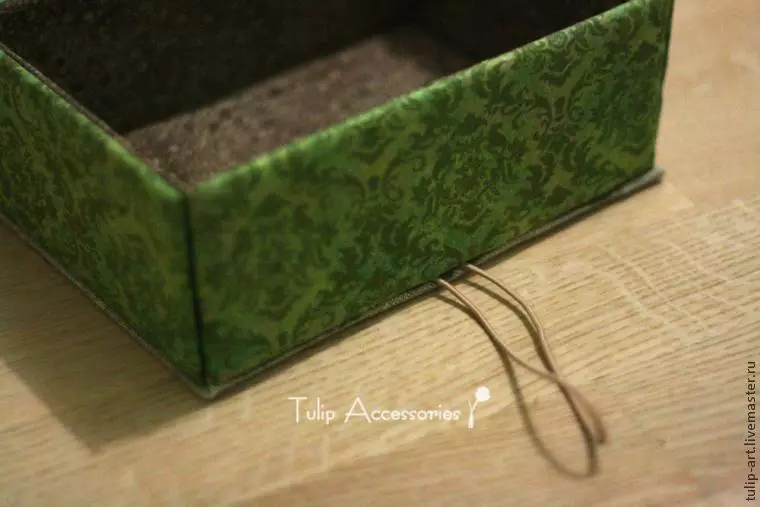
Bend the side of the box as in the photo.
We take the remaining parts and cut out exactly the same details from the fleece.
We are tightening the details of the cloth. We glue only short sides.
Glue blanks. First glue long details to the box.
Article on the topic: how to sew a cape with your own hands
Now short.
Take the workpiece number 3 and tighten the fleece from short sides. Long remain open.
Get the third workpiece on the cover.
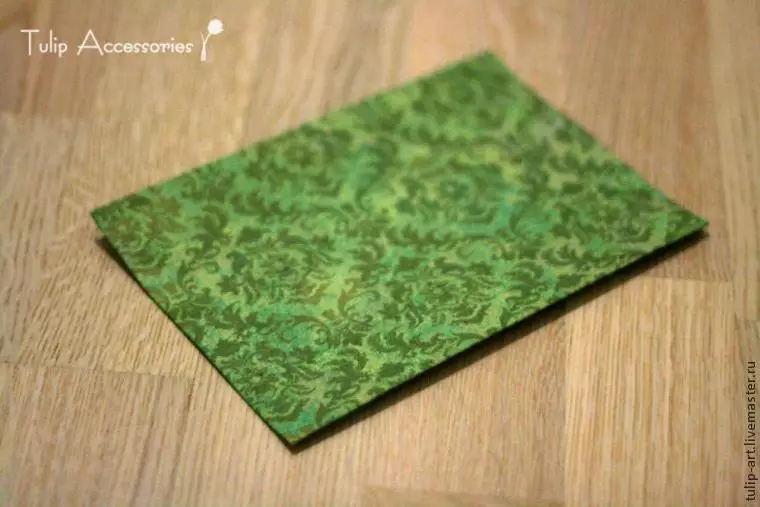
Last detail of paper cover the cloth.
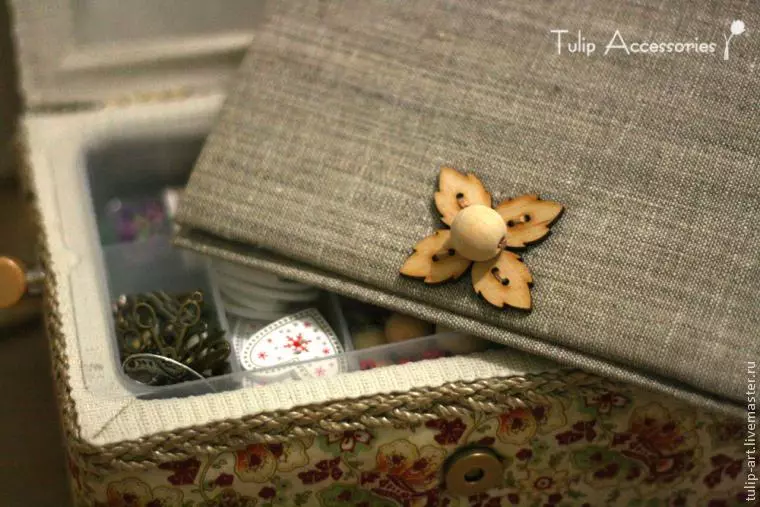
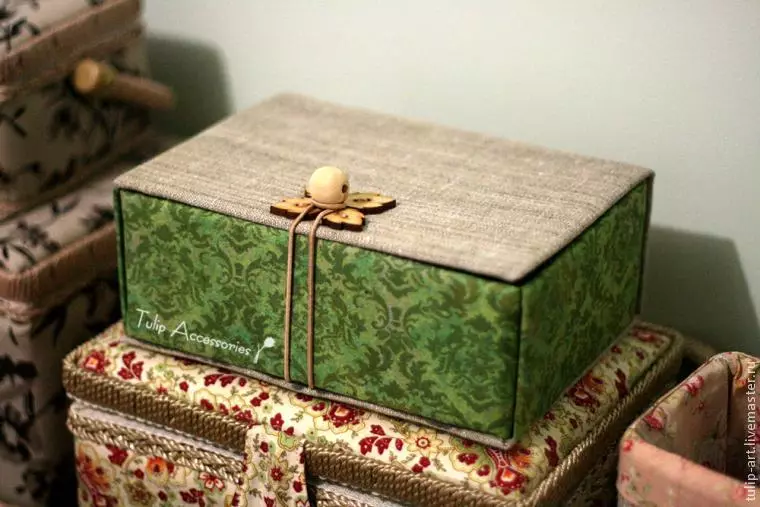
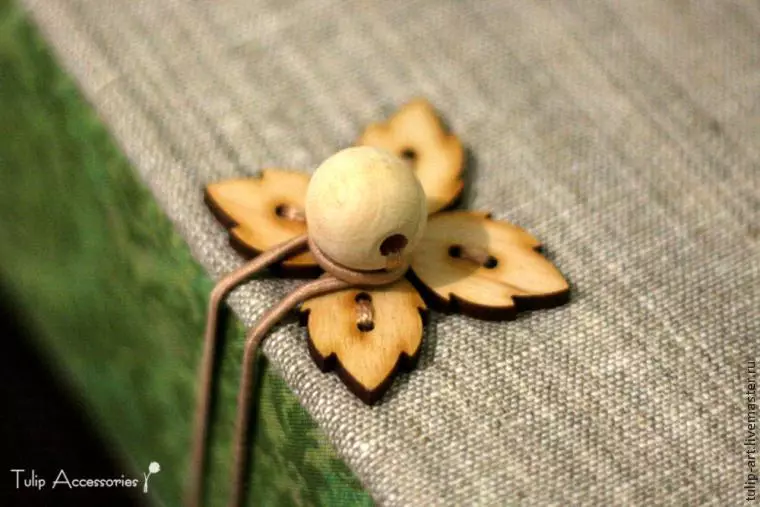
On the lid, you can stick a bead lock. And on the bottom of the rubber. It turns out a beautiful lock.
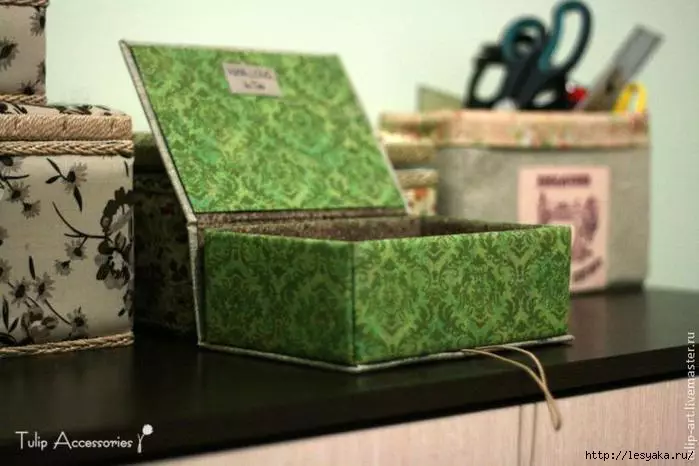
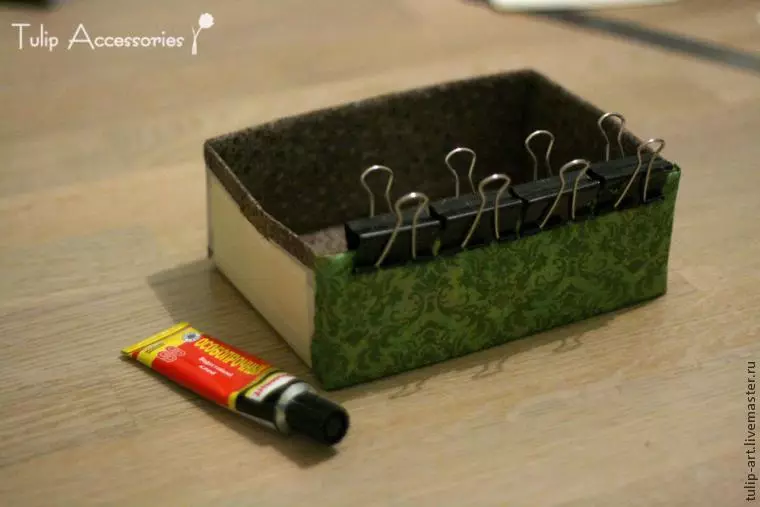
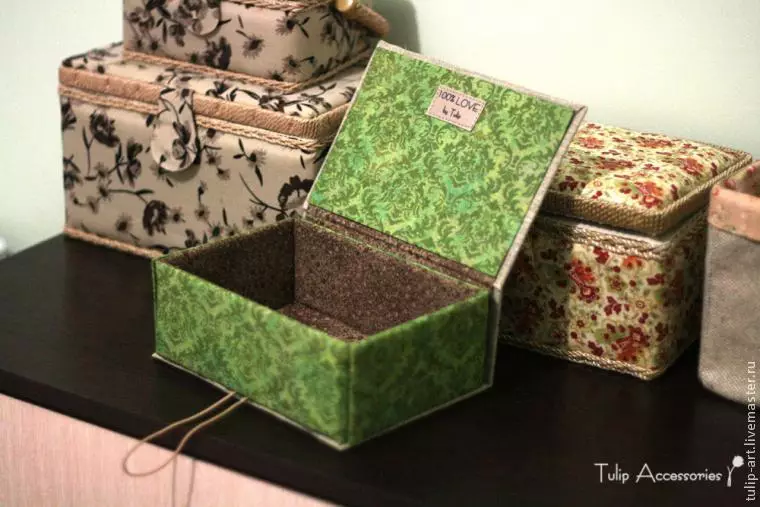
We collect a box. We glue all the blanks on the "moment" glue.
Detailed schemes
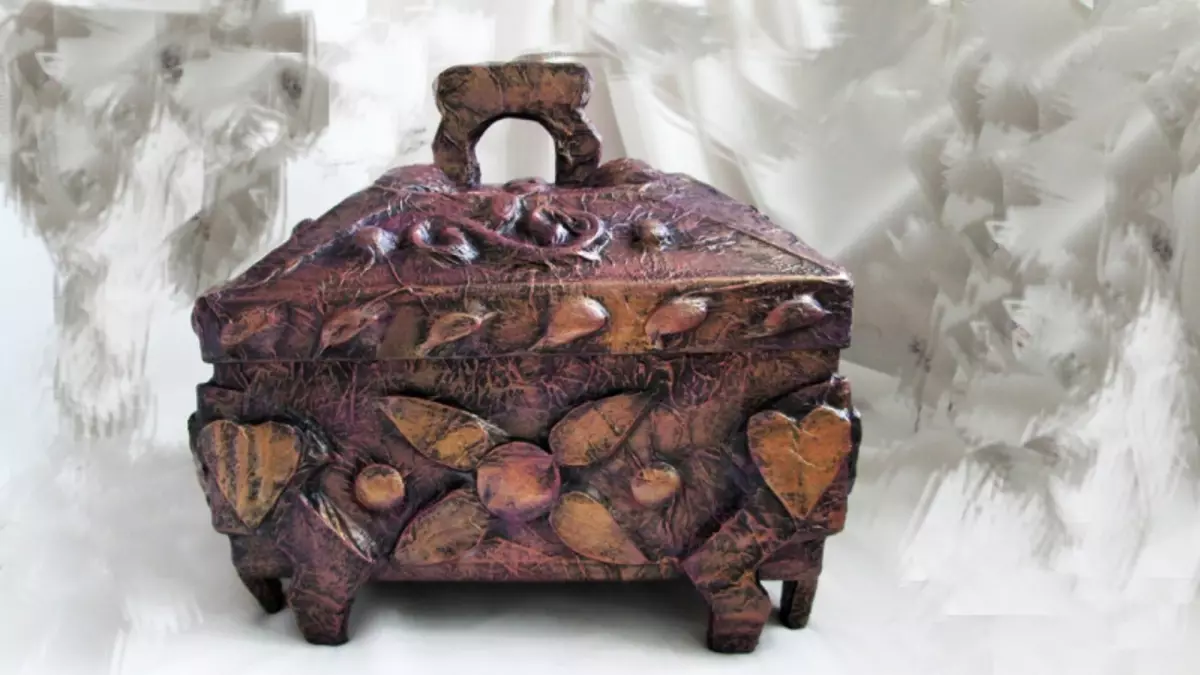
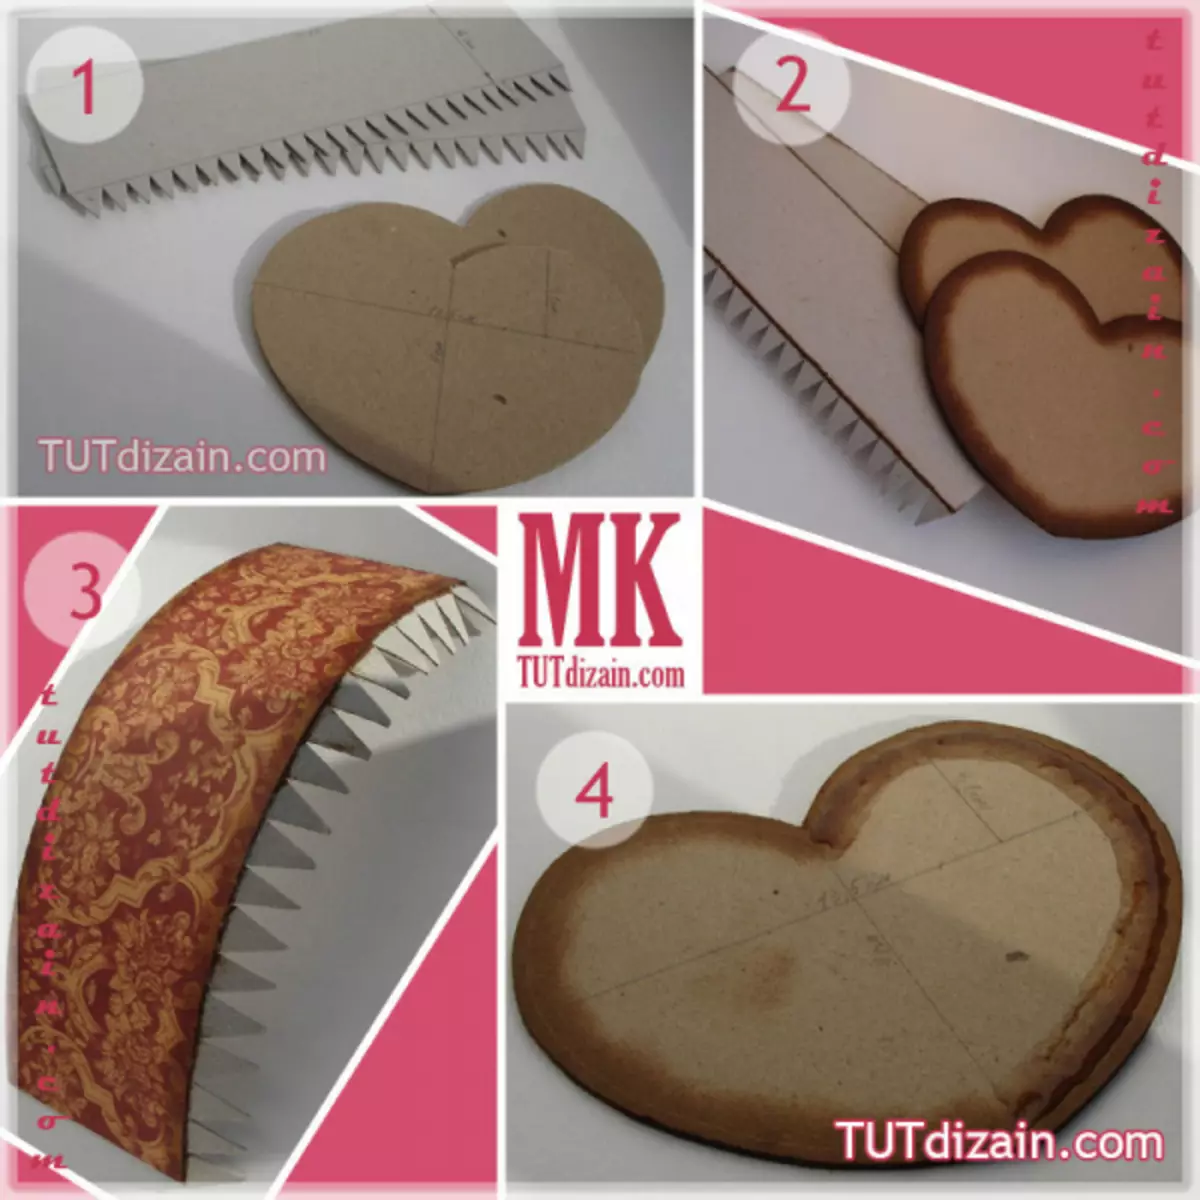
We offer you in this article another five ideas for creating cabinet boxes. Each step-by-step photo-master class shows how to make a particular accessory.
Idea number 1:
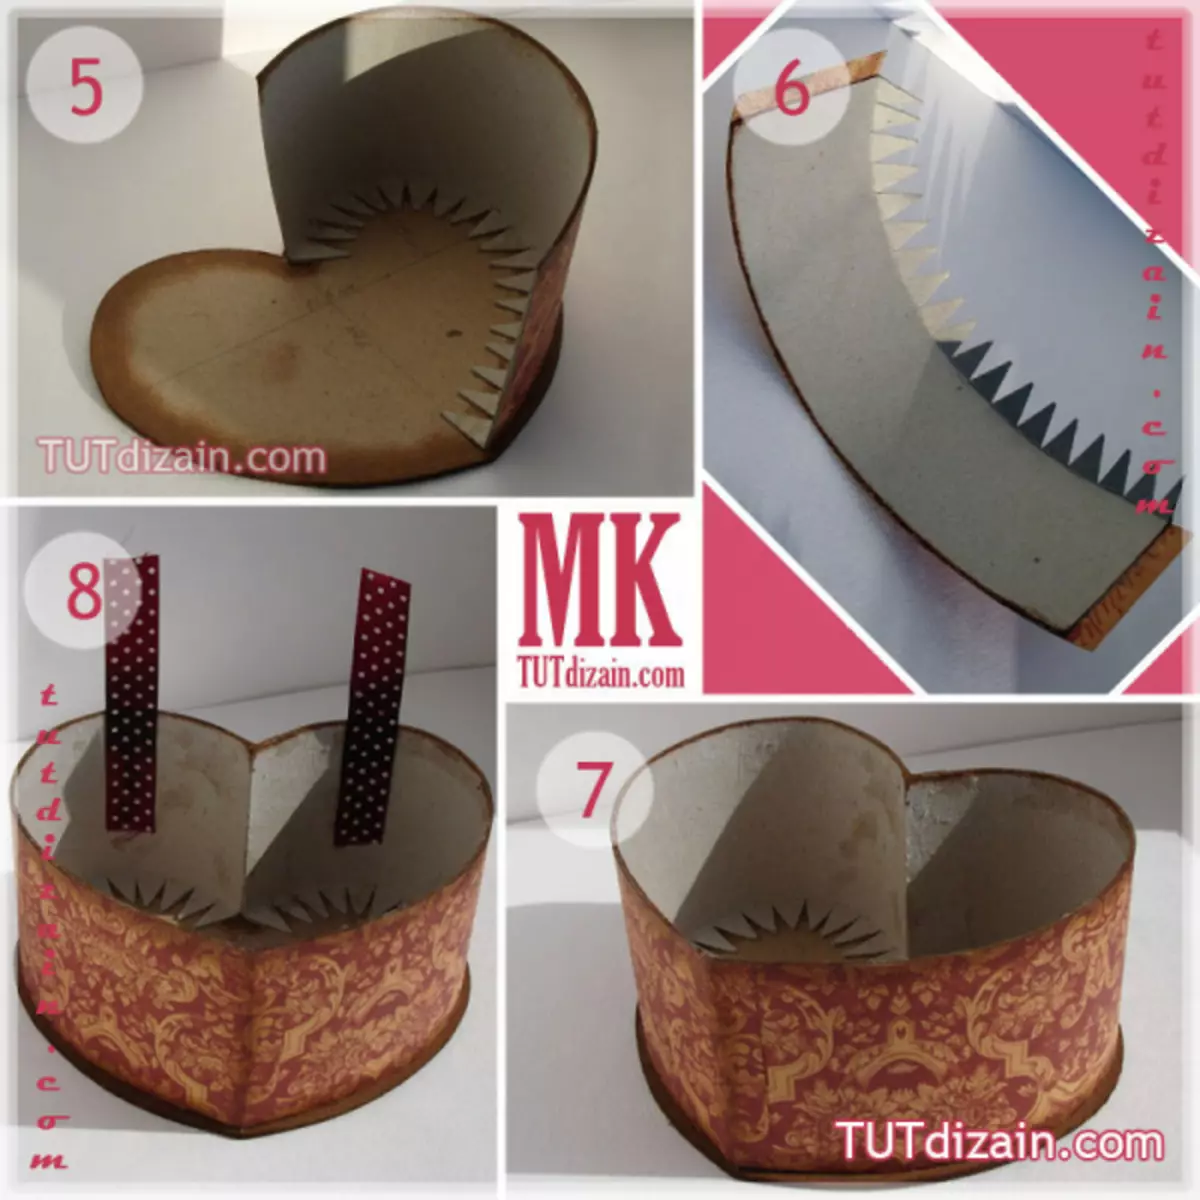
Idea number 2:
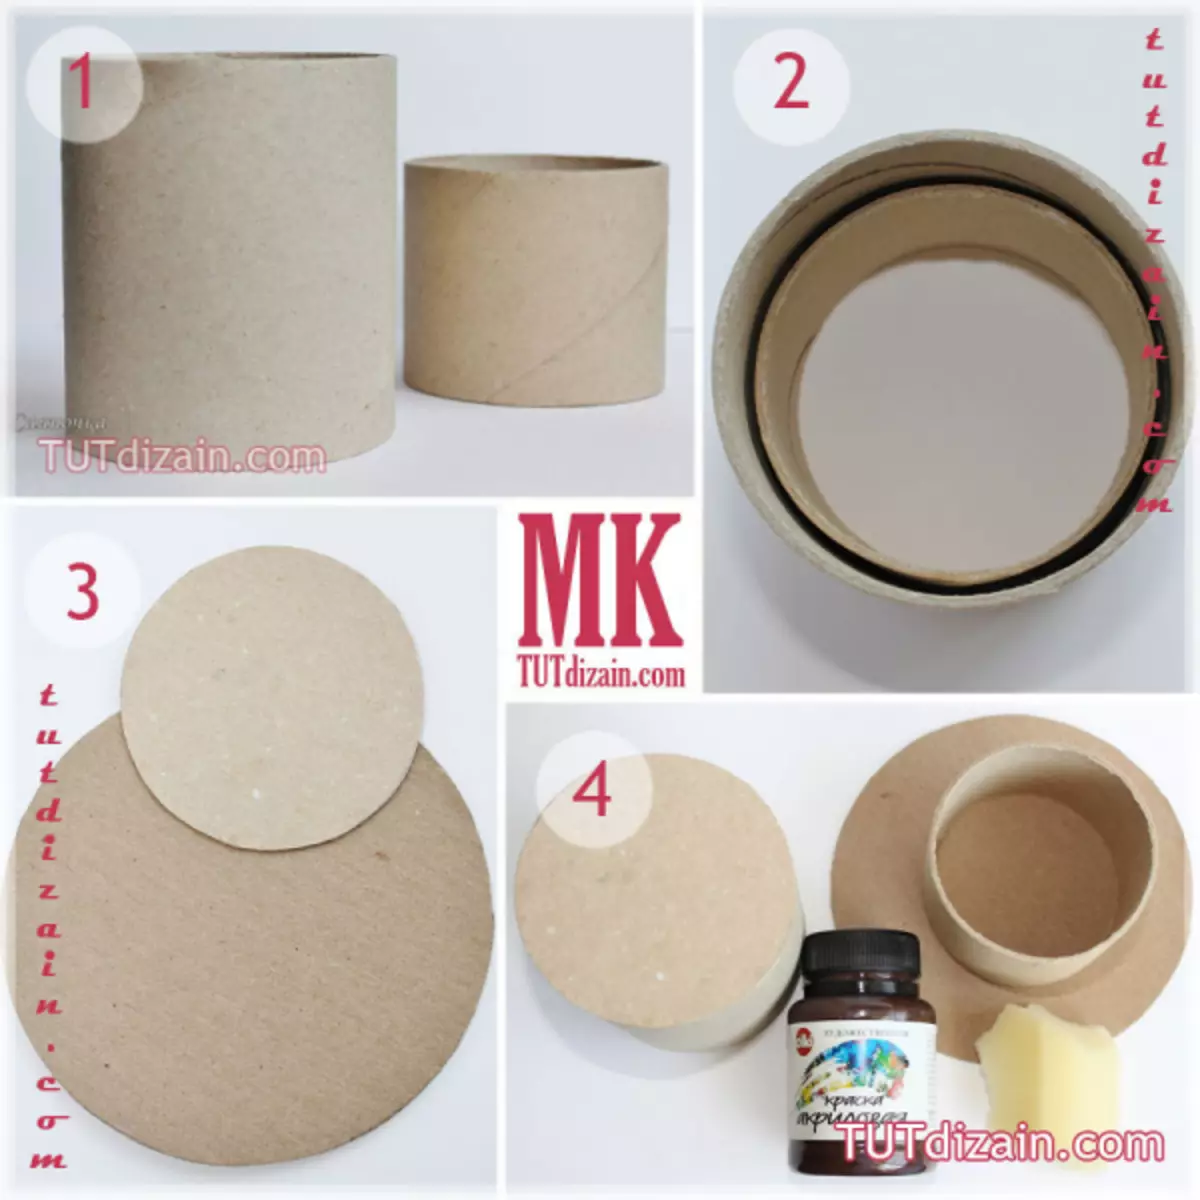
Idea number 3:
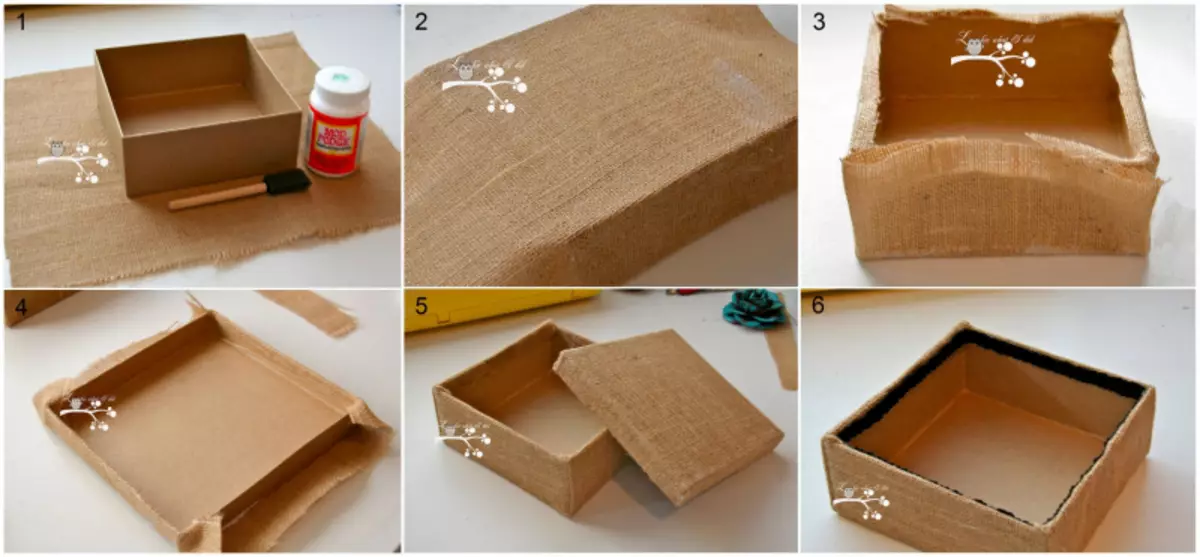
Idea number 4:
Idea number 5:
These are such beautiful boxes can be made from ordinary cardboard.
Video on the topic
We offer to see a selection of more creative master classes on creating a box with your own hands.