
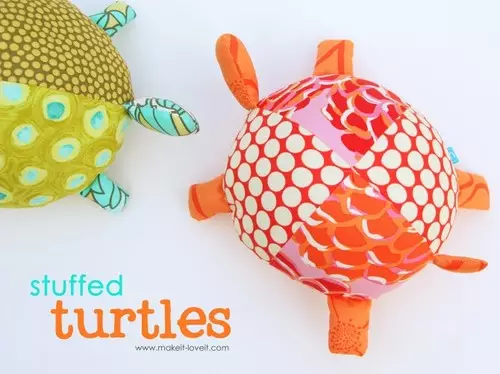
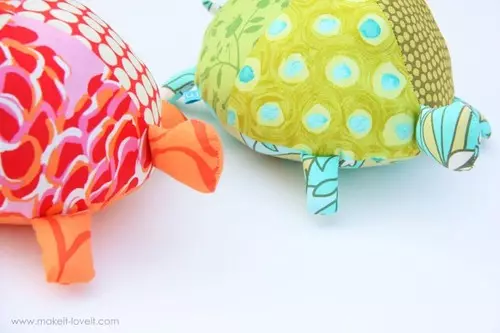
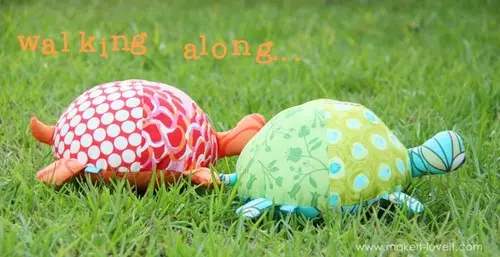
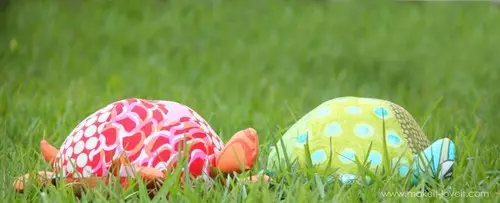
We all come from childhood. Cute soft toys do not leave indifferent or children or adults. Our today's master class will be devoted to the manufacture of a soft bug made of bright flavors of the fabric. Of course, such bugs stitched with their own hands will enjoy, first of all, children. Perhaps most of all for small fingers will be useful to tele the rag legs and the tail of the turtle. Well, it is actually very cool! Honest word, sewing one turtle, you will not be able to stop. Be sure to take her girlfriend.
Required materials and tools:
- the cloth;
- any filler (we used polyester fiberfill);
- Scissors, thread, needle.
Printing templates
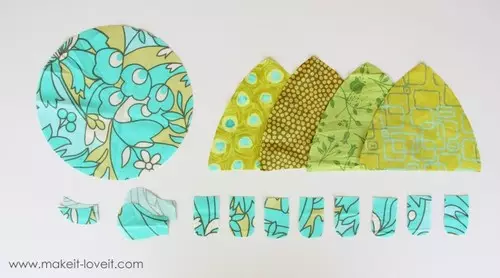
First, download templates for the future turtle here . Print and cut the items.Cutting fabric
Now take any fabric you like (it's better not to take stretch, because in this case the toy will not save the form). You can take one color or different. Circle the details on the template and cut them out.
Tailoring and filling of legs, heads and tail
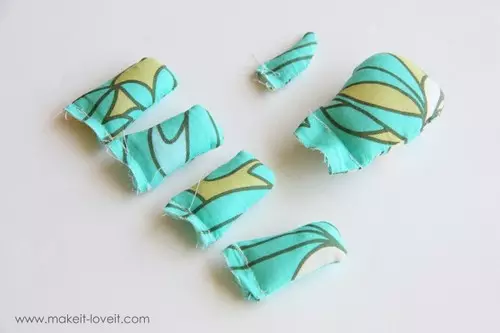
Now take two details of the legs. Place the fabric facial side to each other. I cut in a circle, leaving unprotected only the upper part. Repeat the same for three other legs, tail and head.
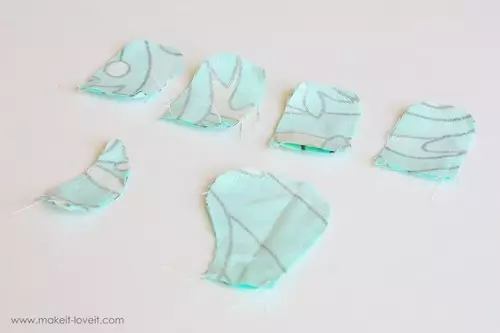
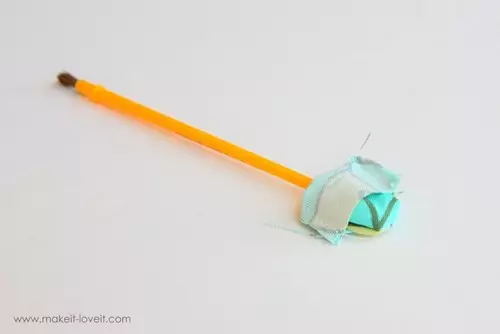
Remove all the details using a long pencil or tip of the tassel. It is so much more convenient and faster than turning such crayons just with your fingers.
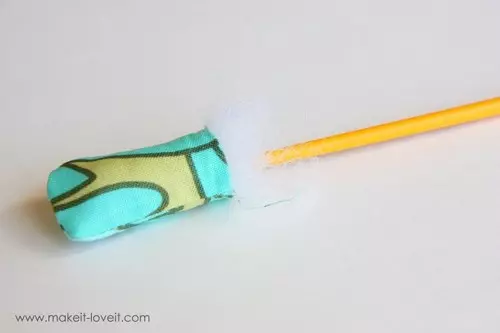
Now fill the details with something soft (we used polyester fiberfill). To fill the details well, help the pencil or back side of the tassel.
Now squeeze the edge of every detail by retreating 5-6 mm from the edge.
Tailoring of the shell
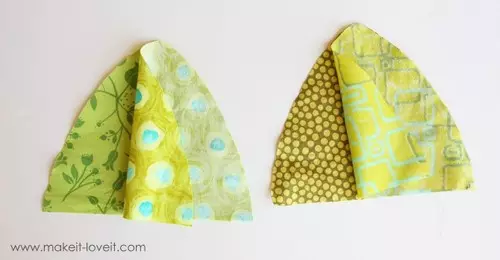
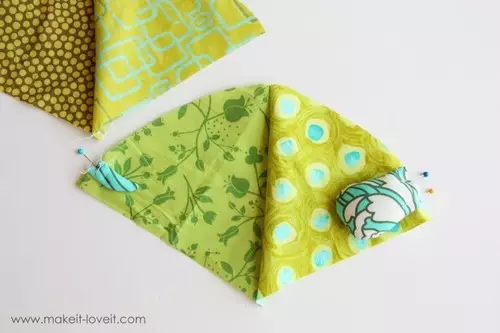
We are halfway to the manufacture of a turtle with your own hands, follow our instructions and everything will be in the best possible way! Take two of the four pieces of the shell. Fold their face side to each other, sew the details at one edge. The same repeat the same for two other details. Make sure you have folded all sides correctly.
Article on the topic: how to tie cosmetic bag
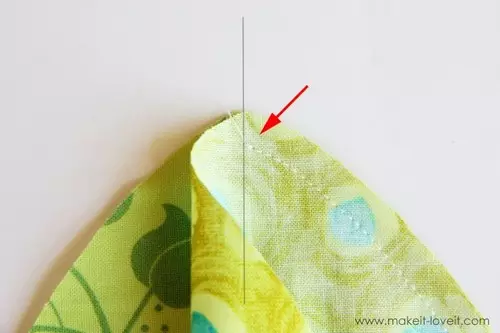
When you sew two parts together, start on top and go down. Start sewing strictly from the middle, without leaving the imaginary line.
Seving details
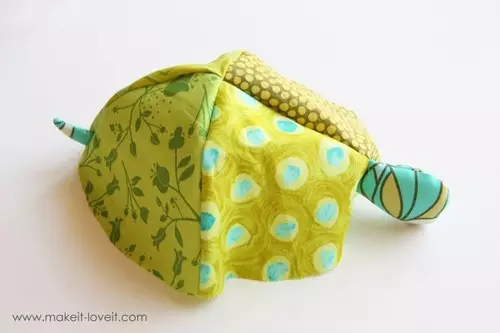
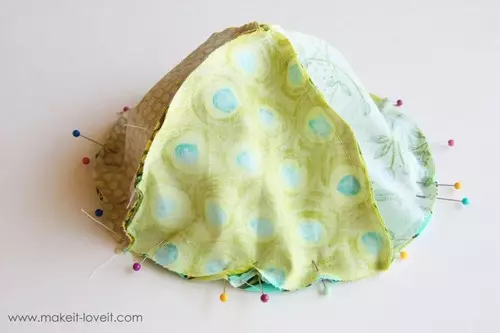
Now expand the stitched two details. It will be half the turtle shell. On the one hand, fasten the head with the needles, retreating from the edge of about 1.3 cm. From the other edge, lay the tail from the other edge, also retreating 1.3 cm. Head and tail, retreating 5-6 mm from the edge.
Now take the second half of the shell. Align from the first half of the shell and sew them together, ranging from the center. Remove the front-side armor. It should look like in the photo.
Place the shell on a flat surface. Printed with needles all four legs. Position the legs, mentally dividing the lower part in half. Sew each leg in its place with a permissible to seam 5-6 mm.
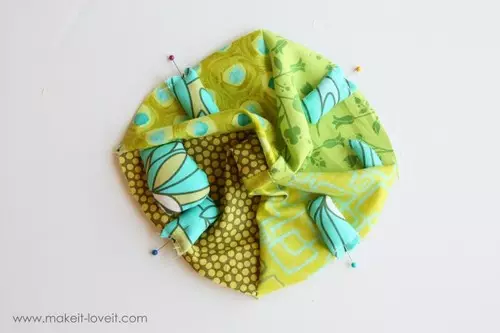
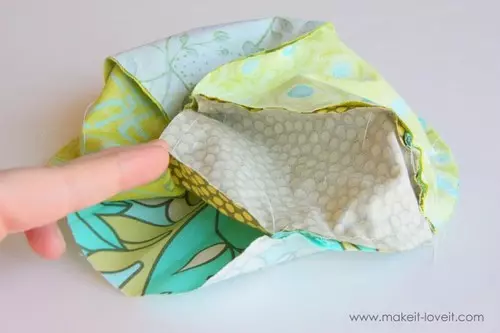
Remove the shell inside out. Now align the racble shell. Scaliate in a circle with needles.
Now finish in a circle with a permissible to seam 5-6 mm, leaving a hole 7 cm between two legs of one side
Filling
Remove the turtle face outside and fill the shell with any filler (we used polyester fiberfill).
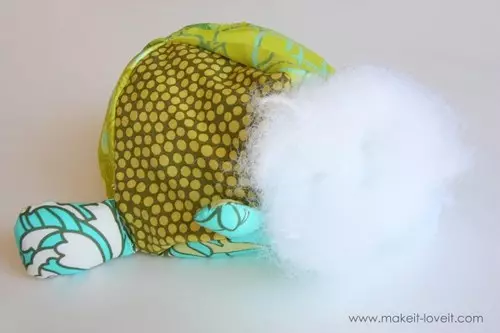
Try to fill the shell well. The toy should be elastic and keep shape, but soft enough. So do not overdo it. Now squeeze the hole using the blind seam.

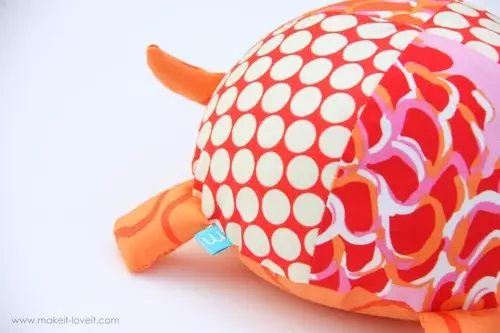
Wonderful turtle, stitched with your own hands ready! Here is such a cheerful bright turtle turned out from us. Everything is very easy and simple, but how many joy you deliver the defector and get great pleasure in the process of creativity.
If you liked the master class, then leave a couple of grateful lines to the author of the article in the comments. The simplest "thank you" will give the author of the desire to please us with new articles.
Encourage the author!
Article on the topic: Table knitting needles for beginners with schemes and video