
Creating a beautiful interior in the house requires certain preparations. Under each finishing material, the wall surface must be prepared in a special way. In the article, we will look at how the preparation of walls under the decorative plaster is carried out, because this is the most popular finish.
Why preparing a wall
Decorative plaster gives the room an unusual and very aesthetic appearance. To the walls shone, and the coating itself was durable, the surface before starting work should be prepared. Otherwise, the finishing layer will not be firmly held and soon it will require additional repair and restoration work, which will be expensive. Therefore, before the start of applying the final layer of the wall, it is necessary to proces correctly.
Video "How to prepare a foundation for decorative with your own hands"
In this video, the expert will show how to prepare the basis for decorative painting on its own.Advantages and disadvantages
The advantages of such a finish include:
- durability, strength and practicality;
- resistance to different types of mechanical effects;
- disguise irregularities and cracks;
- The material can be applied to any surfaces: concrete, wood, brick, metal, etc.;
- can be used for external or internal works;
- moisture resistance, frost resistance and sound insulation;
- For manufacture, only natural components are used.
Of the disadvantages of such a finish, it is worth noting the following points:
- high price;
- Difficulty dismantling. To remove such a coating, it will take a lot of time and time;
- Before mounting, the surface must be correctly processed.
Despite the minuses, this decoration is becoming more and more popular every year.
Step-by-step instruction
Before applying decorative plaster, you must perform certain actions. Consider each stage of preparation in more detail.Preparation for plastering
The work itself is simple. At this stage, such actions should be done:
- The surface must be cleaned from the old coating: paints, wallpaper, etc. It is impossible to leave areas that began to peel or become loose.
- Next, remove all the protruding elements (for example, screws).
- Walls are well washed away from dust and any kind of contamination. Fat stains are purified by soapy.
- Manden is mandatory. Next, the place affected by fungus must be covered with antifungal compositions.
After such processing, the plot must be good.
After preparation was performed, you can proceed to the next step - applying leveling plaster.
Article on the topic: Floors from marble crumbs do it yourself: technology
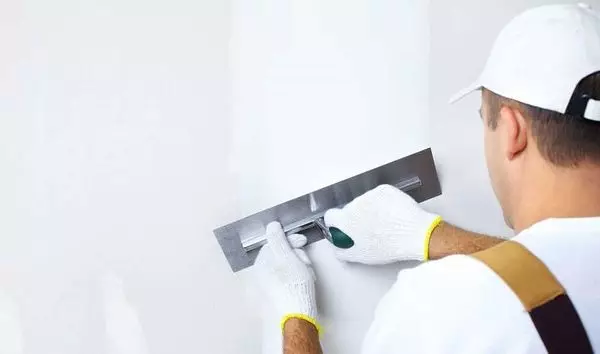
Aligning plaster
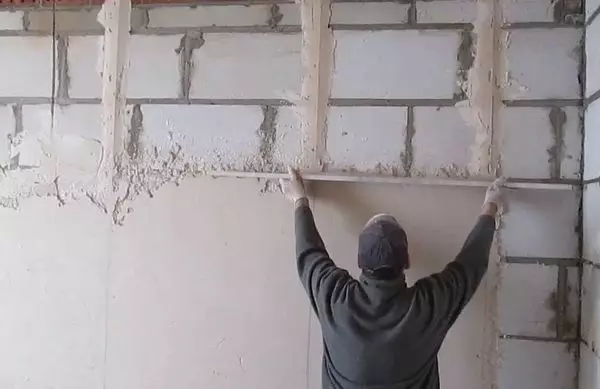
Before applying decorative plaster on the prepared surface, you need to apply an aligning layer. For these purposes, the usual gypsum putty is suitable. It is enough to cover the wall with one leveling layer of the starting material.
If the use of Venetian decorative plaster is planned, then 2 layers and finishing putty should be applied. As a result, it should be perfectly smooth surface.
It should be noted that drywall walls also need to be handled with putty to avoid manifestation of strips and joints of the material. Alternative putty does not need only a wooden surface. It can simply be treated with a special primer intended for the work on the tree.
Wall stripping
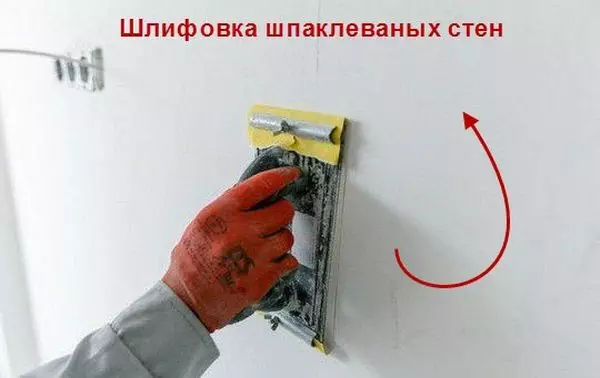
After the alignment putty was performed, surface stripper is performed. The fact is that without proper experience it is very difficult to apply such a layer to avoid the appearance of irregularities. Therefore, after the putty is completely dried, on its surface you should walk emery paper (single). You can also use a grinding machine.
Such a stripping will allow to remove all significant irregularities that can negatively affect the final finish. At the same time, small irregularities will be hidden by the decorative plaster without any negative consequences.
Primer
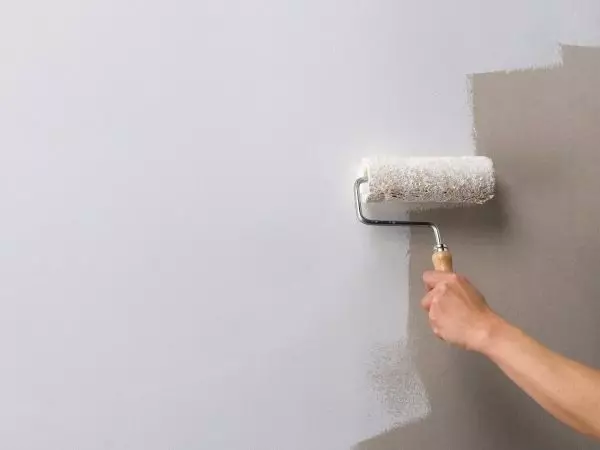
After the finish putty dried (it is necessary, for the minimum of 24 hours), the walls must be projected. To fully accomplish this stage, you should be as well as high quality instruments. To work, you will need a spatula with lifts at the edges. It does not leave after itself stripes and divorces.
The primer must be carried out, since the decorative plaster will be applied as a solution, which contains water. Application of primer on the walls will avoid the uneven distribution of the solution along the working surface.
After applying, the primer should dry independently. For better clutch, such a solution should be applied in two layers. Each layer must dry about 12 hours.
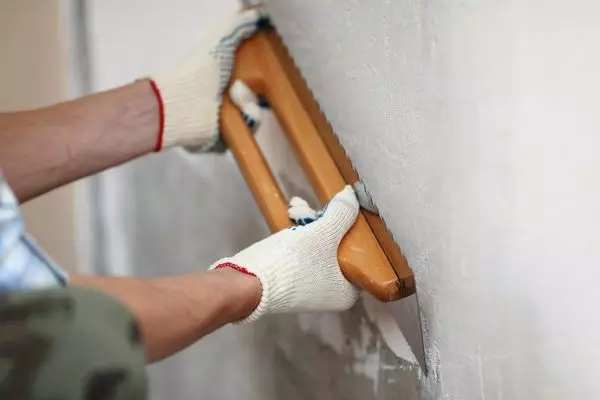
Shpaklevka
This stage is skipped if the texture composition (for example, Leonardo) is covered. In other cases, a thin layer of putty is applied, which after the primer must go to bed perfectly, smoothing the existing irregularities. After performing this stage and complete drying, it is necessary to sand a little again.
Article on the topic: Wooden ceiling in the interior of the bathroom
As you can see, the preparation of walls for applying decorative plasterings is a simple process. However, for the success of the finish, all stages should be performed consistently and efficiently, giving each layer well to dry.