
On the eve of any holiday, I want to make a gift to your beloved sister or mom. Not every person loves dear gifts, so the box of the book can serve as an excellent alternative.
Simple lesson
The process of making a box from the book can be traced on the example of a master class with a photo.
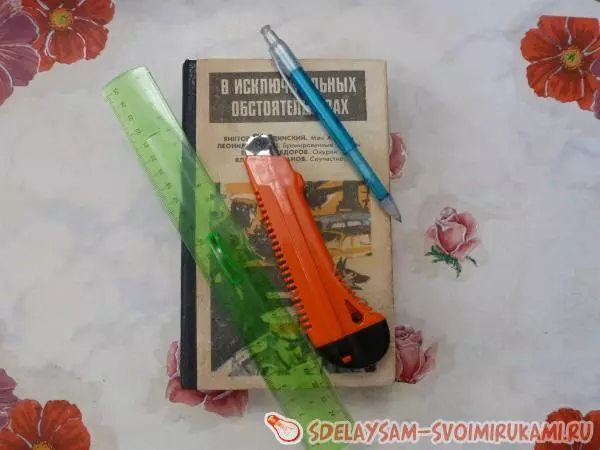
In order to make such a casket, you will need a book, glue, a stationery knife, a ruler and a pencil.
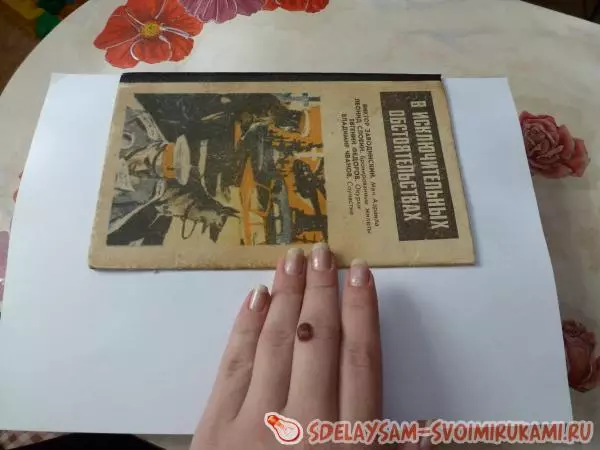
The first step is separating the first page from all other sheets. Most often, this sheet is glued to the bellows of the book.

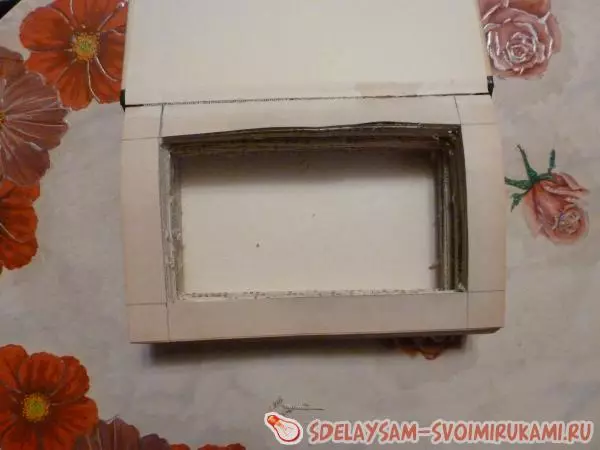
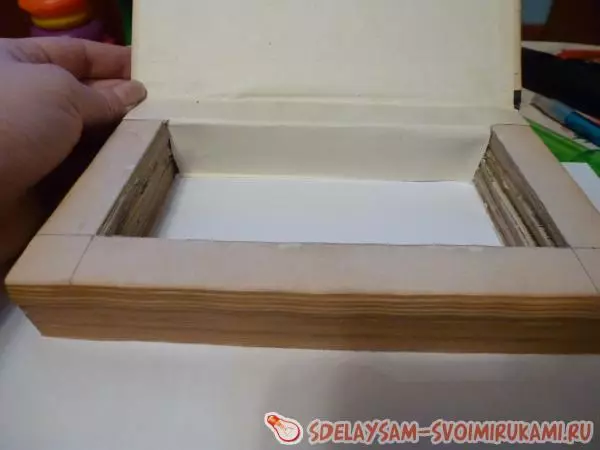
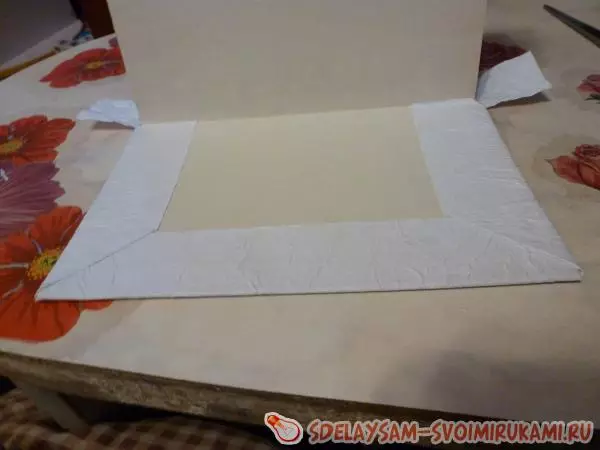
We apply this sheet to the crust. On the main part with the help of the line, we separate two cm of the edges on each side.
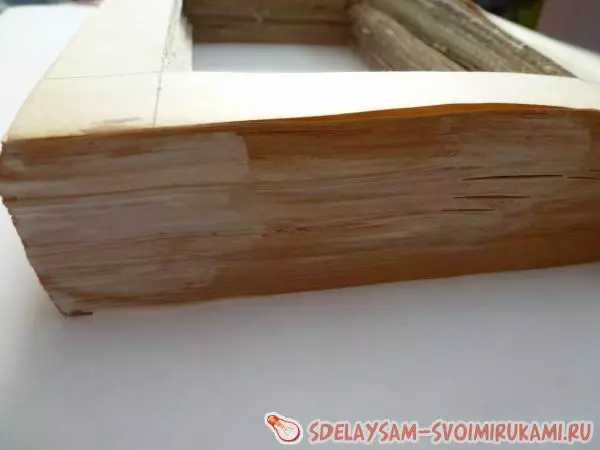
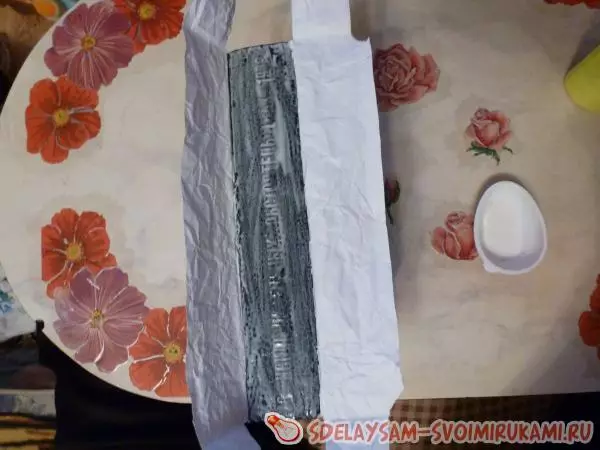
Next, very carefully cut with the help of a stationery knife to the middle. The cutting process will take a lot of time, patience and forces. Most of all it is worth paying attention to the corners of the box. Cut through their harder. Every forty-pages need to redo the frame so that it turns out to be smoother.
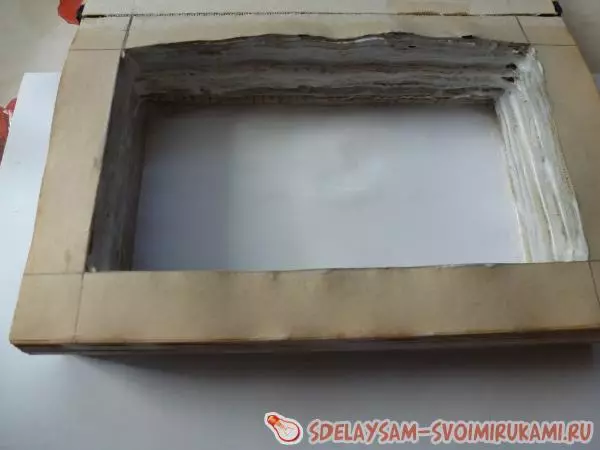
The next step needs to strengthen the pages. In this case, PVA glue, brush, two A4 sheets.
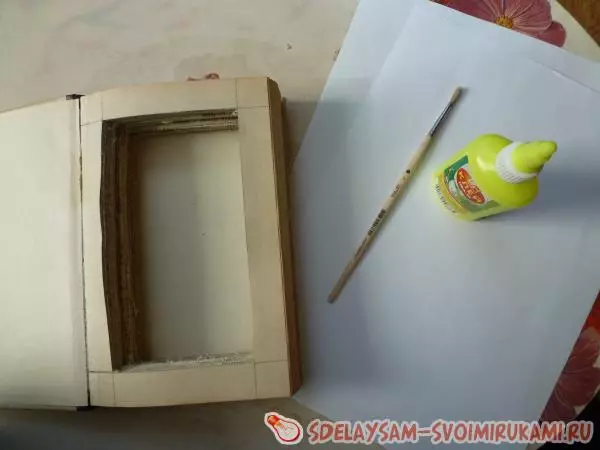
Under the books of the book, you need to put the sheet to the back wall of the casket.
Loose with each piece of glue. Work is very painstaking.
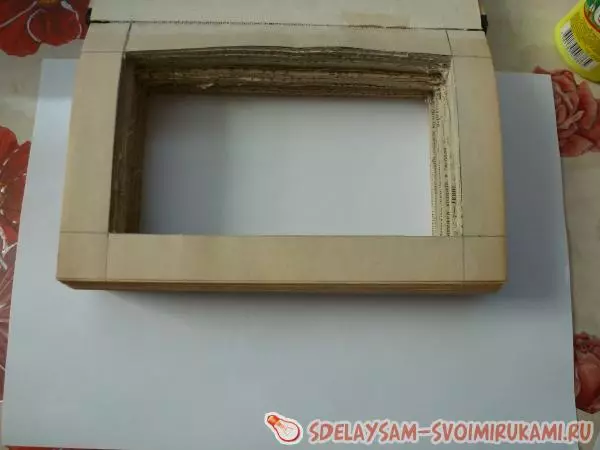
We also miss the casket and inside the book.
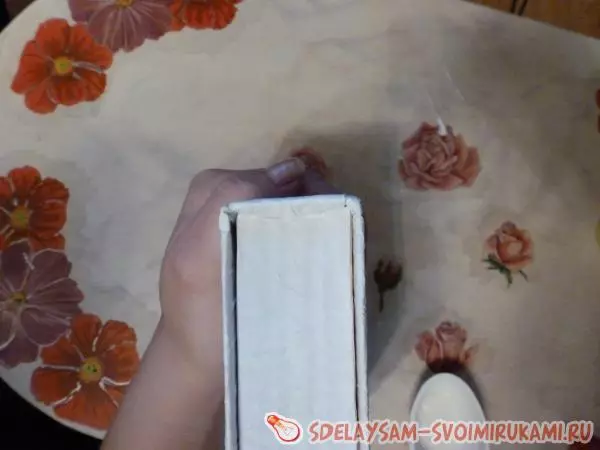
The next step will need to cover all the pages of the book by the second white sheet and put it a heavy thing on it. To dry up the book should almost a whole night, but if you need to make a casket as quickly as possible, then for drying it will take about four hours. After drying, remove the top sheet.
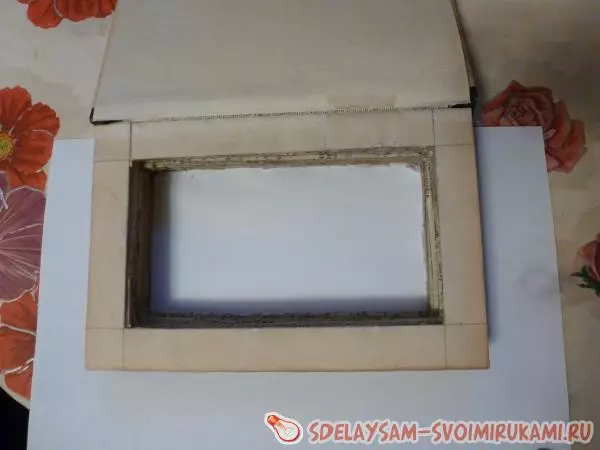
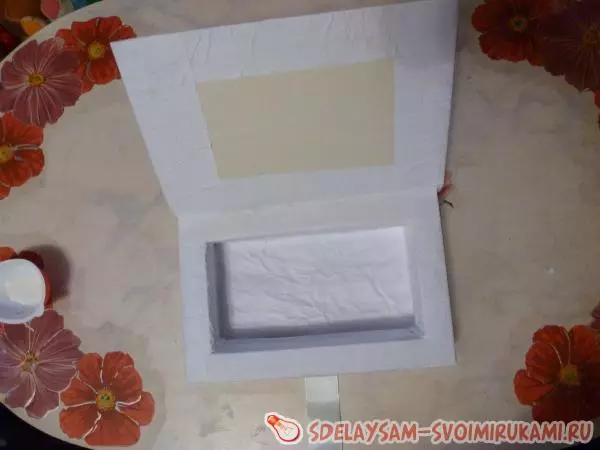
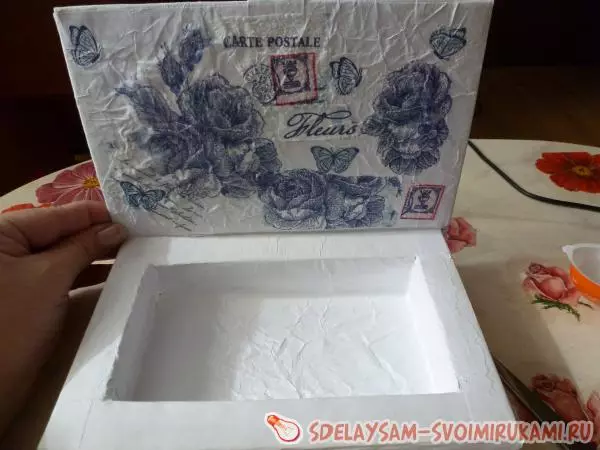
The top sheet, which we removed from the very beginning, should be glued here in this way, as shown in the photo.
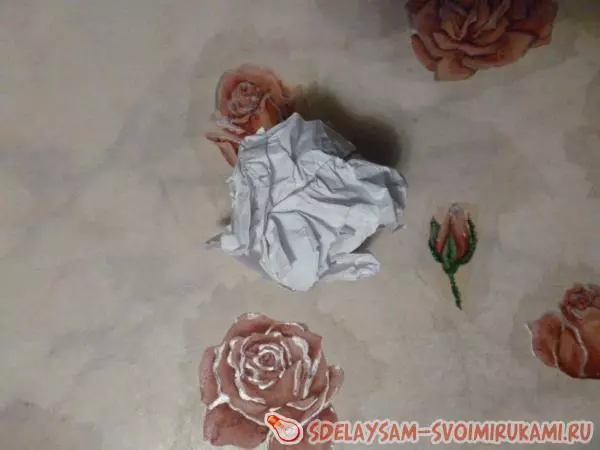
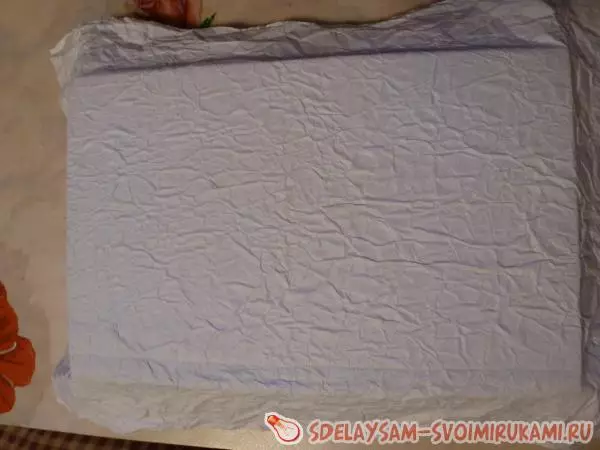
Now we have already passed more than half, the next step will be decorating the casket. Printing the top sheet is needed so that the cover does not hang. Take the most common sheet of white paper for the A4 printer, doubt into a small ball.
Article on the topic: Eyes for crafts do it yourself
Now we deploy the sheet.
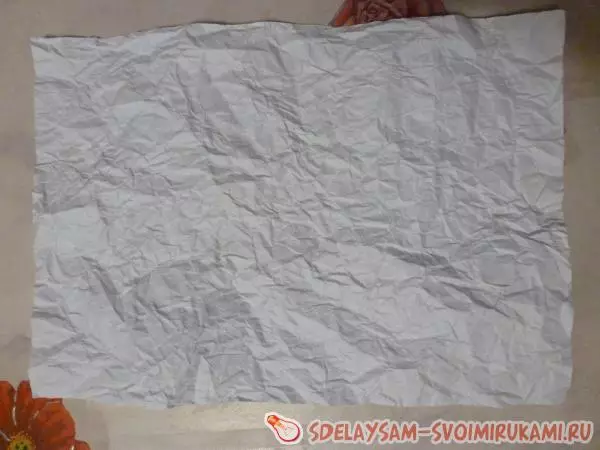
The back of the box is best losing with glue, except the root.
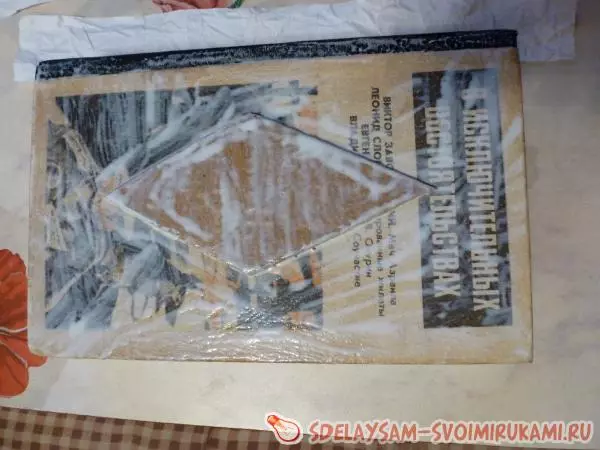
Next you need to stick the crumpled sheet. We do this in this way: the paper covers the root, leave some paper around the edges. In general, the book should be in the center of the face.
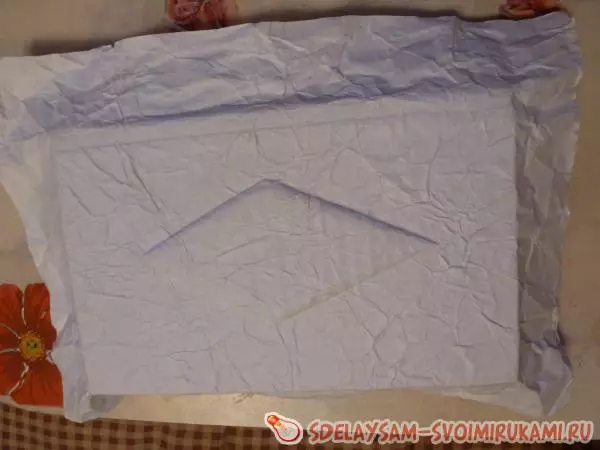
Now make small cuts. The edges need to be wrapped as shown in the photo and glue them to the cover.
From corrugated cardboard, cut out a small rhombission and glue it to the center to the top of the casket.

Next, we welt glue and the second part of the cover and glue the second sheet of crumpled paper. We do it in the same way as the first.
The edges glue the casket. Spine lubricate glue and glue paper to it. Remains need to be hidden or trimmed.
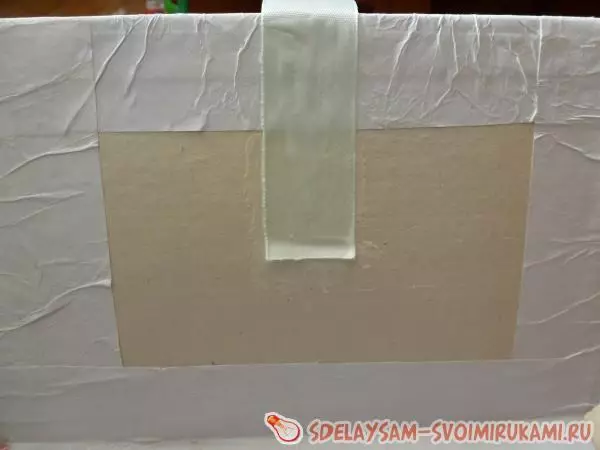
To the back crust of the books glue a book leaf. Also applied on the contour.
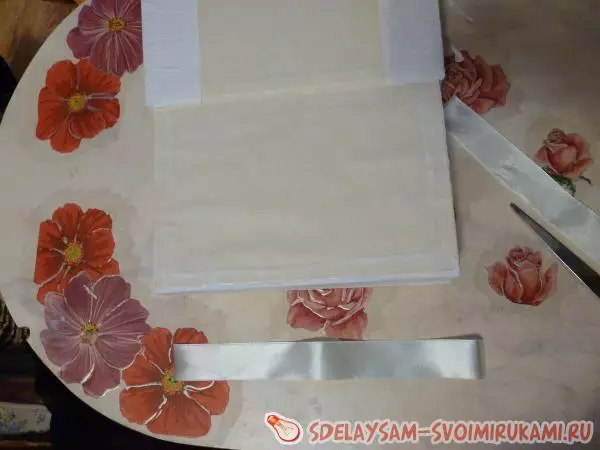
Attach the satin ribbon to the bottom of the book. The inner part of the casket is also gluable with mint paper.
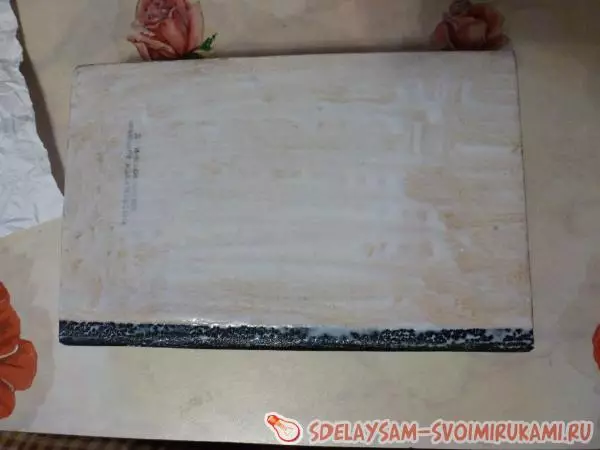
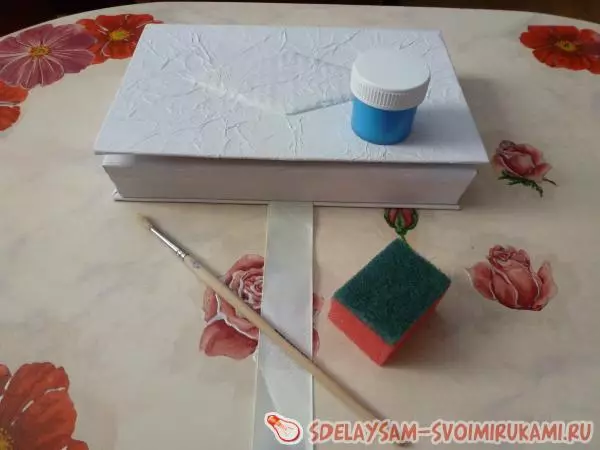
Take acrylic paint, brush, piece of foam sponge. It will be needed for painting the lid.
Carefully apply paint on paper protrusions. Do it need very careful movements.
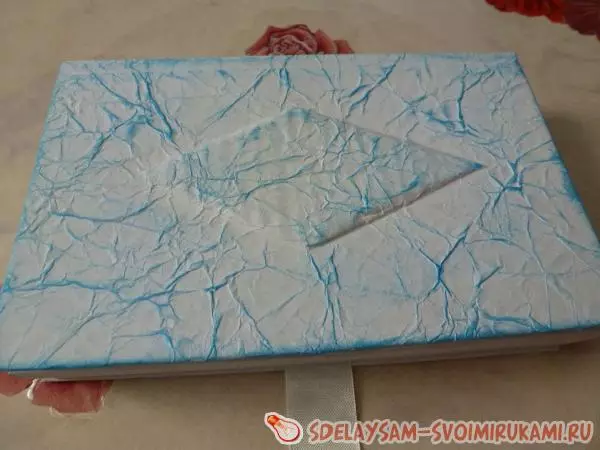
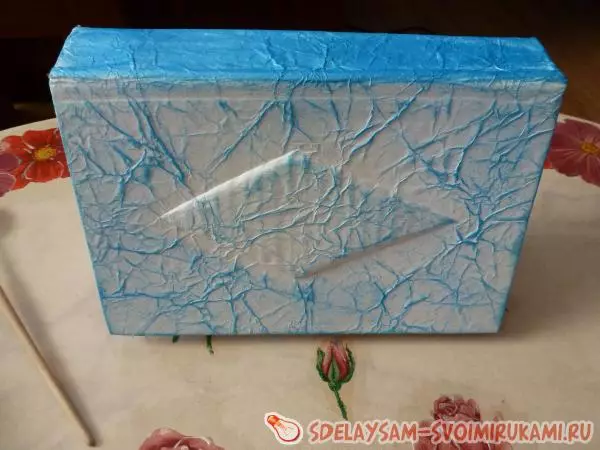
Crouch the root of the book. This can be done with stamping movements.
We glue the tissue on the box.
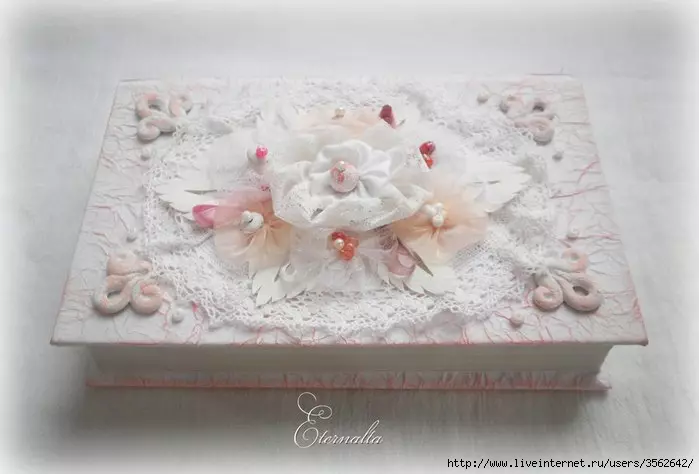
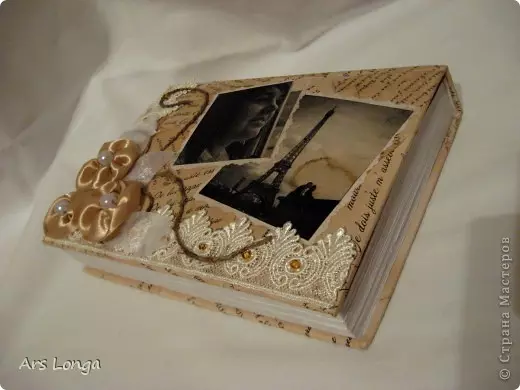
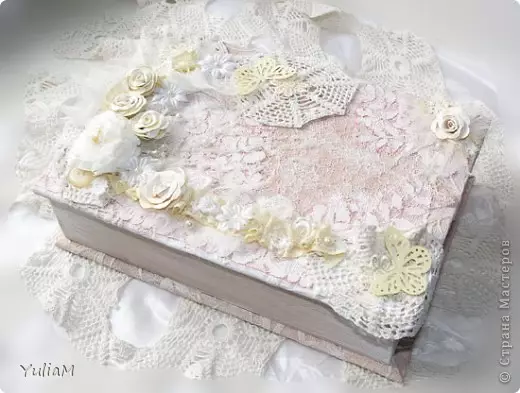
We decorate the top cover at your own request.
Use satin ribbons and beads, you can glue everything to super glue.

Then we make the flower in the Origami technique and stick it to the center of the podium.
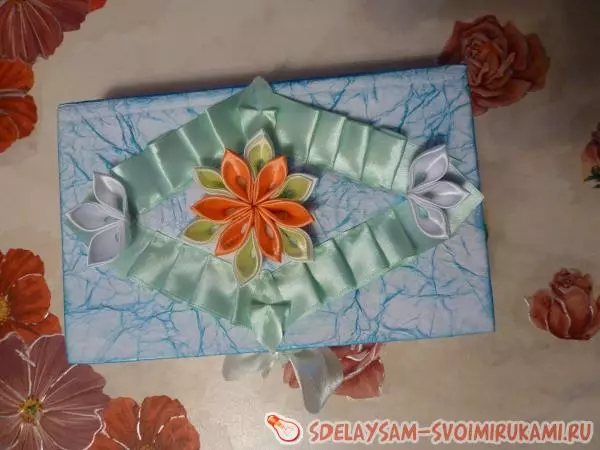
Seams we stick off satin ribbon. You can add beads.

Video on the topic
We offer a selection of video lessons, where it is shown how to make a casket from the book with your own hands.