
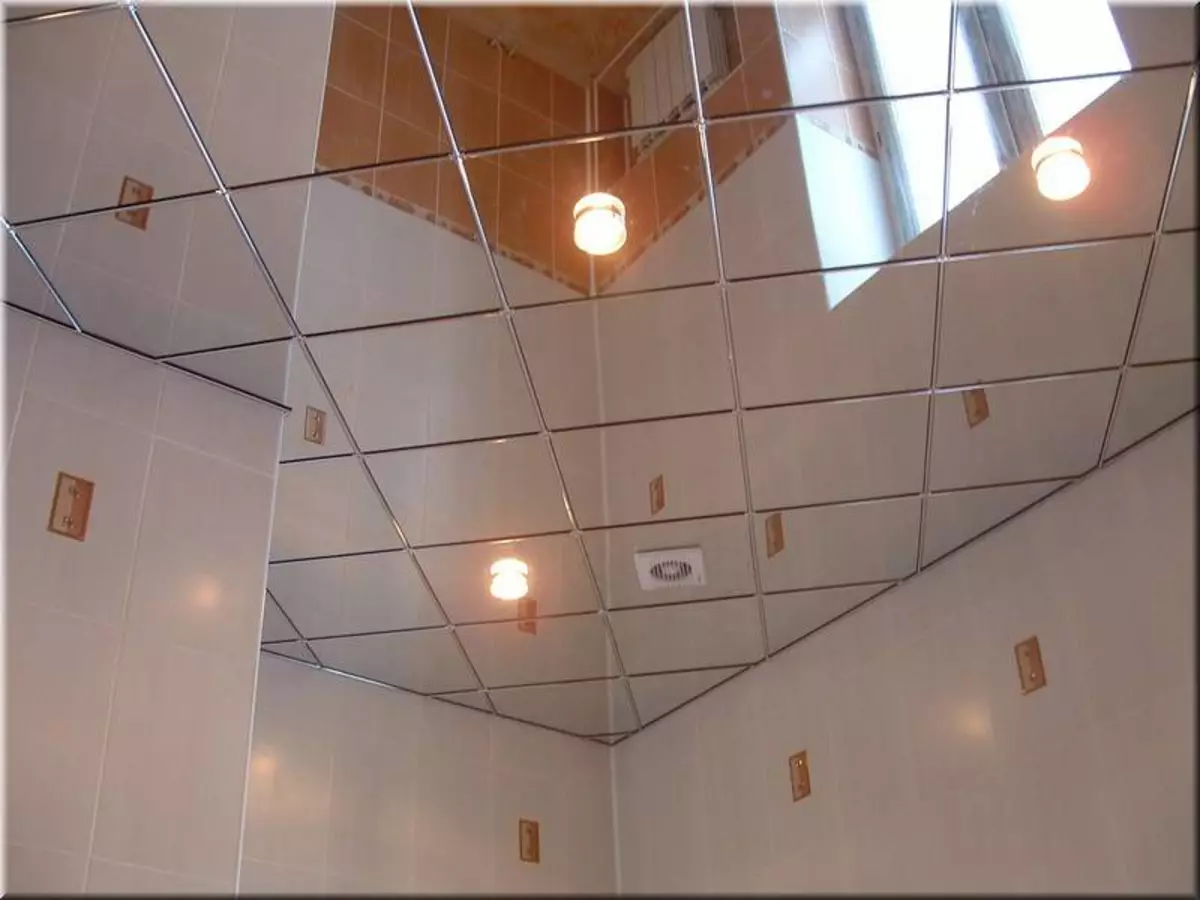
When finishing the ceilings today, unexpected and original solutions are becoming increasingly. One of these examples can be a mirror ceiling that can visually expand the space.
Glass classic plates on the ceiling are glued or fastened with special self-drawing.
Make a mirror ceiling with your own hands is not so difficult, as it may seem, there are many installation options . These are unusual, but beautiful rhe ceilings, hanging plates and mirror tiles that are glued or on the entire surface of the ceiling, or only on its selected part.
Options for mirror ceilings
Make a mirror ceiling with your own hands possible. There are several options:
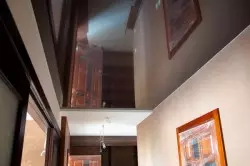
The darker the glossy film, the stronger the "Mirror" effect is manifested.
- Tension materials can be used. A special PVC film is used, it has a high effect of reflection. Such materials can be used for any room, the installation is performed exactly as for any other stretch ceiling. You can make beautiful multi-level structures with cornice backlight.
- Polystyrene products on adhesive basis. This rolled or slab material is based on polystyrene. Outside it is covered with a polyethylene special film. This option is not recommended for wet premises. In addition, the material can not be heated.
- Rush ceilings in the form of plastic or metal plates with a mirror surface. Usually it is a narrow long panel.
- Glass classic plates that can take different shape and color. On the surface glued or fastened with special self-draws.
Preparatory work
Calculation of the mirror ceiling.
To make a mirror ceiling with your own hands, you must first prepare the surface to work, select material for mounting.
Preparatory work:
- First, it is required to correctly calculate the amount of material. It all depends on the shape of the tiles, the area to which they will be glued. It is first necessary to make a diagram demonstrating the location of individual tiles, taking into account their shape. So it will be much easier to calculate the area, given the position of the material on the surface of the ceiling and the size, the form of each element. First you need to find out the area of each tile, then the entire surface that will be swollen. Dividing the total area to the value of each tile, you can get a quantity. If the entire surface of the ceiling is seven, then it is necessary to leave about 5-10% on the climb. The amount of glue is calculated depending on the flow rate.
- After you need to prepare the surface of the ceiling to work. It should be smooth and smooth, whitewash or paint should be carefully removed. Then the plane carefully examines if there is a need, then all defects are eliminated. Stucco applies for alignment. If the irregularities are strong, then it is necessary to use drywall. If the mirror ceiling is used in the kitchen or in the bathroom, you need to purchase the surface-resistant drywall surface to align the surface.
- The plane should be treated with a special primer, it must dry in front of the trim.
Article on the topic: Embroidered paintings by Cross: Cross are great, photo, like fast, video and gallery, drawing on canwe, flowers and frame
Installation of a mirror tiled ceiling
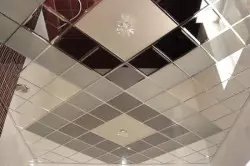
The mirror ceiling can be made in various ways, but the simplest is the method of gluing tiles to the ceiling.
Next, you can start setting mirror products. Such work can be performed by one of the proposed methods:
- You can use only special glue, which allows you to quickly and easily perform work.
- You can mount tiles using special self-tapping screws whose heads have a decorative surface, i.e. They become on themselves a means of registration.
The embodiment is used most often, but it is only suitable for a smooth surface. Special experience is not required, you only need to prepare the plane. The installation process is as follows:
- The surface is necessarily processed by the primer, which has already been said, its layer must be completely dry before the tile will be glued.
- The glue with the spatula is applied to the surface, the layer should not be too thick or thin. The glue after applying should lightly dry up to improve adhesion.
- Next, the spatula must be adopted glue around the perimeter of each mirror tile. When installing it, it must be tightly pressed to the plane section with glue.
All connections must be performed high quality, each element must be glued firmly and securely.
Otherwise, a beautiful mirror surface will begin to disappear. Work is best in gloves so as not to leave traces from the fingers. Press each element of the coating is needed by a rubber special roller.
For work, we need certain materials and tools:
- Mirror tile of necessary shape and sizes;
- glue for tile;
- building level;
- Set of metal spatulas;
- putty;
- start and finishing primer;
- Rubber roller;
- Protective gloves.
Molding Mirror Tile Methods
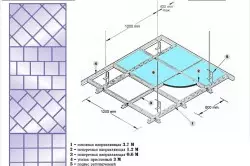
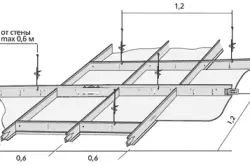
Mounting scheme of mirror plates.
Molding with self-drawers is different from gluing, if necessary, you can remove any tile and replace if it is damaged. This method is used if it is not possible to level the surface or it is necessary to place the ceiling space as quickly as possible. However, with significant differences, this method is not recommended, the surface is best prepared.
Article on the topic: We use curtains from velvet and velor in the interior
To make a mirror ceiling with this method, it is necessary to prepare the following set of materials and tools:
- Mirror tile;
- decorative special self-tapping screws;
- drill;
- building level;
- protective gloves;
- pencil.
The work is done in this way:
- First you need to calculate the number of products and screws. After that, the markup is performed.
- The drill is done by fastening holes for the tile itself and for the plane section.
- Decorative tile screws is screwed to the surface of the ceiling. While driving holes, it is necessary to apply a tile to the base so that all the fastener points coincide. It is desirable for each element from the wrong position to make the position marks that will match the marks on the ceiling. Then the installation will be rapid and easy.
The mirror ceiling is an unusual, but beautiful surface design option. It is possible to make it in a different design, but the simplest is the option of gluing tiles to the ceiling on a small plot. This makes it possible to highlight a certain space, make the interior more attractive. The work itself is simple, you can cope with it, not even having much experience.