
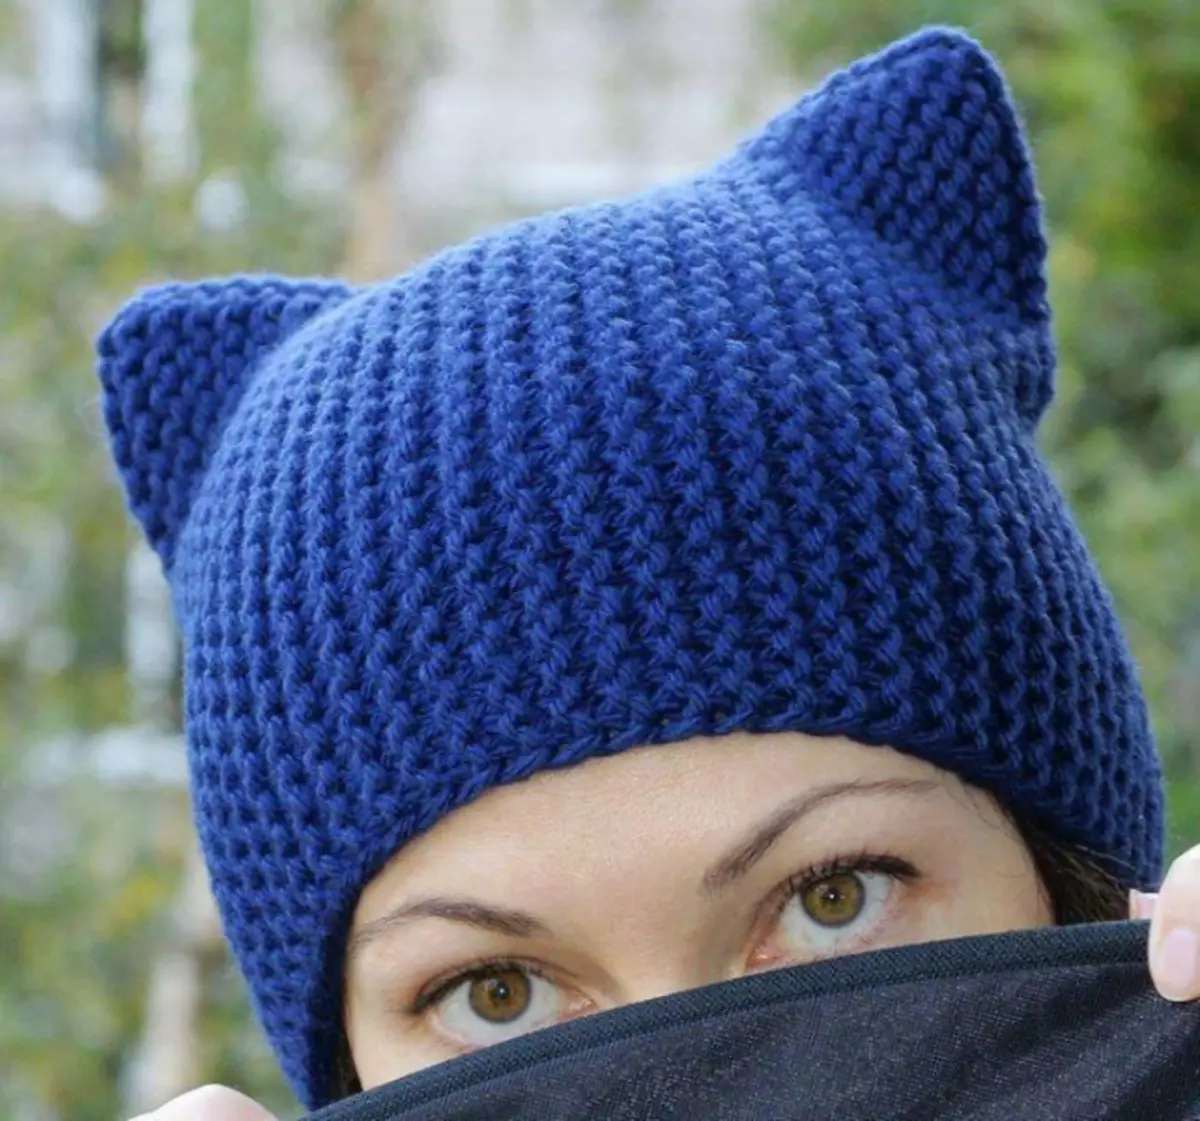
A variety of products (toys, souvenirs, decorations, crafts), made by their own hands, have always been valued all over the world, and recently they become unusually popular. Here among the young masters has recently begun to gain the popularity of Kotoshachapka, the description and scheme of which are provided in this article. This hat is perfect for the demi-season season when it becomes cool, but not so much cold. Knitting the headdress will be able to both a beginner who mastered the initial theory and practice.

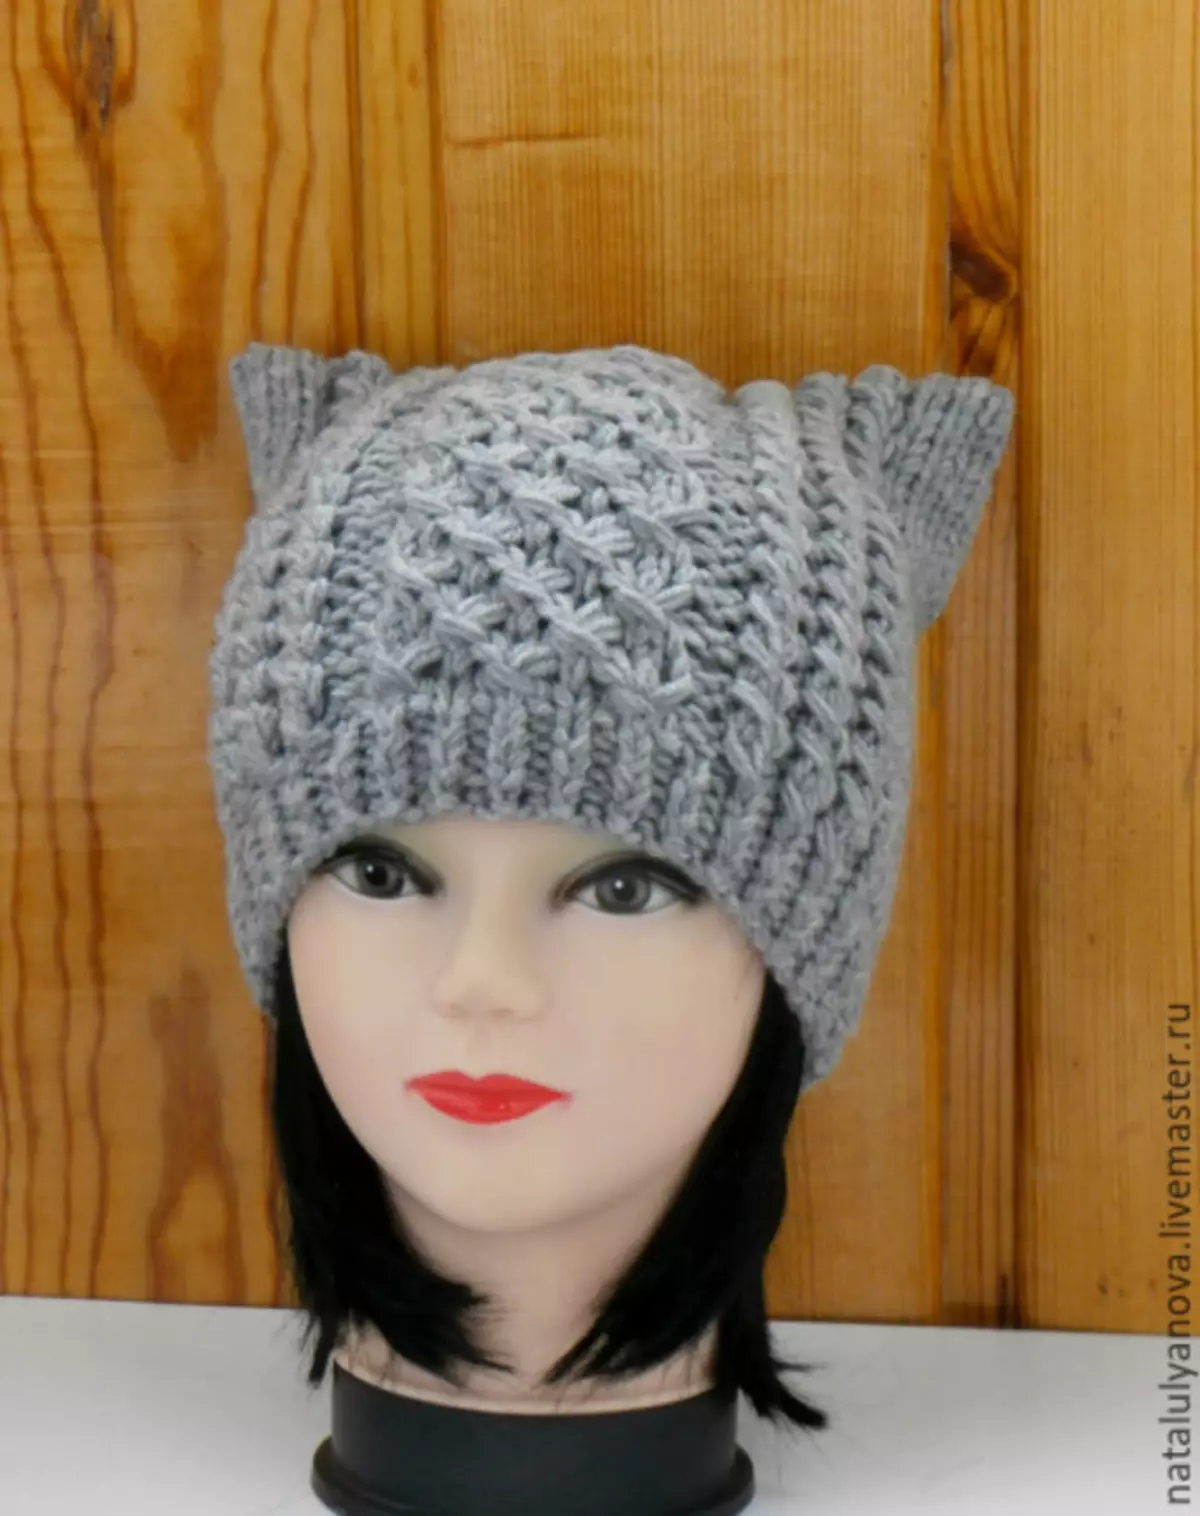
Cute headdress
First of all, we step by step will see the entire process of making koteoshamapki with the knitting needles with your own hands, which is presented on the example of the master class with a detailed description and photos.
To start work, we need to prepare all the materials, namely: yarn, needles, hook, needle and centimeter (if it is not at hand, then focus, trying on the product on the head).
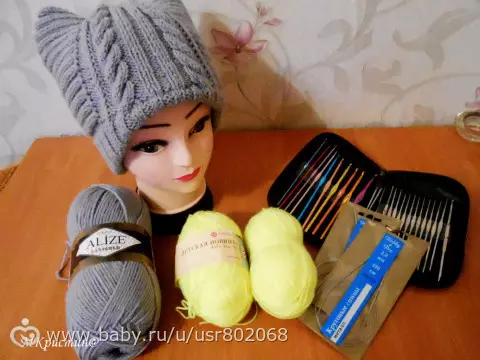
As yarn took high-volume acrylic (very soft and not spiny). Let's knit in two threads. Most often, the yarn is indicated by the number of loops that are tied in a square 10 by 10 cm. The number of spokes is also indicated. But if you want a product tightly, then you need to take the needles for size less.
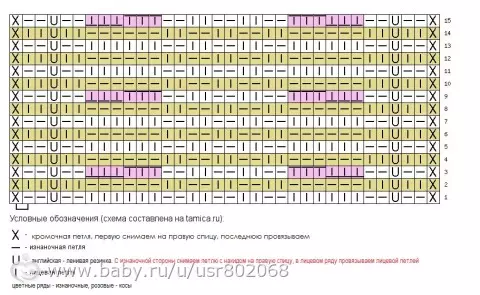
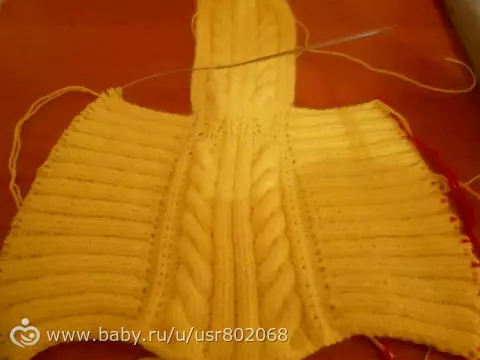
First of all, we must calculate the desired number of loops (thirty-four loops, as in our case). We begin to encourage the drawing according to the scheme. The diagram of the figure is presented below. Color cells depicts the invalid rows, and pink space of the brain.

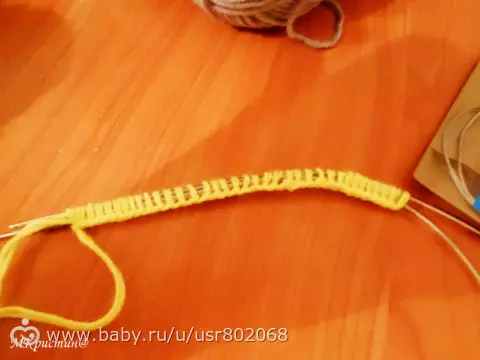
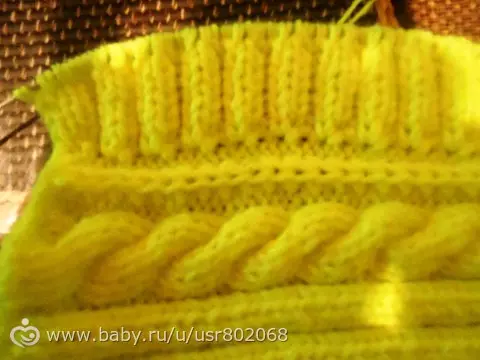
Now we also suggest considering the process of knitting the English-lazy gum. It will be very useful for those who first encountered it.
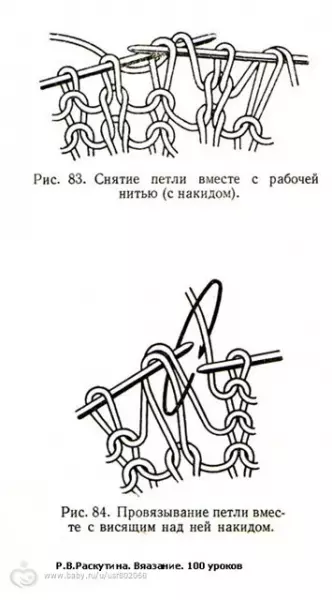
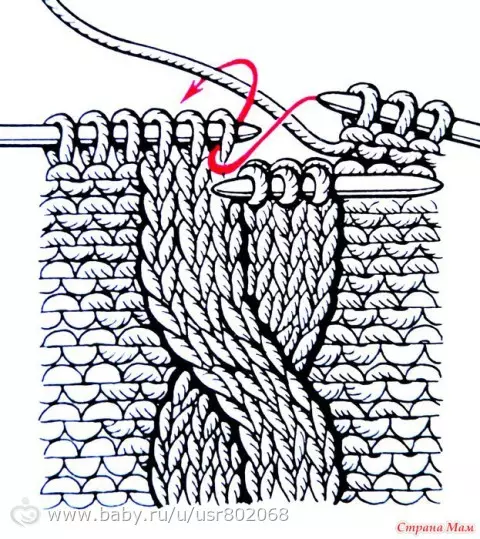
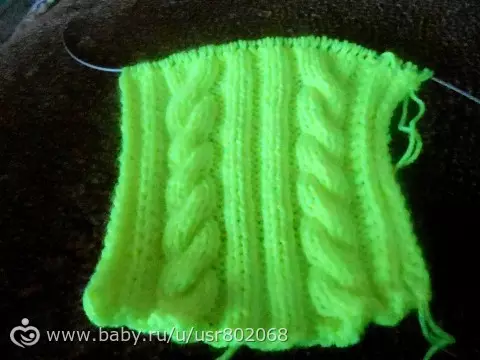
Also consider how the braids knit.
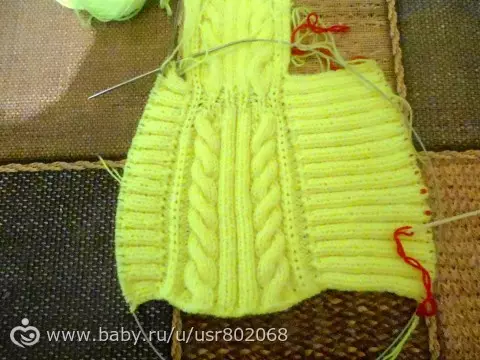
We are signed by seven / eight transitions and continue to knit further in all the well-known scheme.
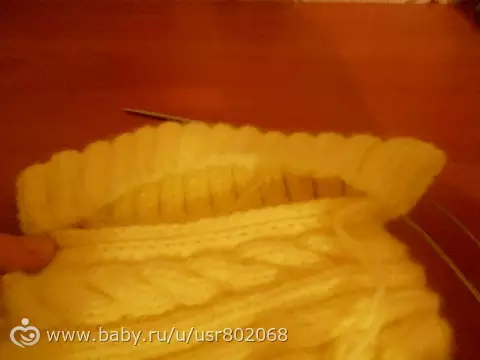
At the last transition (seventh) you need to start making a reduction. This is shown in the following scheme, which was typed specifically in the editor. If difficulties arose, then through one photo there will be a scheme made by hand.
Article on the topic: 5 class flavors for the car do it yourself

Here is a drawing on paper.
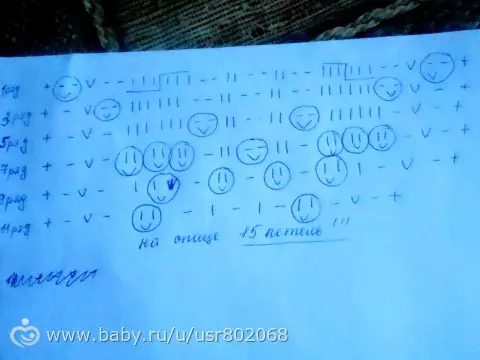
We make a reduction with each nearby, all must come out fifteen loops.
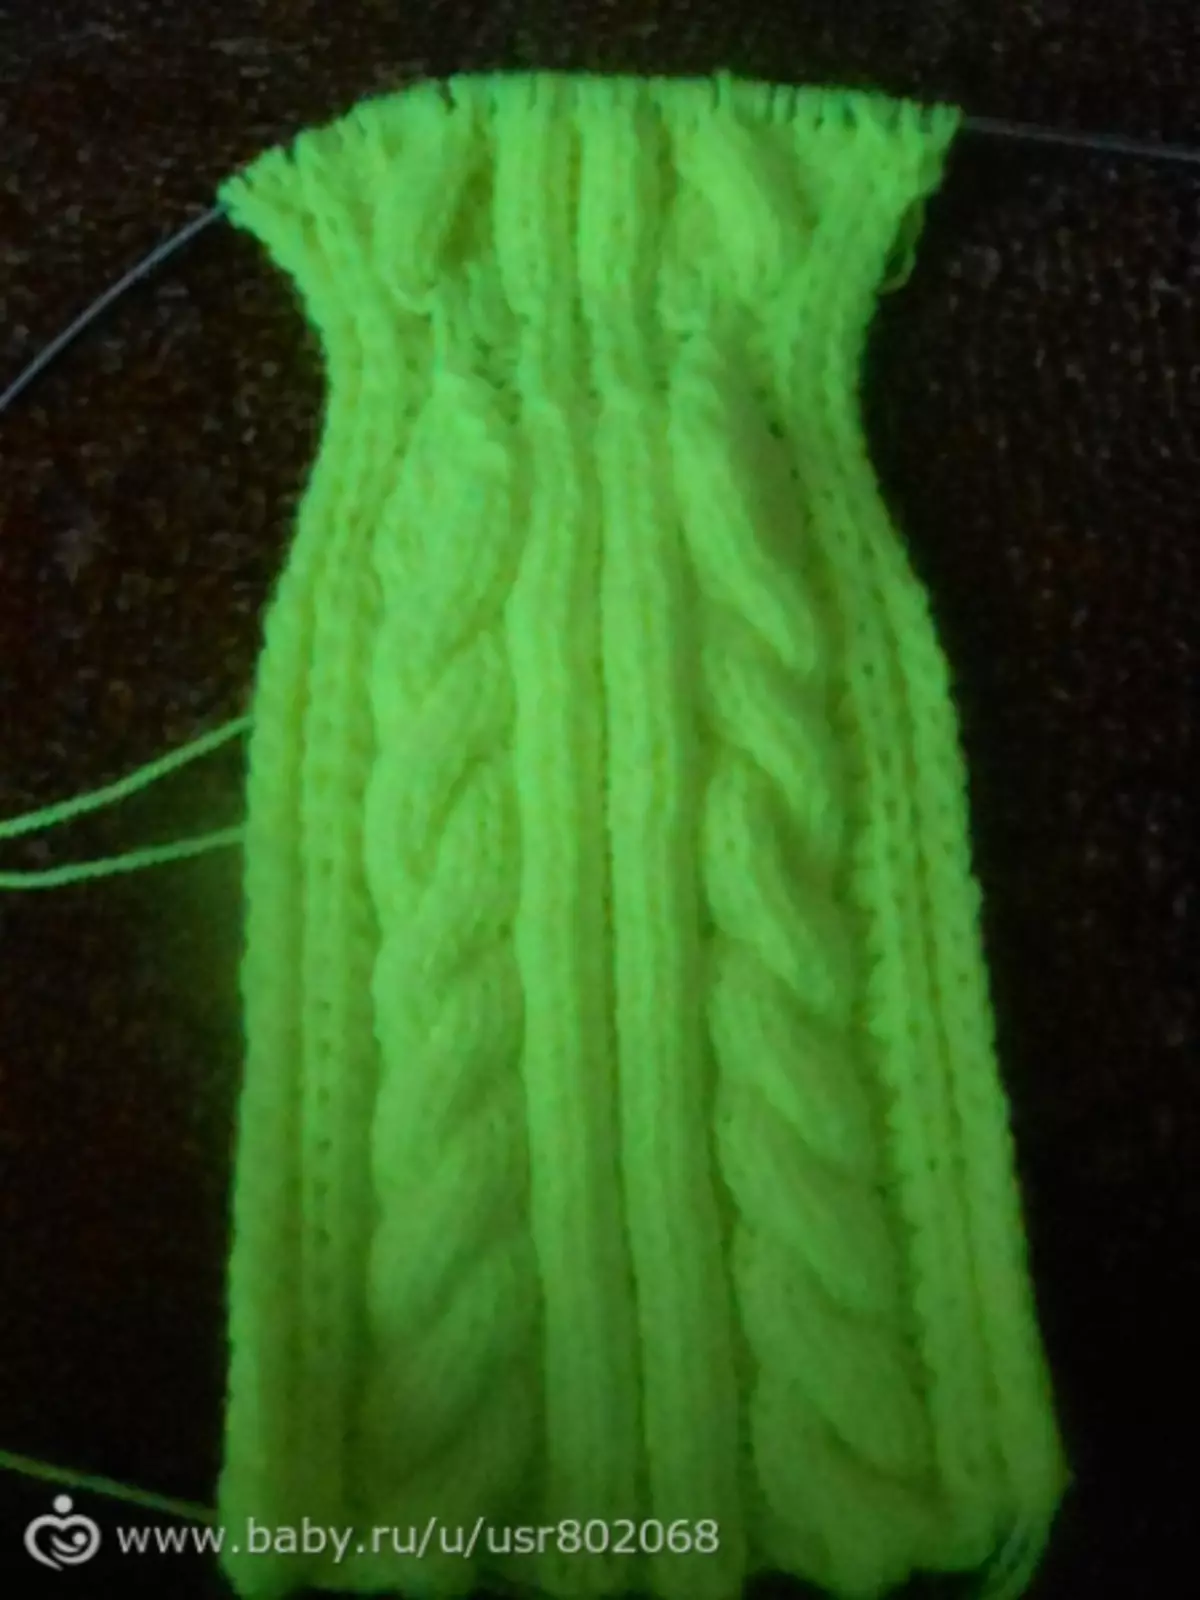
We repeat knit, in this case mirror. We begin to continue the loops with the same amount as they have gone. With each next to make an increase. That's what should happen in the end:
Measure the girth of the head of the child, we look at how many cm, we multiply the number of loops of 1 cm per number of see in our case the girl's girth of about forty-eight cm. Calculate the required amount of loops and knit a rubber band. The loops at the end do not close, but simply insert the needle with a contrasting thread.
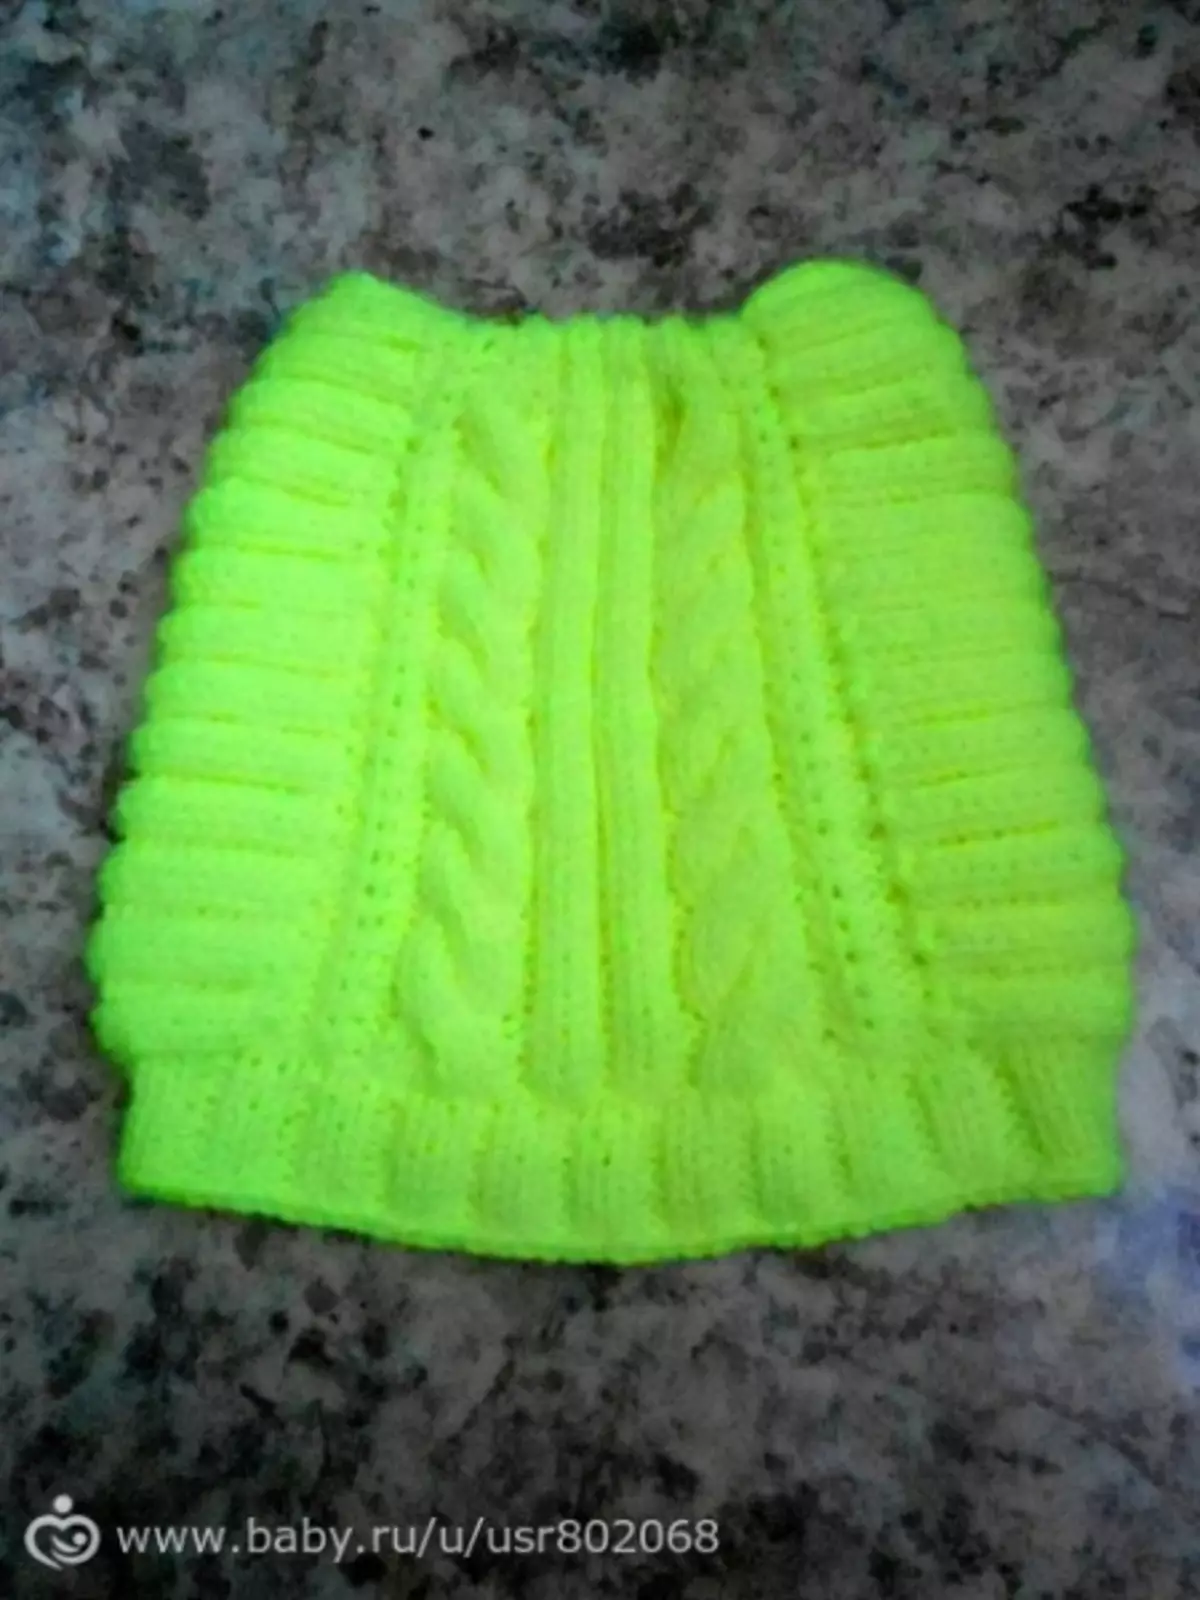
That's what we did after we had accounted for both halves:
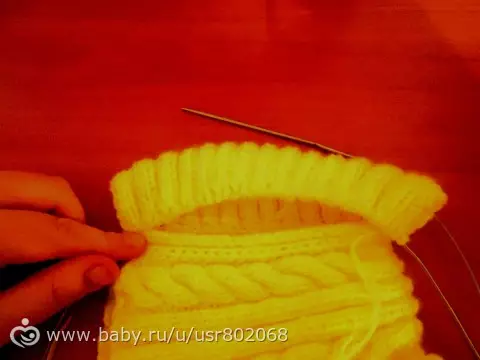
We take a needle with a thread, wrap one top side and stitch as shown in the photo. We highlight the ears and flash the hat around the edges.
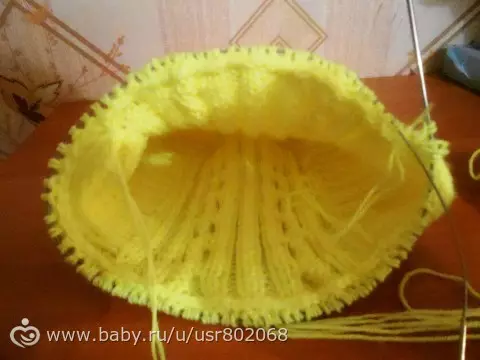
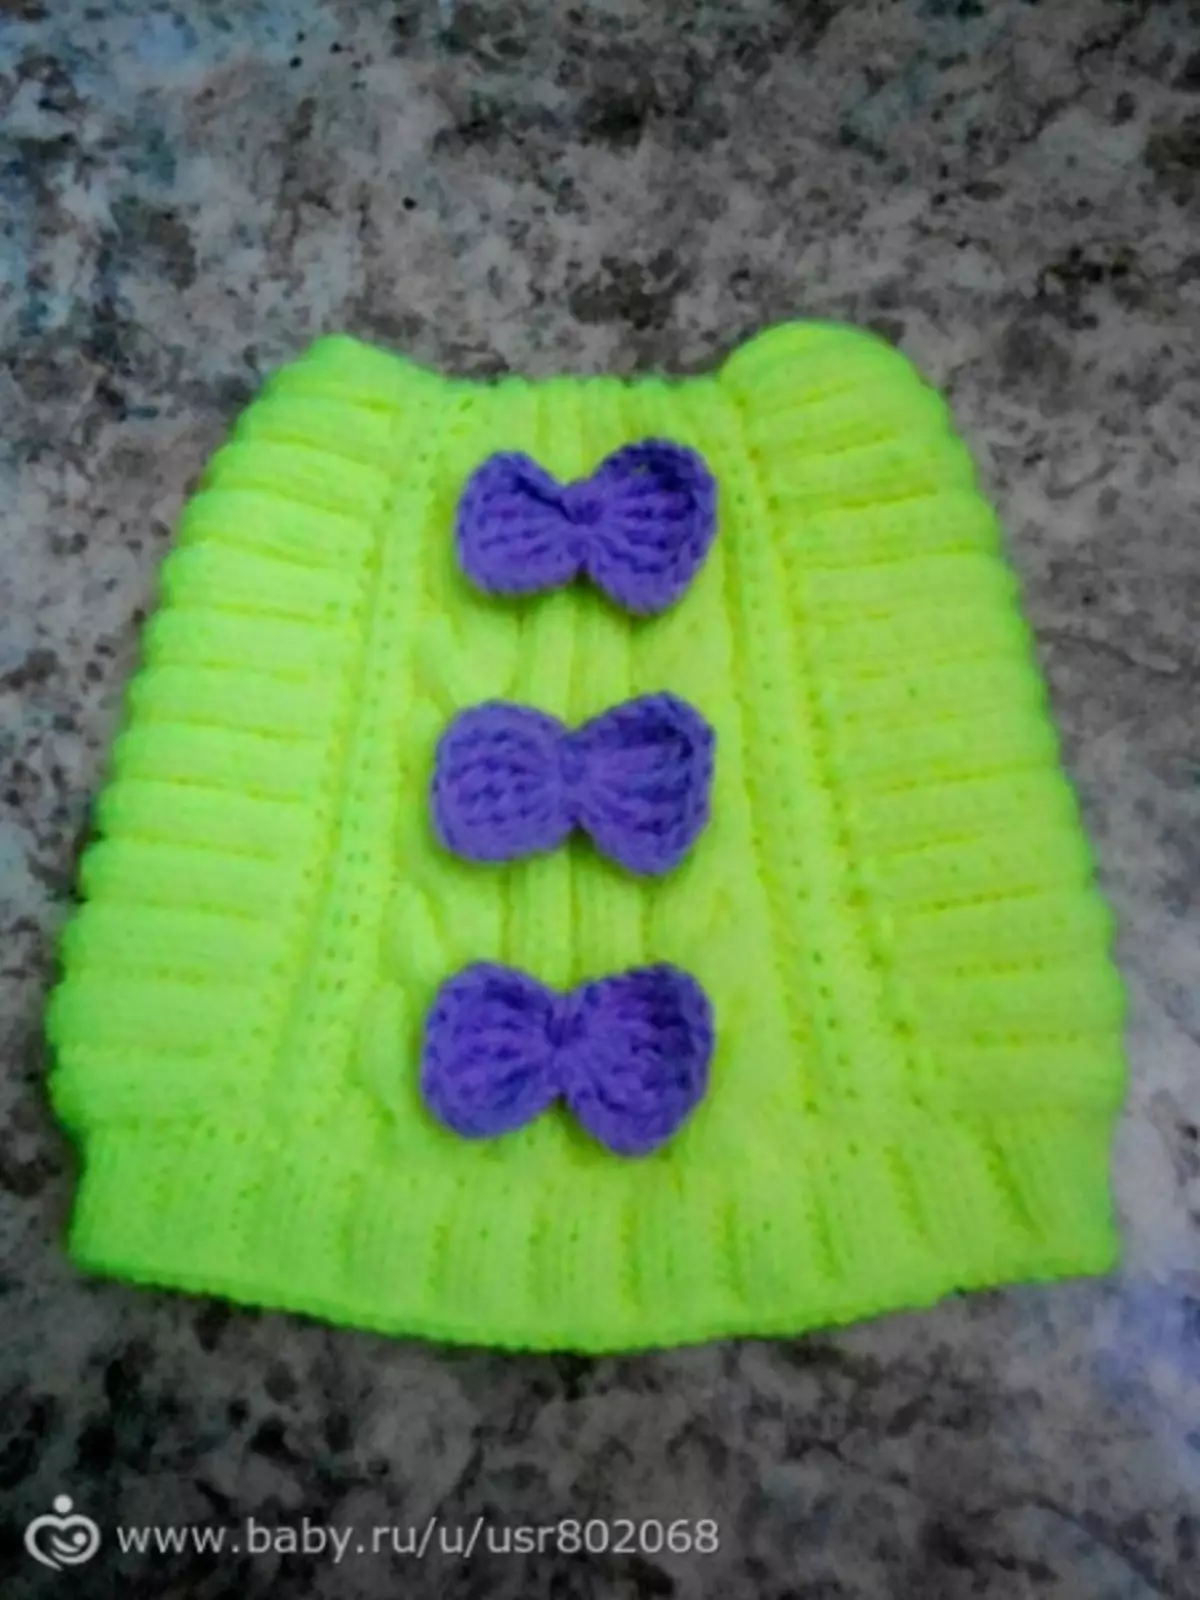
We close all the loops and put on a child. Behind, we sewed a couple of clutch bows.
Here is such a pretty kitoshaper for the girl we turned out. But not only girls are suitable such hats, as well as girls and even women. Knit, wear and feel free.
What about the first washing? We have a small secret. We wash the hat for the first time manually slightly warm water with the addition of a children's shampoo. Then we clamp with water, slightly compress and put in the package. After that we put this package for ten o'clock in the freezer. Thanks to this method, the product will be softer, it will not be born (if it is breaking to it) and there will be no spikes (if they were). Then we rinse the hat in warm water and put on a terry towel. It absorbs all the water, and then have a hat on a jar or a bottle.
Article on the topic: Top strapless do it yourself
Video on the topic
We also offer to see a selection of video master classes. We are confident that it is this selection that will be useful to you. In these videos, experienced craftswomen will tell more in detail and show how to tie the knitting needles.