
In the article, our website vse-elektrichestvo.ru will tell how to assemble the shield of electricity metering of the country house by 220 V. The assembly process is a responsible task, so you must be completely confident in your abilities. If doubts, then it is better to trust this work to professionals.
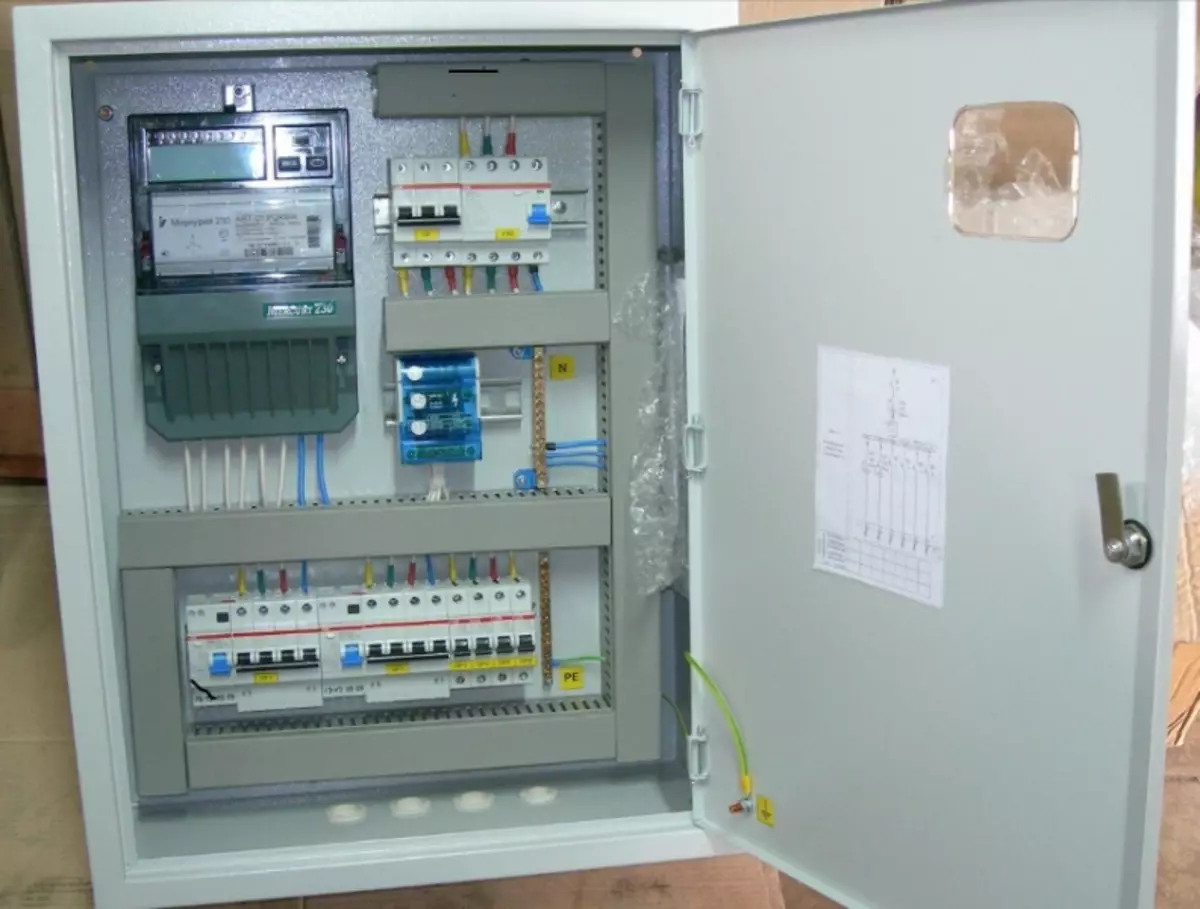
Electricity Master Case
Shield is needed to account for electricity that you consume. Therefore, the main elements in the design is the counter. If you make an error when installing, then a short circuit may occur. Before starting, you first need to draw a preliminary assembly scheme.
Number of circuit breakers
Pick up the shield in which you will set all the elements. Its dimensions depend on the number of circuit breakers that will be installed later. Of course, if you wish, put the switch for each outlet or switch, but it will be superfluous. If the consumption in the house is large, then 2 rooms can be connected by one pair of automata.
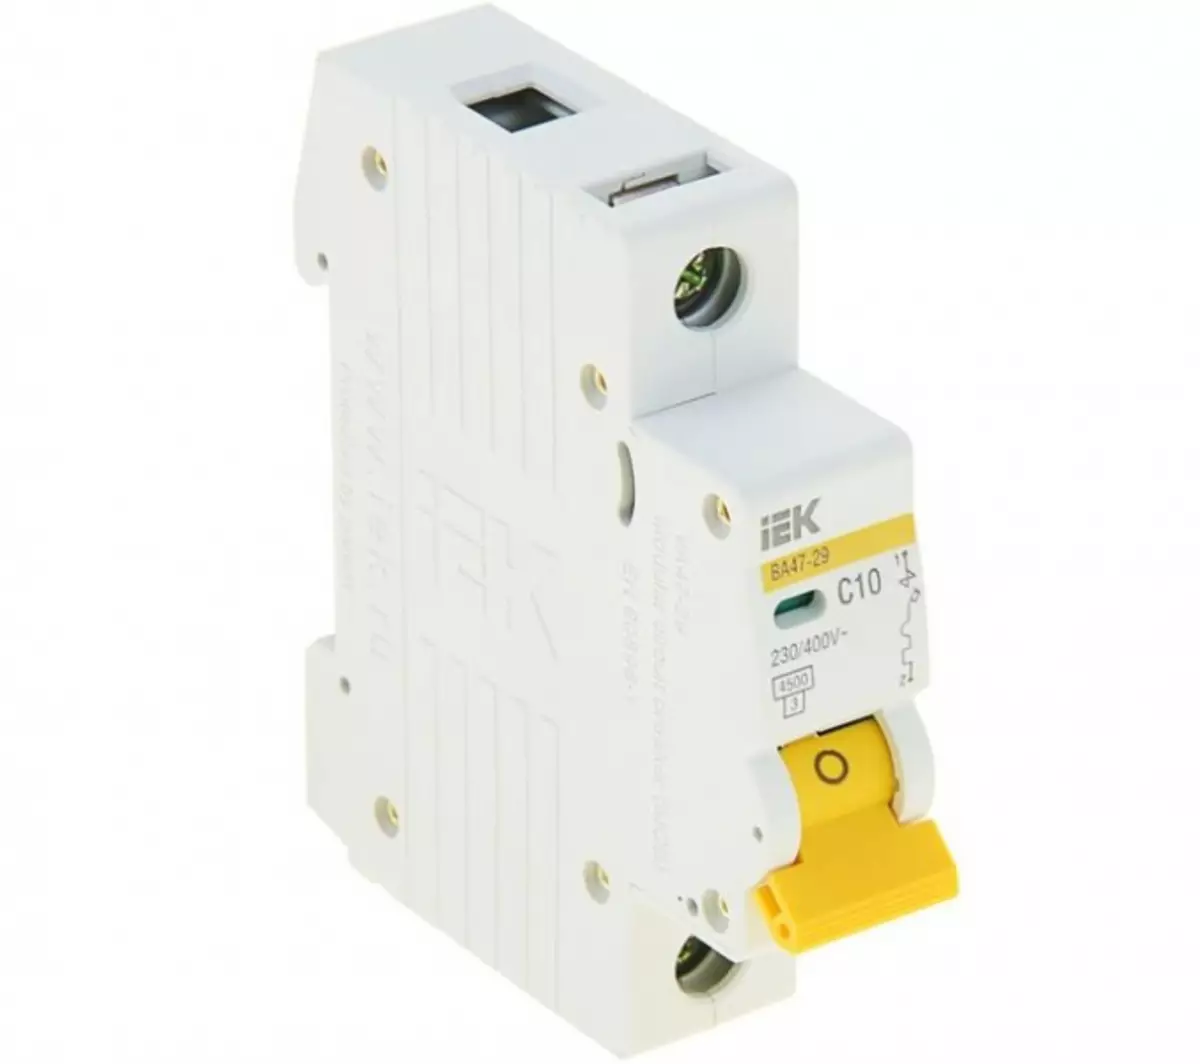
Single-pole circuit breaker
If the device in the house consumes more than 5 kilowatt, then it should be connected to a separate line, and according to a separate automaton. Also, many electricians recommend connecting a washing machine through a separate machine.
Power selection
Machines need to be selected depending on the cross section of the wiring. It is necessary that the device can turn off before the wire starts to melt. For a wire, which has a cross section of 2.5 mm, it is necessary to set a ratio of 25 A. for a wire of 1.5 mm, you should select the automaton with a capacity of 16 A.Selection of Uzo.
Now you know how to choose automatic machines and it's time to deal with what the Uzo need to be set for the electricity accounting shield. Uzo is a device that allows you to protect the current leakage. It has the same denominations as automata. Need to neglect the installation, as you can expect unpleasant consequences. Most often with a short closure beats the current.
Article on the topic: Types of tool for stroke
What needs ops
We continue to disassemble the assembly of the electricity accounting shield by 220 volts and now it's time to consider another device that has the name of the OPS. This is a limiter of impulse overvoltages. To ensure correct operation - this device must be grounded. In the shield, the OPS system should be installed parallel to the introductory machine. The principle of operation of this device is quite simple, and it consists in creating a short circuit inside.
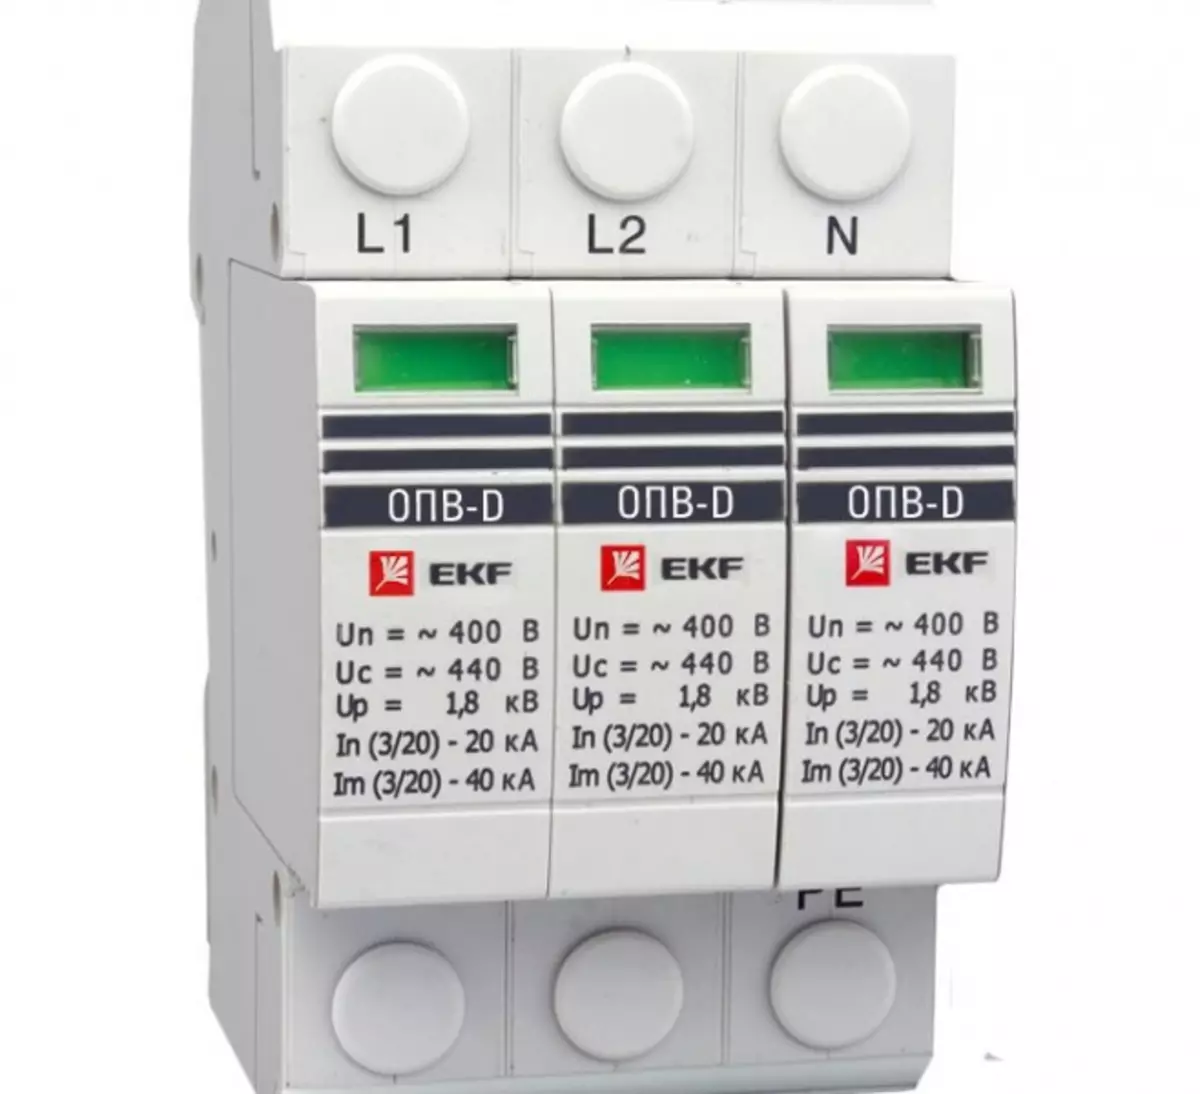
Pulse overvoltage limit
Specialists argue that this is a disposable device, and after the operation it needs to be replaced. The appearance of the OPS resembles a circuit breaker. However, instead of the flag on its design there is an indicator. If you connect the cottage plot to the power grid, then the installation of the OPS is mandatory. In specialized stores you can find the following categories:
- "B". This type should be mounted on input. It allows you to protect against lightning, as well as overvoltage.
- "C". Mount the device is needed in the distribution shield. This option is intended to protect the internal wiring, as well as circuit breakers. Category "C" today is the most common.
- "D". It should be installed on the consumer. OPS category "D" allows you to ensure reliable protection against high-frequency interference and overvoltage.
Now it's time to consider the main element of Schu - the counter.
Choosing a meter
All counters can be divided into mechanical and electronic. The first type is the most common and now installed in most homes and apartments. The electronic counter is equipped with a liquid crystal display, which displays all the readings. His error can be up to 1%. Now many models are equipped with additional features that simplify the process of use.
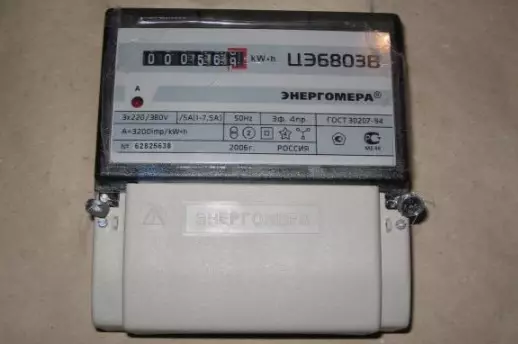
Design CE6803V Counter
This species can also be divided into one idaric and two-solid models. The second option considers electricity in two tariffs, so much more profitable. Another criterion is the class of accuracy, but it is not necessary to focus on it. The dimensions of the counter may be different. They do not affect performance. However, if you decide to complete it in the shield, then preference is better to give to small models.
Article on the topic: Freezer on the balcony in winter - can I put
Choice of accounting shield
If you have decided on all the elements that will be present in the shield, then it's time to choose a box. Schu can be plastic or metal. You need to choose depending on the operating conditions.On each shield there is a marking, where it is specified for how much circuit breakers they are calculated. The space for circuit breakers is better to select with a margin. It is also recommended to explore the degree of "dust-excrement."
Assembly process
Now it's time to disassemble how to assemble the accounting shield on 220 V. The assembly needs only according to the scheme. Once again we remind you that if you do not know how to build, then it is better to turn to professionals. Below is the assembly scheme in which the UDO and OPS is present.
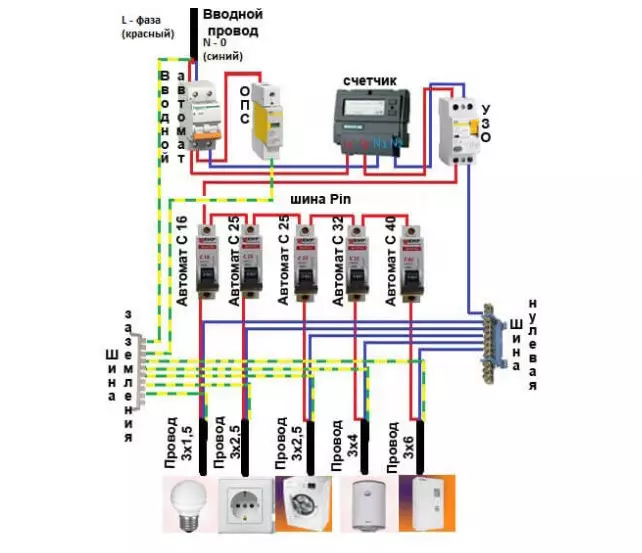
Electricity accounting shield scheme with Uzo and OPS
Start the installation follows from the introductory machine. Then, parallel to the introductory machine must be installed OPS. This device needs to be additionally ground. Then the wires of the phase and zero will go to the meter, and from the counter to the RCD. The phase of the Phase will be connected through all groups of automata, and the Wire "Zero" goes to the zero bus. Groups of automata between them can be connected to a special tire or jumpers. It remains only to connect "BA" with a feed wire.
Now you know how to choose and collect accounting shield. Tightening the contacts are necessary with the maximum effort, since over time they can relax.
It will be interesting: vse-elektrichestvo.ru/elektromontazh/elektricheskie-shhy/sborka-elektricheckogo-eshhita.html.