
Cosmonautics Day still does not pass unnoticed in the school walls. Active teachers often arrange exhibitions on space topics, where they represent the rockets independently made by students, flying plates, planets in all sorts of variations. In this case, without the help of parents, the child is unlikely to be able to do. And if you approach the participation in the exhibition more serious and "swalling" on the layout of the solar system with your own hands?
There is nothing impossible, and fulfill such a craft quite realistic in one free evening, especially when at hand, but rather before your eyes, there is a detailed master class that facilitates the task.
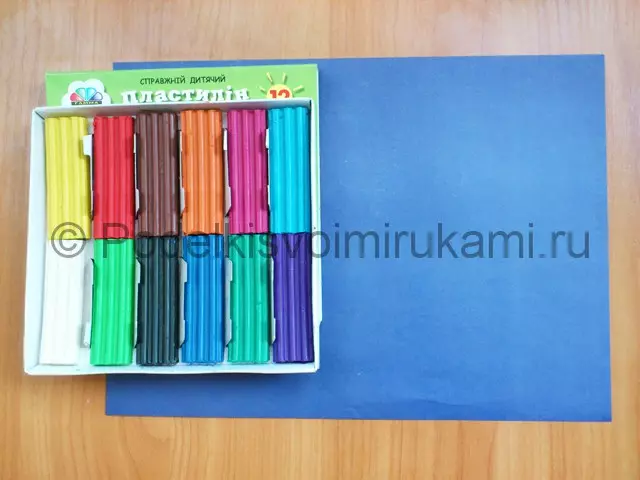
When restricting the time it is recommended to take the simplest material for the manufacture of the layout, for example, plasticine.
Plasticine Space
Crafts from plasticine may seem rustic. But the accuracy of the work and the brightness of the material allows you to get a completely presentable product at the output.

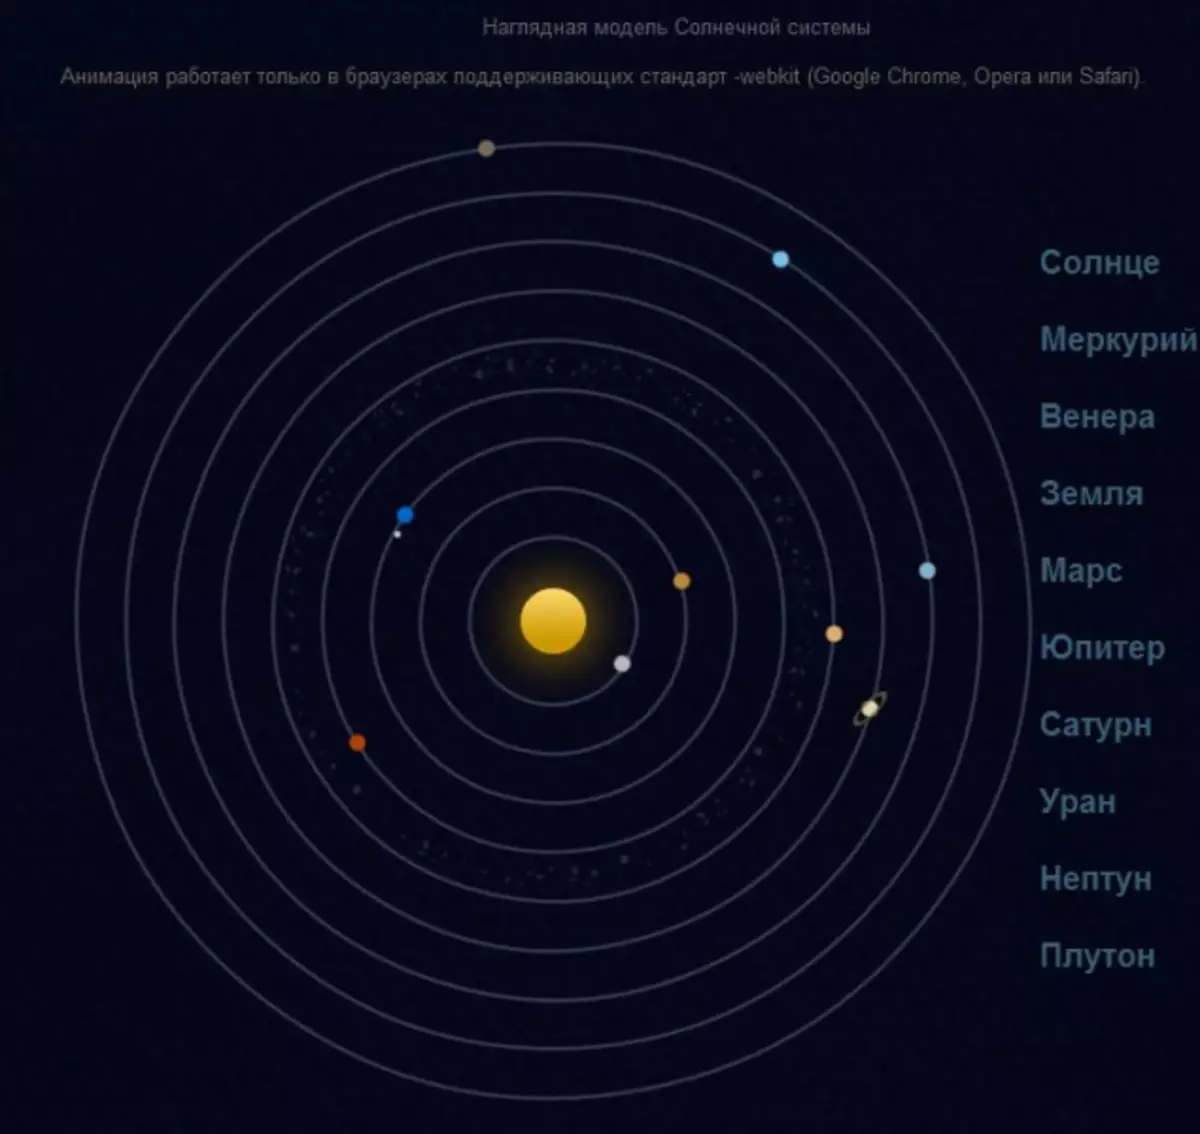
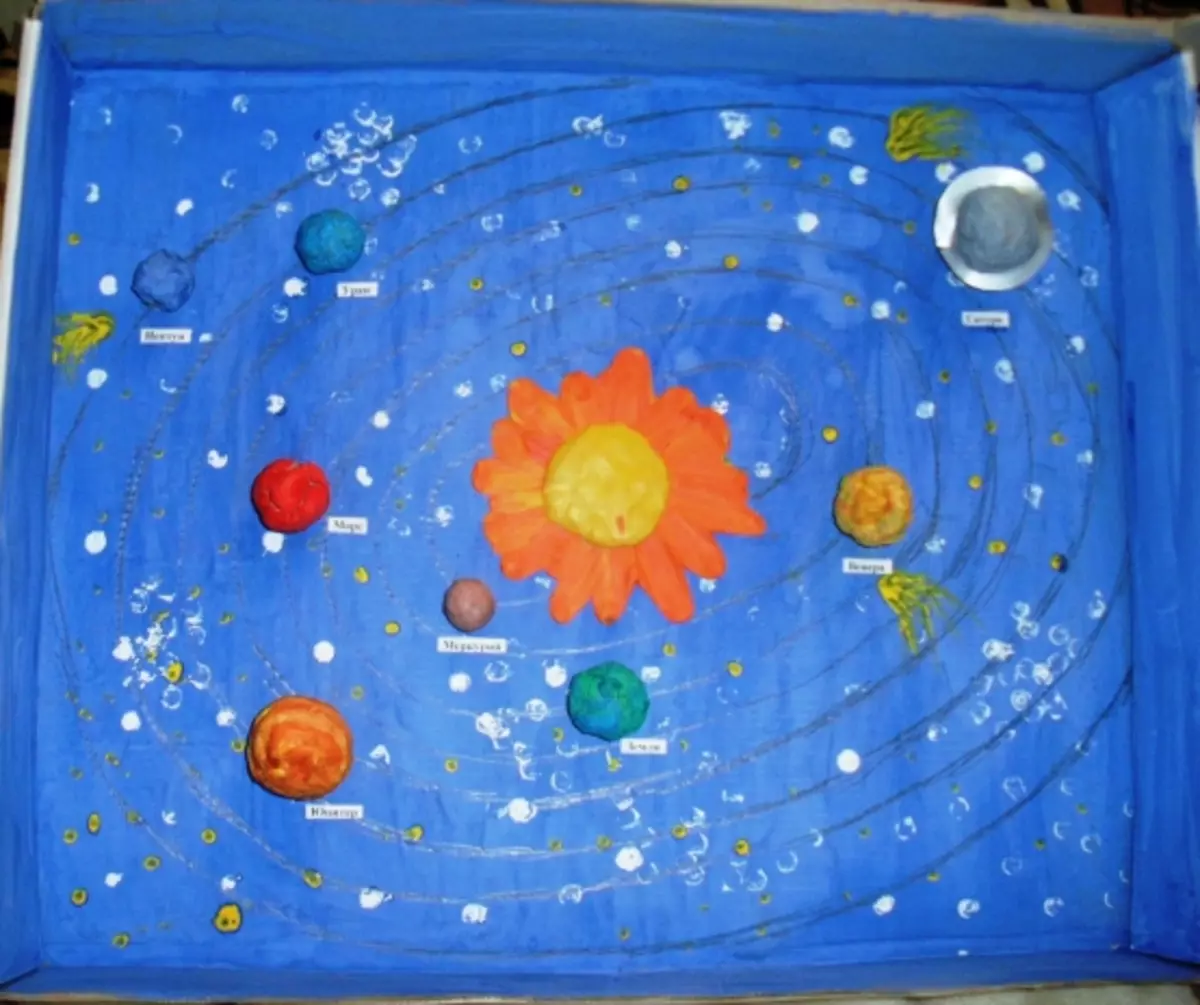
First of all, the parent need to remember the school course of astronomy. Namely, the number of planets included in the solar system and their location in relation to the Sun.
What will be needed for work:
- Plasticine of different colors;
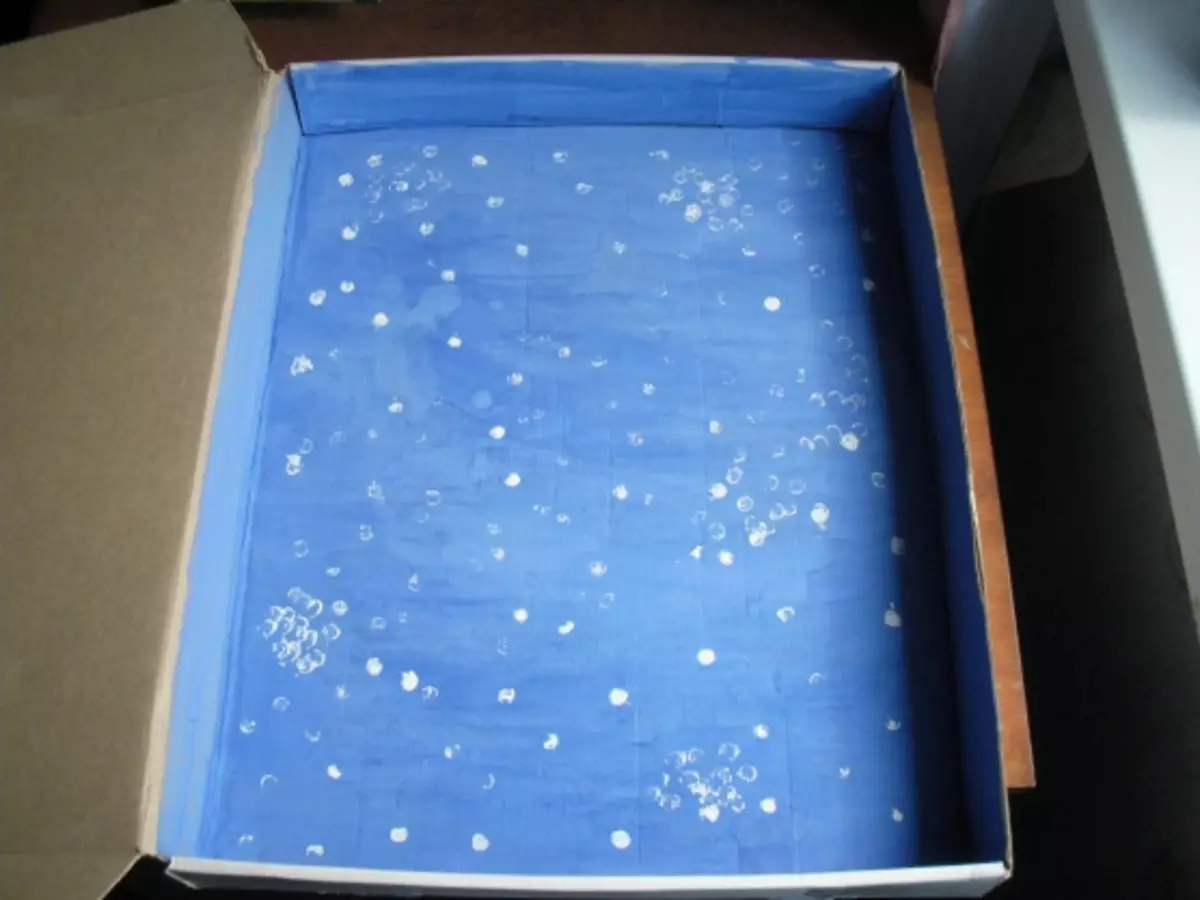
- Cardboard (black or dark blue);
- Wire;
- Match or toothpick.
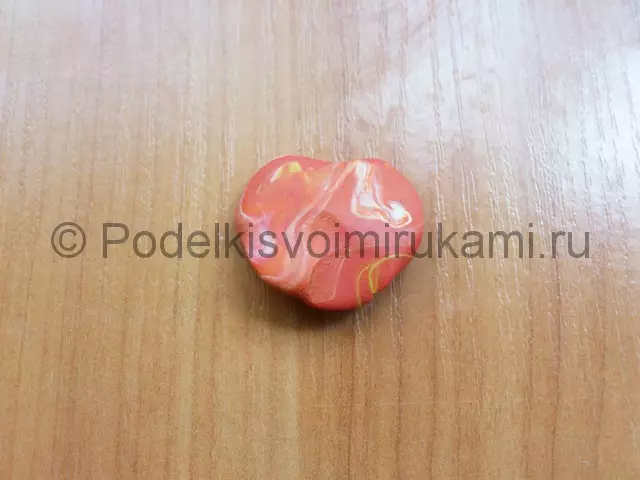
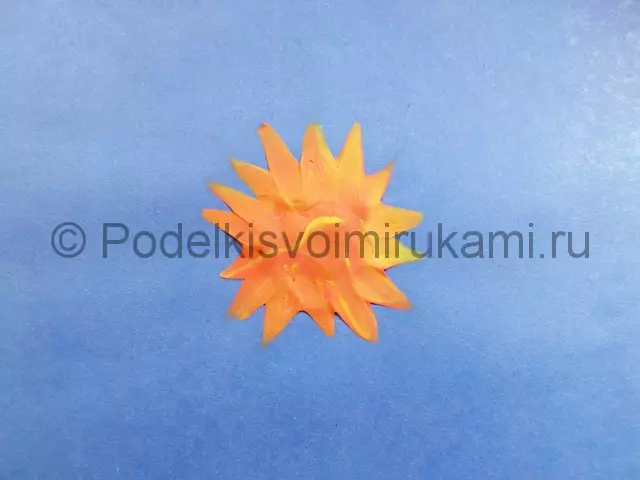
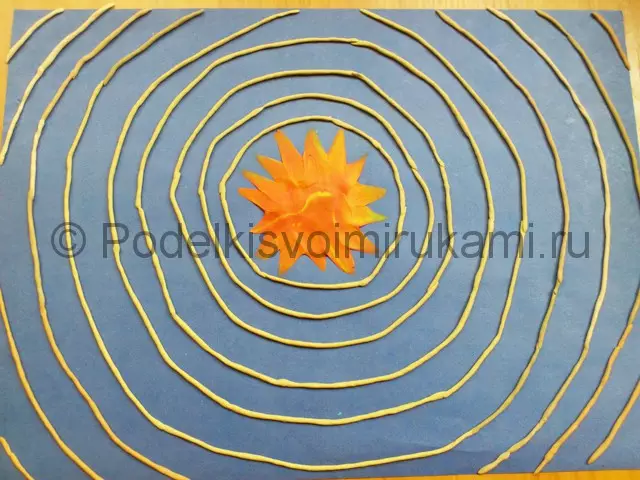
Standing from the sun. To do this, take three colors: yellow, orange and white. A three-color mass is created, while it is undesirable to make it homogeneous in color.
The lump pliers in the center of the cardboard, pressed and squeezed with his fingers in such a way that it looks like a sun rays.
Next of white plasticine twisted thin flavors. So the orbits of the planets will look like.

Billets need to be located on the cardboard nine rings around the sun.
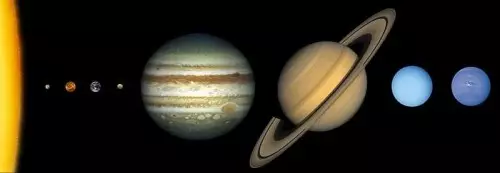
To adhere to the ratio of the size of the planets, it is worth paying attention to the photo below.
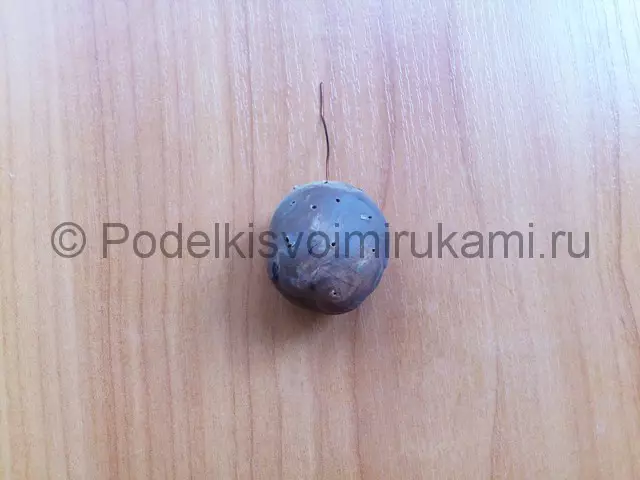
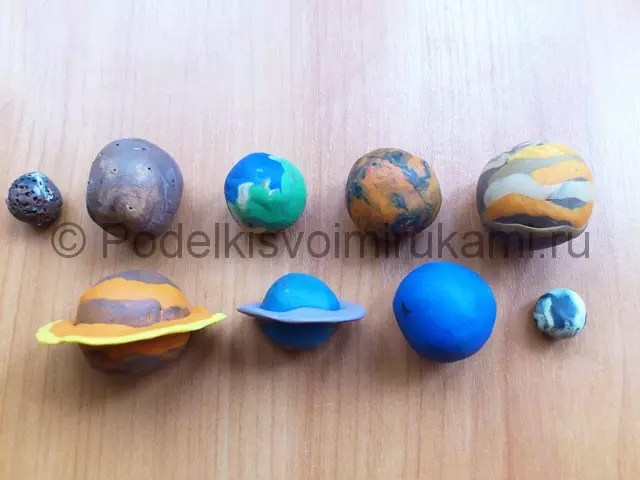
For Mercury's modeling, three colors are taken: gray, brown and white. Rolled in an inhomogeneous color ball. The end of the match or toothpicks are small holes on the ball. These are crater Mercury.
Article on the topic: how to make a beard for the gnome with your hands with sparkles and with flower
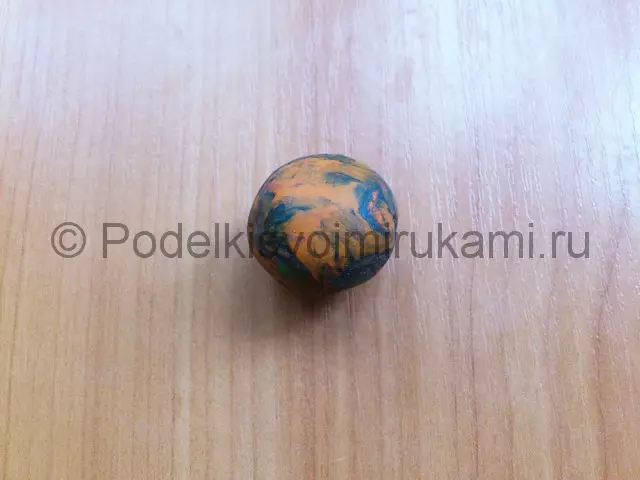
In the same way, Venus is created. In size, it should be three more more than Mercury. Color range: gray-brown with the addition of black.
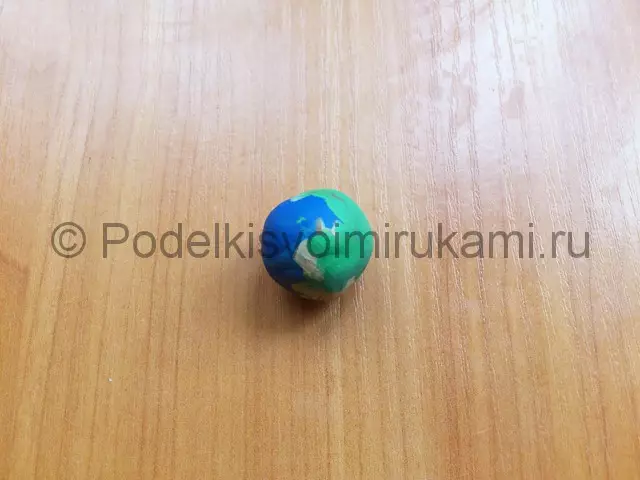
Wire use will help create a relief of the planet. Planet Earth is made of blue, green and yellow.
Mars is performed in black and orange gamme.
Jupiter should also try to make a slightly striped, applying brown, beige and orange shades in work.
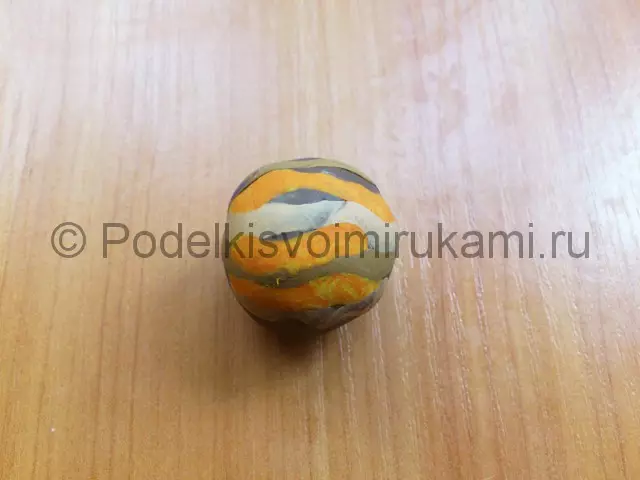
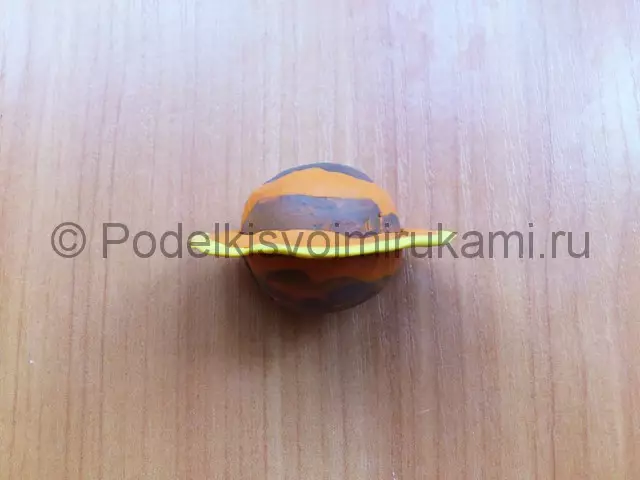
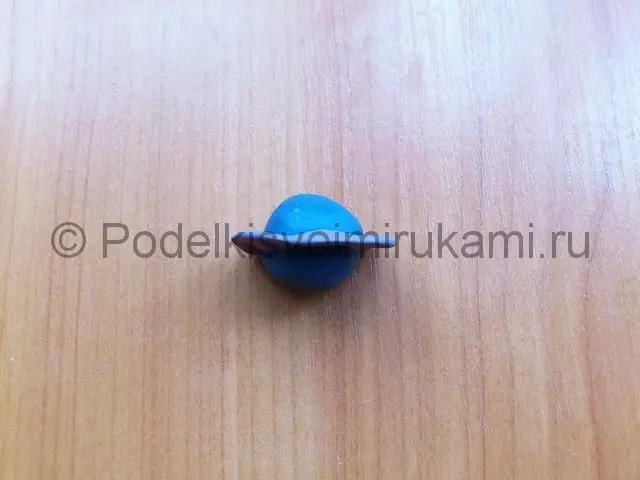
For Saturn modeling, the same colors are used as in Jupiter. The only thing to add to the Saturn put the ring.
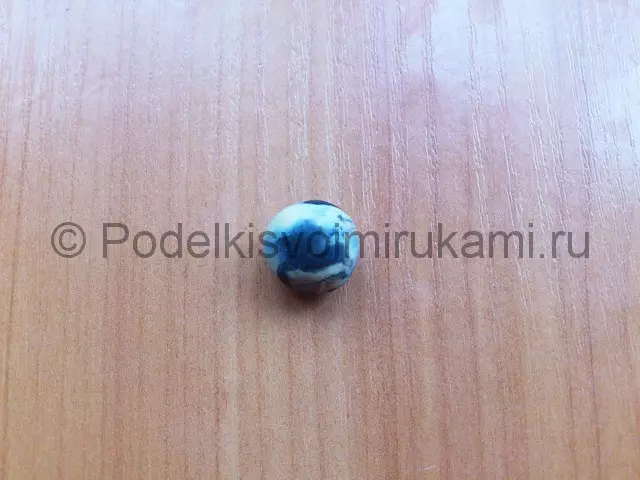
Uranium and Neptune are molded from plasticine blue shades.
Pluto is added to the solar system. At the moment, it is no longer considered a planet. But the snaps are timed to the Day of Cosmonautics, which is celebrated since 1961. At that time, Pluto officially was the ninth planet of the solar system. Therefore, it is also present in the layout.
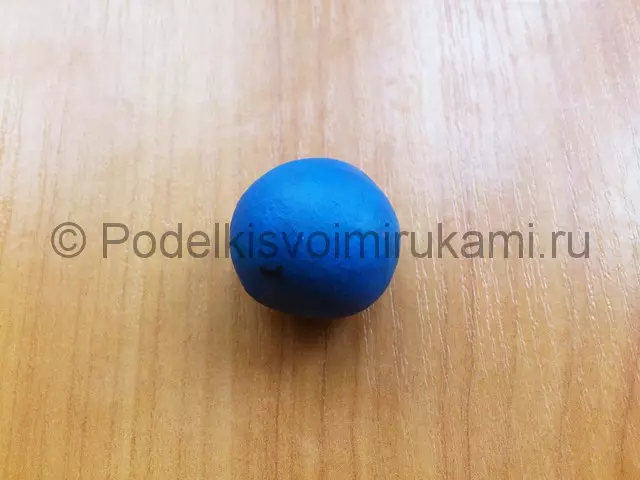
With the help of gray and white plasticies, the last ball is created.
Imitation planets are ready.
It remains to distribute them according to the appropriate orbits, and the layout can be considered completed.

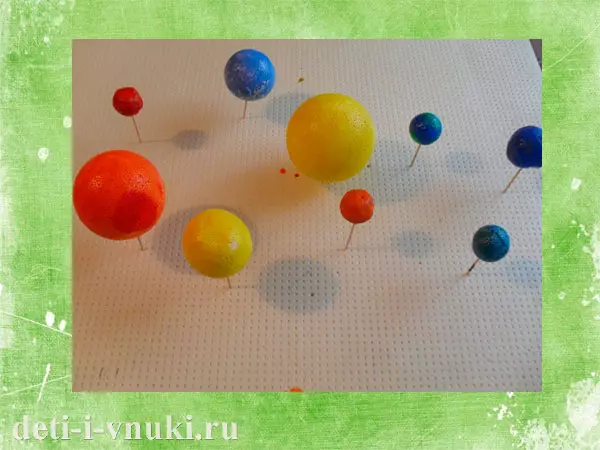
Interestingly also looks a model in three-dimensional dimension. To do this, only plasticine and several matches will be needed. Several planet balls should be cut in the corresponding colors. At the same time, the Sun is left in the form of a ball and no rays are simulated.
Plasticine balls are risked on matches, and other ends of matches should be stuck in the central ball - the sun.
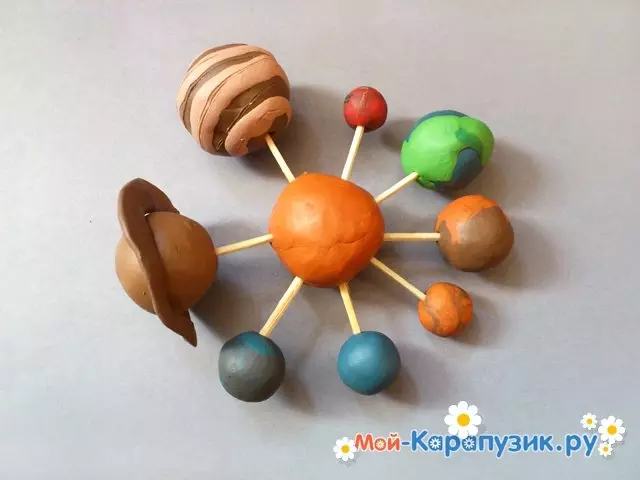
Mock is ready. Quickly and rather original.
The work is not difficult, so it is quite suitable for children. It is recommended to attract a schoolboy to layout layout. Treating over the model of the solar system, the child can easily explore the name of the planets and their location relative to the sun.
If parents have a large number of time for creativity, you can build a layout in the technique of Papier-Masha, or use bought fontoam balls and paint their paints.
Article on the topic: Cake from diapers with their own hands Step by step with photos, video and master class
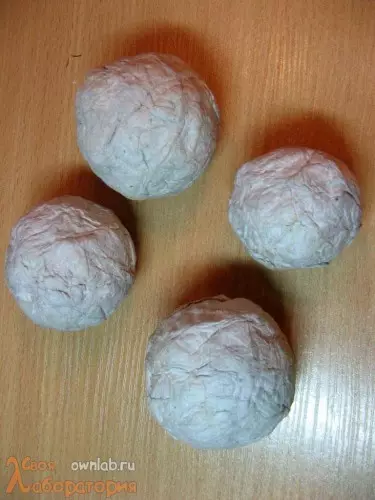
Some craftsmen manage to simplify Paper-Masha technique to the limit. How to do this: balls roll out of unnecessary newspapers. Then paper flows and presses.
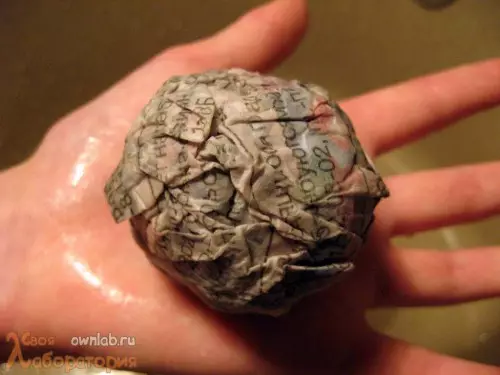
For a more uniform surface, a wet newspaper ball turns into several layers of toilet paper and again falls into the water.
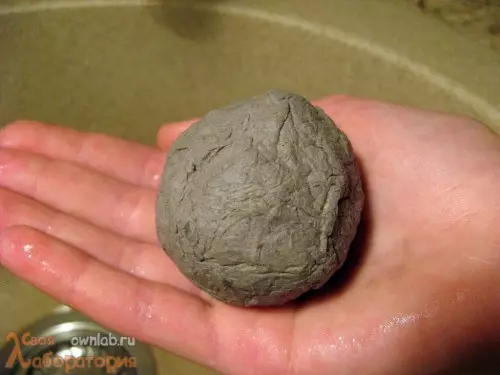
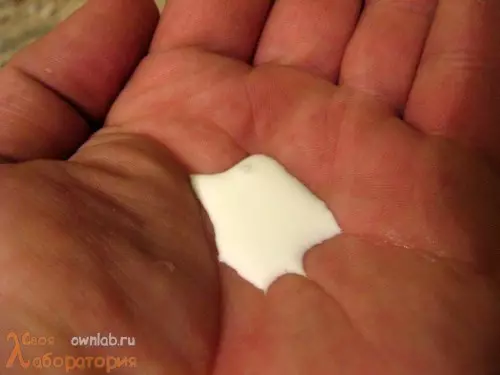
To secure balls, they should be deceived by PVC glue from all sides and leave to dry.
Next, paper planets are subject to painting with ordinary gouache.

Subsequently, after drying, they are attached to the prepared foundation.
Not only blue cardboard is suitable as the basis, but even a regular box from under pizza, pre-painted in the appropriate color.
Whatever material is selected for work, the main condition remains accuracy of execution. And then the layout created for school will decorate the exhibition with its originality, and maybe it will also take a prize place.