
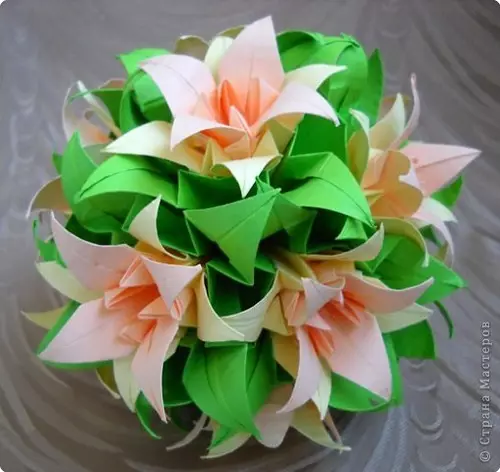
As a rule, such beautiful flowers like lilies are growing in the forests, mountains, swamps, meadows. They are used in decorative purposes, and in Japan, the White Lilia is considered a symbol of good luck. In this article, we offer ways to quickly make lily from paper with your own hands.

Option number 1.
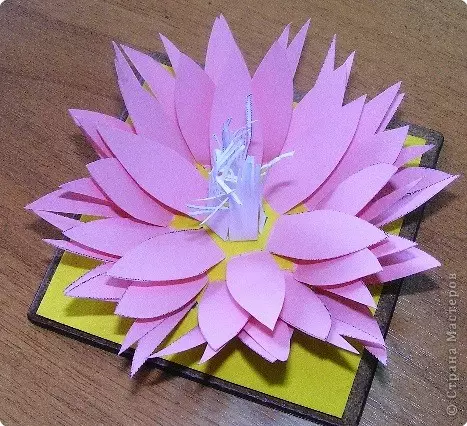
For the manufacture we needed watercolor paper, three beads, wire, some corrugated white paper, sharpener, soft rag, watercolor pencils, pva glue, knitting needles, scissors.
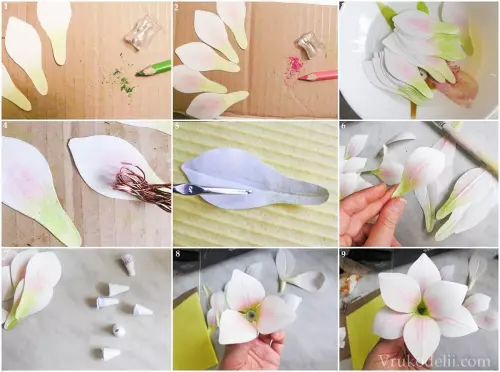
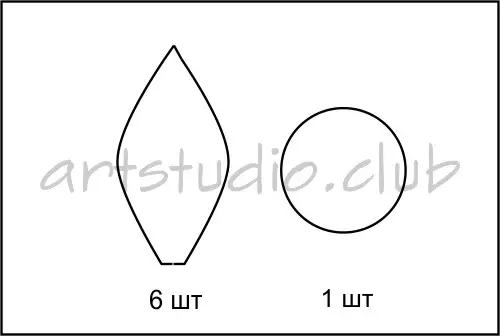
We draw a petal pattern (an example is provided below in the article under the sample section). From watercolor paper cut the petals following the example. At its discretion, you choose the quantity, but remember that it is necessary to create 6 pieces to create one lily. Using sharpeners and watercolor pencils of green and pink flowers, dust must be piled and painted. Wash and squeeze the kitchen rag. Then we lower the flower into the water and immediately remove it. Put on a rag face down. I spend two parallel strips. Split petals.

Now you need to make stamens. Wear a wire white corrugated paper, lubricating the edge glue. We cut the wire into small pieces of the required length. We begin any end and then wrap it with a piece of paper. After that, this edge must be painted in a brown color, and the skeleton itself in green. To make a pestle, attach beads, wind up the corrugated paper and paint.
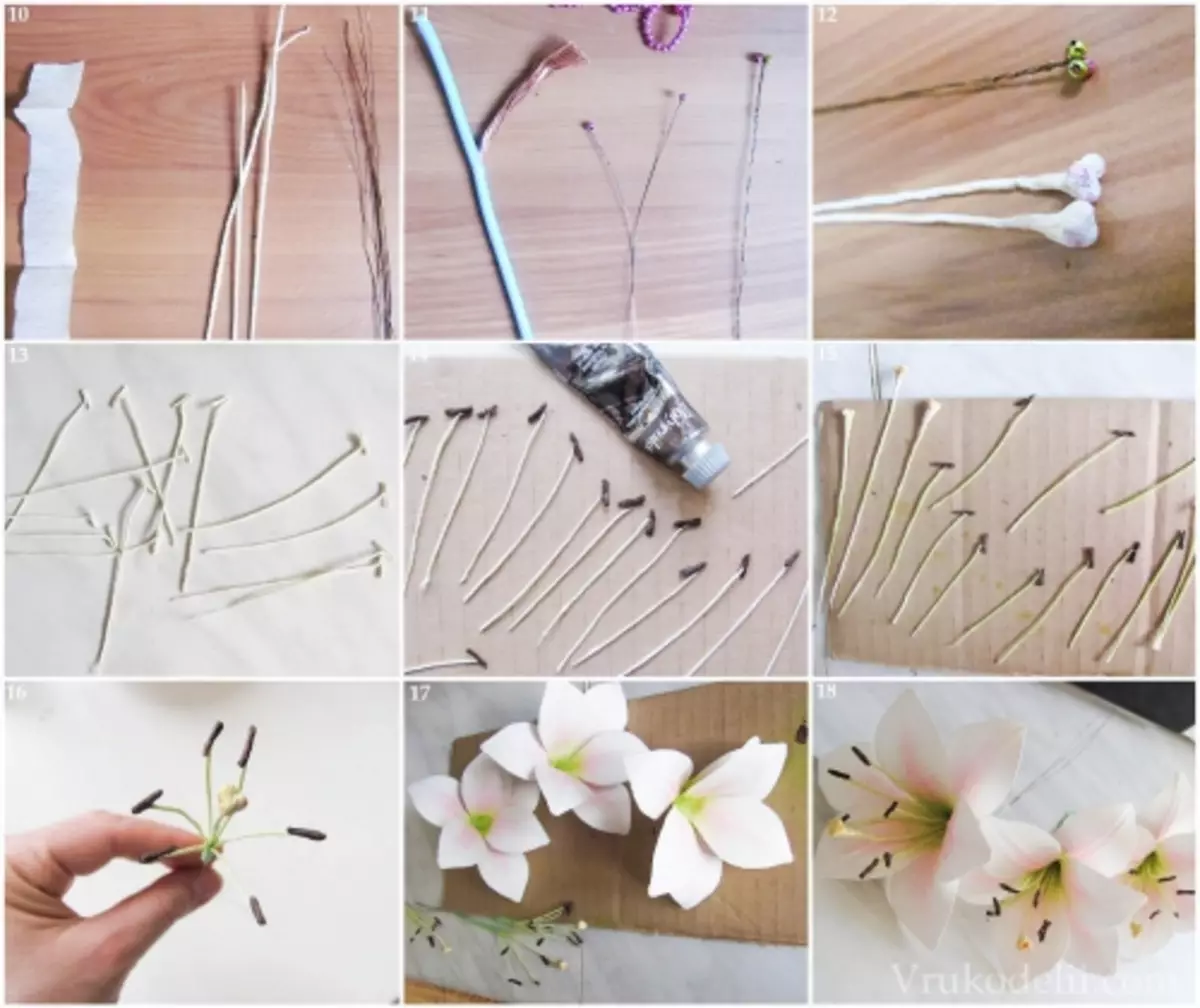
We collect a flower. Make small cones. Take one, cut down the bottom and insert three symmetrically located petals on the glue. Then we insert another cone with three petals, and at the end of the stamens with a pestle. Listers need to be asymmetrically. We cover the petals on the reverse side by PVA glue.
Article on the topic: Soccer ball from candies with your own hands: Master class with photo
Origami technique
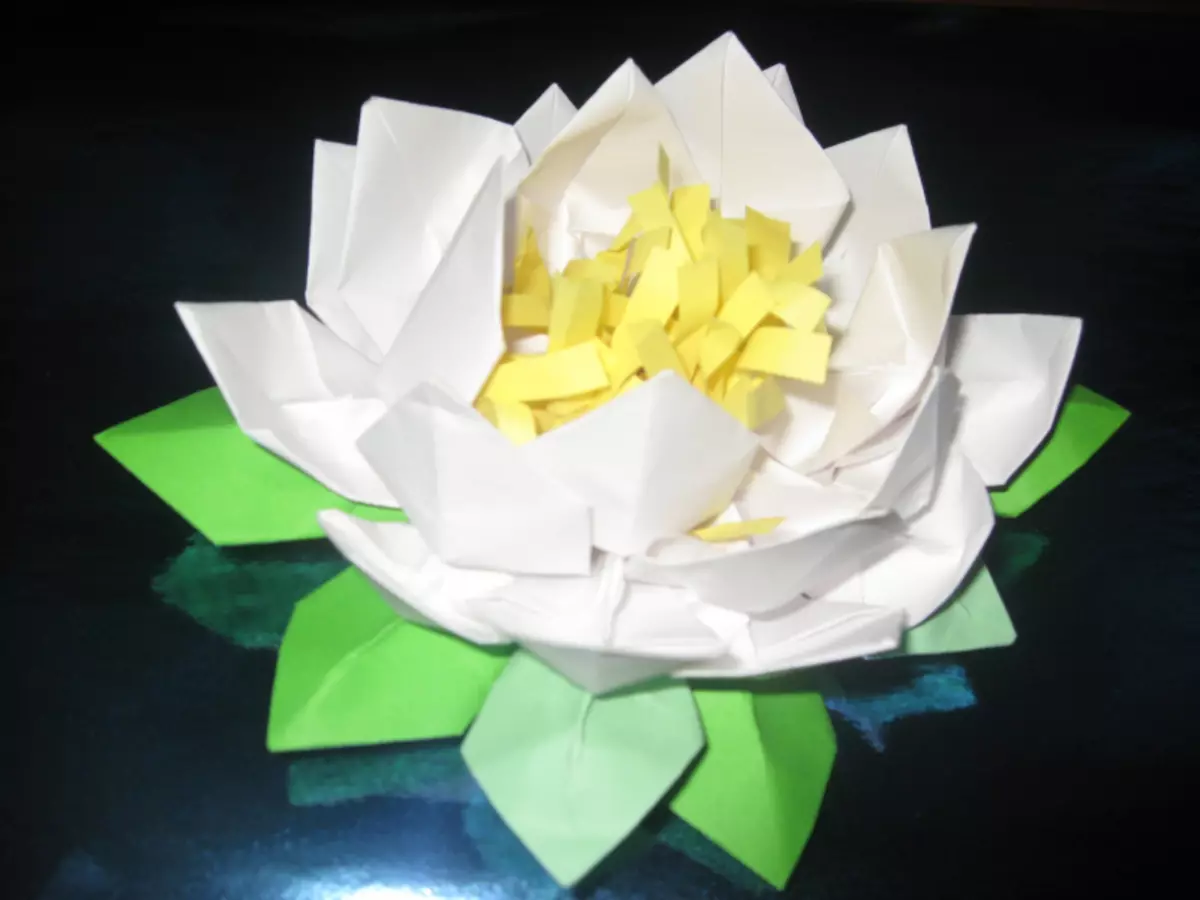
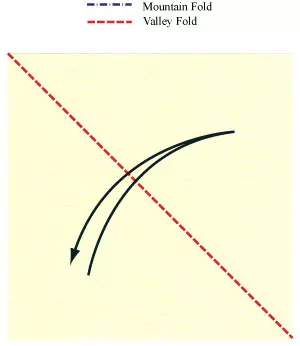
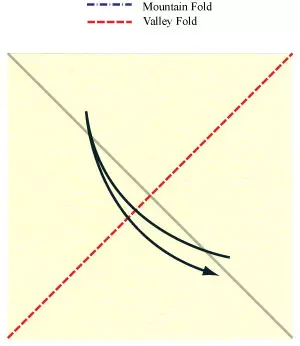
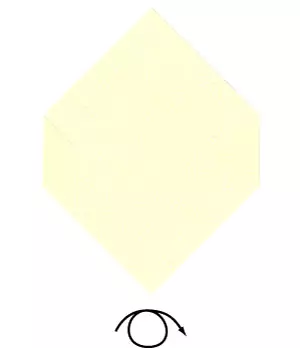
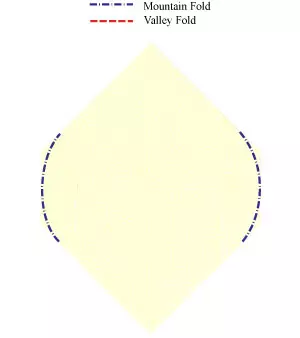
This master class shows a step-by-step instruction for creating lily by Origami technique. To work, we need a regular square of the square form. The length of the parties is at your request.Note! The photo shows shows the seats of folds, and the arrows - the direction, which direction you need to bend.
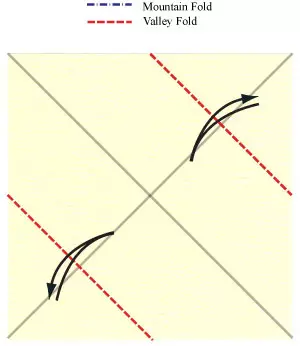
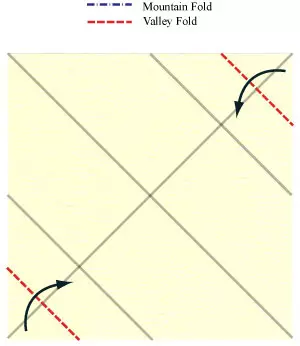
First, we fold the square diagonally on both sides. Thus, we made lines for which in the future you should bend origami. Next we fold the square in such a way that the parties that were located on the opposite sides of the sheet bent in the center. In the fourth picture, the process of flexing the corner into the center of the triangle is shown. Must get a rhombus. Then any edge rhombus is assigned to the side. Similar actions are done with the rest of the corners.
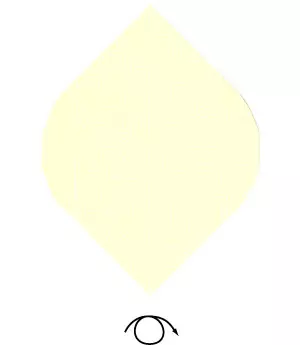
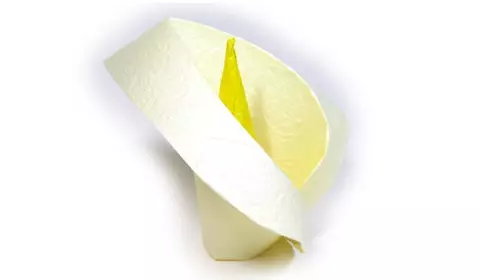
To the center we reduce the two sides, and then flexing back. Next, we assume the bottom rhombus to the top and bend along the already finished line. We repeat the same with the remaining parties. Igre all the diamonds. Then, on both sides you need to get the top of the leaf. Deploying the workpiece, flexing the outwards of the petals. You can twist them a little.
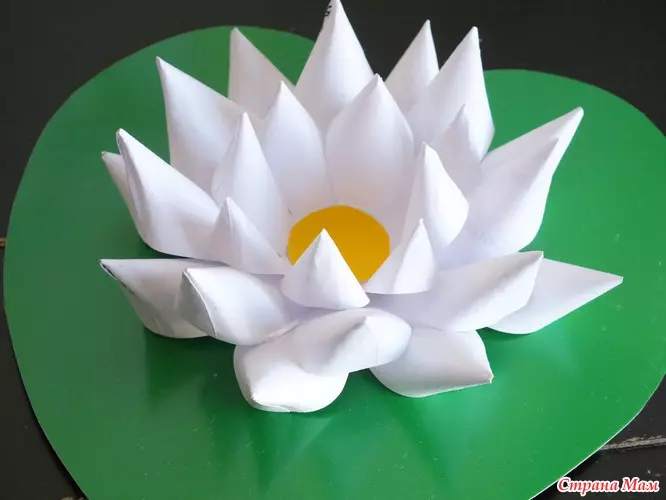
Method number 3.
Using the following photo of the master class, you can find out another, lighter, lily petal manufacturing scheme.
Bend diagonally.
Make a diagonal on the reverse side.
Bending the edges so that there are parallel diagonals of the line.
We fold opposite angles.
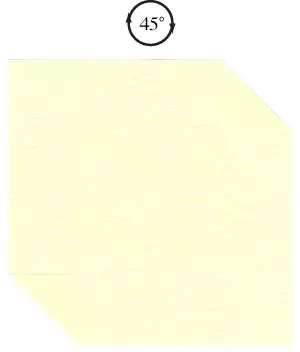
Turn the sheet by 45 degrees.
We turn the petal.
Crow edges.
Crossing corners of the petal, you can make such a beautiful lily.
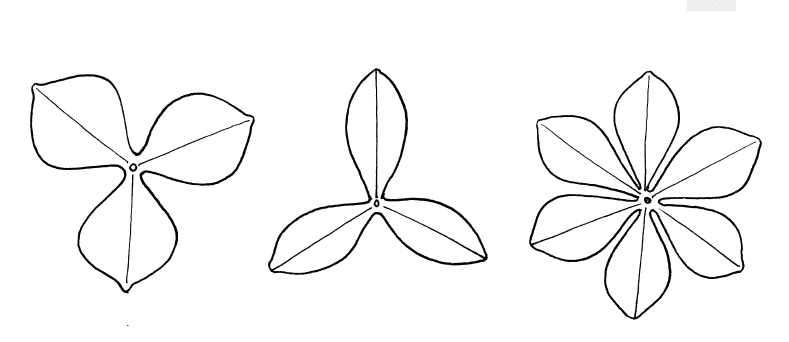
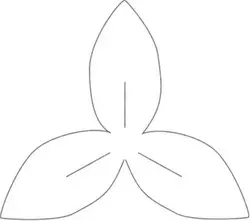
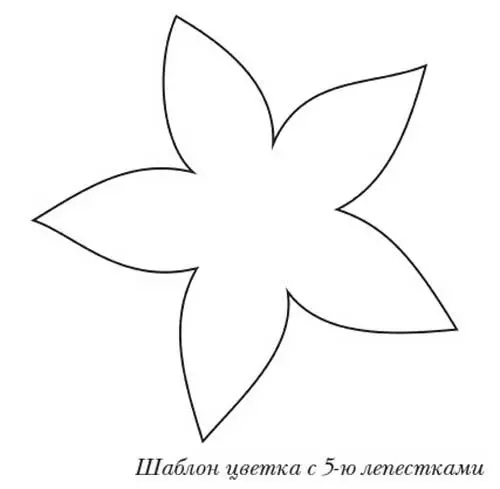
Interesting samples
You can also create a lily of paper with your own hands, simply printing, and then cutting out ready-made patterns presented in the photo.
Video on the topic
We offer to see the video of the creation of lilies do it yourself from paper.