
Polymer clay is a very popular material for needlework, it is valued for the fact that it is bright, flexible and durable. Since the material is very plastic, work from it is obtained very realistic and natural. The modeling from this material gives pleasure, soothes, improves the mood and wakes up fantasy. The craftsmen like to create earrings from polymer clay. The procedure for creating products is simple, and the material is quite budget. On the manufacture of simple earrings you will need only to pay a drip of time. There are many different options, we will consider a few of them closer.
Create a simple option
First, let's try to make an easy version of start-up earrings.
To work, you must take a red, green and beige clay, a knife and a roll-up machine.
Progress:
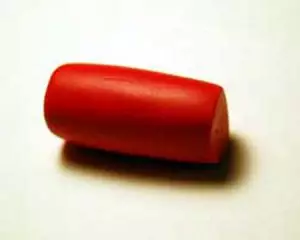
- We take a small piece of clay red and roll a roller.
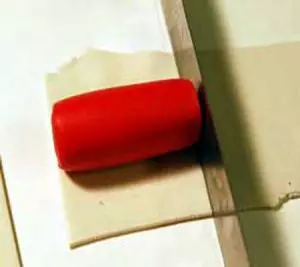
- Then we roll a layer of beige clay on the typewriter and wrapping a red roller in it.

- It is done with green clay.
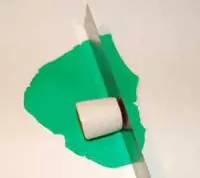
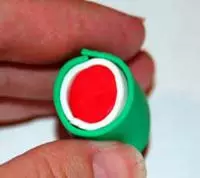
- Next, roll off the workpiece so that the layer is connected. It turns out the sausage that it is necessary to put in the refrigerator for 30 minutes so that the layers do not dispersed with further work.
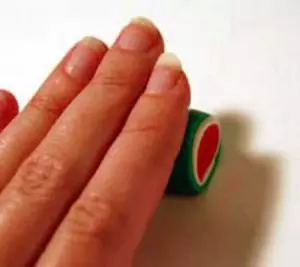
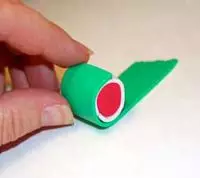
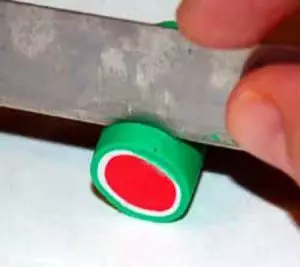
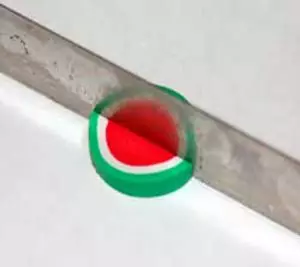
- Cut a thin piece and cut it into two equal parts.
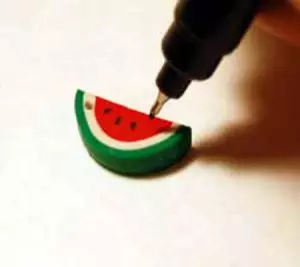
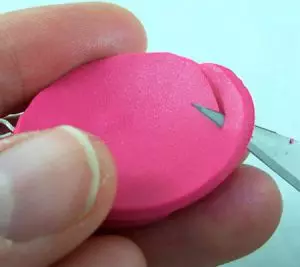
- Now we take a needle and make holes for fastening.

- Finished billets we bake. The desired temperature and time are looking at the manufacturer's packaging.
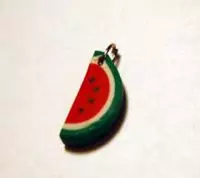
- It remains only to draw seeds using a black marker.
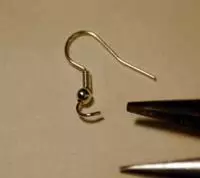
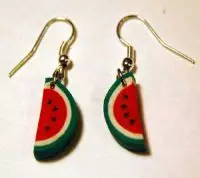
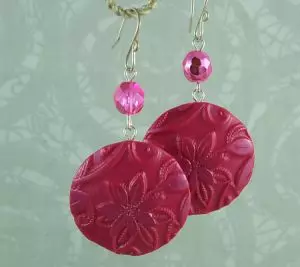
- Attach Schwenza, and earrings are ready.
Unusual decoration
The following type of creation of earrings is more laborious, but even an inexperienced master can also be performed. Among other ideas for making earrings, he is the most unusual, let's understand it.
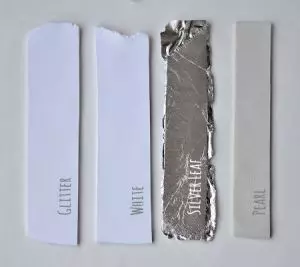
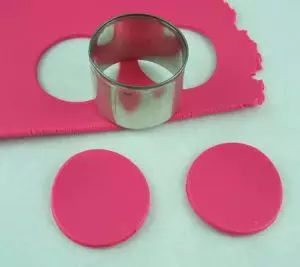
We take 4 pieces of clay and roll off it. 2 pieces should be white, 1 pearl and the latter turn into silver sheets, like a graval gold.
Article on the topic: Photo album do it yourself in the marine style as a gift from the photo
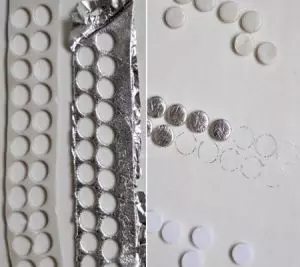
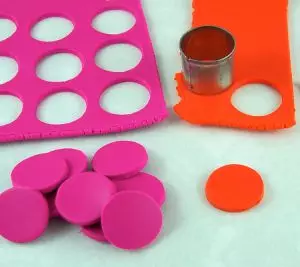
With a special device that resembles a hole punch, cut a lot of round blanks, as in the photo below.
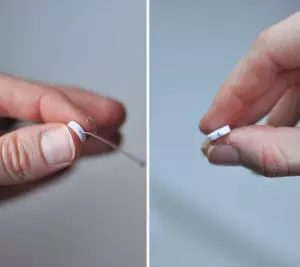
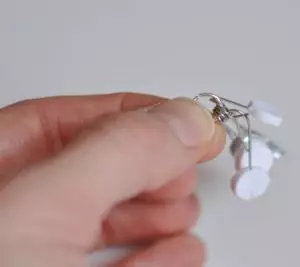
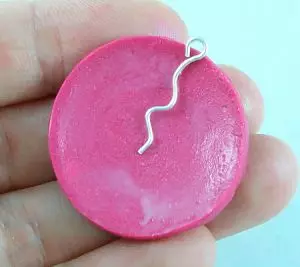
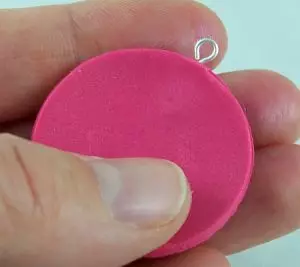
Then we insert the wire into each circle for further attachment.
Mugs treated with silver, commemorate to be covered on all sides.
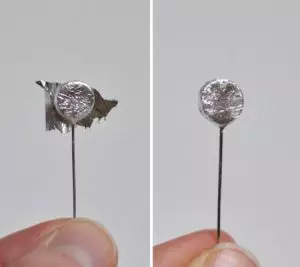
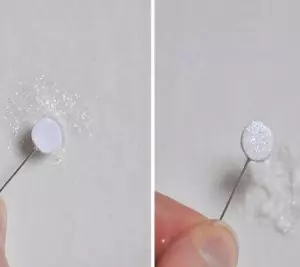
White clay mugs process sparkles.
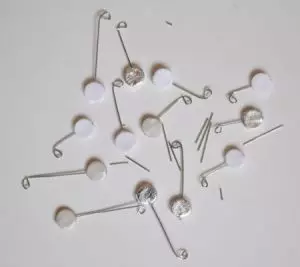
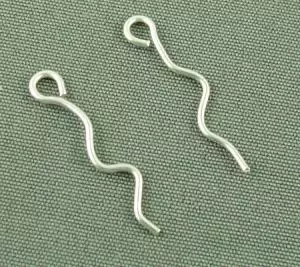
Finished billets we bake. The desired temperature and time are looking at the manufacturer's packaging. We take nippers and twisted the loops at different distances.

Such elements are obtained:
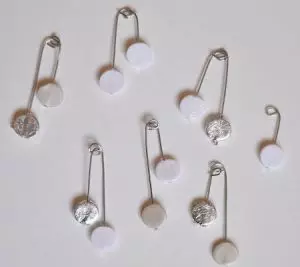
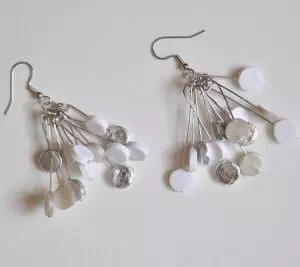
Now we need accessories to create jewelry - connecting rings. We ride them the resulting details.
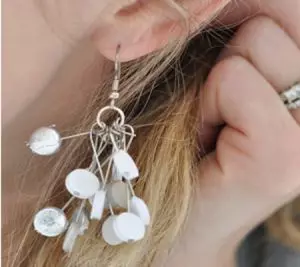
We attach a trip and unusual earrings completed.
Patterns ottysh
In this master class, consider the method of creating unusual patterns by the method of imprint.
- Choose clay and roll it off.
- We take shape and make the required amount of blanks.
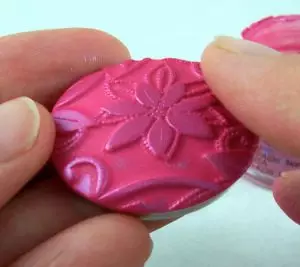
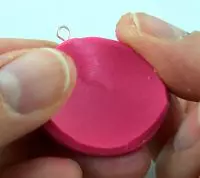
- Now cut off a small piece, put on a special plastic sheet with a pattern. Rather and appear drawing. Then the shape cut the circle.

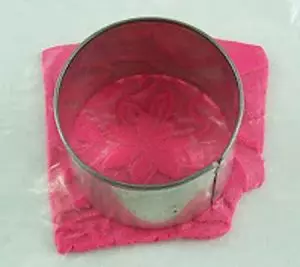
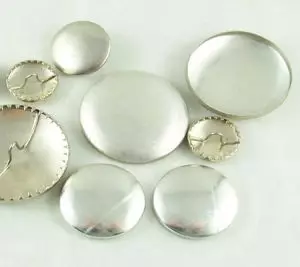
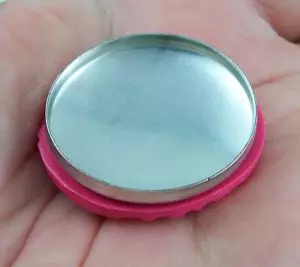
- In order for the product to be rounded shape, take accessories for brooches.
- To do this, we apply clay with a pattern and slightly pressed.
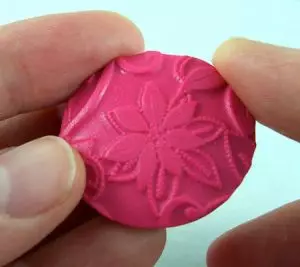
- If you want, you can add color transitions or to cover paint.
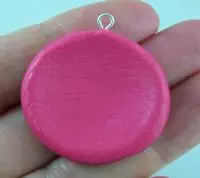
- We bake directly on the accessories for brooches.
- Apply a layer of liquid clay.
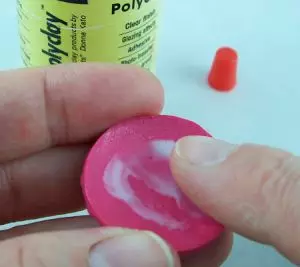
- Apply fastenings for accessories of earrings. And then fasten the detail without a picture.
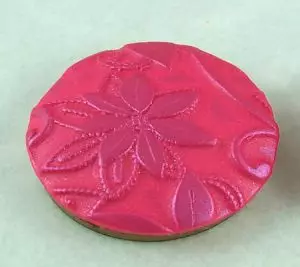
- The protruding part is not baked clay cut off with a knife.
- Now the edges need to be smoothed with their fingers and walk along the surface with the grid to get rid of unnecessary prints.
- Finished billets we bake. The desired temperature and time are looking at the manufacturer's packaging.

- It remains only to cover the shiny layer.
Interesting machinery
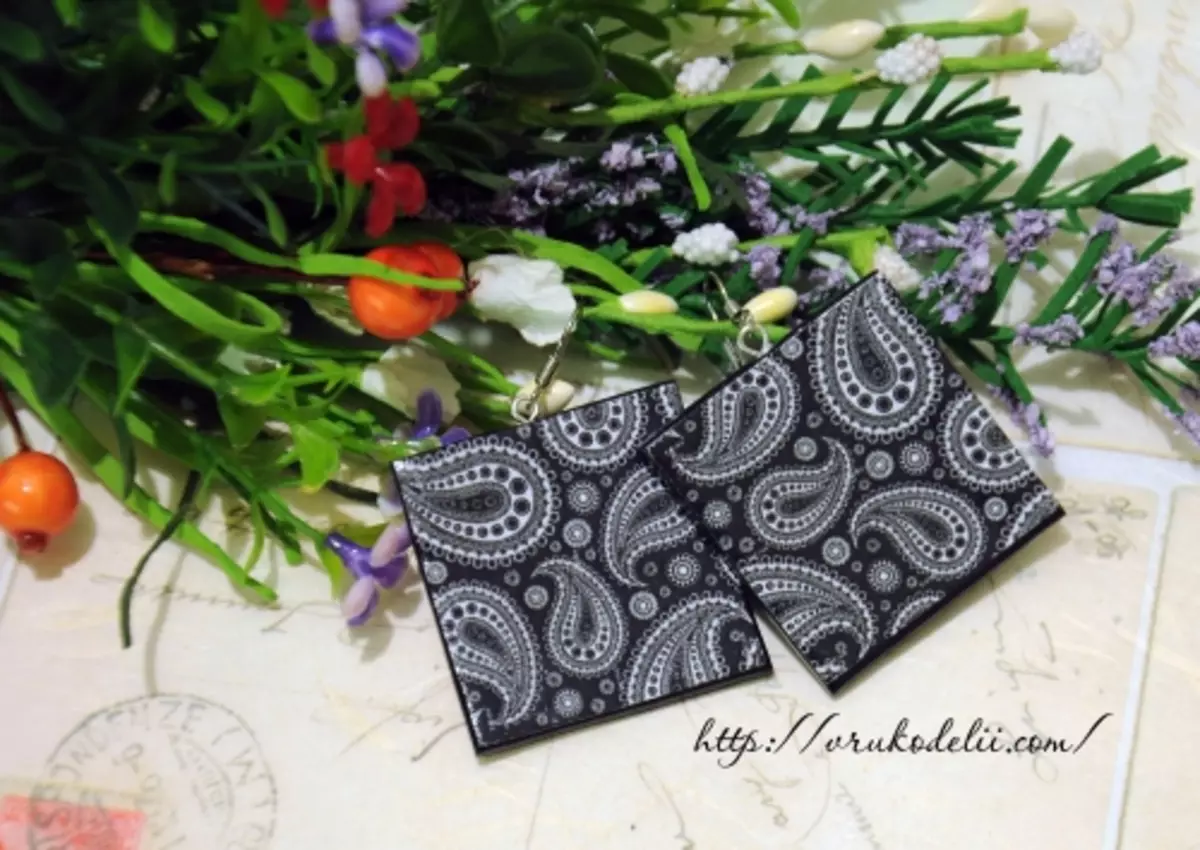
In this master class, we will look at the method of creating a polymer clay earrings in a decoupage technique. This technique consists in cutting images from a variety of materials, which are then attached to surfaces as decoration. Currently there are many techniques and options for decoupage.
Article on the topic: Surround Star from Paper by May 9: Templates with photos and video
First you need to pick up the drawing.
You can print only on the laser printer, in no case use the inkjet. If the earrings are planned with the same pattern, they must be mirrored.
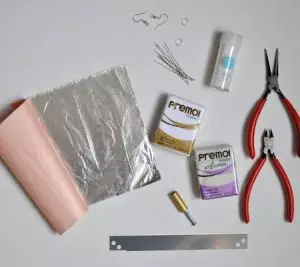
For manufacture, you will need:
- Machine for rolling clay or rolling pin;
- Knife;
- Varnish or glue;
- Sandpaper;
- Picture;
- Clay.
We take a piece of clay, many people in your hands, then rolling in flat plastic. There should be no waves, nor dents, nothing like that, because after baking it will all appear.
Now we apply images at a short distance from each other. It will simplify cutting and further work. We try to cut almost thief with the image, allowed to leave 1-2 mm.
It is better to do all the work on the surface on which our product will be baked so that it is not distorted when transferring to another surface.
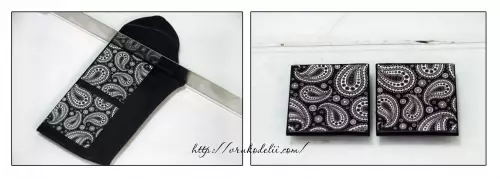
After cutting the details, remove the images, remembering which it was on the right, and what to the left. In the center attaching pins.
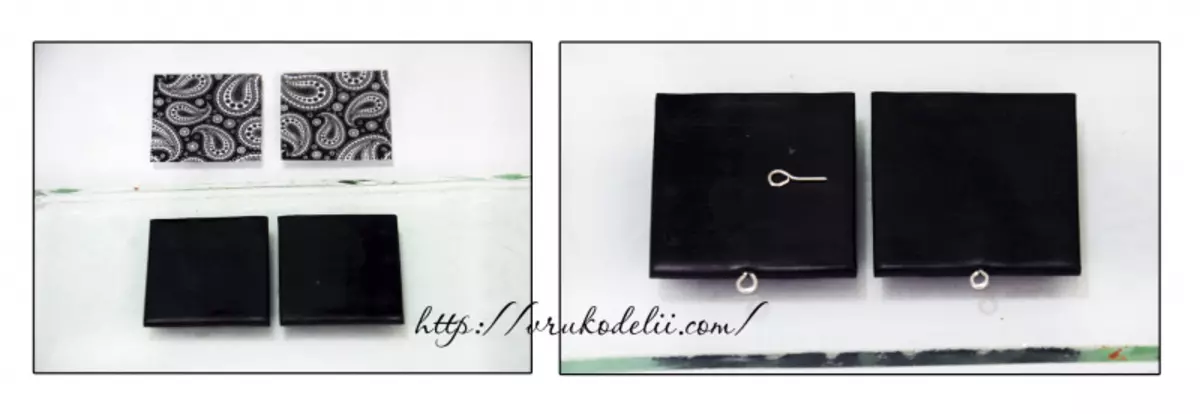
Now we bake the clay without images. The desired temperature and time are looking at the manufacturer's packaging. When the billets are cooled, we glue a pin to glue. Then we take a varnish for a polymer clay, we wash the blanks and gently glue the images, carefully releasing all the air. We check that everything is glued throughout the area. If the picture got out of the clay, you can read a little sandpaper. The image from above is covered with varnish, about three or four times. You can also use epoxy resin.
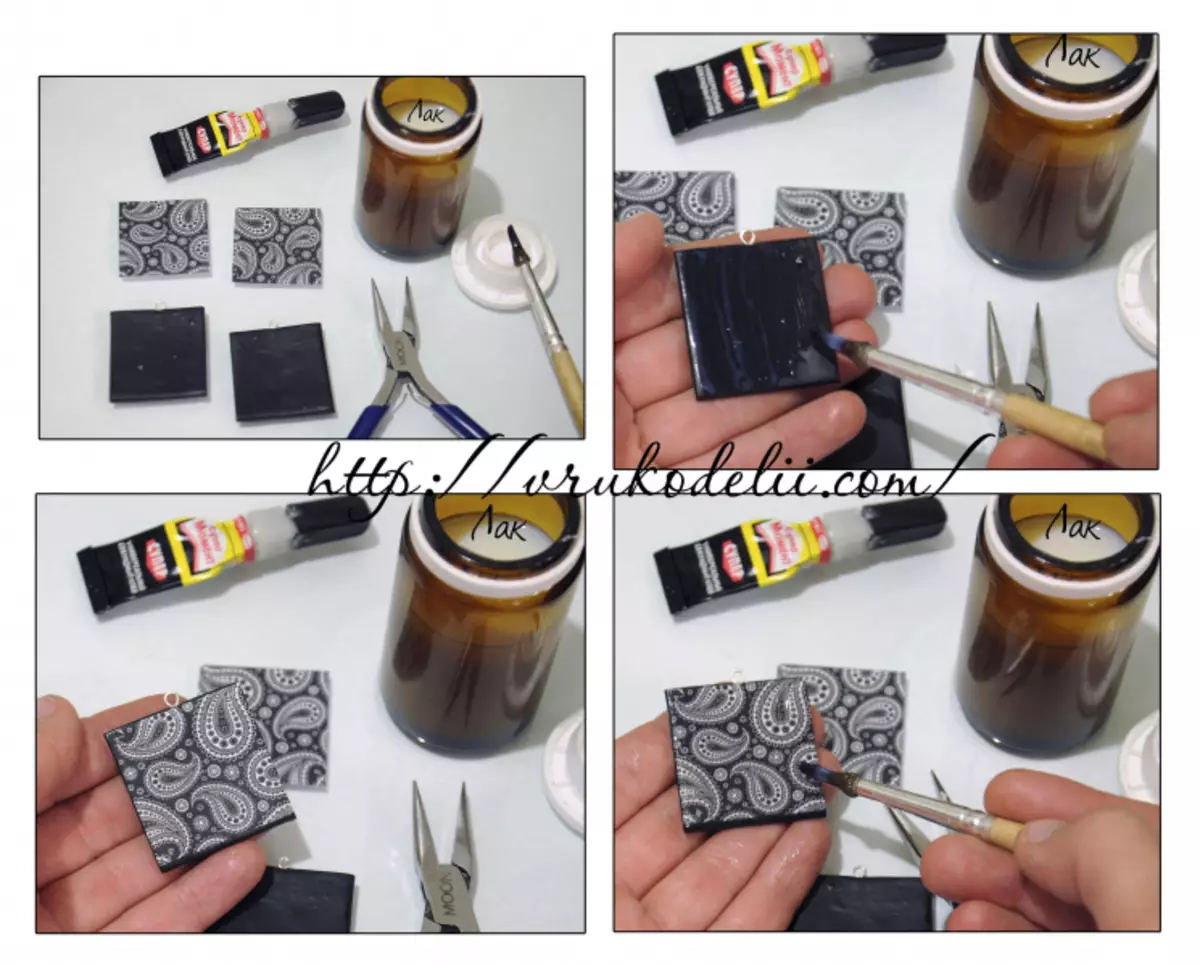
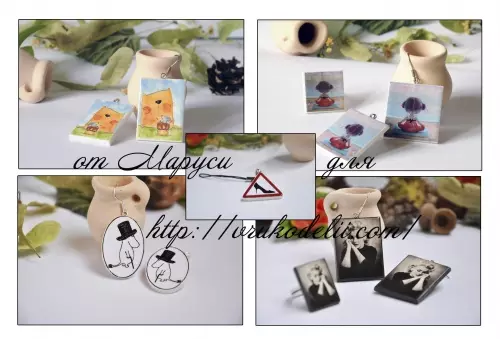
We are waiting until the lacquer dries, Krepim Schwenza, and earrings are ready to go out. A few more examples in this technique.
Video on the topic
There are a huge set of other techniques and possible ideas to create earrings from such a material. A few more options are presented in the video below. We look, learn and create original and beautiful earrings for any image.
Article on the topic: Box-heart with your own hands with candy paper