
For a long time, scientists have proven the benefits of modeling both for children and adults. But for the selection of the material there are a lot of questions, because everyone heard about the modeling and from clay, and from plasticine. Try to get acquainted with the salt dough. This material has a number of advantages. And for practical acquaintance, try to make fish from salt dough with us.
Salted dough wins among other material for modeling for a very simple reason - it is absolutely safe for children of any age. You can even start working with children from one and a half years. For its preparation, special processing or unusual storage conditions is not required, the stains from the clothes are easily abandoned, and the remnants from the furniture are easy to wipe. In terms of its preparation, there will be much less expenses.
There are many variations on the topic of cooking the test, they are all similar to each other, but everyone has their own nuances. We will master the most basic pickup recipe for modeling, for this we need:
- flour;
- salt;
- water;
- vegetable oil.
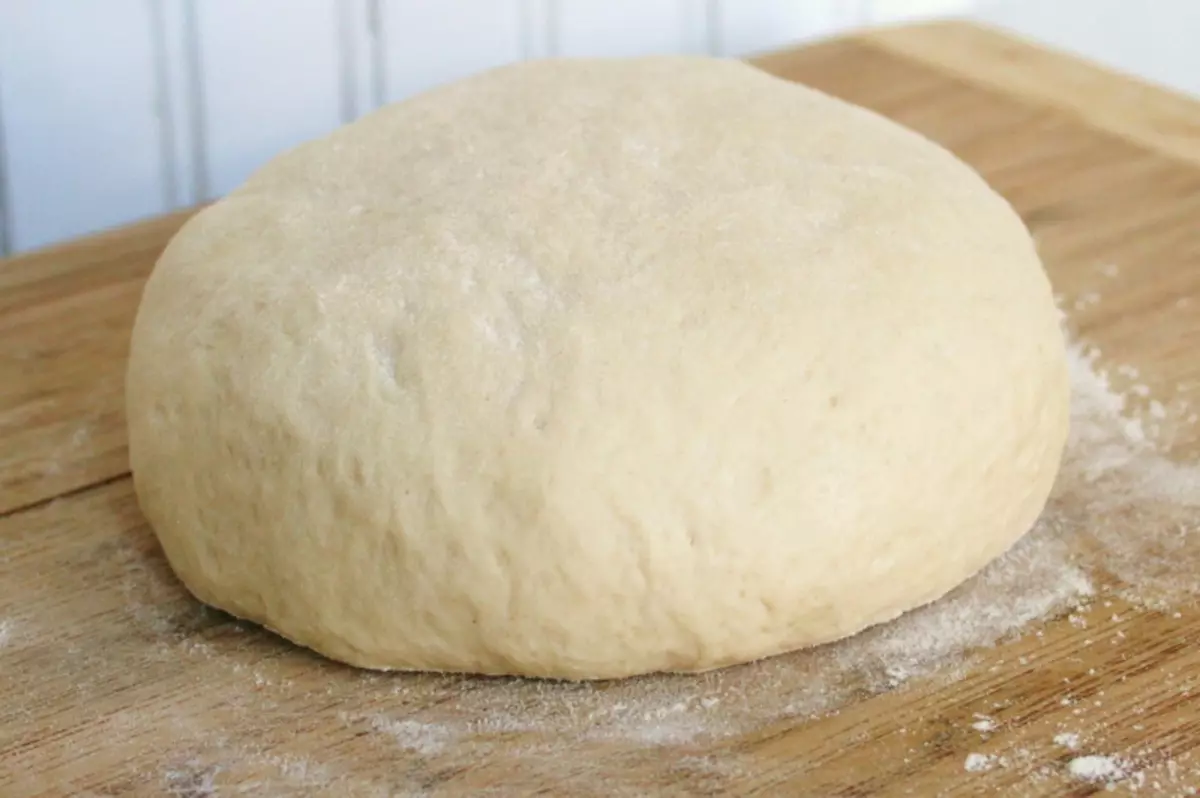
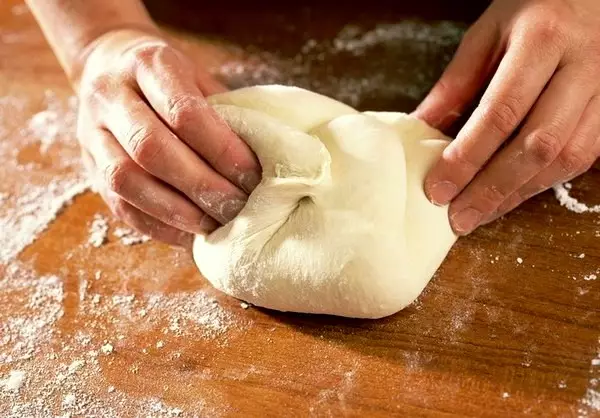
The method of cooking to the impossibility of elementary - we take a third of a glass of salt, a complete glass of flour, several tablespoons of vegetable oil, mix everything and gradually pour water temperature. To increase the dough plasticity, replace the water on the starchy cheese, and for better dissolution of salt, it is possible to stir it well in warm water, and then use.
Some Soviets
If you create with babies, then for greater challenges of dough for staining, you can use natural dyes - carrot juice, beets, coffee. For adolescents, the gouache is completely suitable for this purpose.
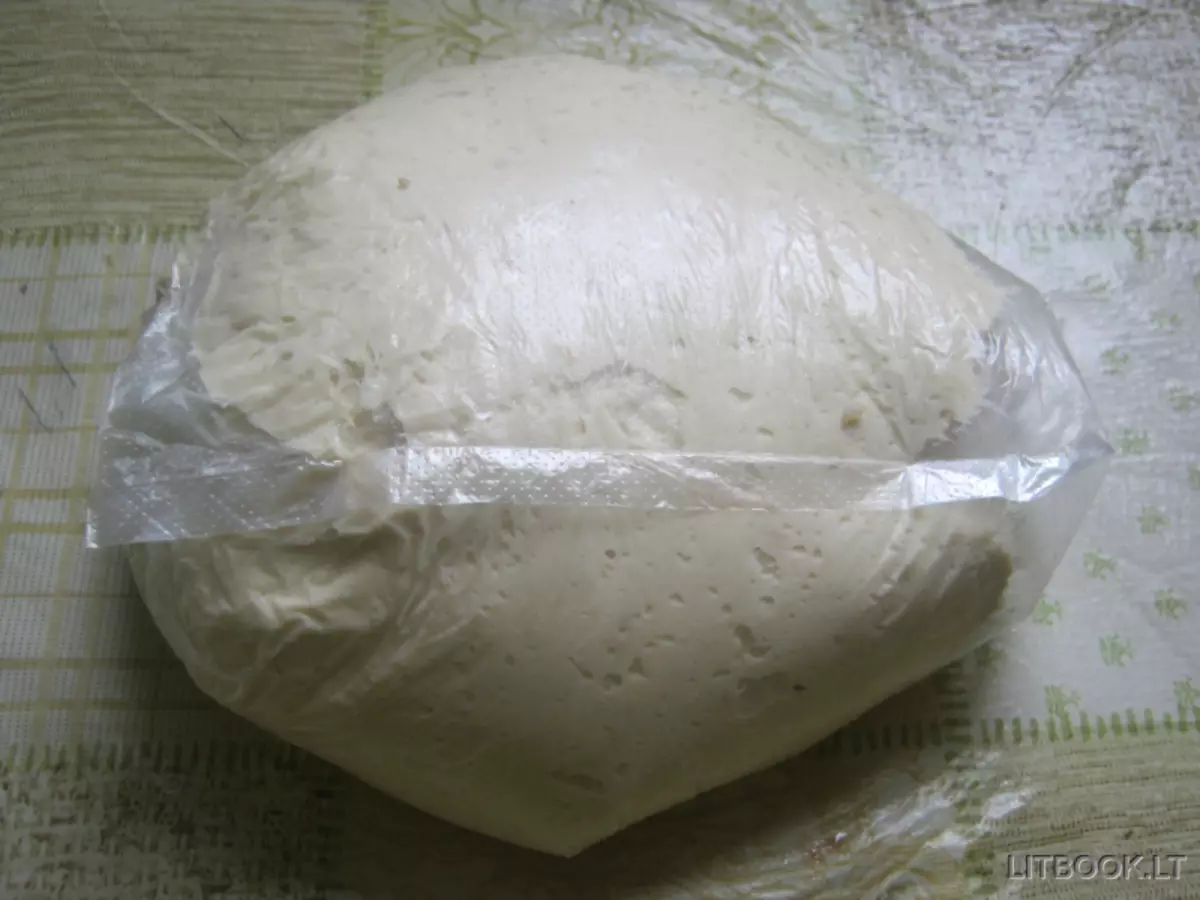
The dough is not necessary to use everything at once, if you knew more than they could spend, it is not a problem at all. Take the usual package, pack your dough and leave to store in the refrigerator as you need. Also for storage will fit the glass bank, the main thing with the lid so that it can protect the dough from the evaporation of moisture.
Article on the topic: Lily of the Lily of Beads and Beads: Master Class with photos and video
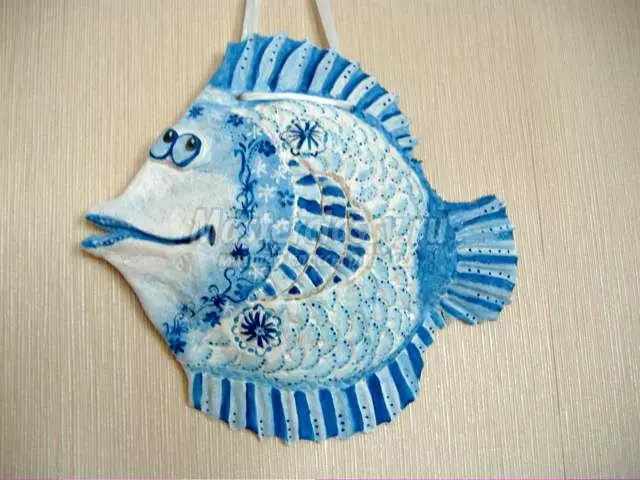
In a step-by-step master class for the manufacture of fish from a salt test, you will be able to study in detail the technique of modeling, as well as decorating and coloring products.
Simple lesson
Create bulk fish with your own hands, which can be used as a gift souvenir or as a homemade amulet. We will make a shape of such a blue beauty.
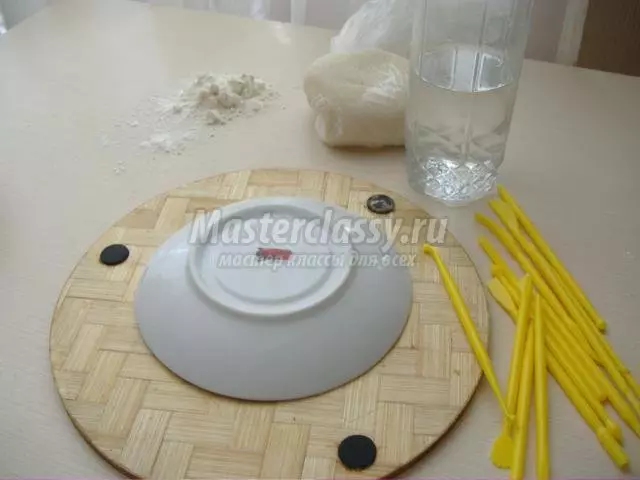
We prepare the dough on the recipe specified above. Let him draw in minutes 5. Now you can start the modeling. We take a saucer, as in the photo:
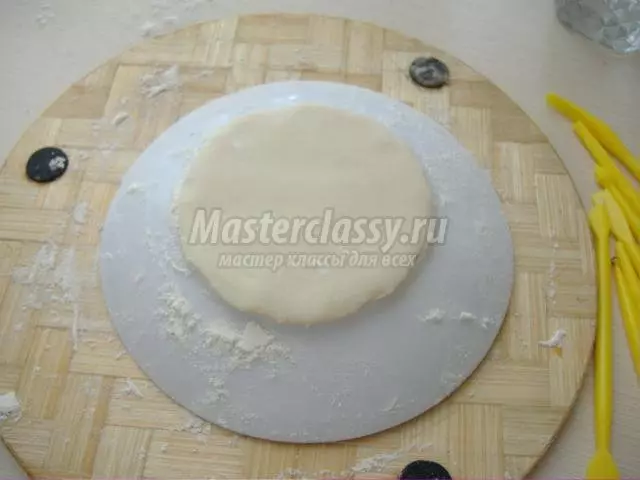
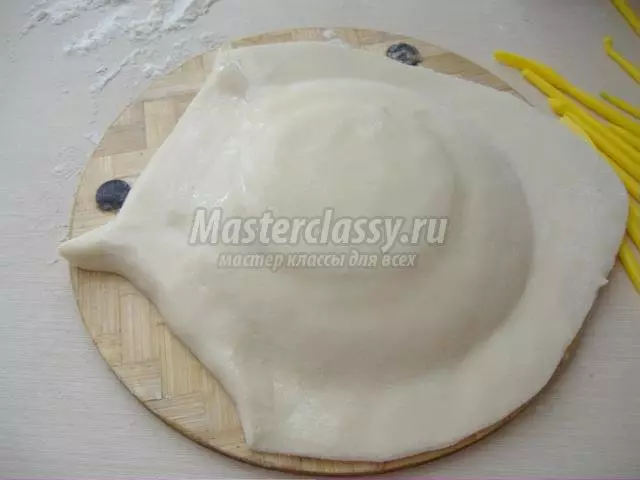
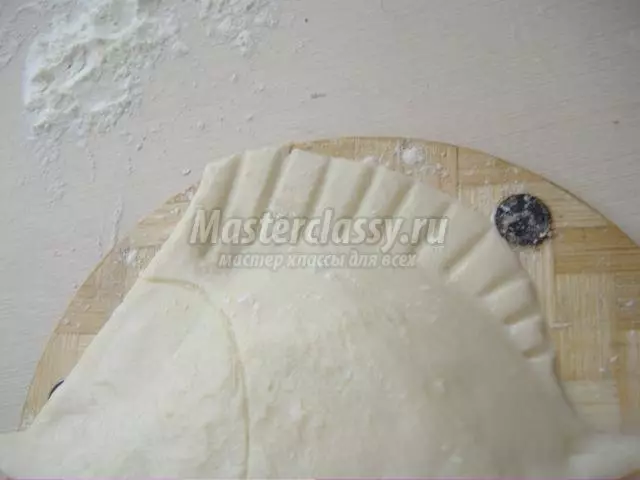
On a saucer, we put the dough on top, how much it takes the dough to take a uniform in the thickness of the form, but do not give much to not printed the entire plate from the inside. When the dough is aligned, it will be more rounded.
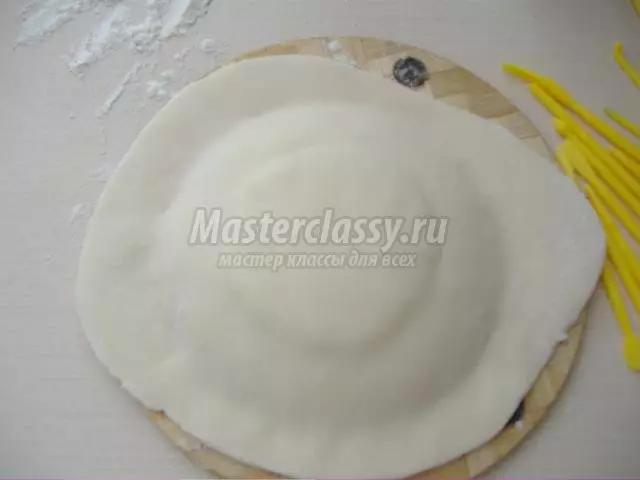
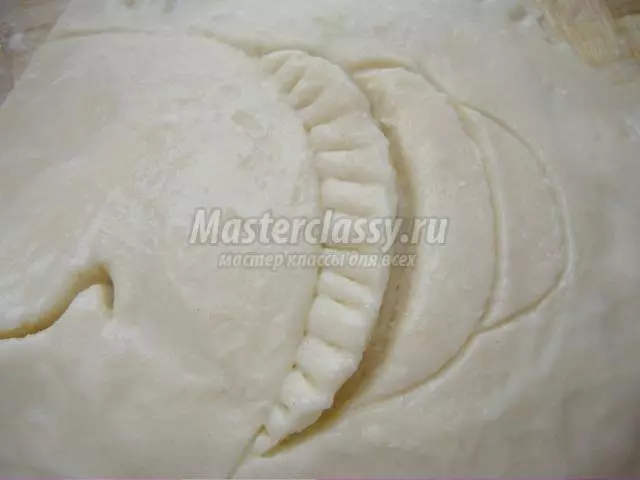
Rudely sprinkle the edge of the plates to protect the dough from sticking, and pull the edges throughout the plate.
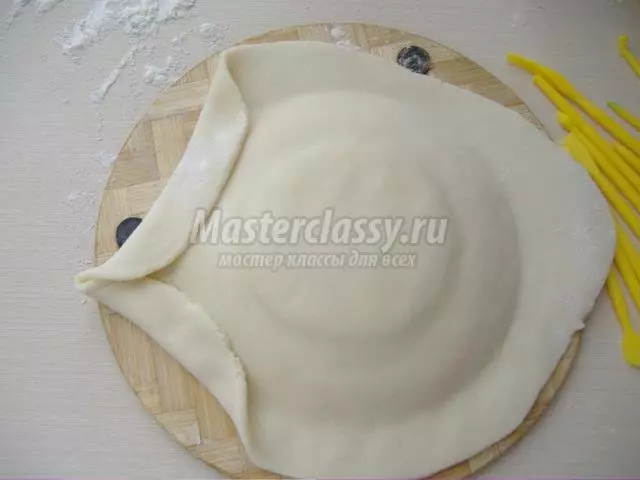
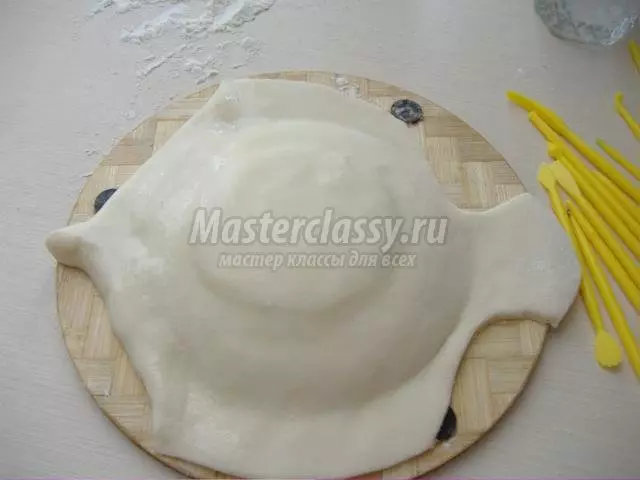
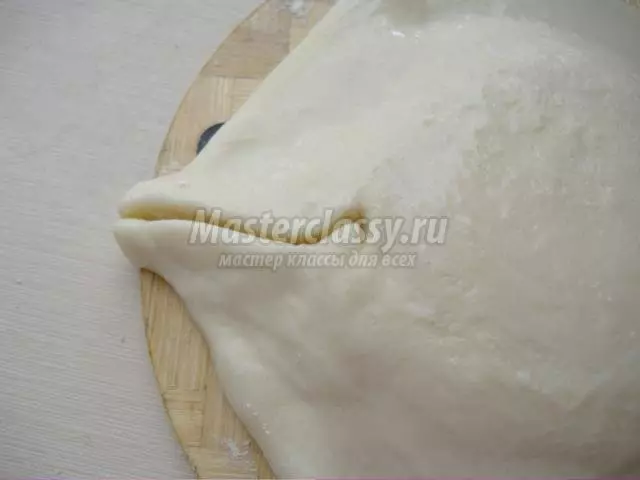
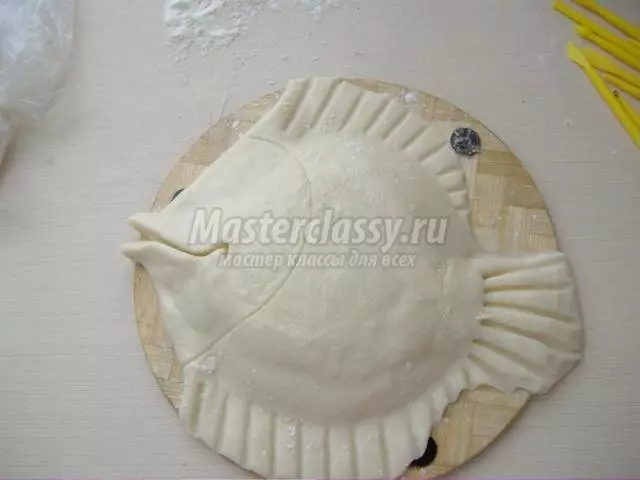
We begin to form parts, for this we twist the edges of the test, raising from the bottom-up, lubricate with water, after the actions made should turn out the mouth.
We will add some more water to lubricate and challenge the contours before getting a smooth surface.
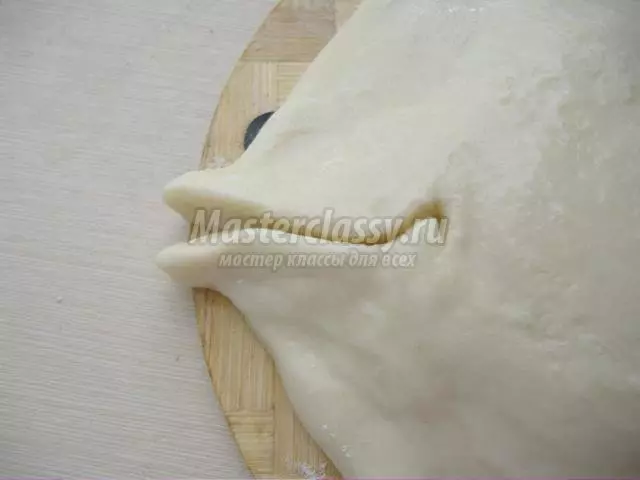
To create a tail delete a part of the dough, on top and bottom to the same piece.
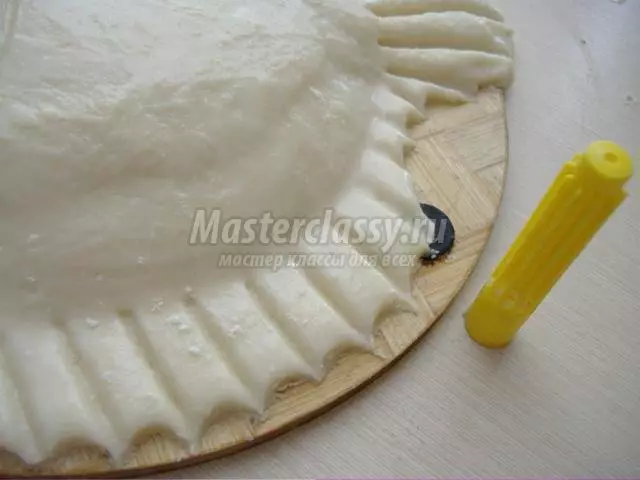
Now we will make more addition to the volume of the body, weak the entire surface of the fish with water and from above, in the mouth area and tail we will put the dough on it.
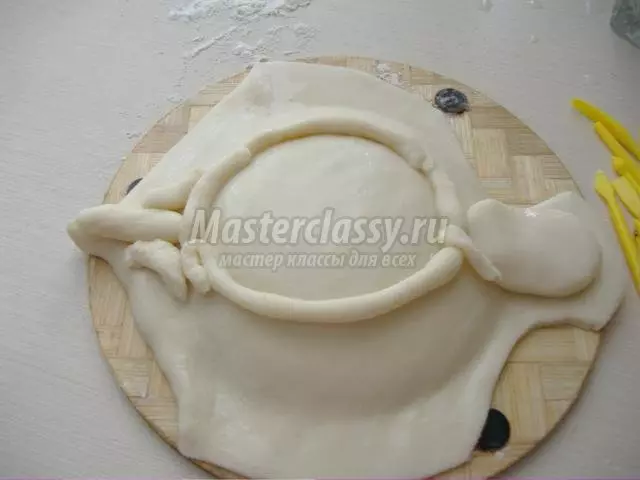
Again, you commend all the wet hands so that the overlay and the base have become inseparable.
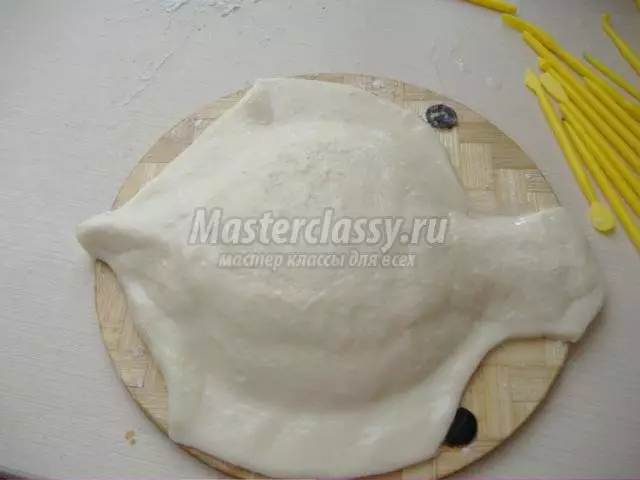
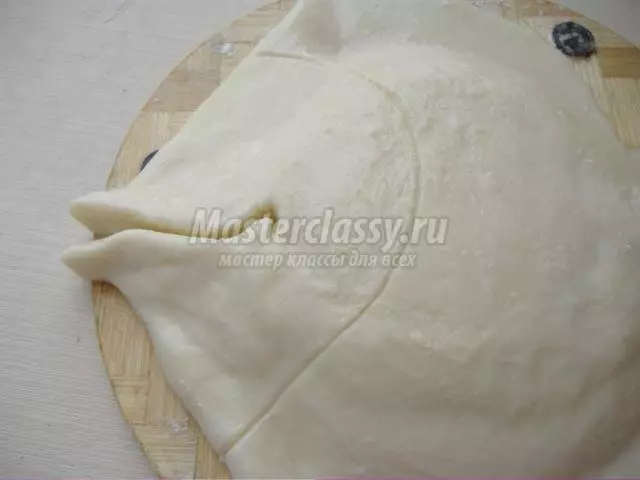
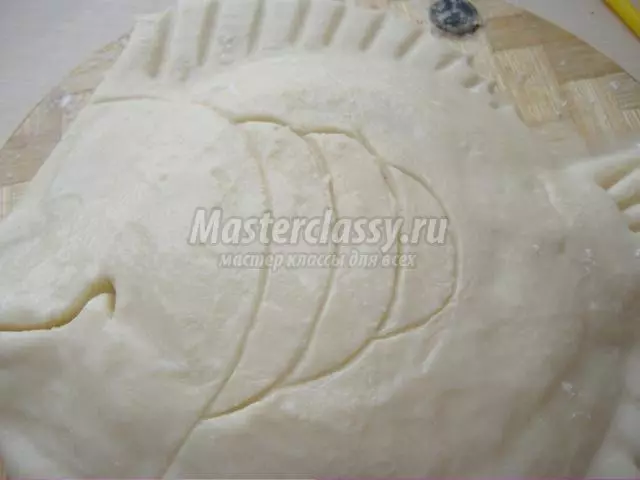
Volumetric fish is ready to study small details. Let's start with the mouth, we will cover the neat line.
A cut near the very edge stretch a little in different directions to create an open mouth effect.
We draw the line of face boundary.
We will make fins, we apply a stick to the edge of the dough and press.

In addition to ordinary fins, the same make the same with the tail.
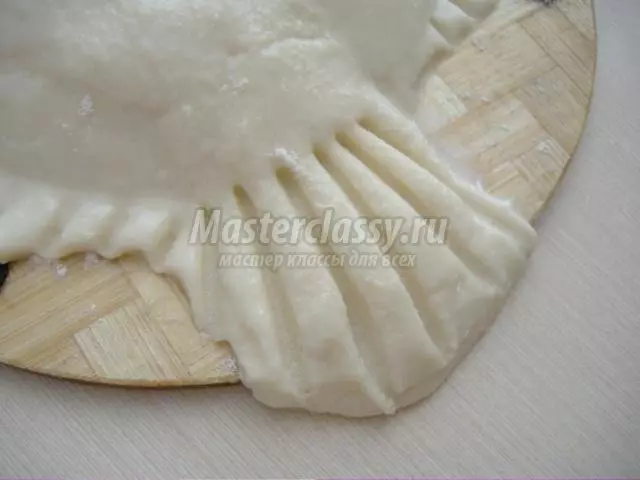
And with the upper fins too.
Already a clear outline of fish is already evoked.
Article on the topic: how to sew a peignoir: video instructions for sewing with your own hands
For greater similarity of fins with real, take the cap from the marker or from any handle and cut the tips on the tail and on the fins.
Select lines for drawing throughout the body.
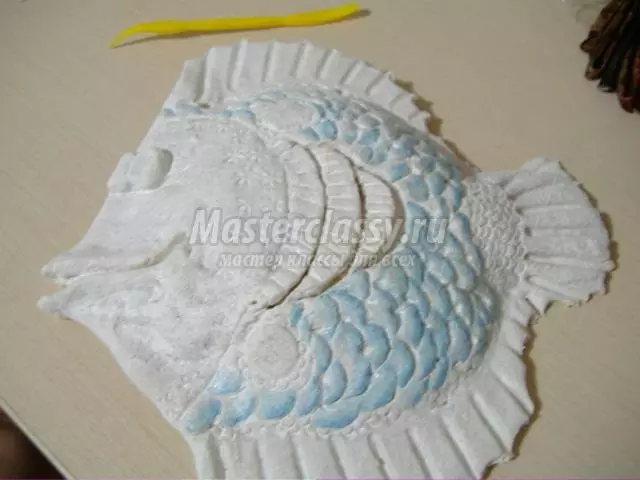
And we will draw scales, one after another, each should raise up.
Any round small shape make circles.
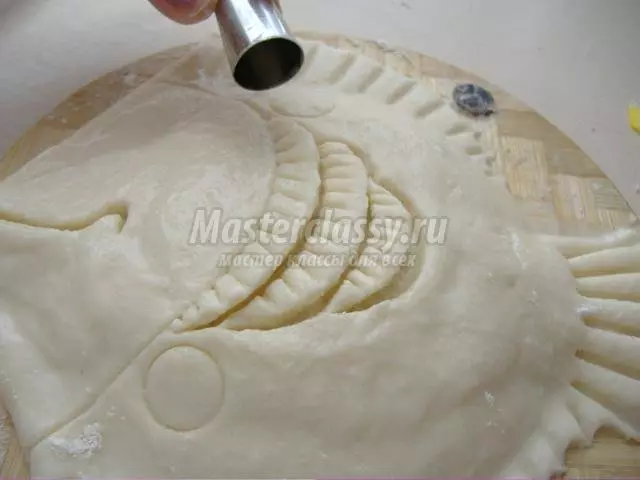
And continue the creation of semicircular outlines.
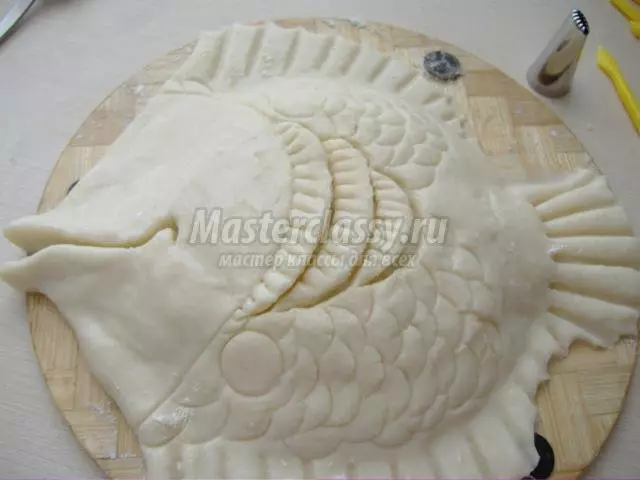
Holding two balls, I will attach them to the place of your eyes and scatter, lubricating water.

The figure for drying is ready, do not forget to do a small hole at the top of the fish, so it can be suspended.
After complete drying, you can go color design.
For a uniform distribution of colors throughout the base, we will paint it completely white gouache.
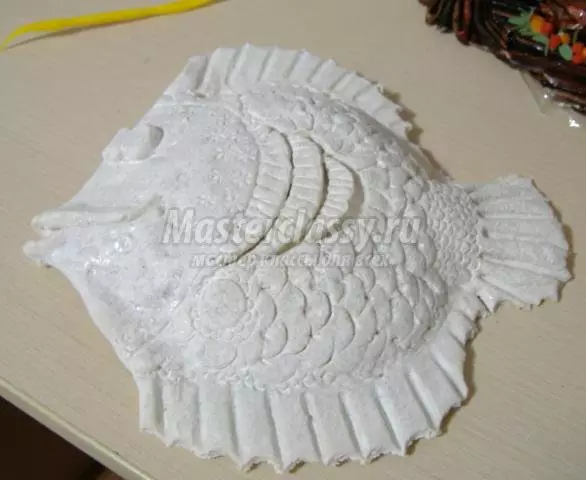
When the paint is dry enough, you can start painted the edges of the scales with blue.
It remains dark paint to make clear contours at your request with darker paint.
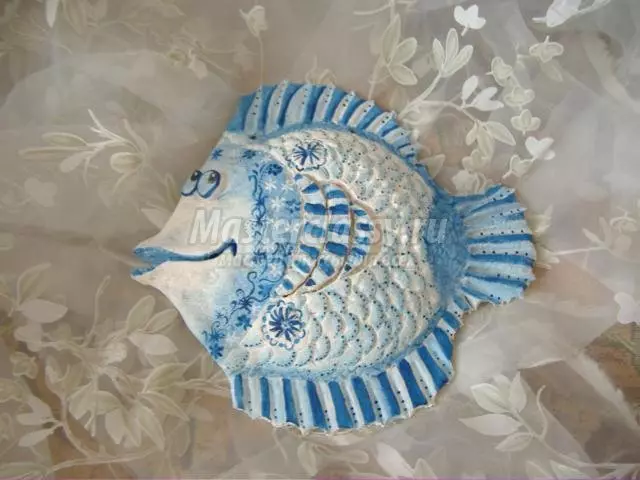
Approximately the same template you can make any animals, any forms.
Video on the topic
Video formation with lessons on the manufacture of salty test items will help to deal with all the nuances.