
To study with the child, visual rules are needed. In many educational stores or in stores toys, you can find wonderful layouts of traffic lights and road signs. But much more interesting and more interestingly make a traffic light with your own hands. And if you also unite with the baby in creating a craft, you can have fun and with great benefit to spend your free time. In addition, the common thing brings closer. And in the working process you can fascinating the child with the rules of the road.
Plasticine traffic lights
The easiest and fast version of the plasticine traffic light can be called. It will require less than half an hour. And the material is more than available. In addition, children simply love to sculpt from plasticine. So why not combine pleasant with useful: modeling and learning? In addition, drawing a zebra on the paper sheet by installing the received traffic light and taking small toys, you can lose with the baby different options for transition across the road.
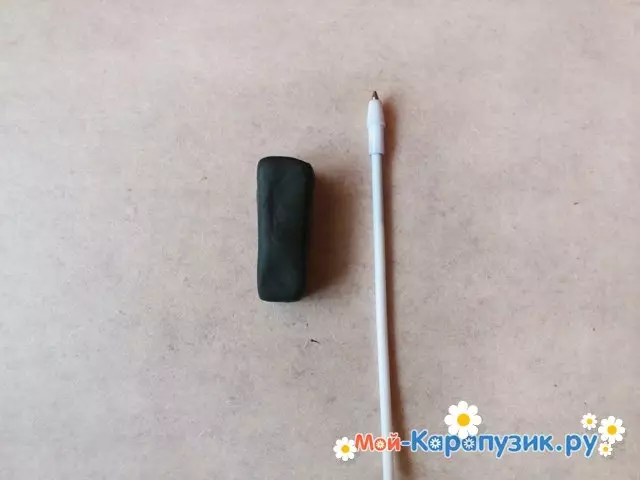
For the crafts, we will need pieces of plasticine of red, yellow, green, brown and black colors. Plasticine is better to use soft so that the child is more convenient to cope with it. You will also need a thin wand (you can apply the rod from the handle or a chopper from the chups-chupp) and the cover from the bottle (can be from carbonated water).
Next, proceed to the creation of a traffic light:
- From black plasticine, cut out a small parallelepiped so that the correct ratio of the sized body of the crafts and legs on which it will stand.
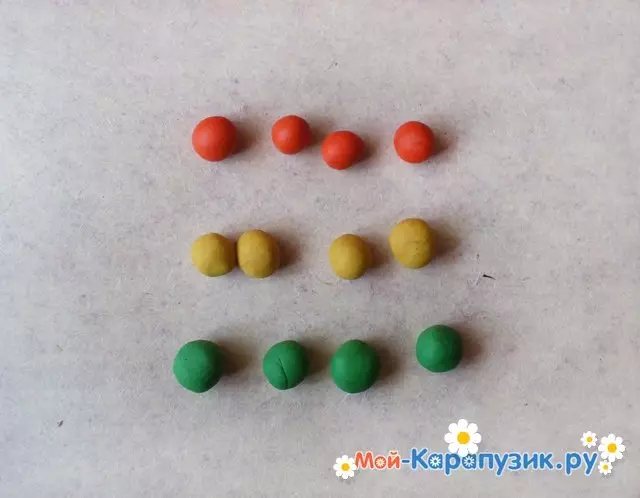
- Range balls of the same size, each color (green, yellow, red) 4 pieces.
- Make some flat mugs.

- Connect the resulting circles and housing in accordance with the accepted location of the traffic lights.
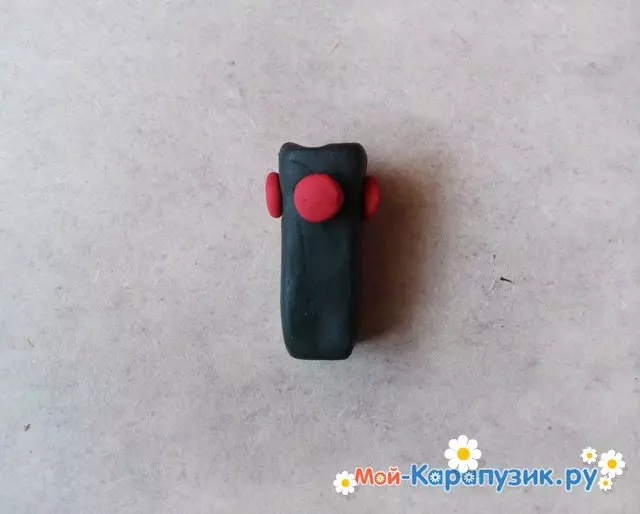
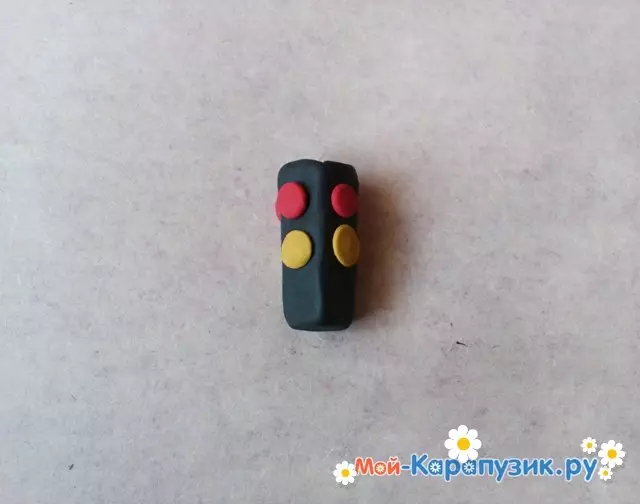
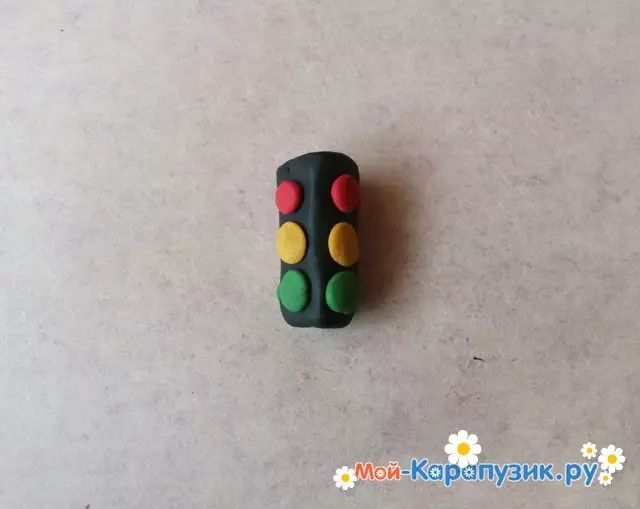
In the process of gluing mugs, you need to comment on your actions, telling about the value of each traffic light signal so that the child is better absorbed new information.
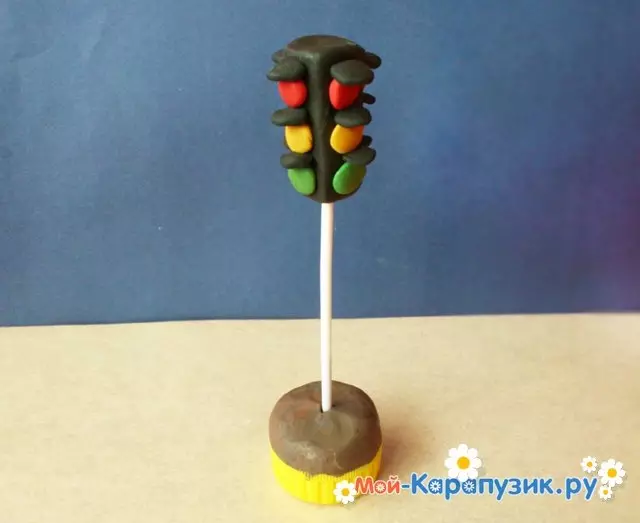
- In the lower end of the received housing stick a wand.
Article on the topic: Macrame Owl: Master class with step-by-step photos and video
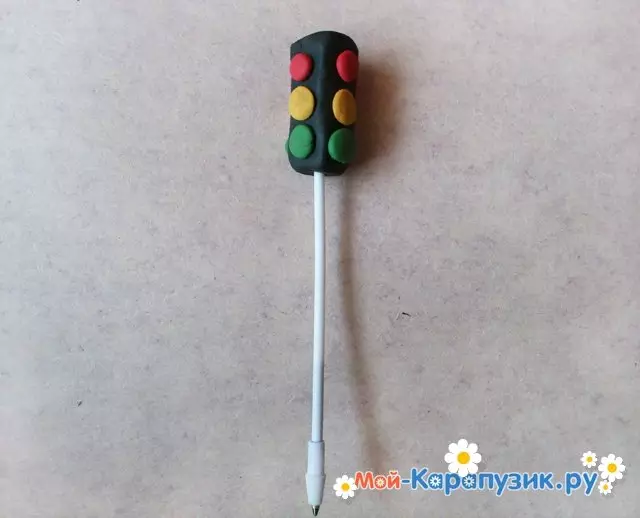
- Now you can proceed to the stand. To do this, you need to fill the cover from the bottle with brown plasticine and stick into it the bottom end of the legs of our traffic light.
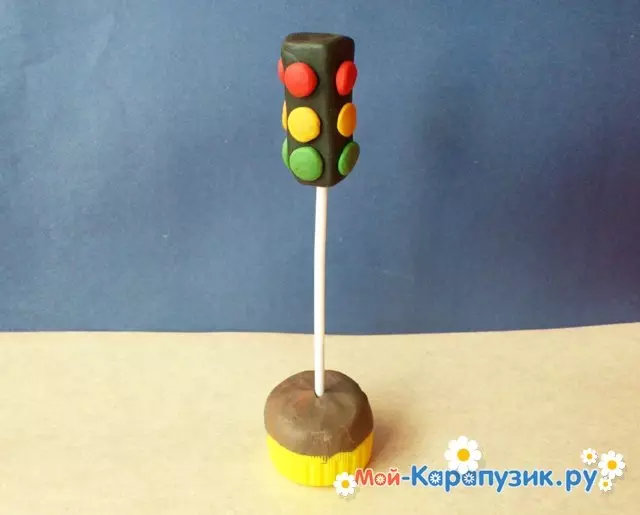
- To give a more interesting and realistic species, it is advisable to stick a visors from black plasticine over colored circles.

Wonderful handicraft ready, you can play and learn.
Cardboard option
Another simple way to manufacture the original traffic light with a child - from cardboard. It also does not require special materials or tools. Time for creating such a craft will fly imperceptibly and fun. The resulting light fixture will serve as a kid and as a fun toy, and how it is useful for the knowledge of the rules of the road.
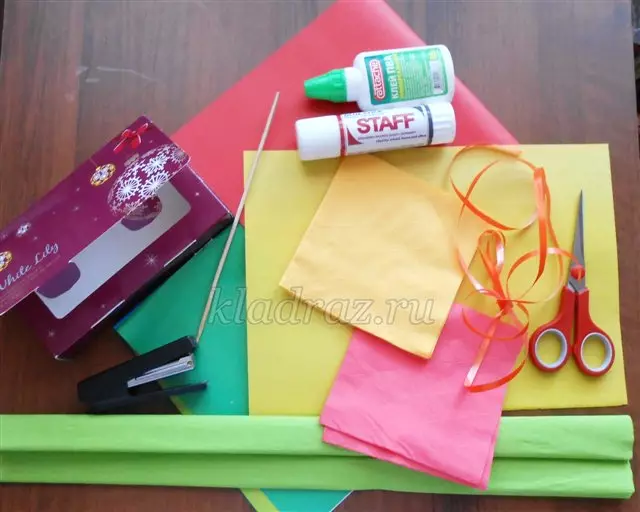
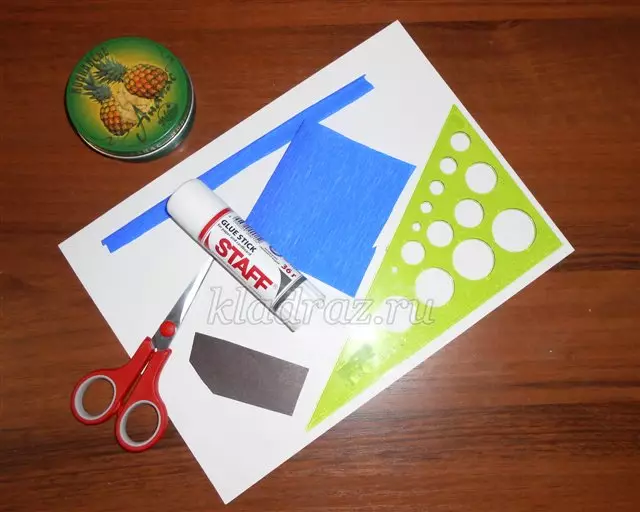
To create this product, you will need:
- cardboard;
- colored paper;
- Empty box;
- Glue-pencil (PVA);
- knitting needles;
- a small piece of packaging tape;
- Napkins.
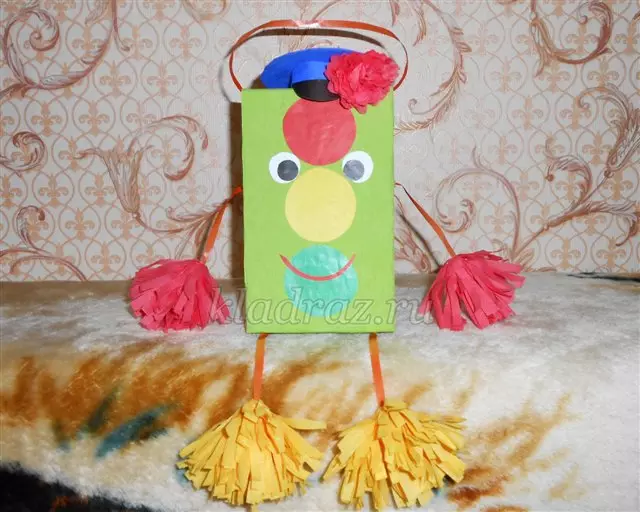
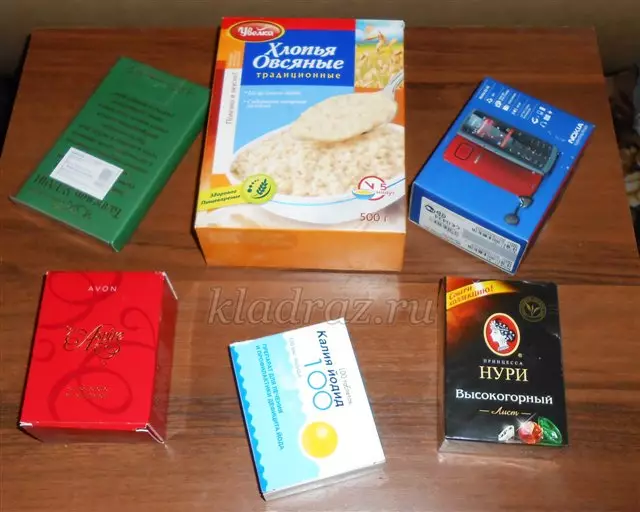
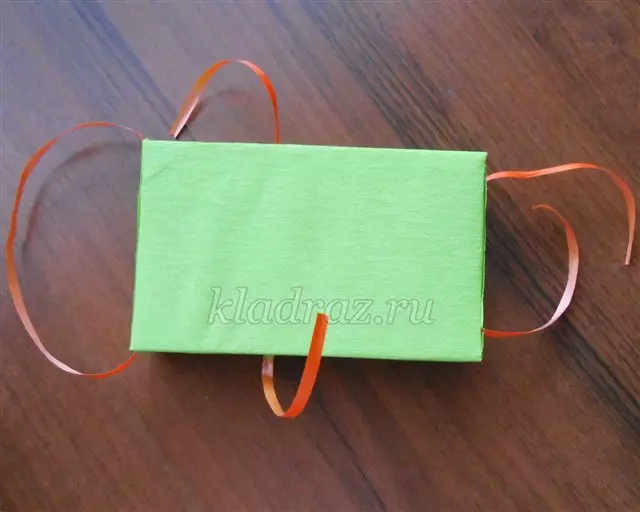
The traffic light from the box can be made absolutely any size. For this, the boxes from porridge, juice, milk, telephone, medicine, etc. are fitted.
In the selected box, make holes for hands and legs and stretch through them the tape. You can take a tape from the box from the cake or from the bouquet of flowers.
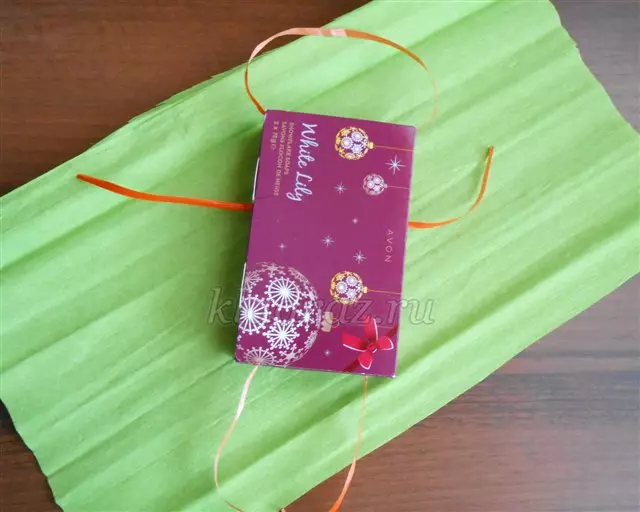
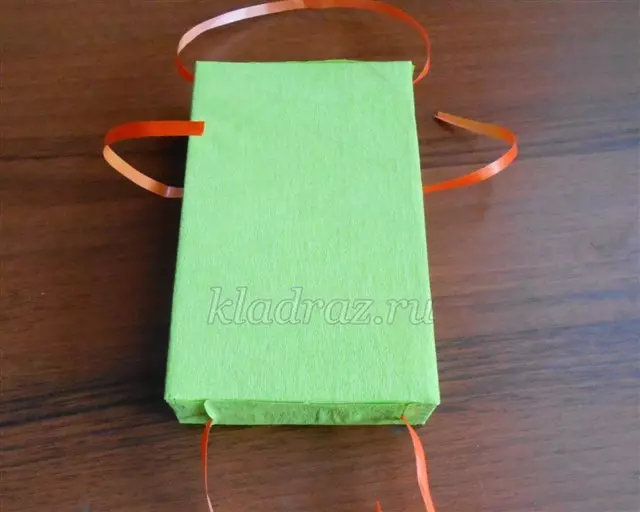
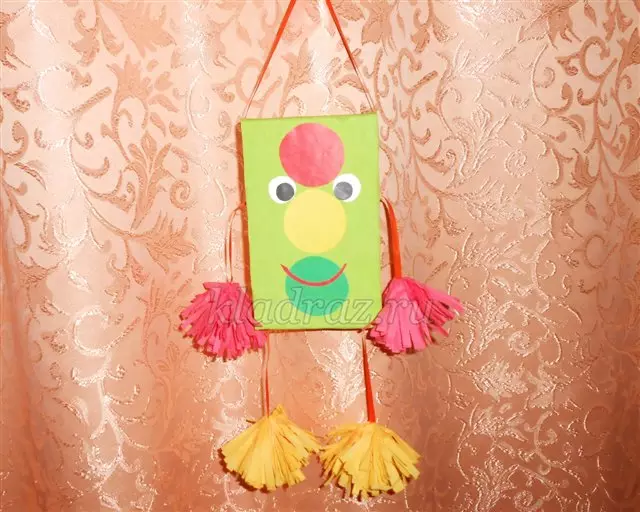
Then you need to wrap and enclosed the box with colored or strong paper, having done in it in it the holes for the hands of the shoulders.
From above, crafts can be made of a loop from the tape so that you can still hang a traffic light on the wall. But this is at will.
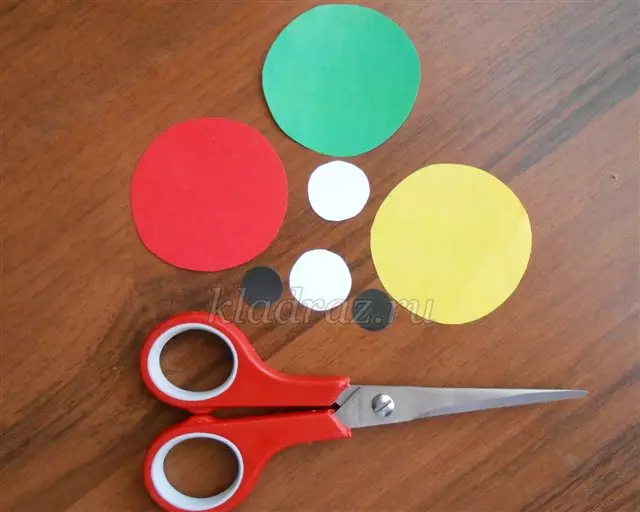
From colored paper Cut 3 identical mug: green, red and yellow. You can define their approximate size. You can separate the height of the box on 3. Of the white paper you need to cut 2 small mug smaller for eye decoration. For pupils, you will need 2 small black circles. You can arrange the color of the eye of the traffic light, cautiously cutting blue mugs, green or any color. In general, in the decoration of the face you can show fantasy and make them, for example, from buttons. If you wish, the caretaker is female, cut the cilia.
Article on the topic: Crochet bags. Knitting schemes
Rotik is also possible to make out of paper, but you can simply draw.

Now proceed to pompoms from the napkins. They need to be folded in half and cut one edge of small herbs as shown in the photo.
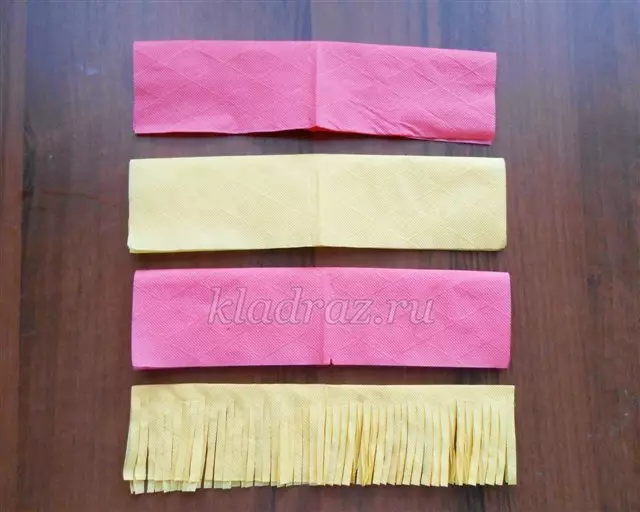
Screw napkins on the needle.
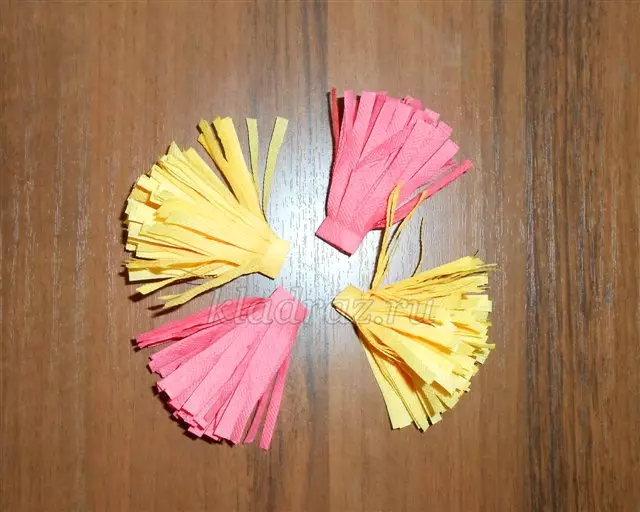
Print the resulting pumps to the ends of ribbons for the handles and legs of the traffic lights.
Optionally, to make a more original product, you can create a piece of paper and cardboard for it.
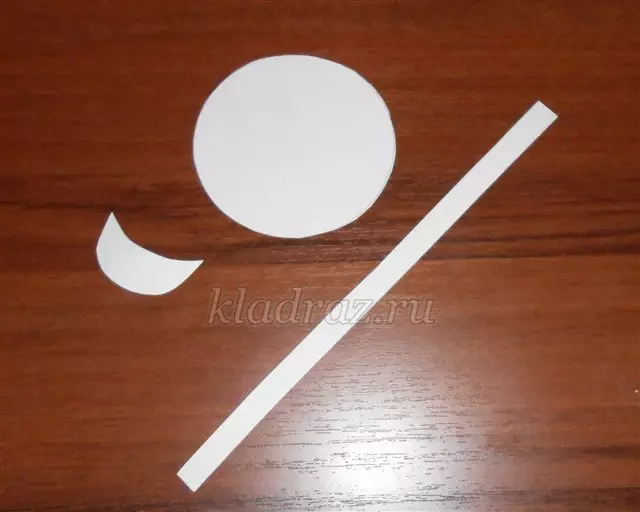
On the cardboard you need to draw a circle by taking a glass of or other, suitable in size.
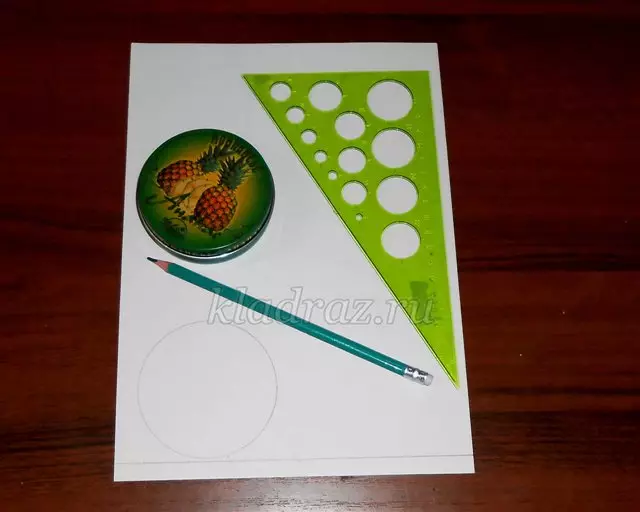
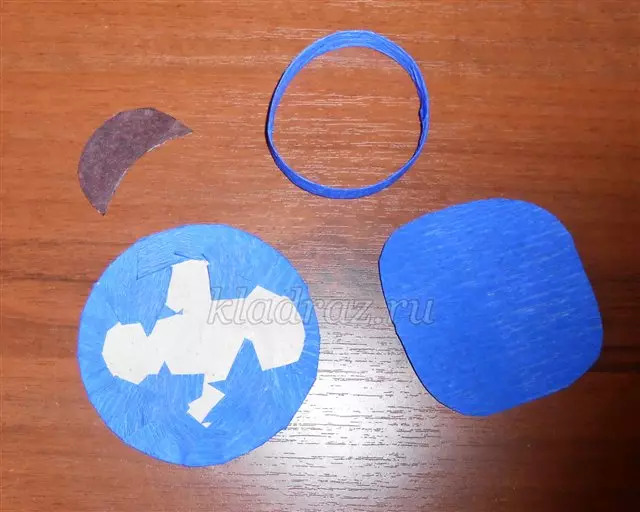
Cut the resulting circle, also cut a thin cardboard strip to lifting a cap. Visor make arbitrary size.
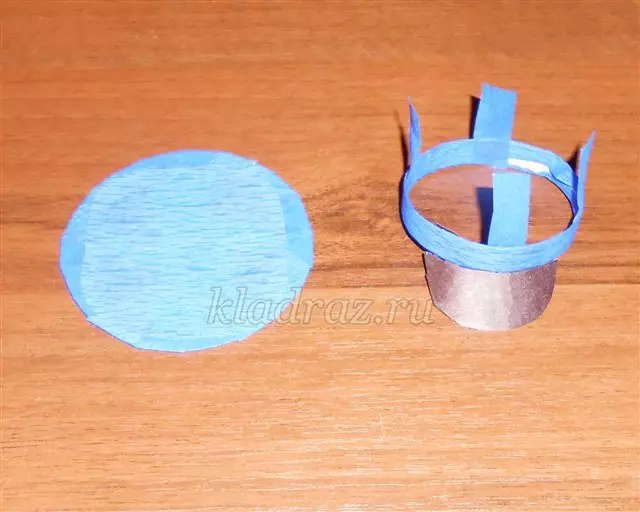
From the strip to make a ring, all the details are blocked with colored paper.
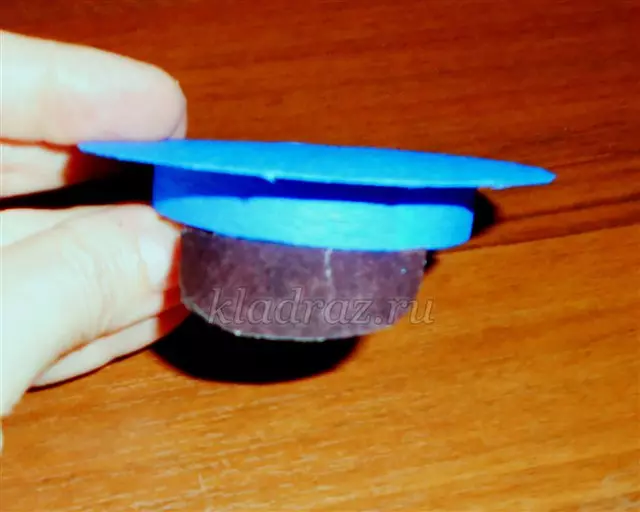
Connect the circle and ring with glue and pieces of paper.
It turns out such a cap:
Dress our traffic light into it. Cheerful and original handicraft ready.

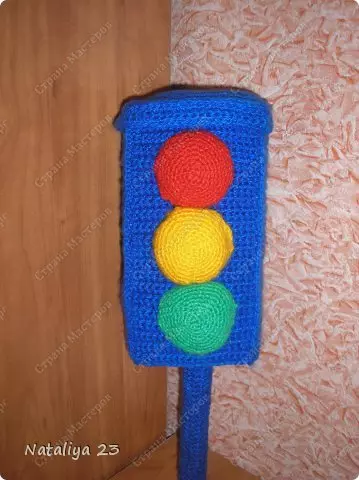
What only there are no ways to create a traffic light, would be time and desire. Handwriters who know how to knit, for sure they will be worked out with a crochet.
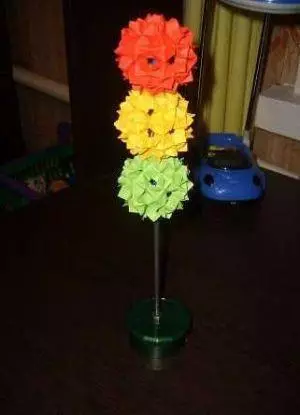
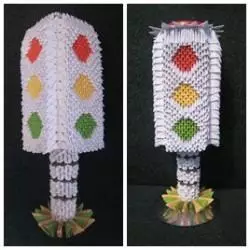
There are many all kinds of crafts from modules from elementary, which can be done with children, up to the most difficult, requiring great perfection and painstaking work.
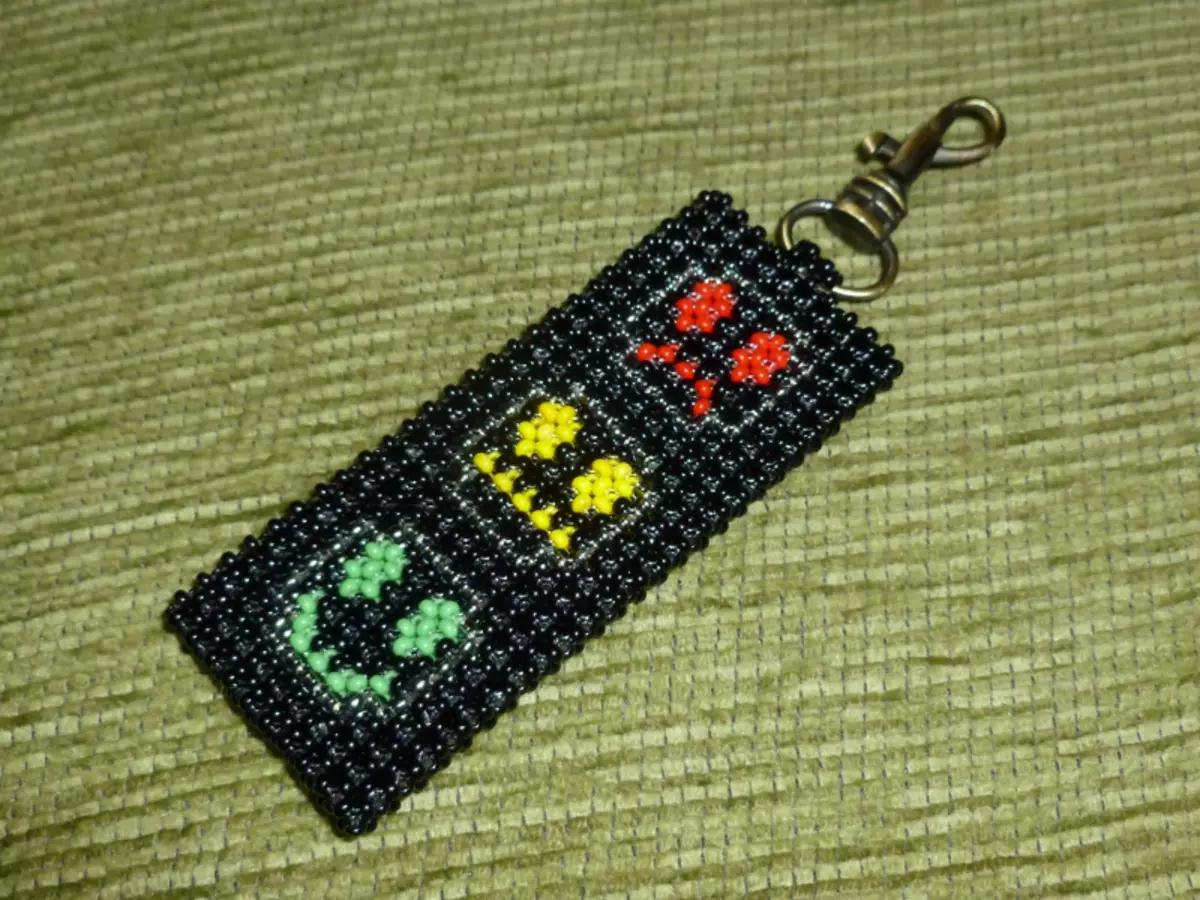
By making a bead traffic, you can get a great key chain for keys.
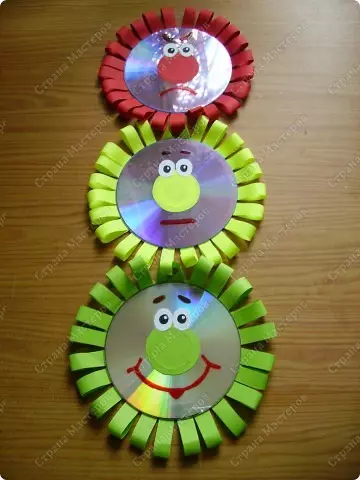
Do not hurry to throw out unnecessary CDs. The traffic light from the drives in the form of crafts for a kindergarten will conquer not only children, but also educators.
Video on the topic
More interesting ideas of creating traffic lights with children are presented on video: