
Passport is considered one of the important elements to be preserved. And what, like a cover, it can best protect it. Therefore, without any thought, we propose to go to creating a passport cover with your own hands.
We start with simple
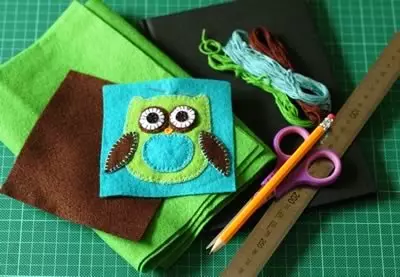
In the first master class, we suggest to consider the process of making a passport cover with your own hands from felt. As a basis, take one of the trend drawings - the drawing of the sovuchka.
In order to arrange such a cover, it will take felt of different colors, Moulin of suitable shades, books binding, needles, scissors, a pencil ruler.
The photo shows the sketch of the filing of the sumupist. Redraw it or print a template on a printer from the Internet.
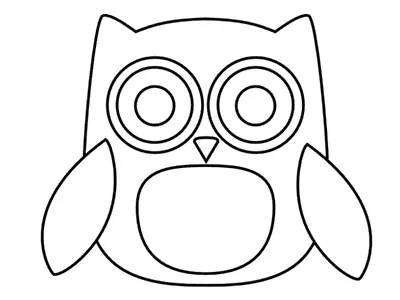
Bird sizes must correspond to the size of the passport. Cut out each item and transfer it to the fabric, then susht all the details of each other and place the ptashka on a small felt passage.
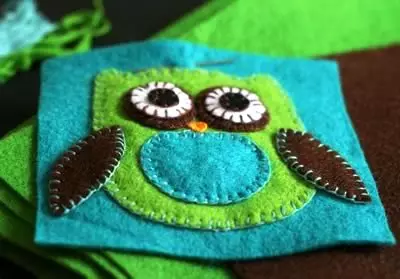
Measure the size of the passport and carry them onto the felt, adding 0.5 cm per battery.
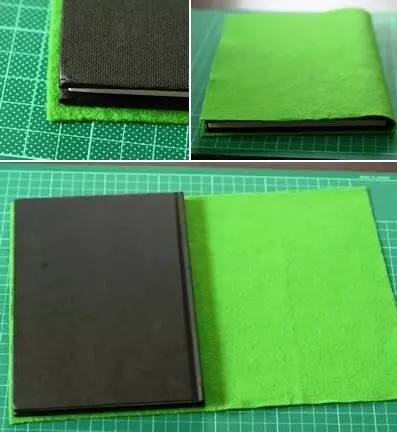
Also cut out two parts, the size of which is equal to the inner side of the passport. The middle of the big workpiece is well discharged with an iron, then gluitive the summistry. We can sew it. In terms of edges, sew the front and involve part. We place the passport in the finished cover.
Second idea
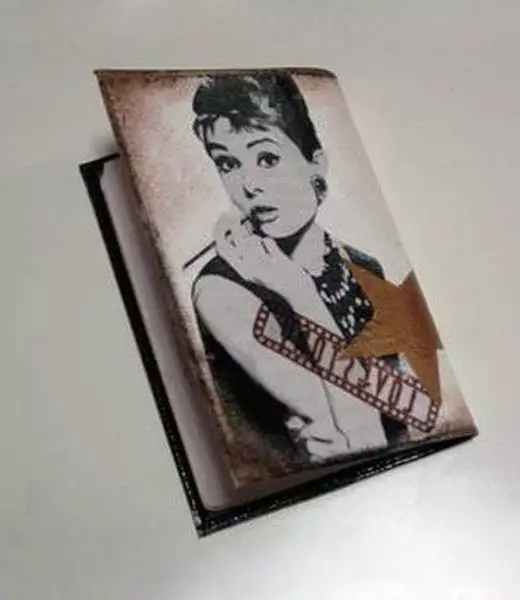
The next process of making a passport cover with your own hands in the technique of decoupage can be traced on the example of step-by-step instructions with photos.
In order to make it, you will need a ready-made cover from leatherette, enamel, acrylic paint, acetone, bitumen, varnish, glue and a napkin for decoupage.
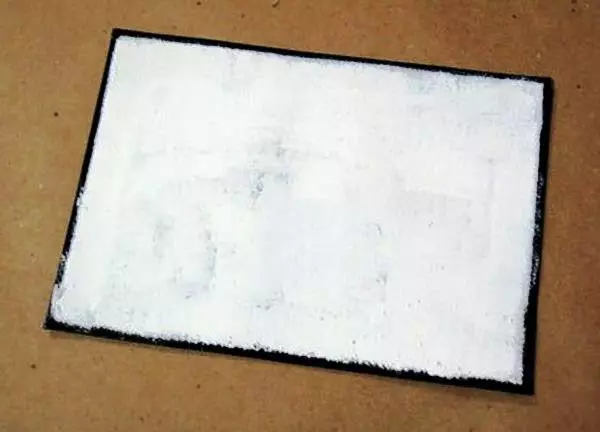
The first step we take place on the cover of the leatherette acetone.
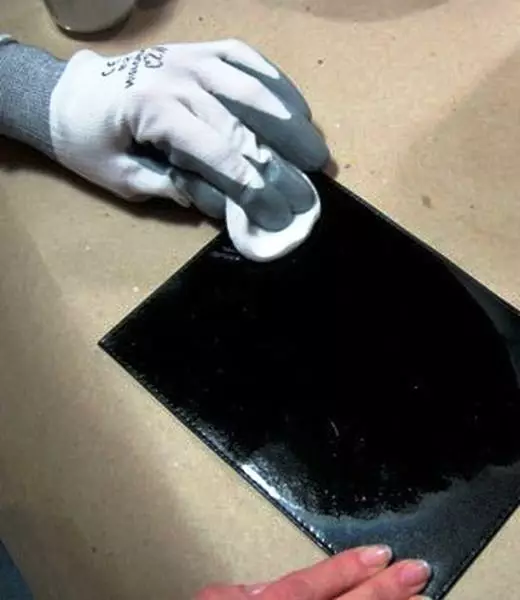
Then cover the cover enamel.
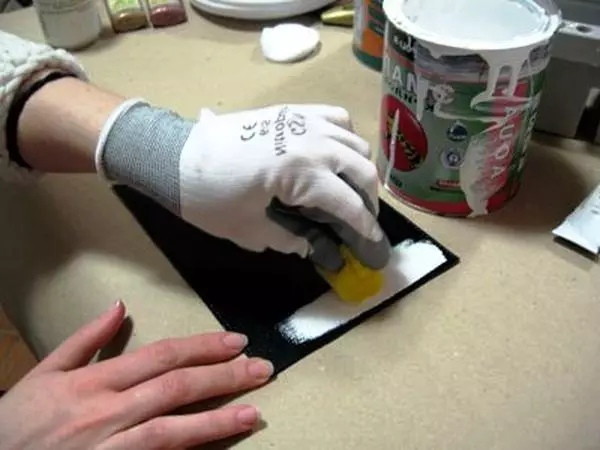
Cover completely all surface.
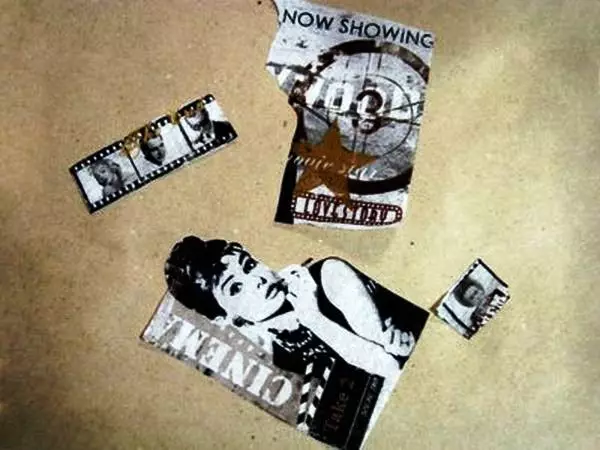
From the napkins, we pull out all the necessary parts for the new composition.
Article on the topic: Women's night shirt on the straps: Pattern and master class on sewing
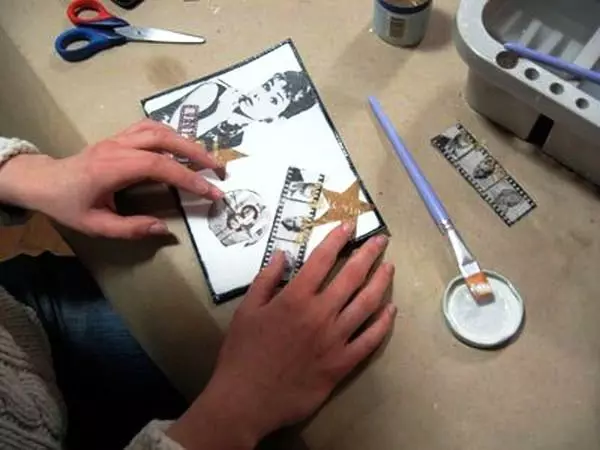
Very neatly glue them to the glue to the cover.
Third option
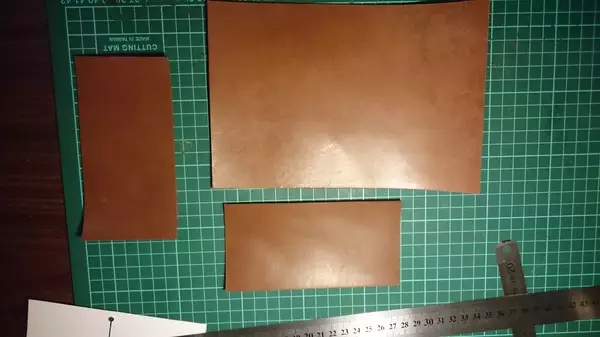
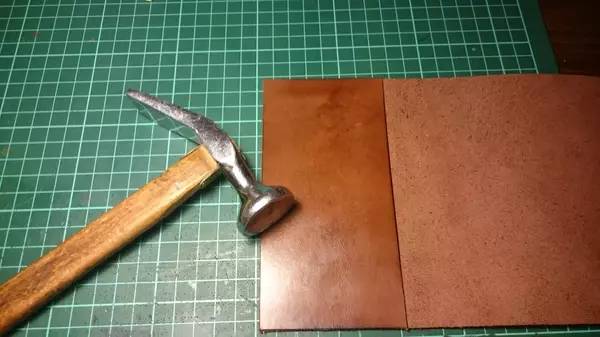
And now we suggest to see the creation of a classic skin cover. The process of creating it is shown in the next master class.
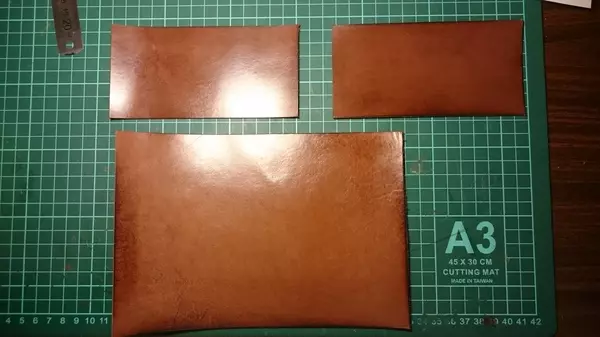
Measure the size of the passport and make patterns on paper by adding five mm per battery and seams. We carry the pattern on the calf's skin and cut out.
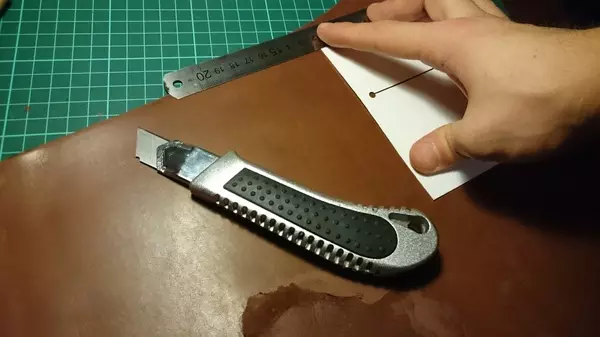
Cut also internal parts. Their size corresponds to the inner page of the passport.
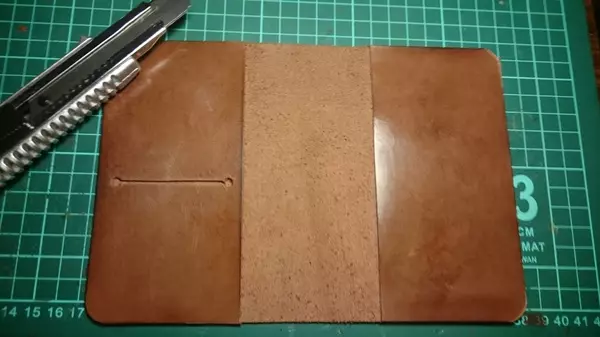
Making dimming on the skin around the edges.
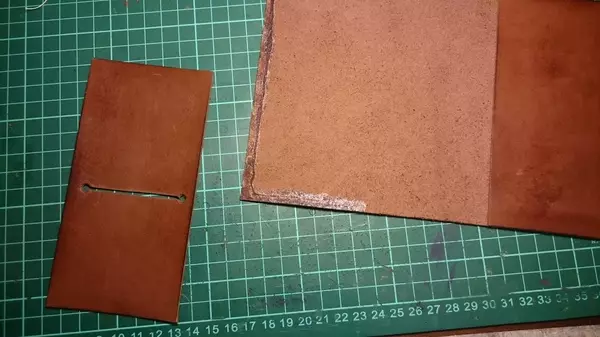
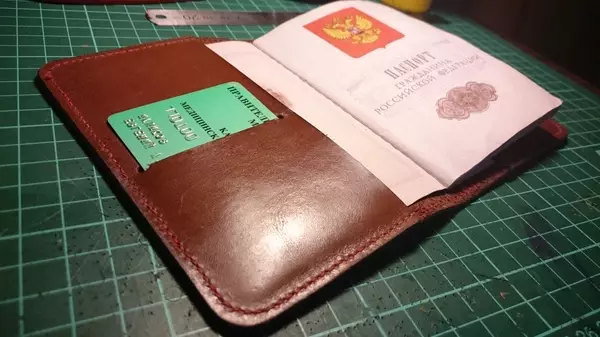
On the one hand, we make a small pocket for credit cards.
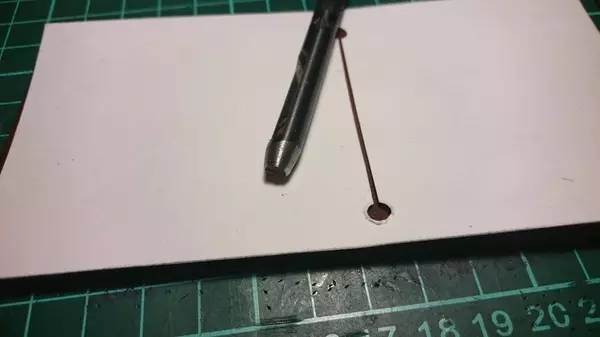
Cut it. On the edges we apply a little glue and glue the elements.
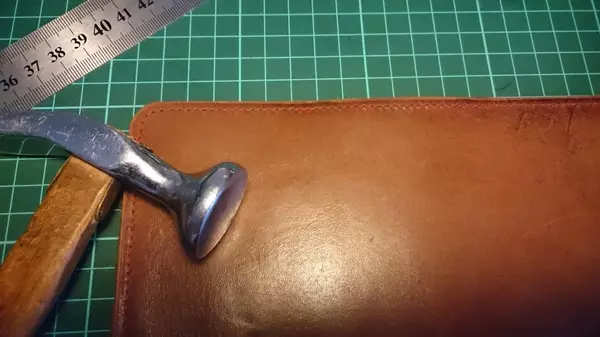
Touch the hammer all the glued parts.
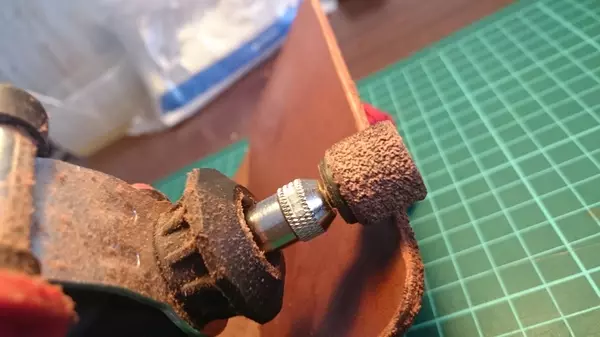
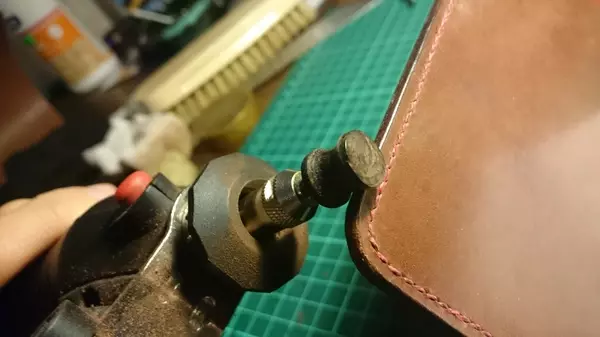
Now you need to round the coal.
Go through the engraver, for example.
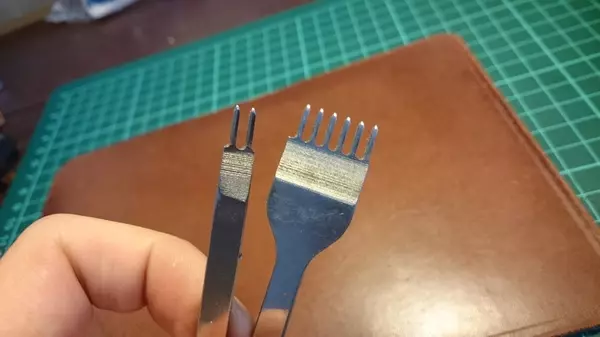
Take a circuit with two needles and make an indent three mm.

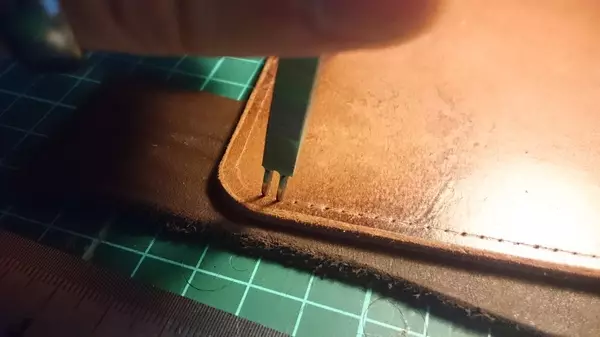
Mark the next step.
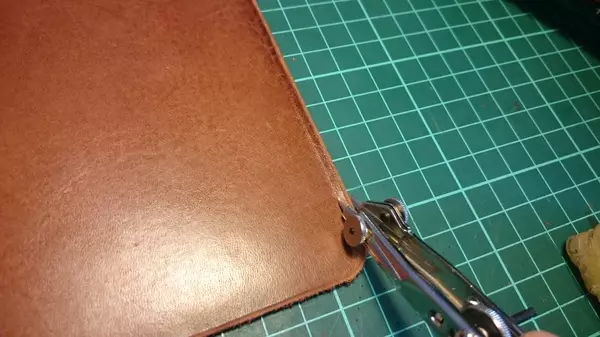
Sleeping on this markup all holes.
We select thread, refuel it into the needle and pass throughout the perimeter. Hammer tapping the seam.
We carry out a substance called SMS.
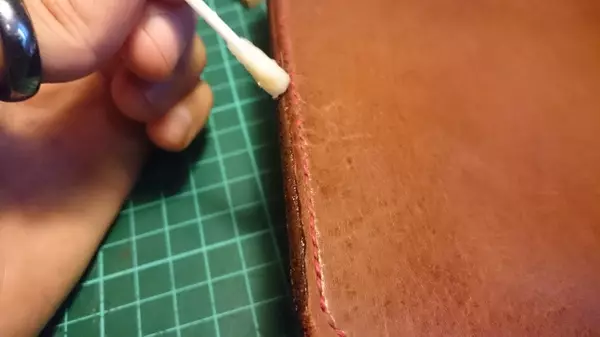
Then we pass by a polystone nozzle.
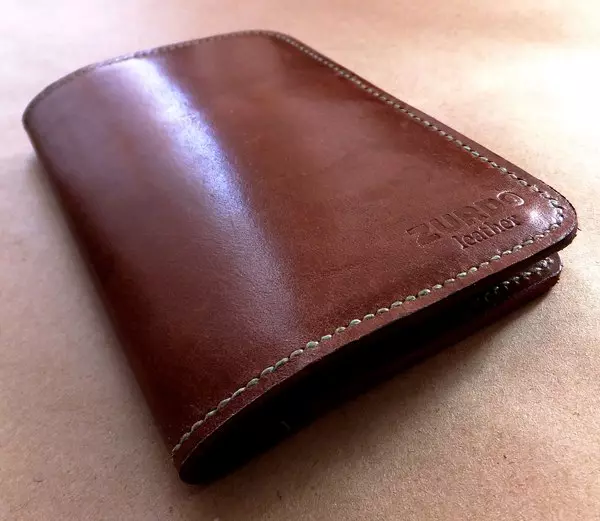
Here is such a classic passport cover:
Cover from fabric
So, without unnecessary words and ceremonies, proceed to creating a cover from the fabric.
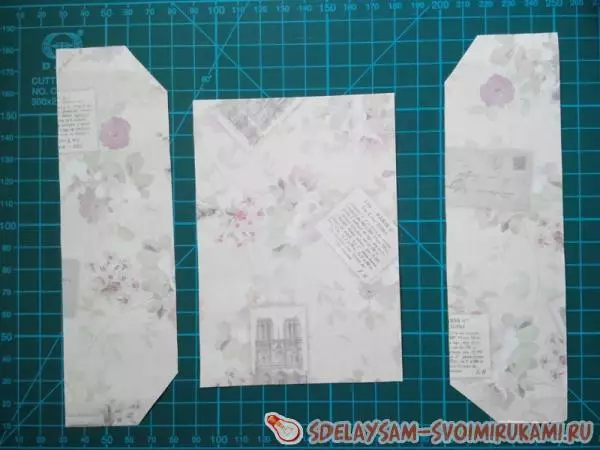
Cut the rectangle from cardboard 20 * 13.5 cm.
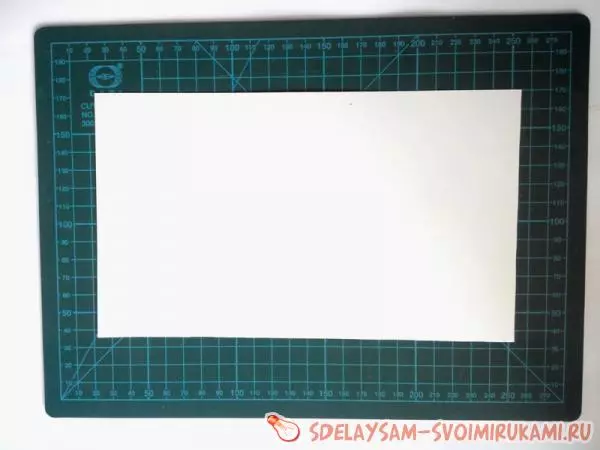
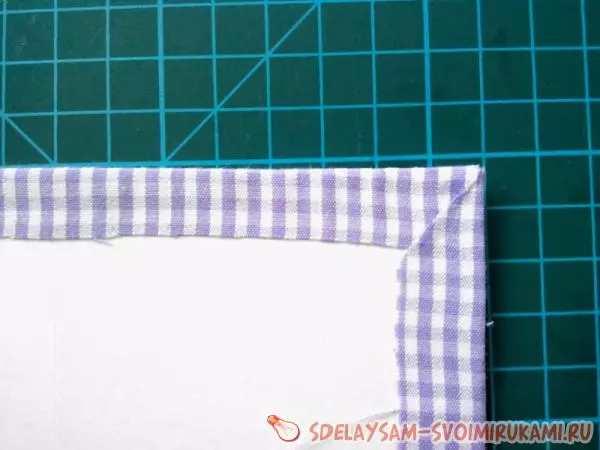
Then add two cm to each side and cut the rectangle from the fabric.
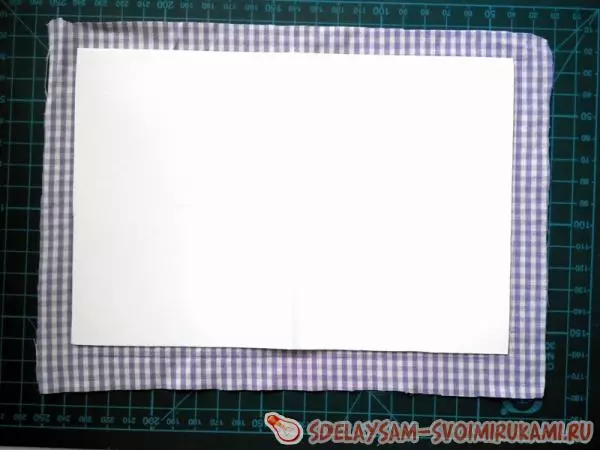
We glue the fabric to the cardboard, leaving a few space for the deflection.
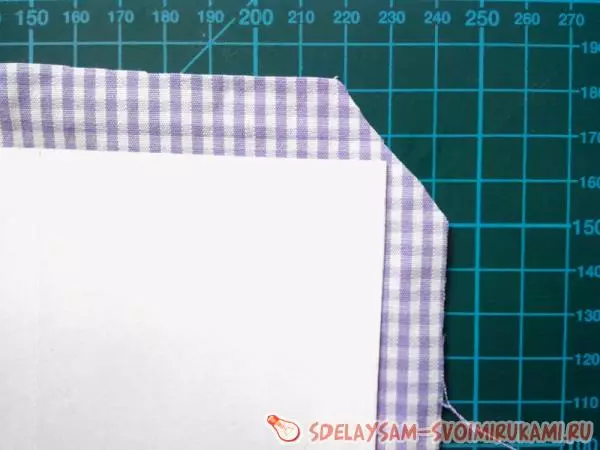
First glue the upper and lower part.
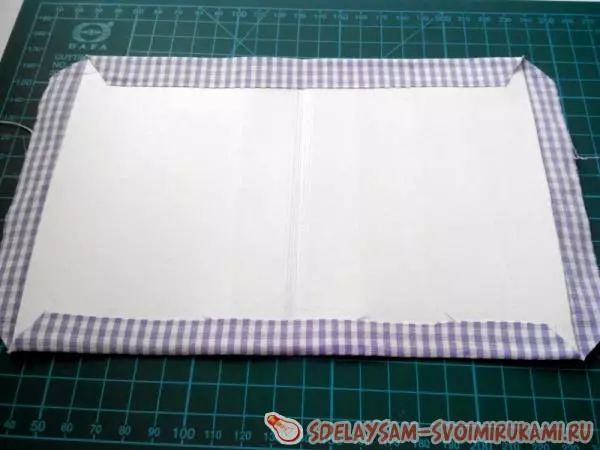
Then the cover side.
Cut the extension cloth with scissors.
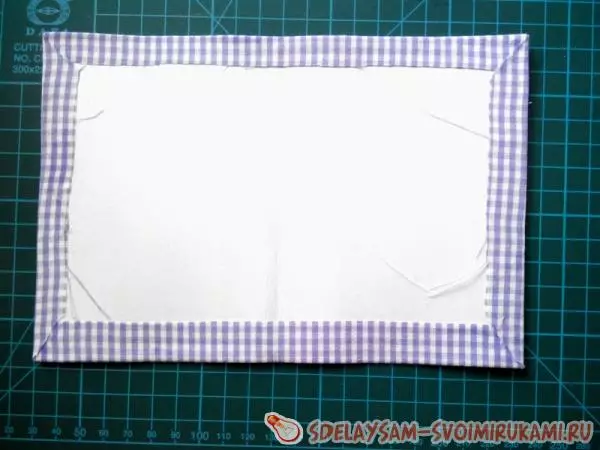
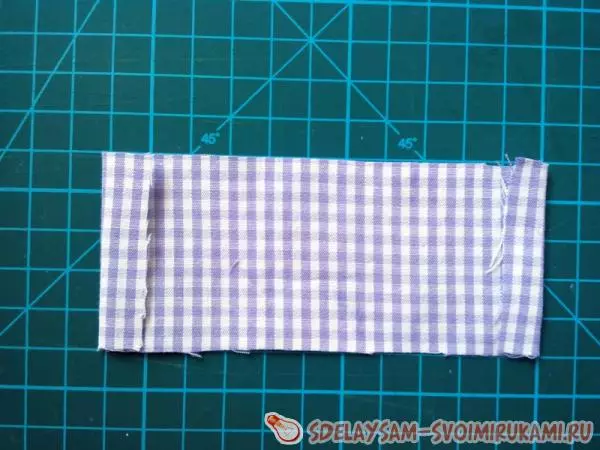
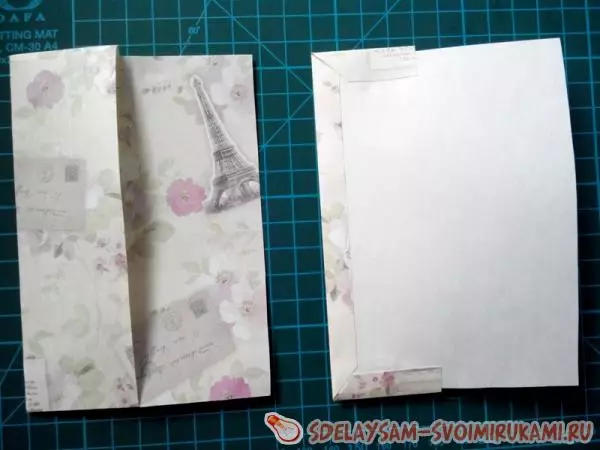
Then cut out another small rectangle out of the fabric, the size of 13 * 5 cm. Condimate 1 cm from the edges and coherently start.
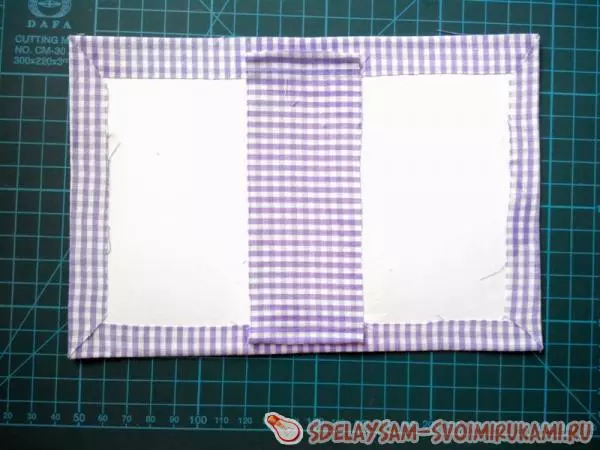
From scrapbooks cut out two rectangles with the size of the inner passport.
Then two more rectangles 5 * 14.5 cm.
We glue the data of the pocket to the bells.
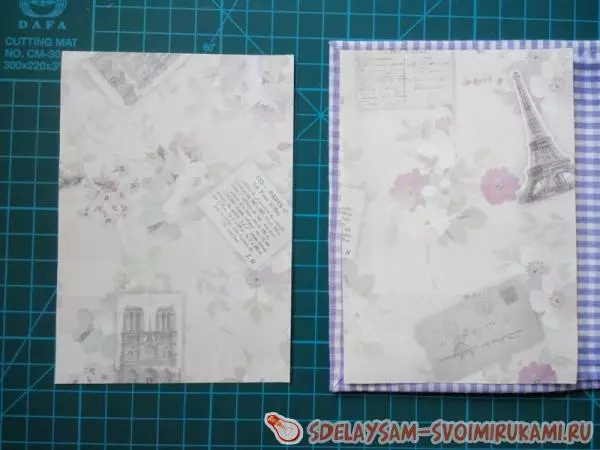
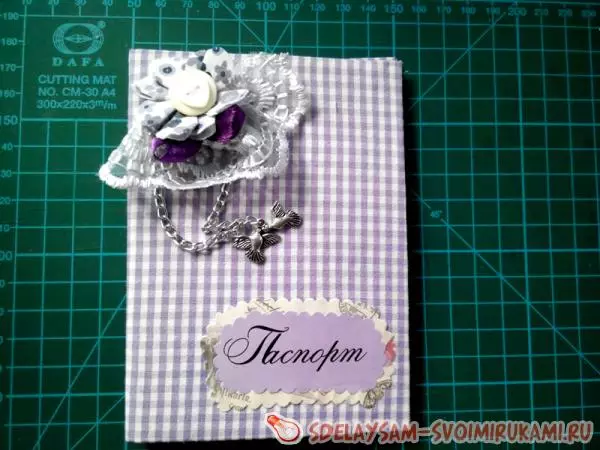
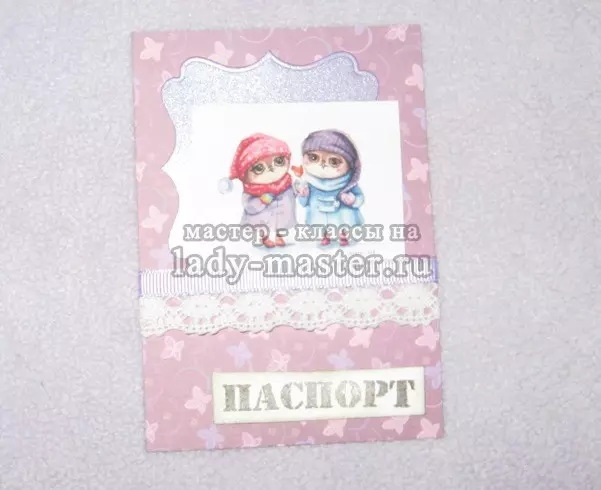
Decorate the cover at your own request.
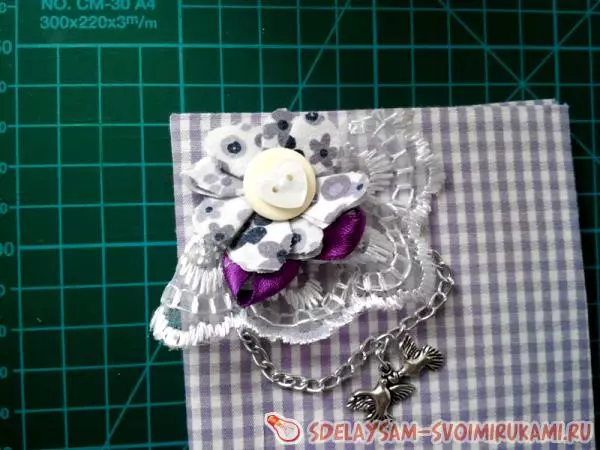
For decoration, we use scrapbooking technique. Cut the word passport.
Article on the topic: Rosa Kanzashi from tape 5 cm: Master class on bud with photos and video
You can also glue a beautiful pattern from scrapbooks and decorate with openwork ribbons.

Video on the topic
We offer to see a selection of video materials on creating covers on a passport with your own hands.