
The cover for books is gaining great popularity recently. The process of its creation helps to develop a fantasy, patience in some cases, fine motility of hands and many other positive qualities. In this article, we consider examples of different types of covers with your own hands.
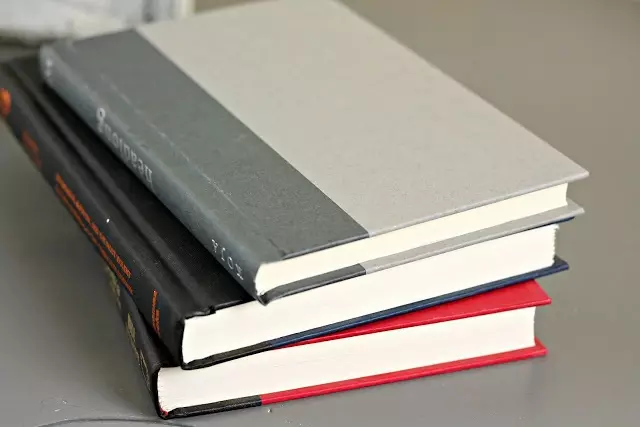
Hard cover
As we all know, the hardcover is made in printing. But sometimes straight and want to make some new cover for a book from cardboard with your own hands. The process of making a cardboard cover can be traced on the example of a master class for everyone.
For the cover, take a solid cardboard, paper, PVA glue, stapler and other pride tools.
We distribute sheets of 8 pieces into separate stacks.

We fold a stack by collapse.
We fasten paper.
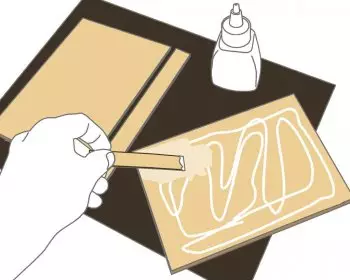
Cut out the pieces of fabric with the same height, and the width should be thicker five times. Then we glue along the side line fabric.
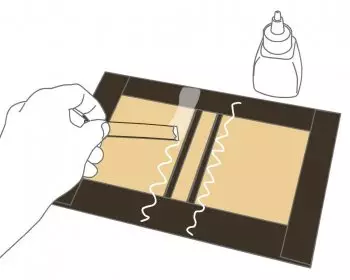
Cut from cardboard three details. The dimensions correspond to the paper stack, the third part - the root - is equal to the width of the stack.
Close the cardboard with a cloth.
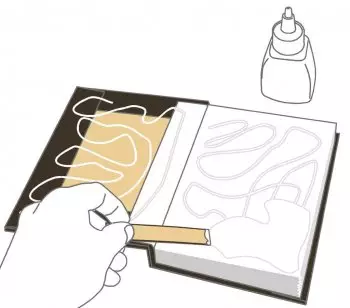
We wash the edges and glit to the cover of a stack of paper or an old book.
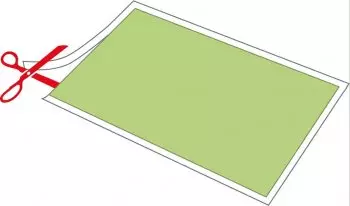
Cut the forgeds (substrate) from paper.
We glue it.
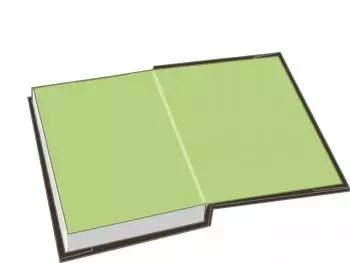
This is such a solid cardboard cover.

Wrapped paper
The process of manufacturing the wrapping cover can be traced on the example of a small master class. For work, take a paper wrapper.
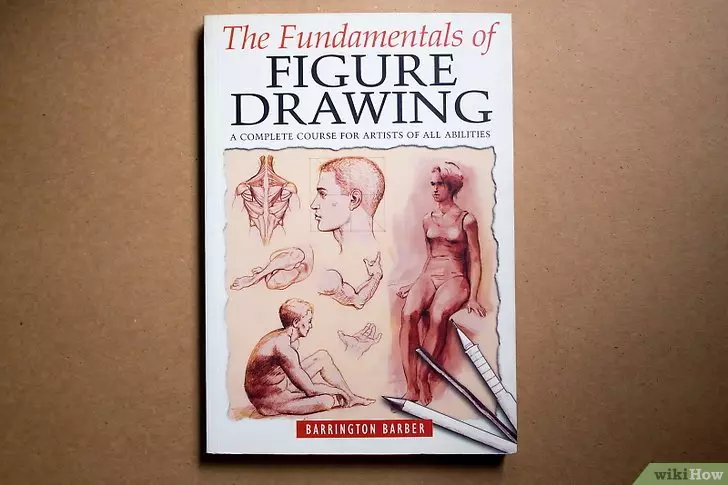
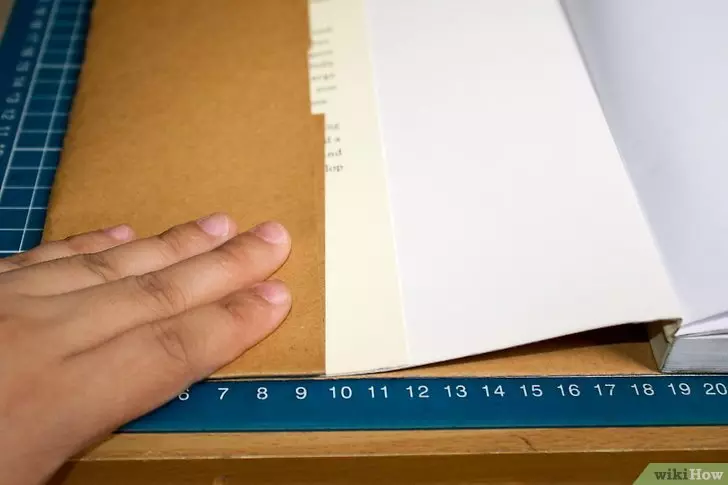
We put paper on the table. Measure the size of the book and put it on the middle of the paper.
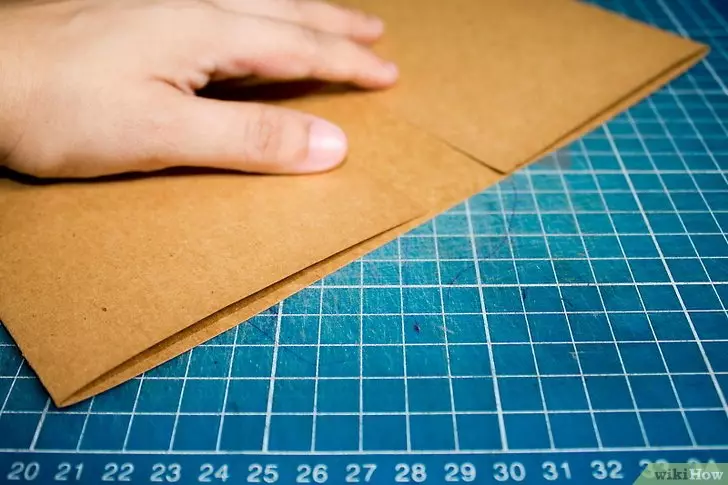
Then horizontal lines spend along the upper and lower edges of the book. Then bend the paper along these lines.
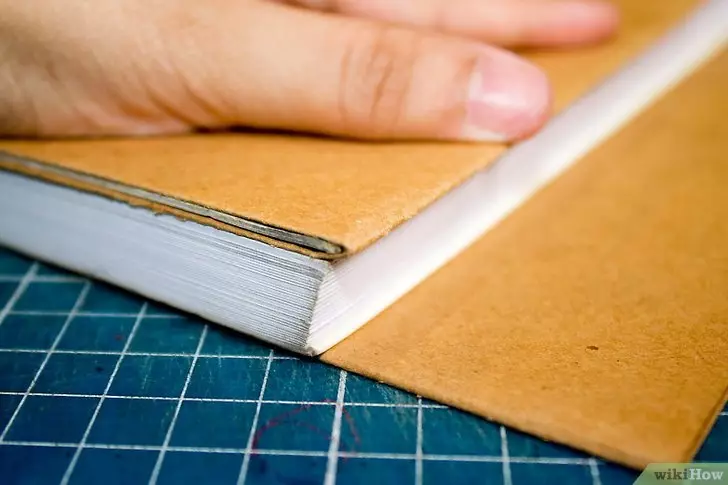
We put back the book in the wrapper center.
We drive the edges in width, then bend the book and we bring the second side.
Article on the topic: Bright blankets from yarn residues
Take a book in the cover and that's it. Cover is ready.
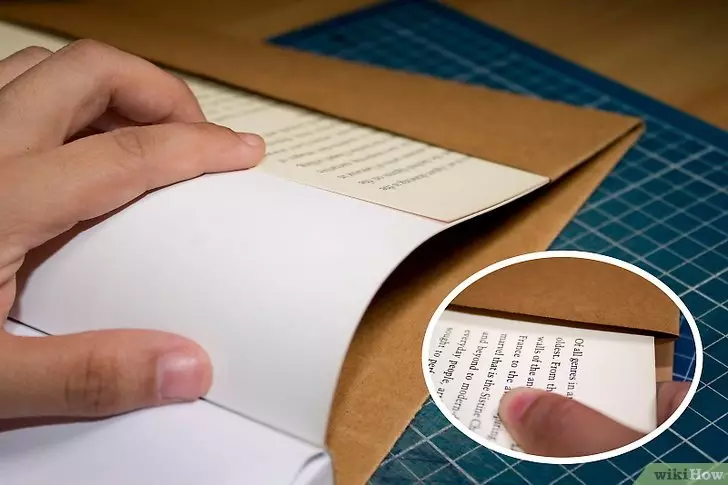
At the end, you can decorate the book under your taste.
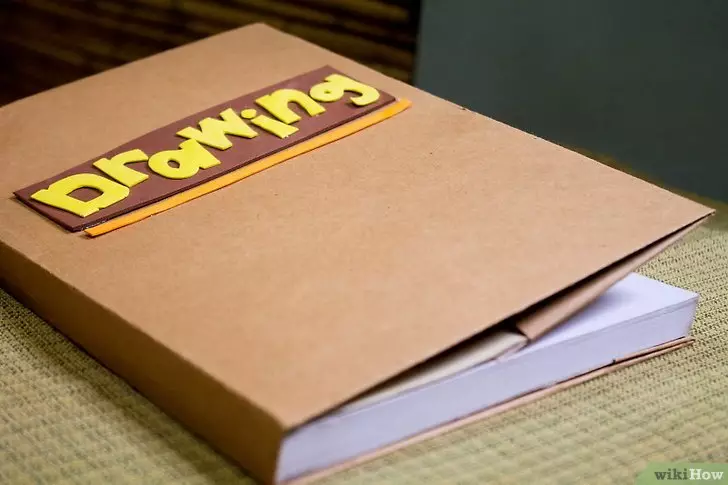
Beautiful and stylish
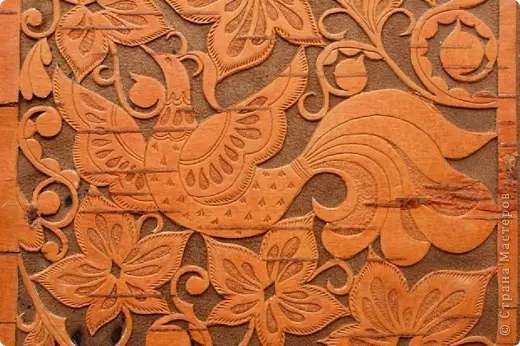
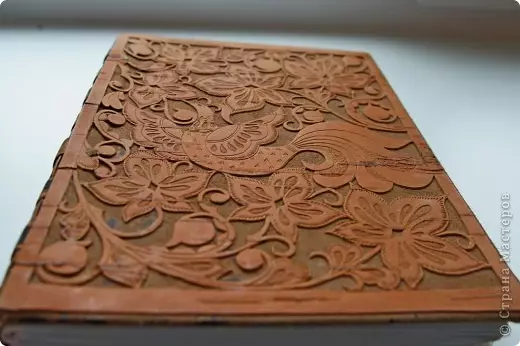
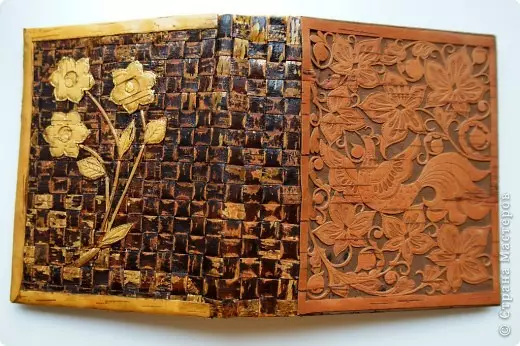
If you want to make a good and high-quality hardcover, then the next master class is for you. The first step, you must measure the size of the book, cut out a couple of parts from Beresta. We apply a pattern on Beresto. You can make beautiful various curls, flower and notches.
You can apply patterns only on the front or on both parts. Cut the patterns using a special tool. Cover the cover of varnish or some kind of paint with a matte tint. We glue the details from Berestov to the ready-made fabric case.

For a pocket book
The next stage we suggest to consider creating a cover for a small pocket book from the skin with your own hands. The manufacturing process can be viewed on the example of step-by-step instructions.
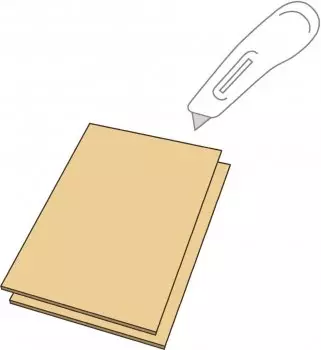
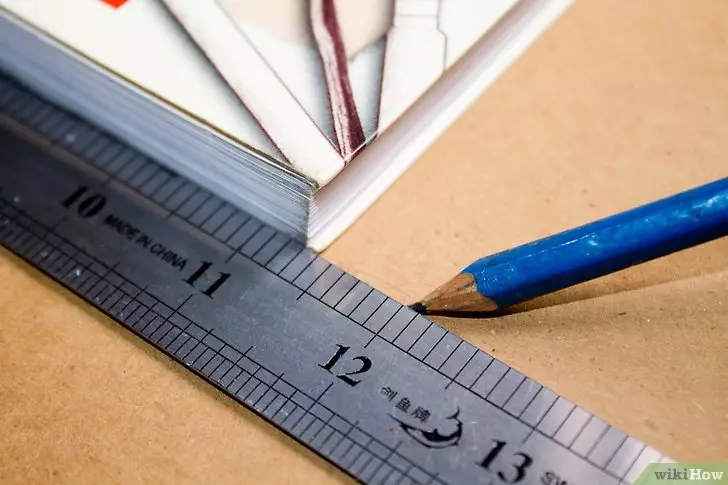
Draw a rectangle on a cardboard size under our book, making an allowance for half a cape on each side.
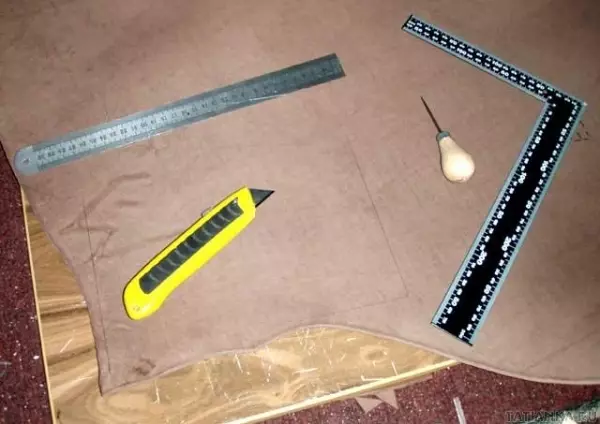
Cut it.
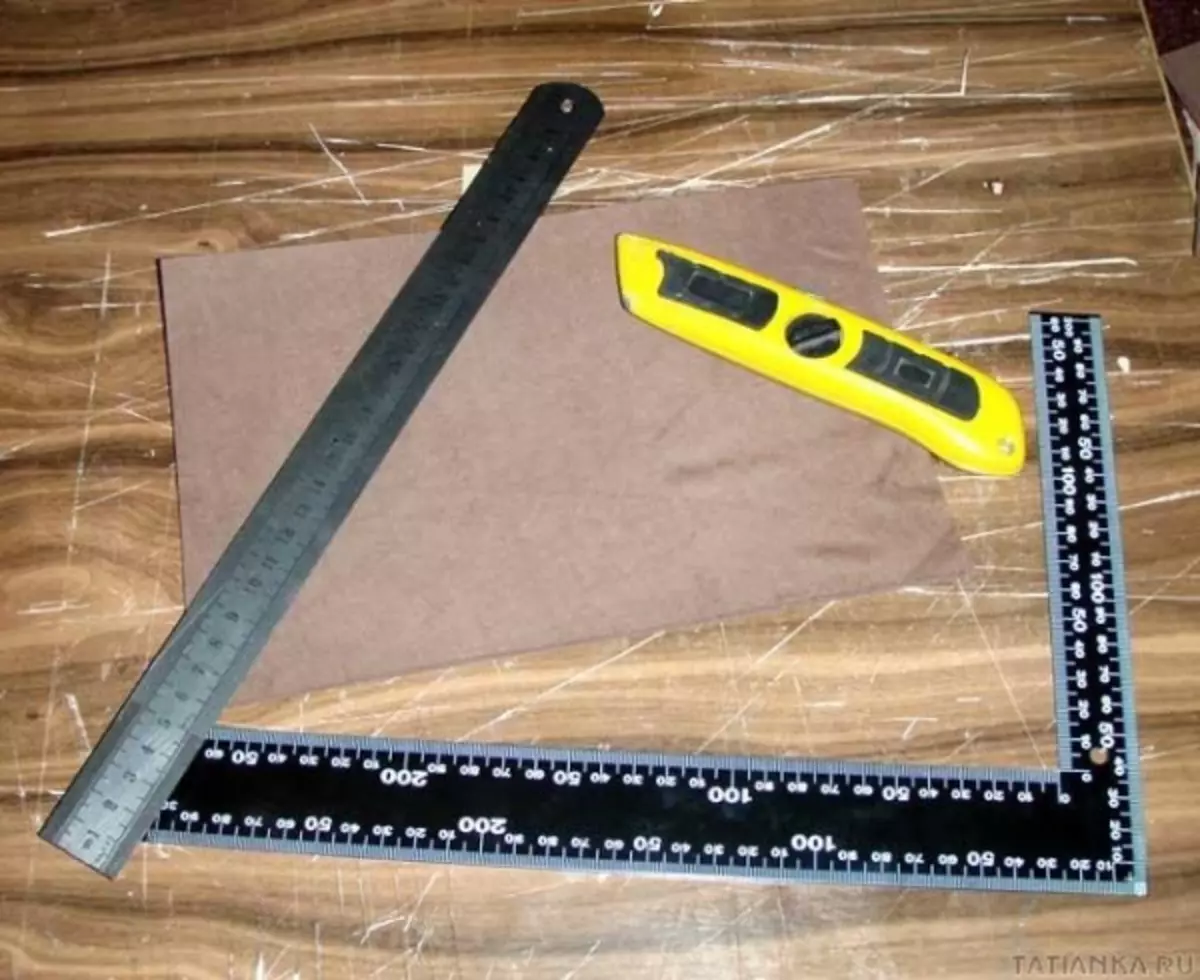
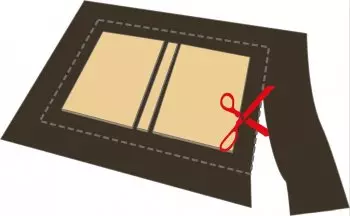
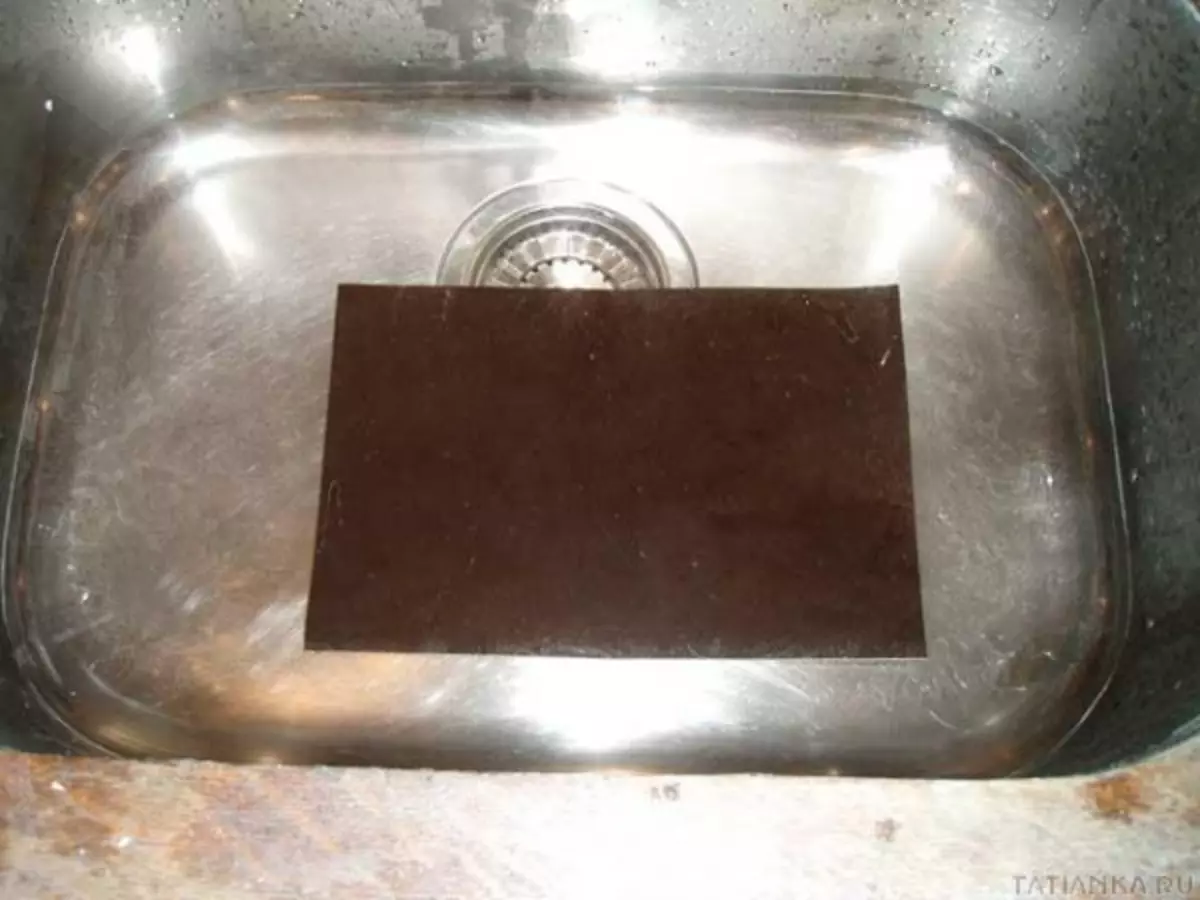
Cut the same rectangle on the skin and briefly put it in hot water.
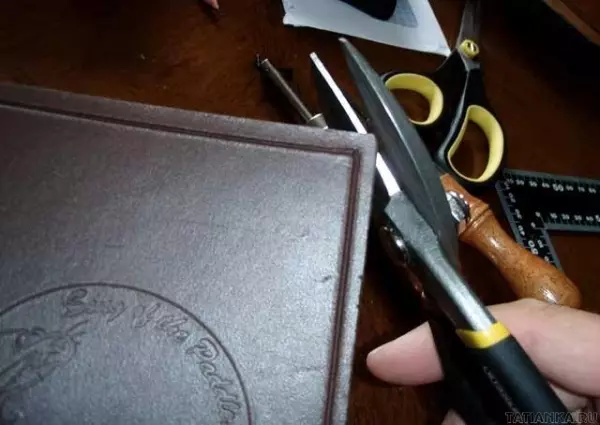
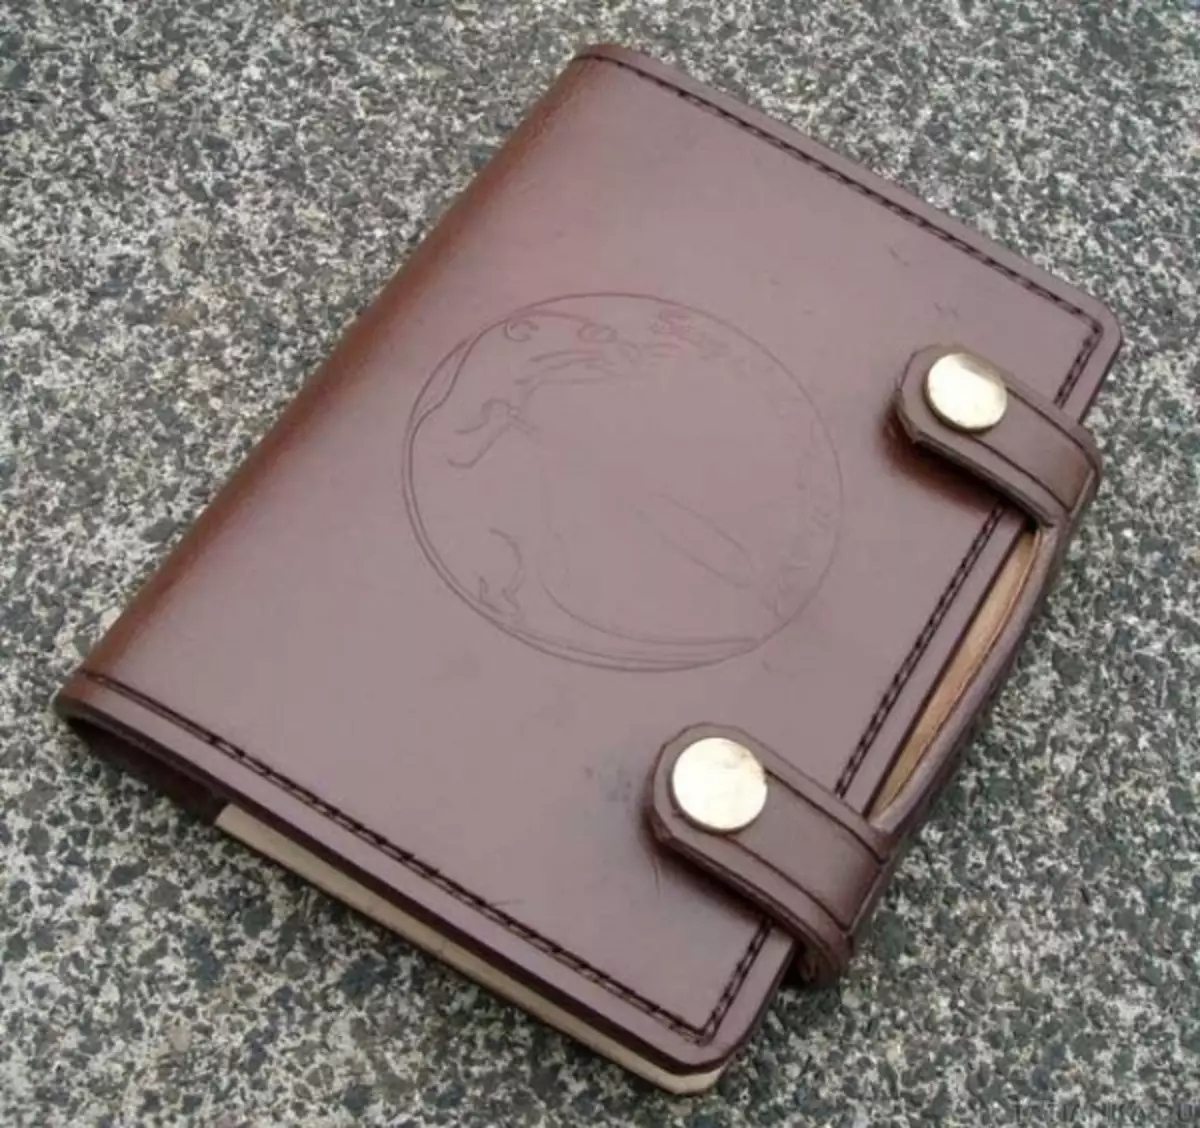
Stamp beautiful drawing. You can skip this stage.
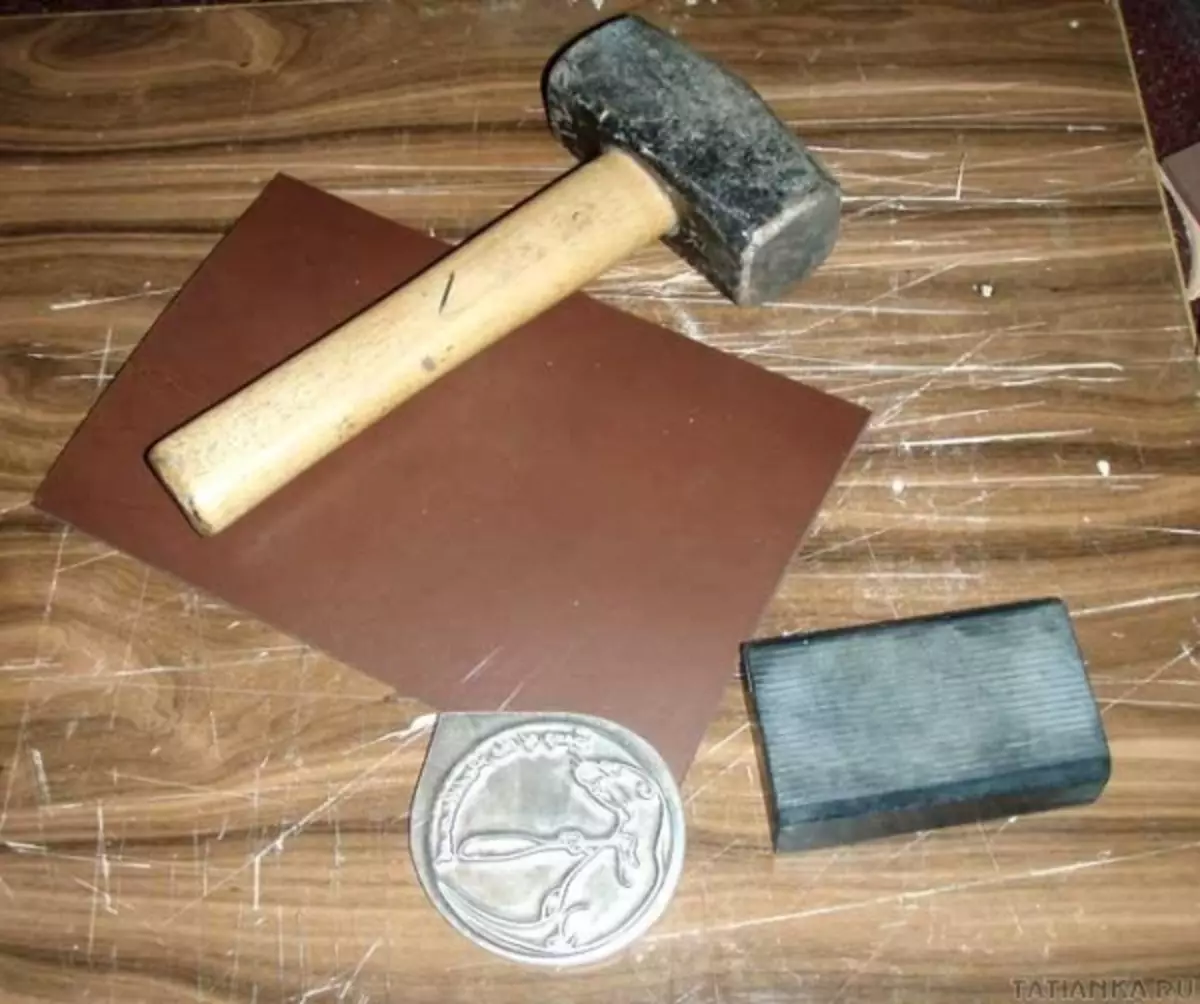

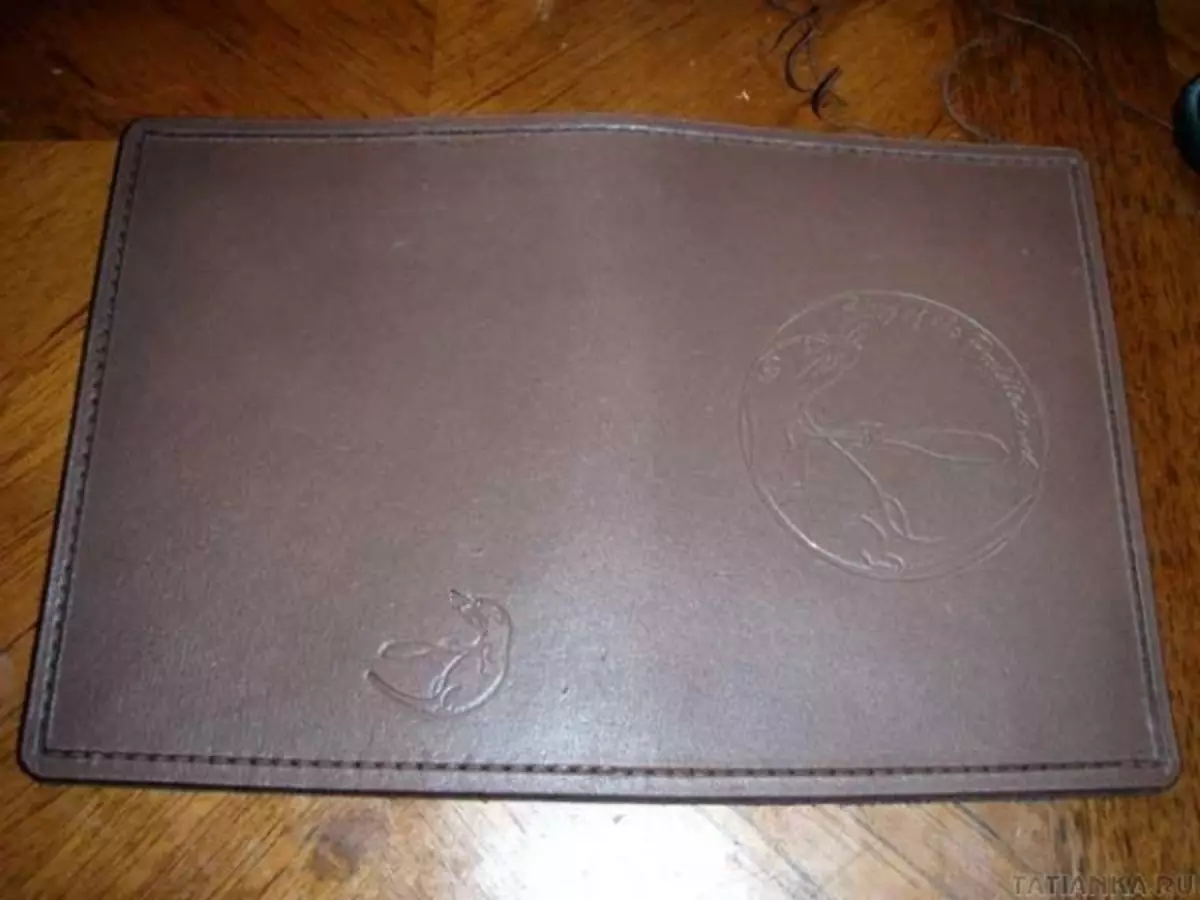
Bend a leather cover on the desired form and leave for one night under the press.
On the perimeter we pass by the eyes, making canvas.
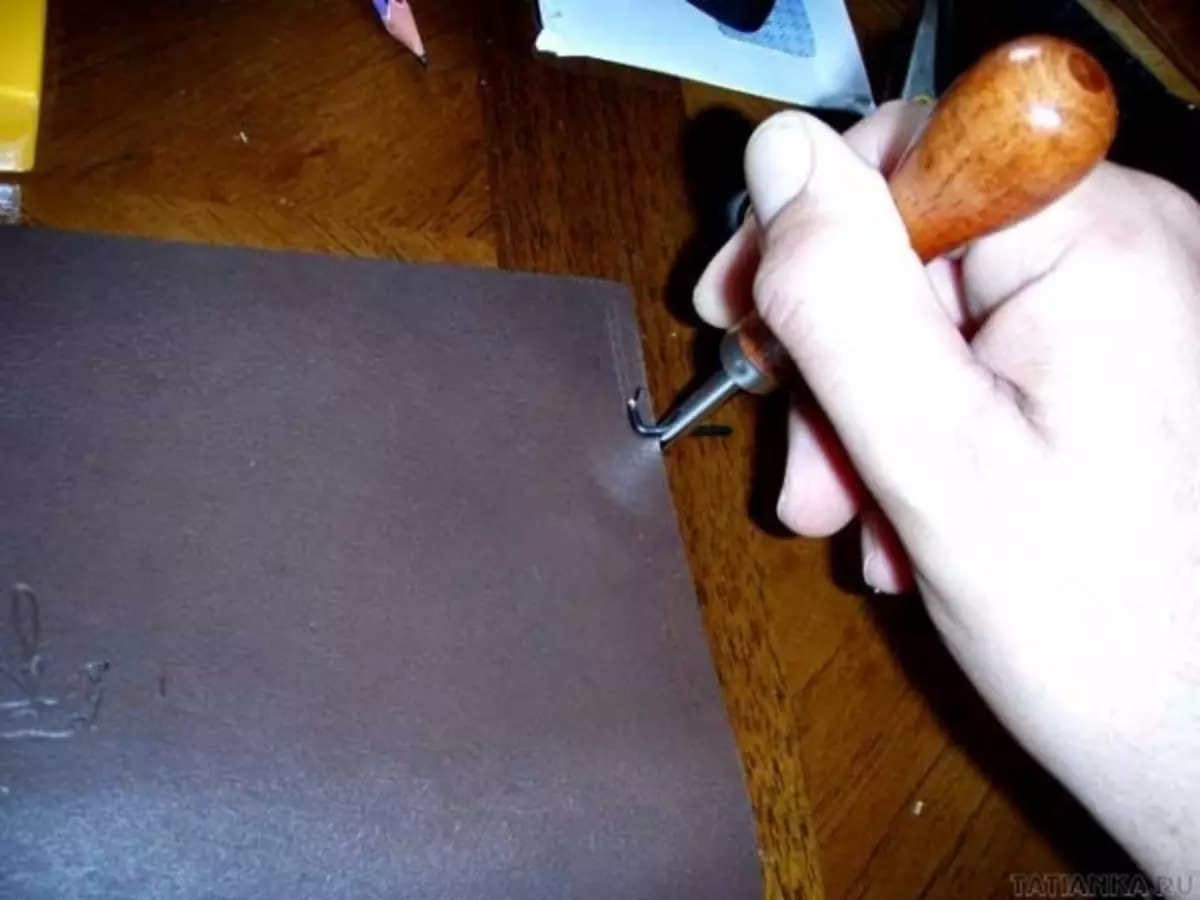
We flash the skin around the edges. This is a rather cerebral job, so you have to spend another evening if you are new to this business.
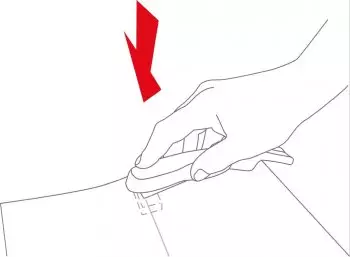
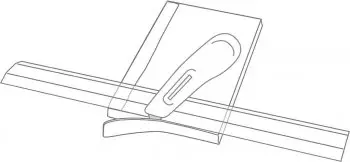
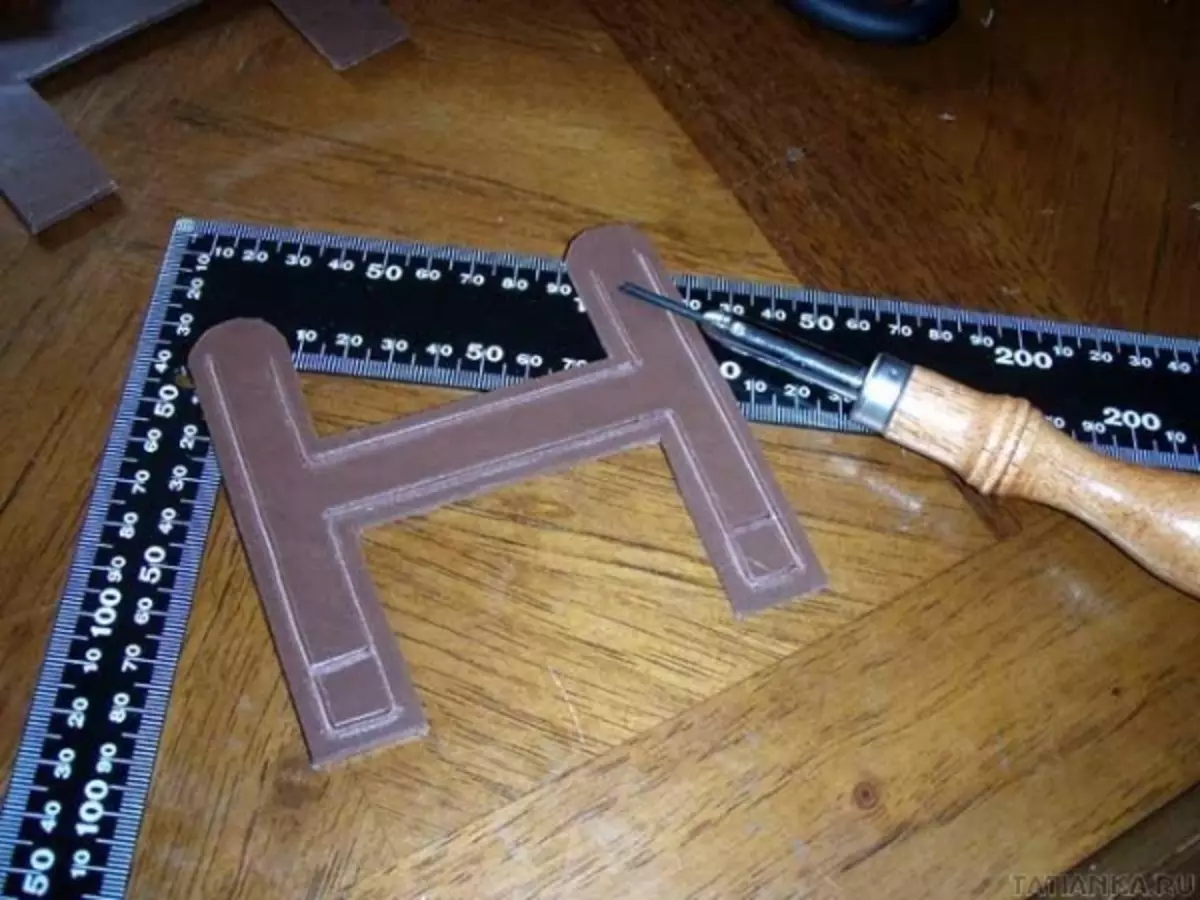
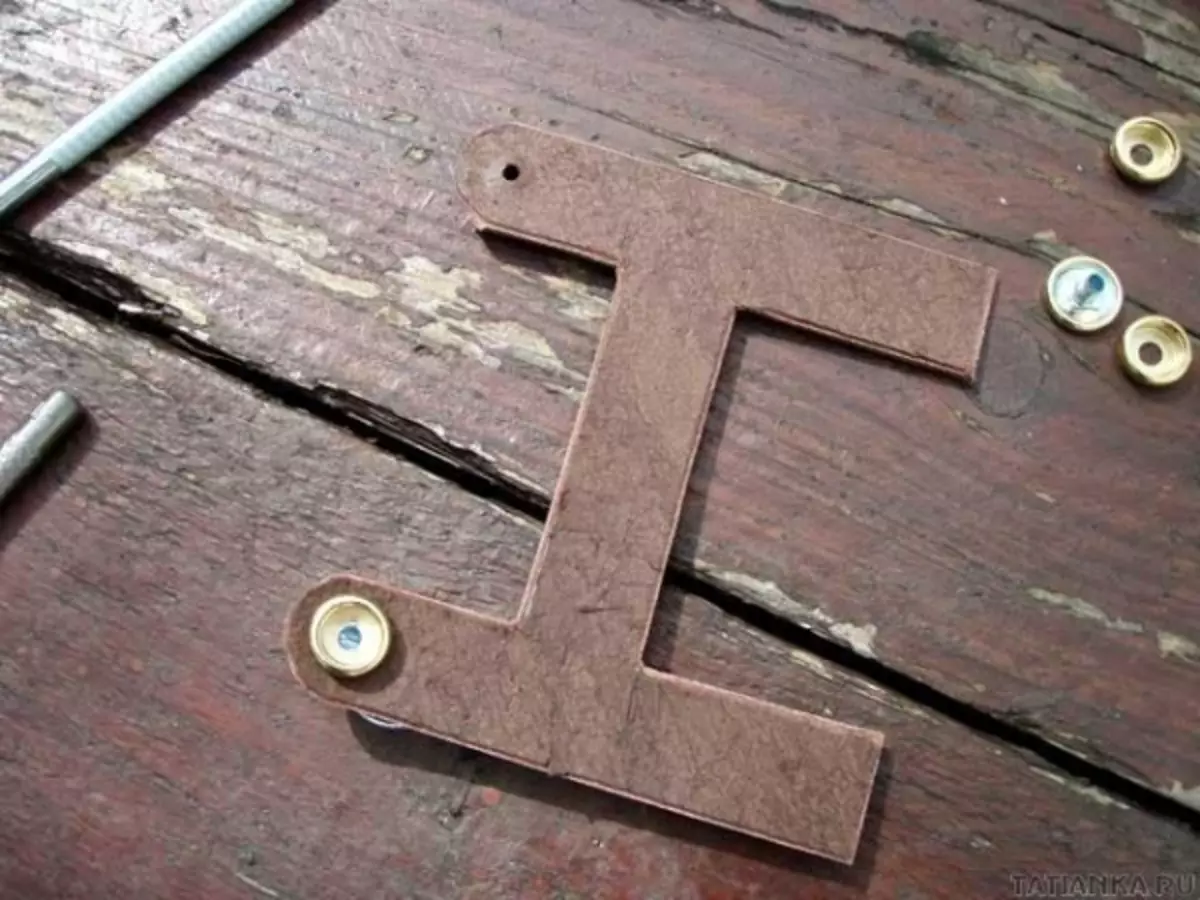
Now you need to work on the clasp. Cut the letter H a stationery knife.
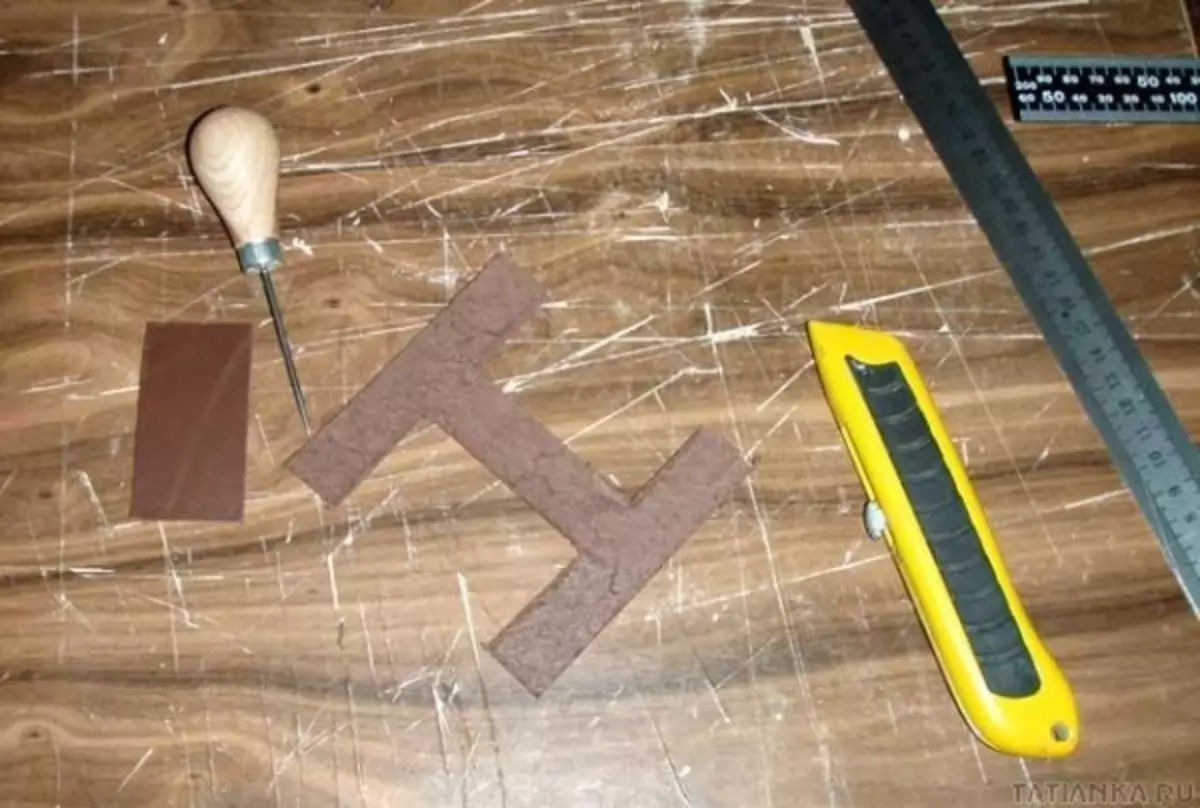
Crow the upper ends.

With chalk we plan the lines that we will flash in the future.
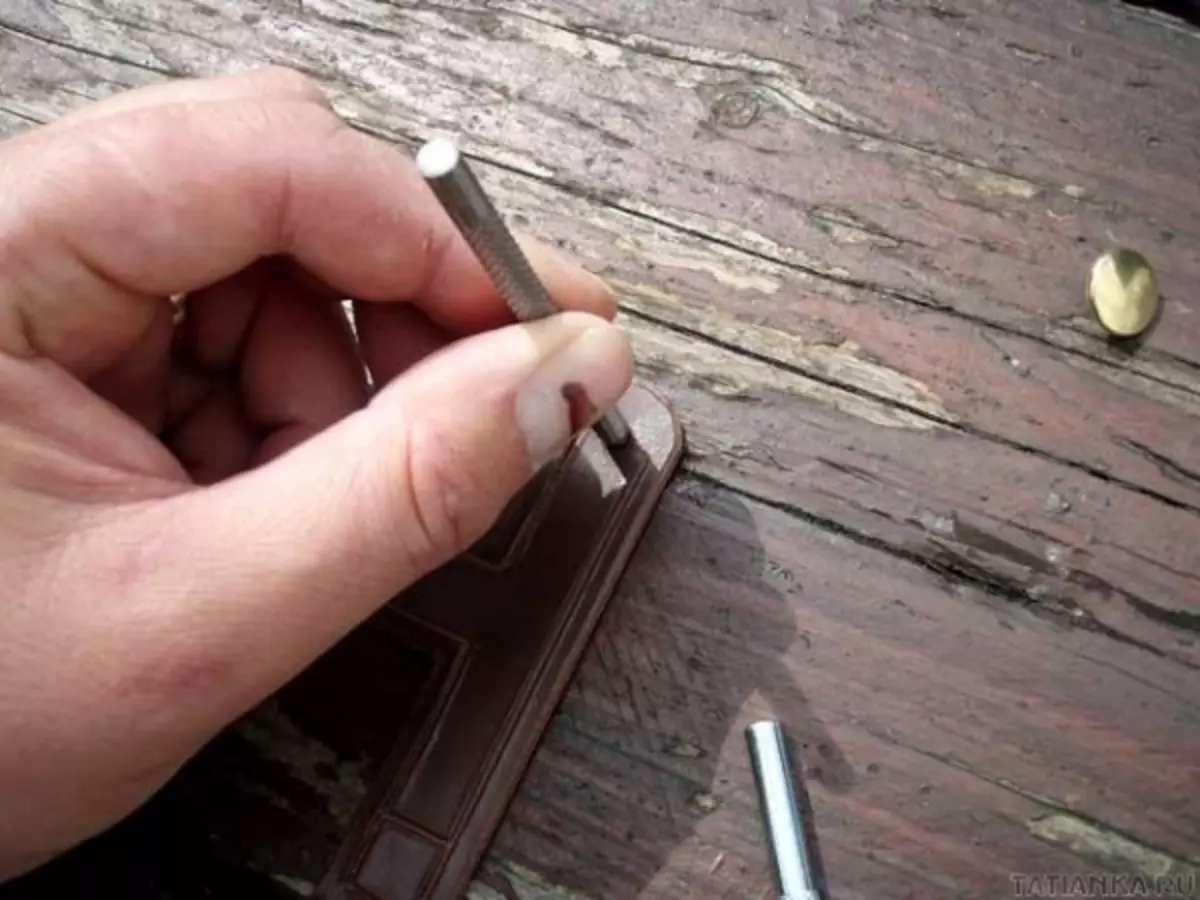
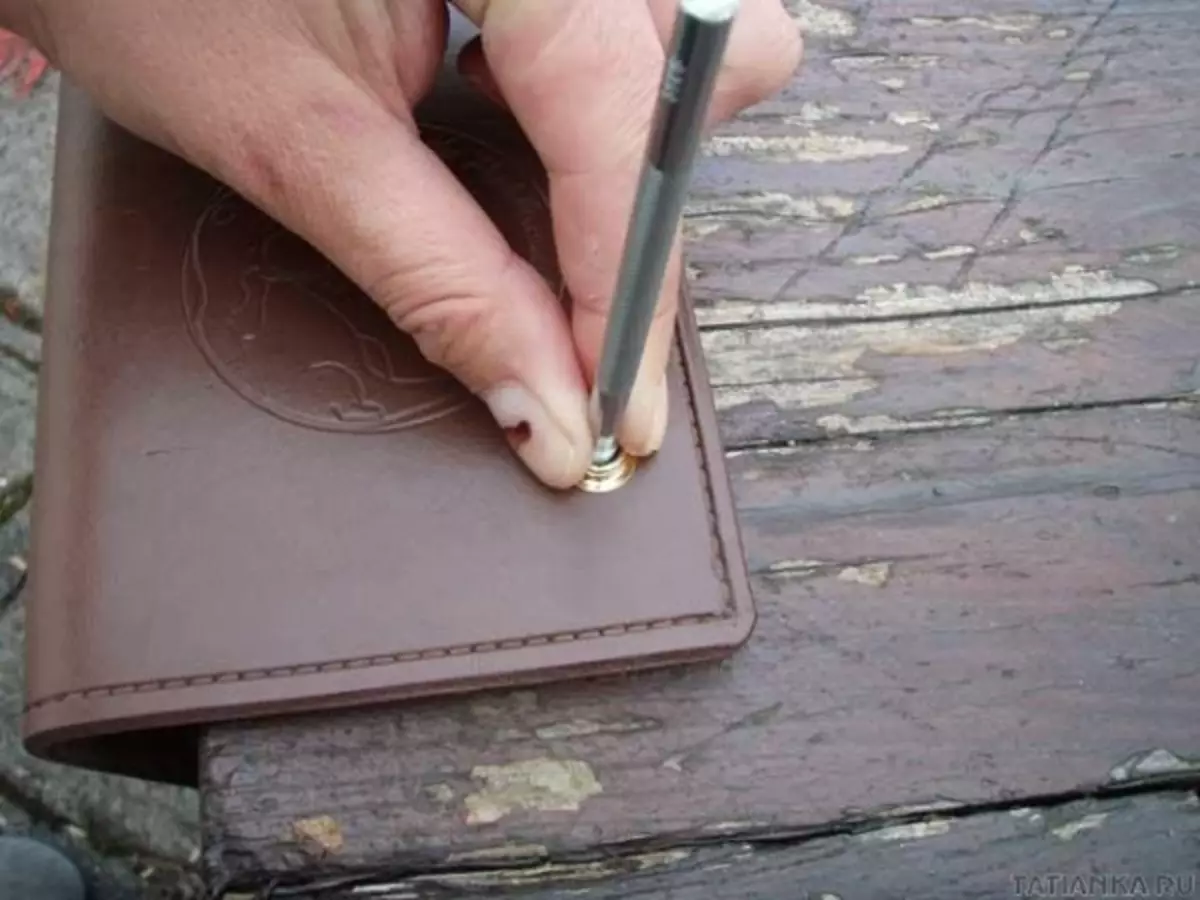
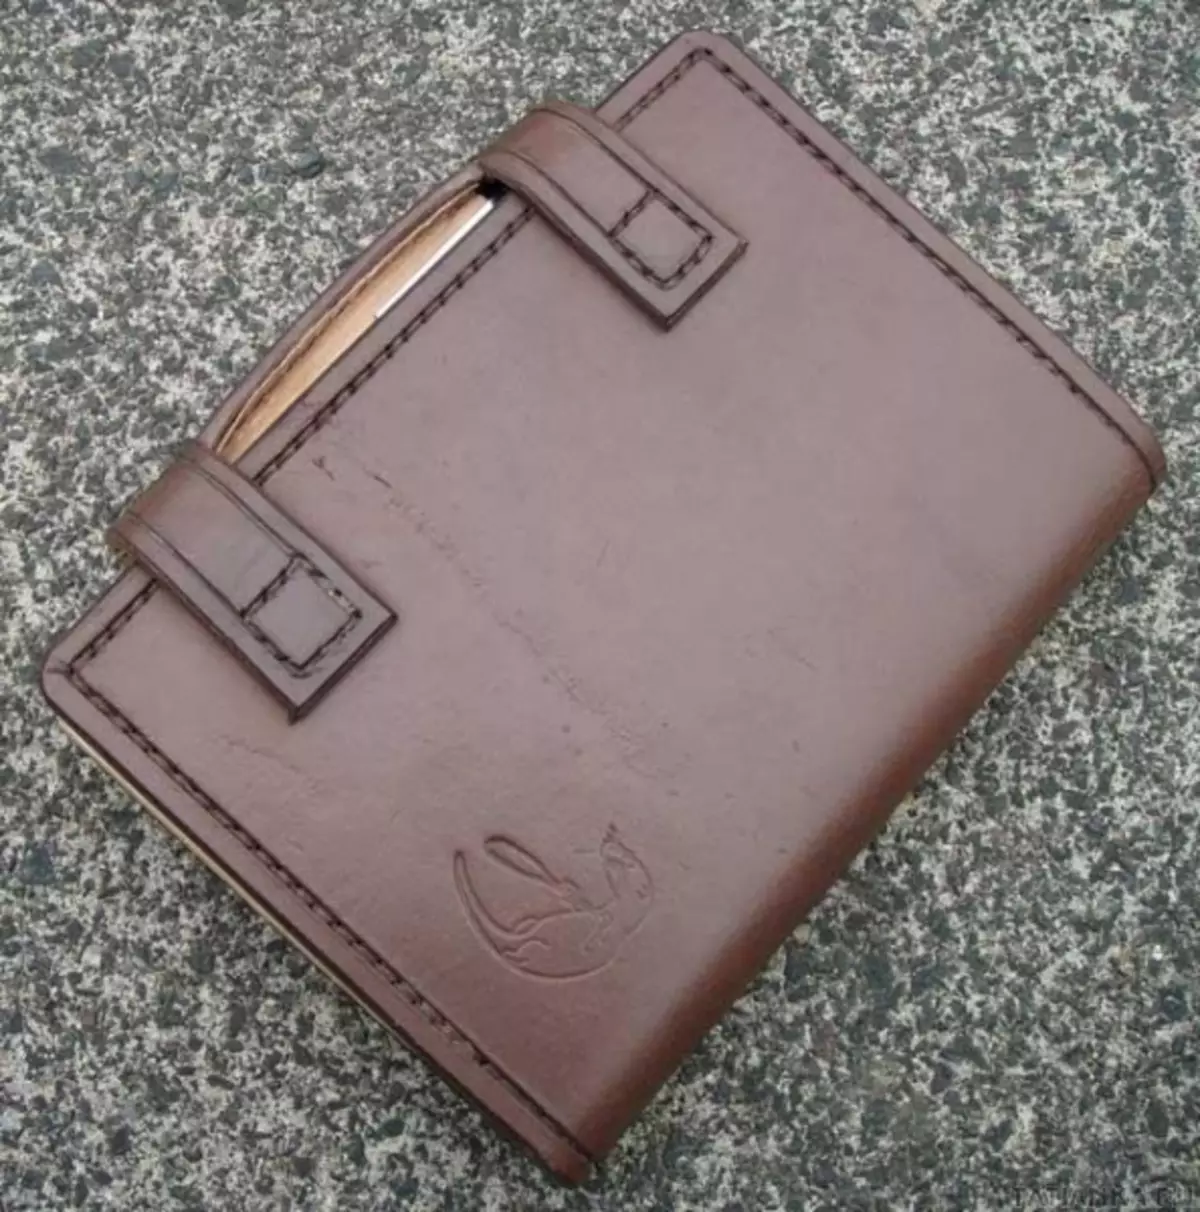
We do hole hole for the buttons and install the fasteners.
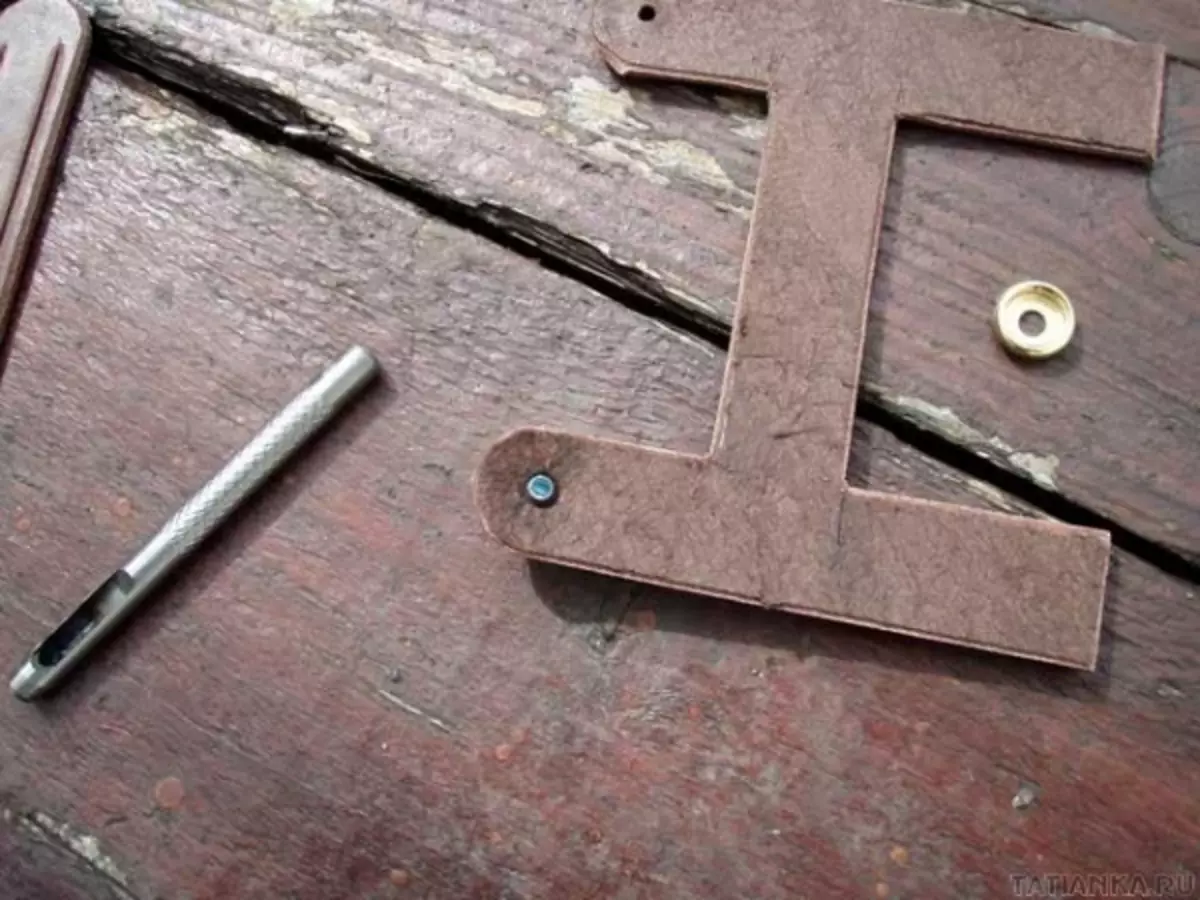
The first is ready, we make one more.
We glue a clasp cover.
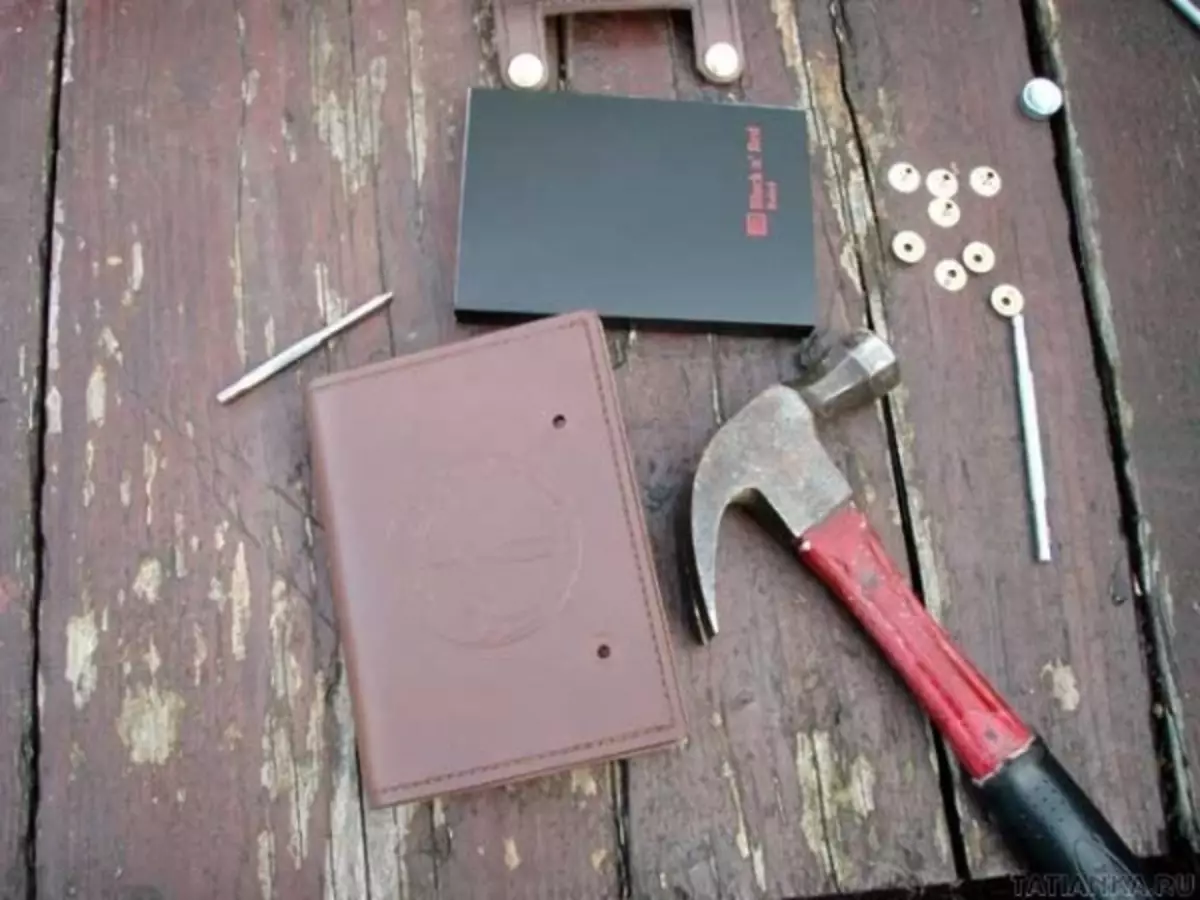
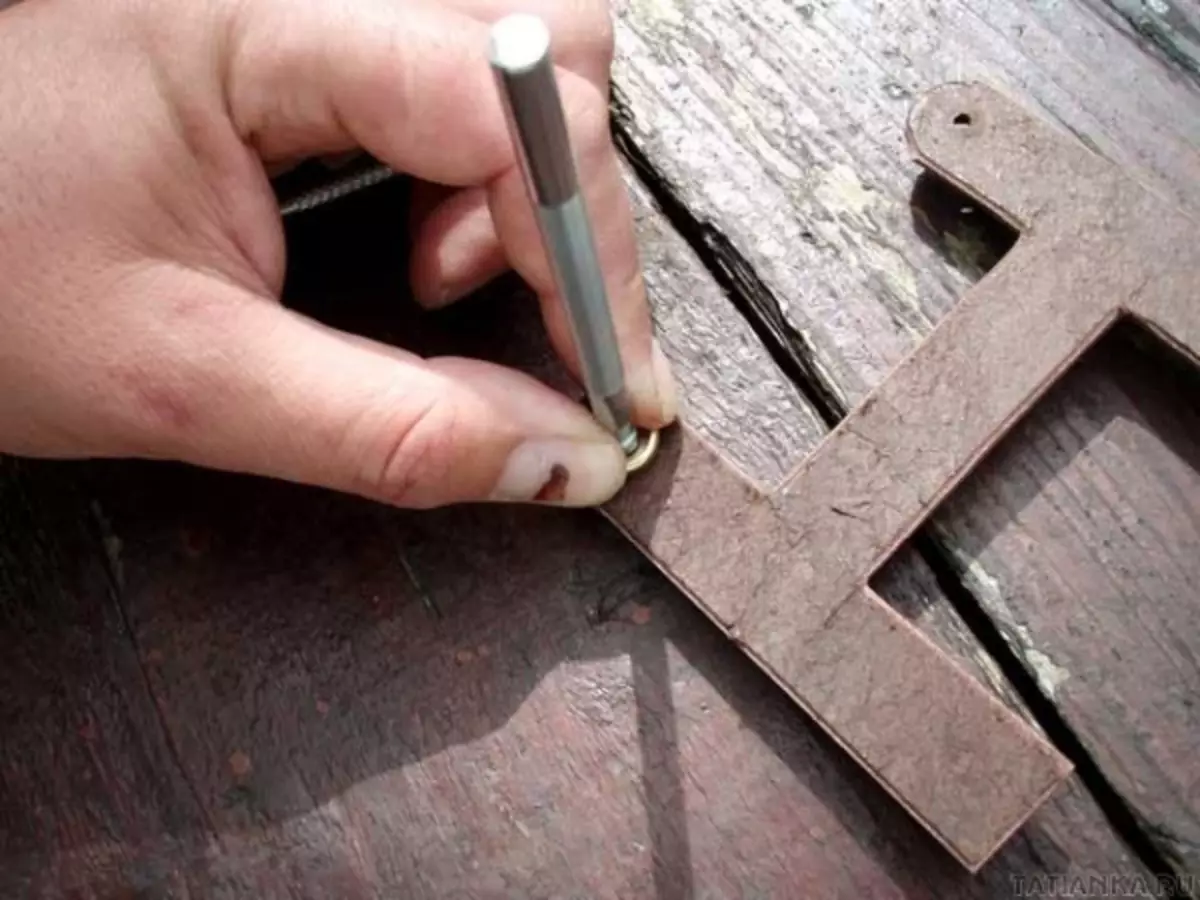
Install the buttons.
Send from the wrong side the clasp.
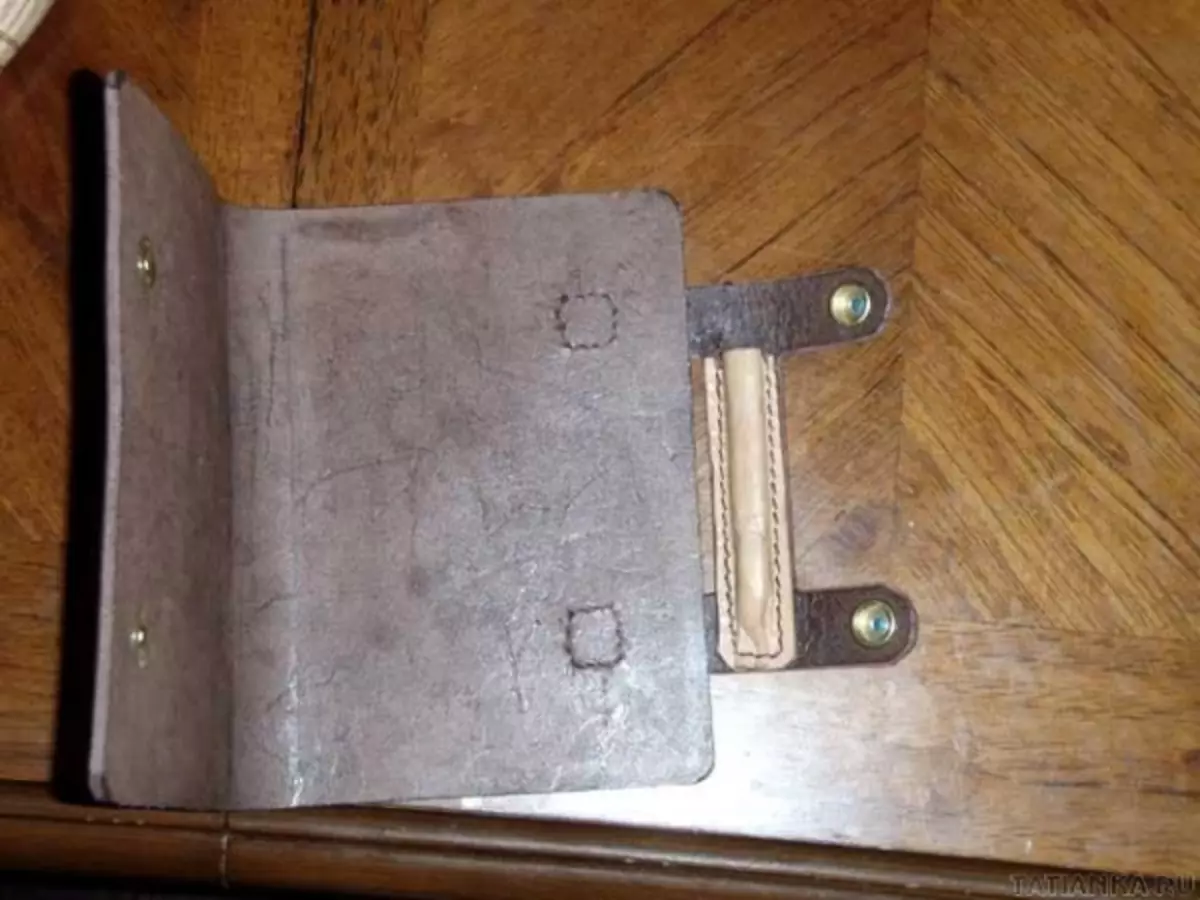
Send a small rectangle of white leather.
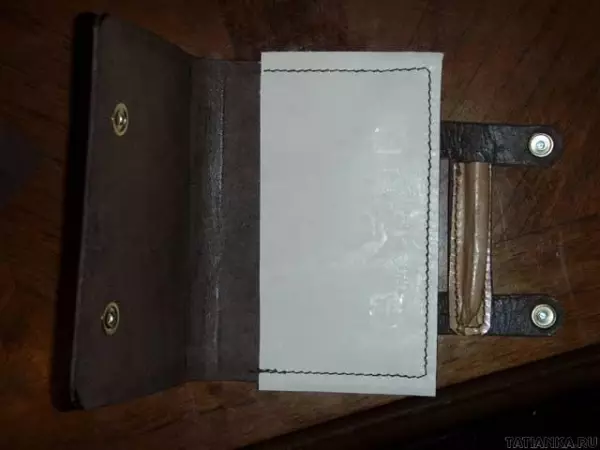
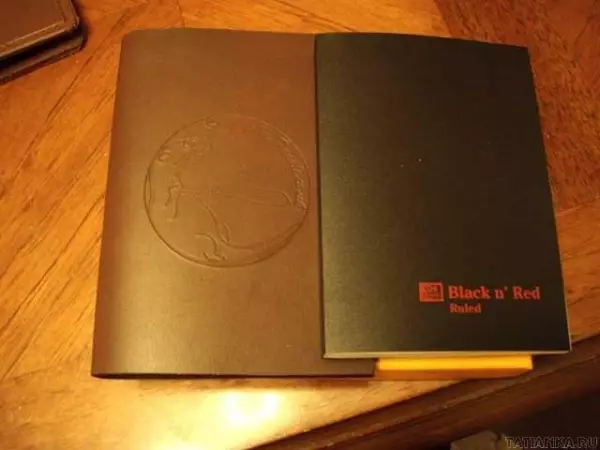
This is such a beautiful cover turned out.
Article on the topic: Levelless knitting needles: how to tie a stylish vest in photo and video from experienced craftsmen
Instead of buttons, you can also make a zipper. Cut the rectangle is a little wider than the size of the book. The process of starting exactly the same, and at the end we sew a zipper on the sides, instead of a fastener of buttons.
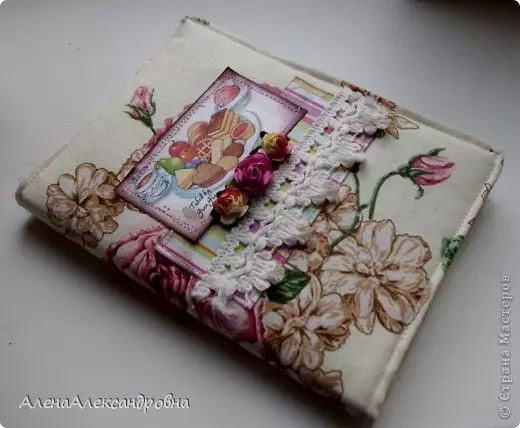
Simple cover
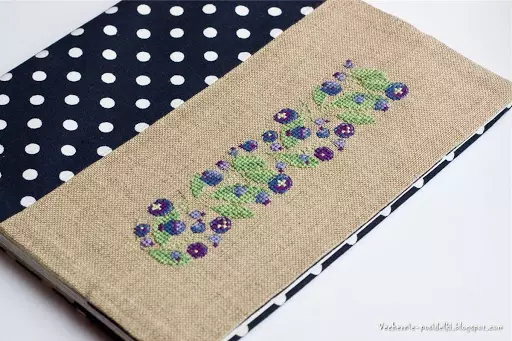
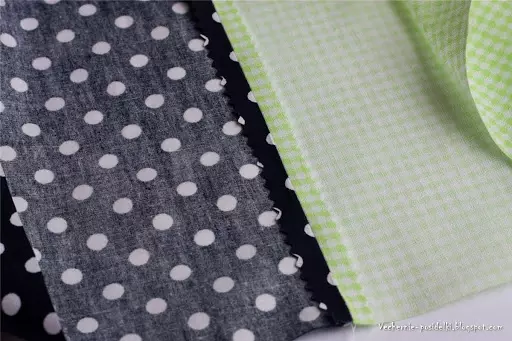
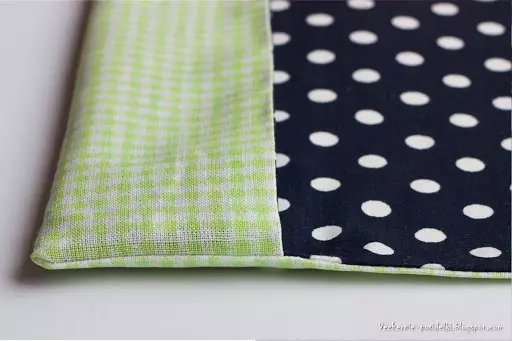
The process of manufacturing the cover from fabric can be traced on the example of the master class. We propose to create an ordinary cover form, as on a notebook, but unusual in components: a cover from a tissue with a lining, and the most important thing is that no seams are visible at all.
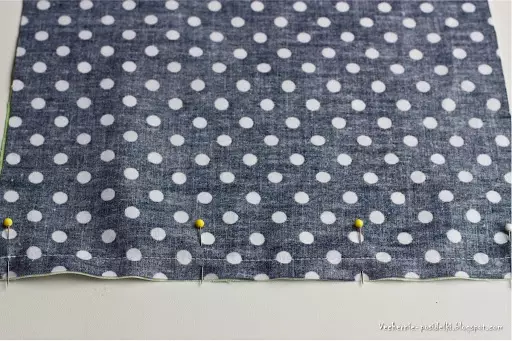
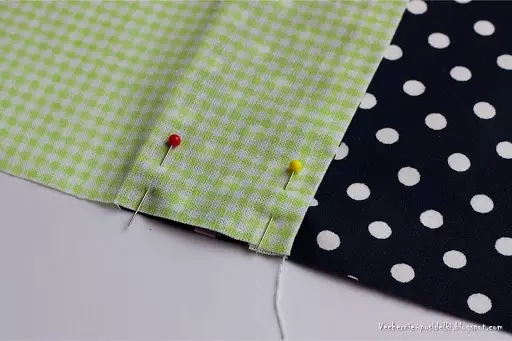
Cut the rectangle for the size of the book and we spawn the front-side pins inside. Stead them among themselves.
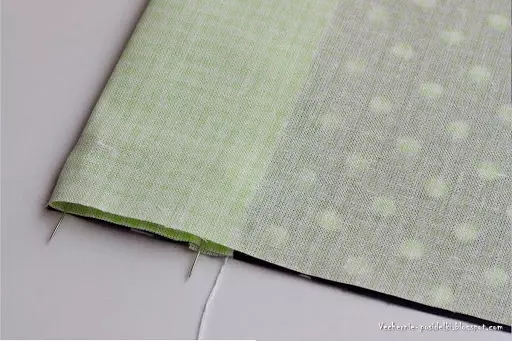
Cut the allowance and irrigate.
On the front side, we flex a latch to that width that was laid on the basis.
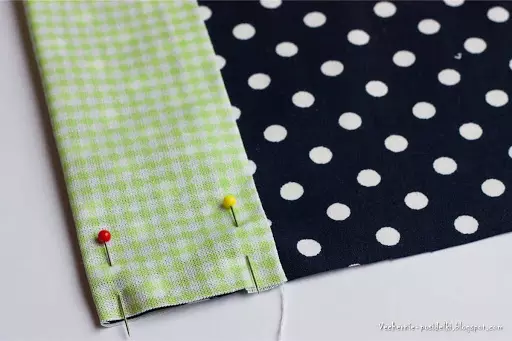
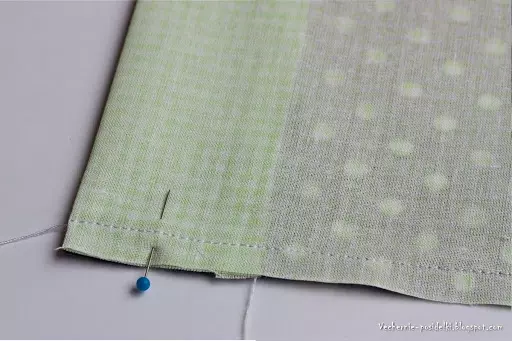
Filing the cloth as shown in the photo.
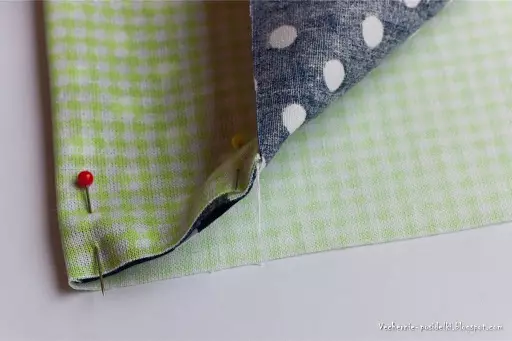
Left reject lining.
And transfer it upstairs.
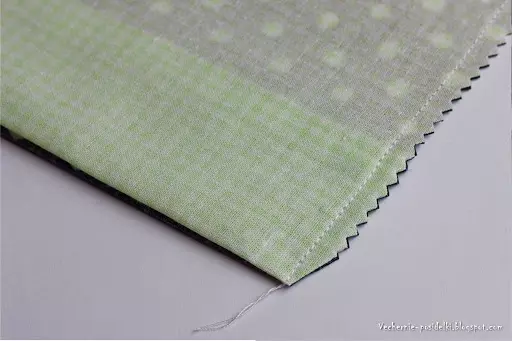
We spawn the pins all the layers and spend. Leave some fabric for turning.
The next step will need to cut the corners and trim the allowance.
Soak the cover and reveaning the seams. We sew a little left for turning place.
Insert the book in the cover and that's it.
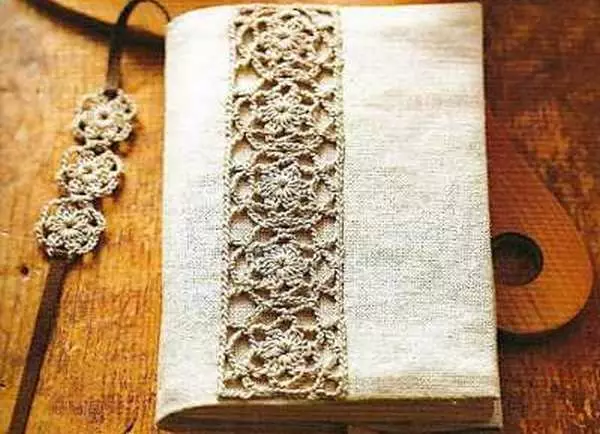
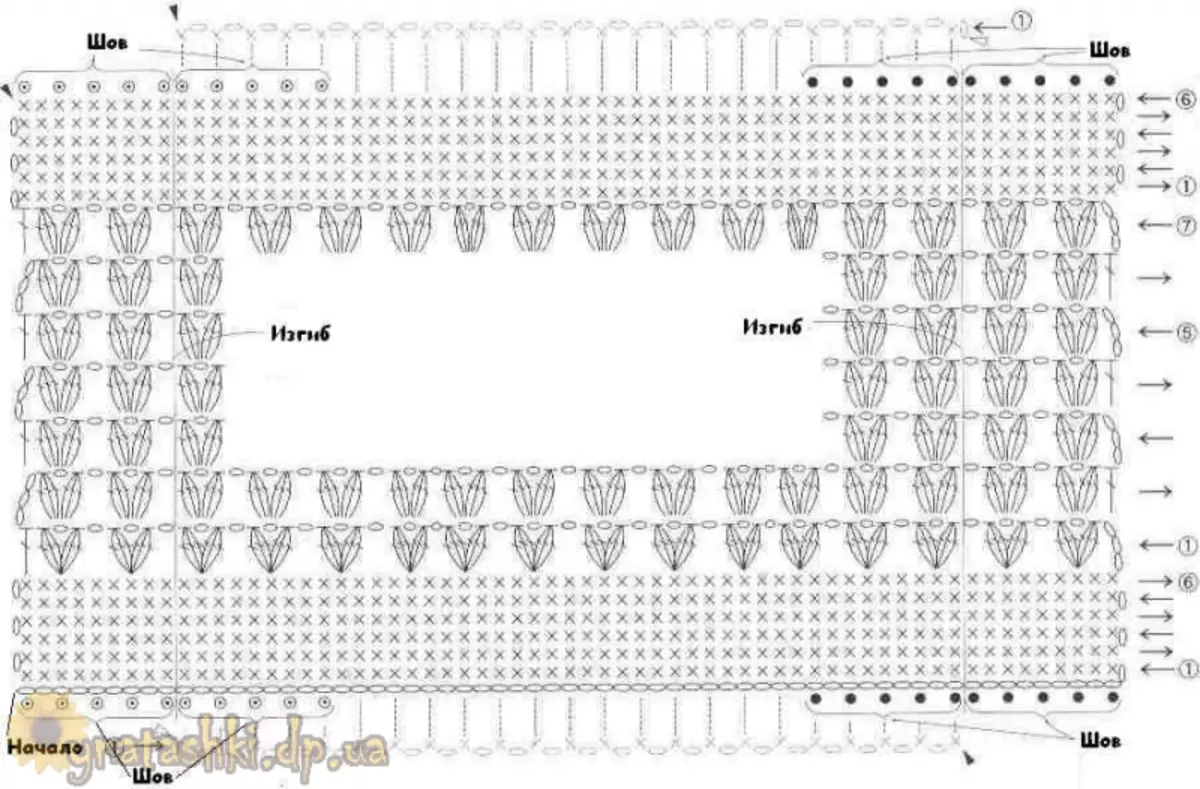
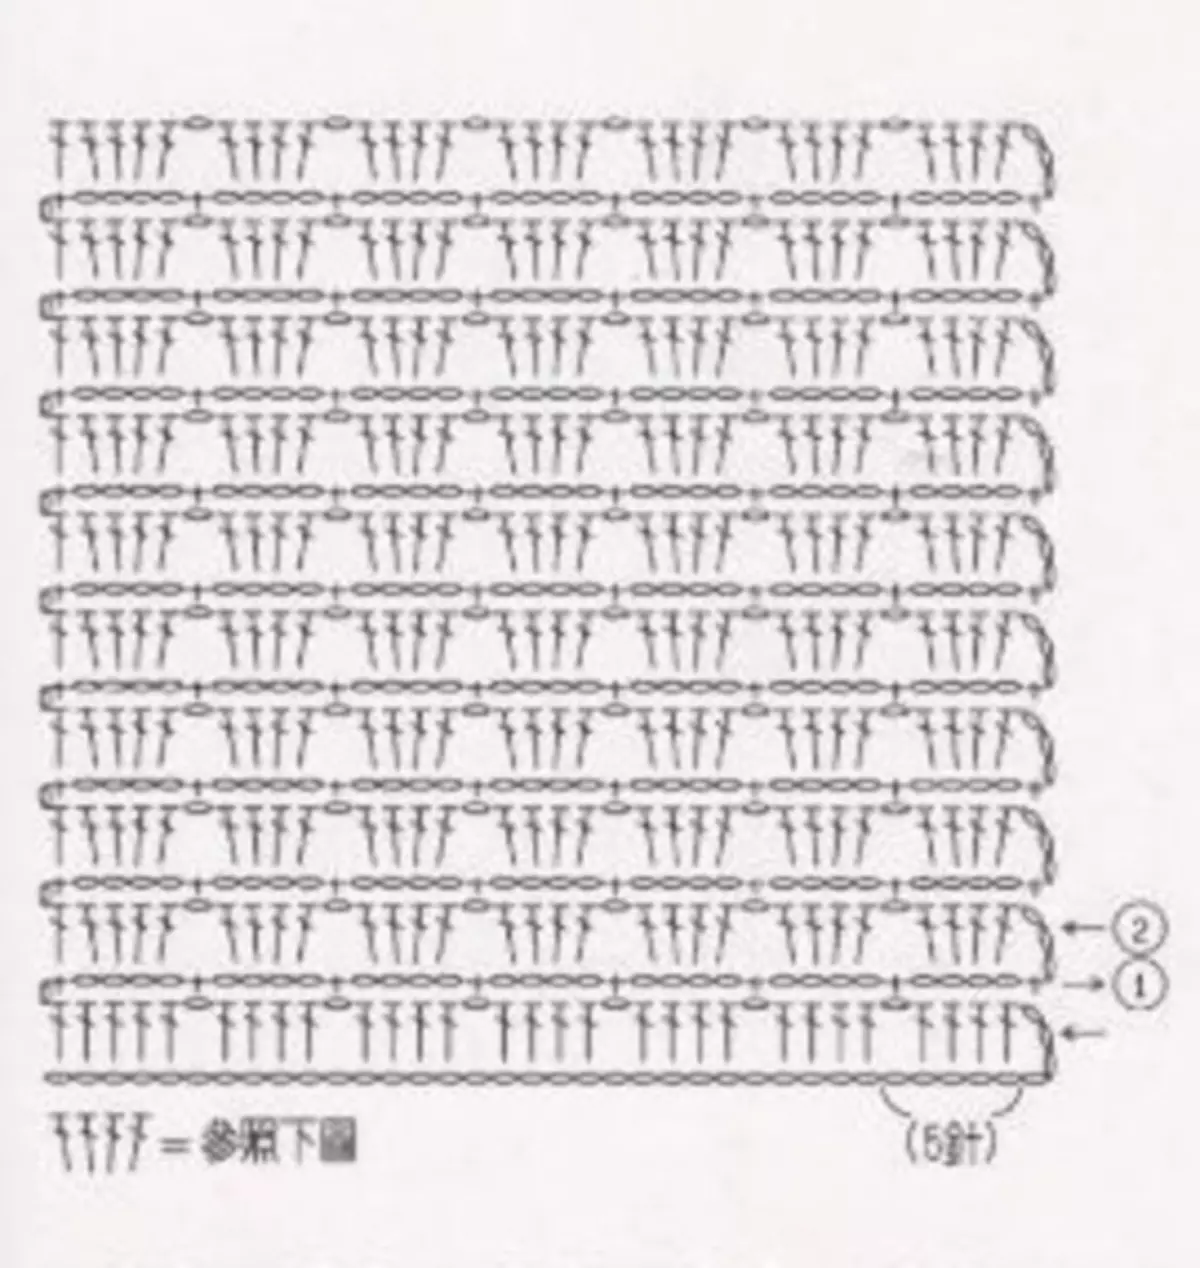
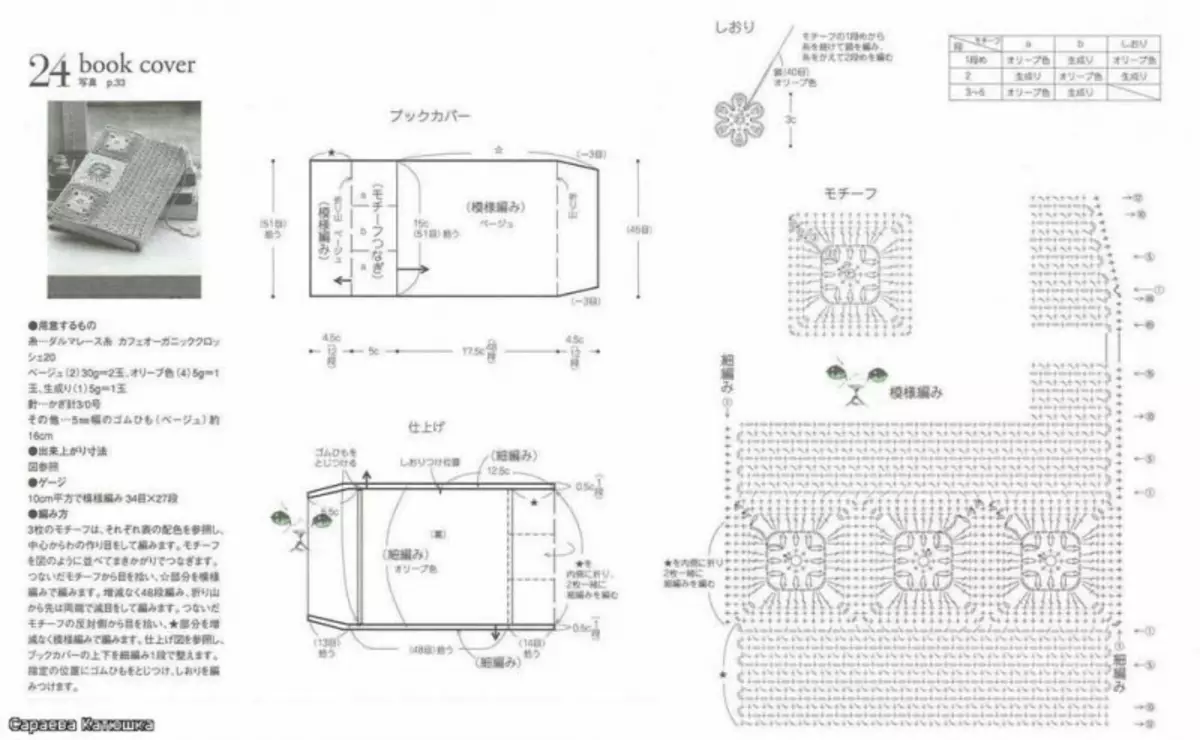
Crochet option
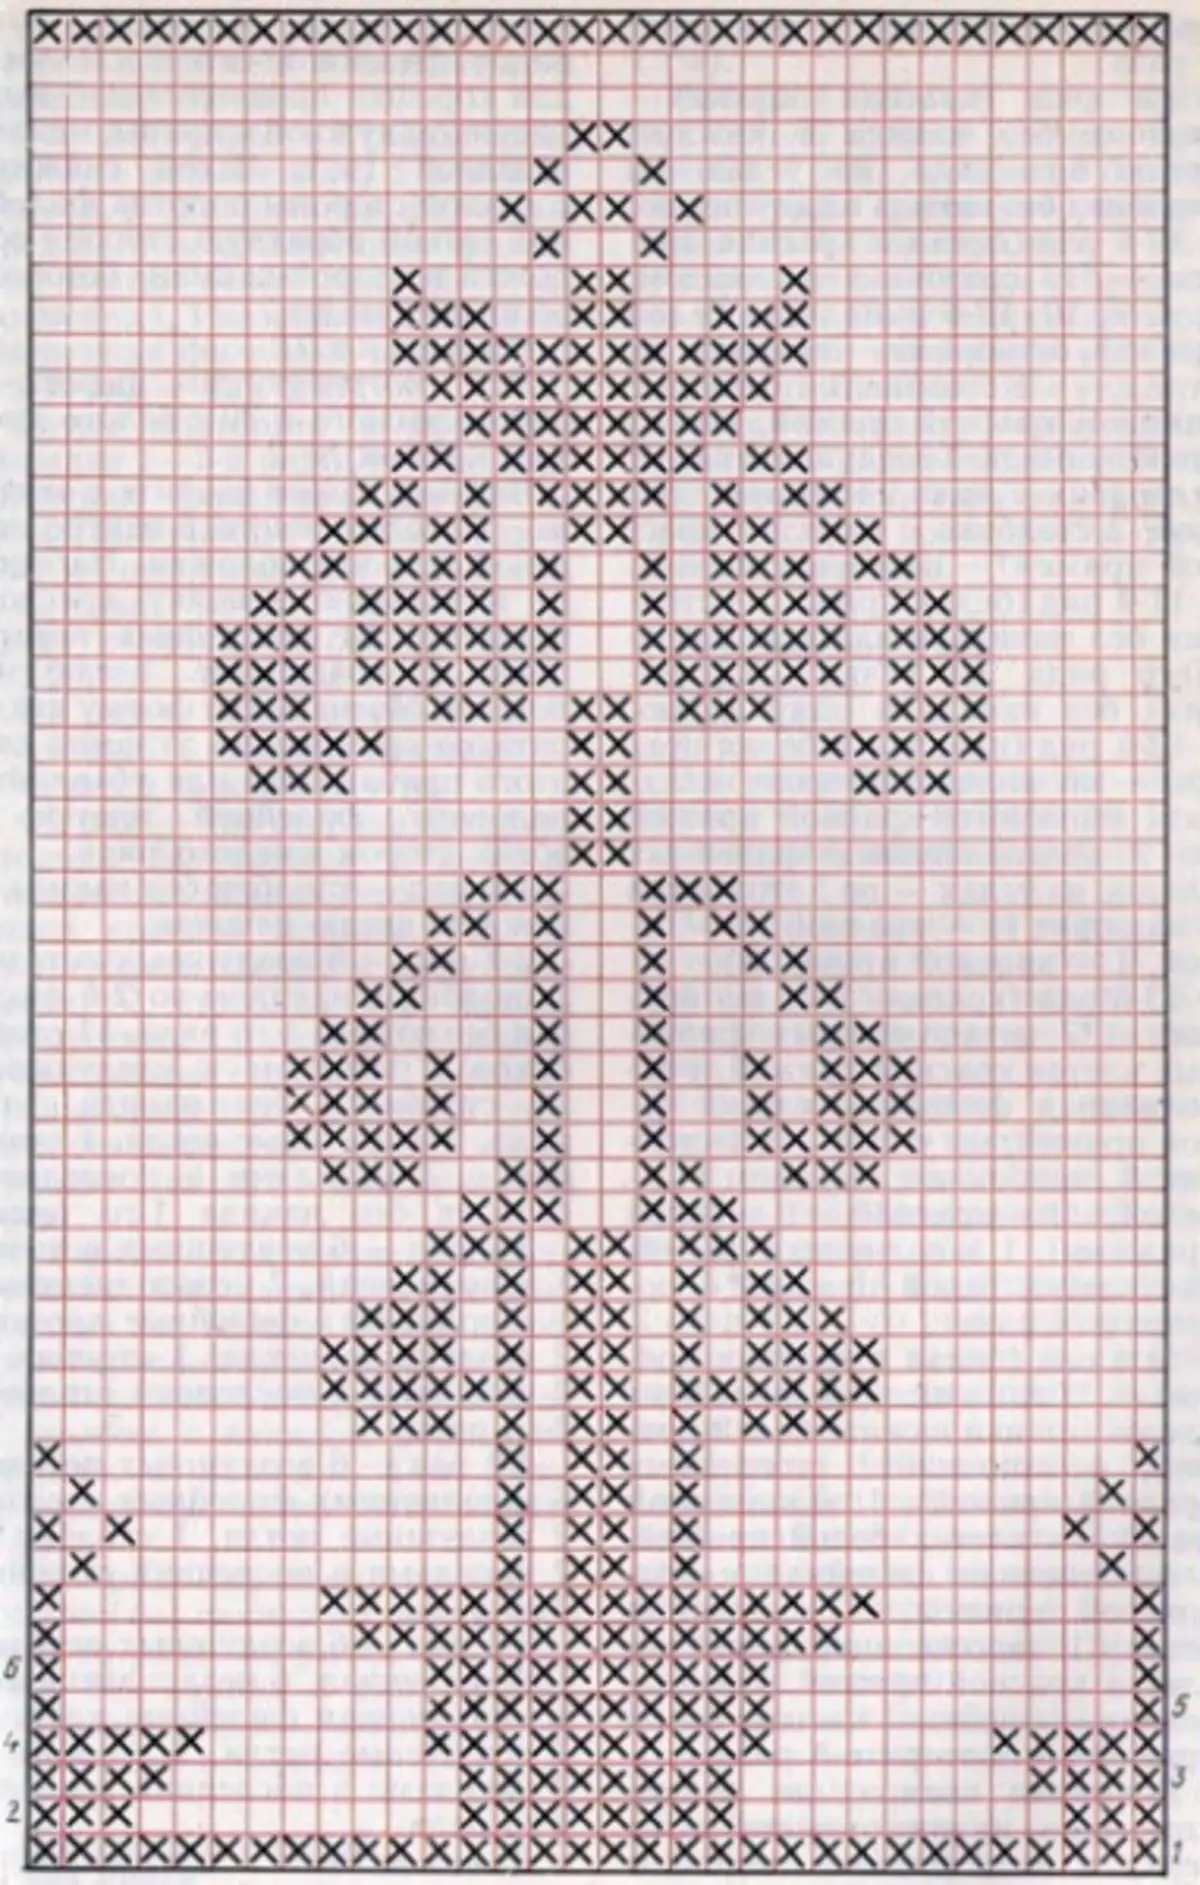
We offer to view schemes for creating crochet and needles.
Cover based on belt.
Cover on the book.
Scheme cover for books.
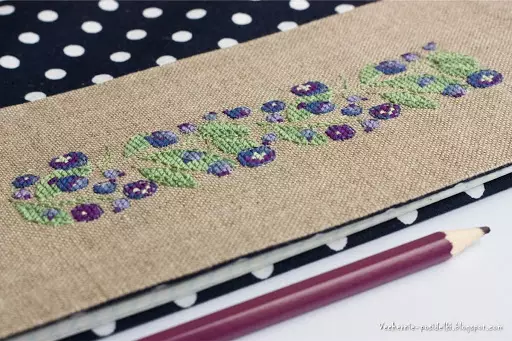
Cover for a book with a pattern.
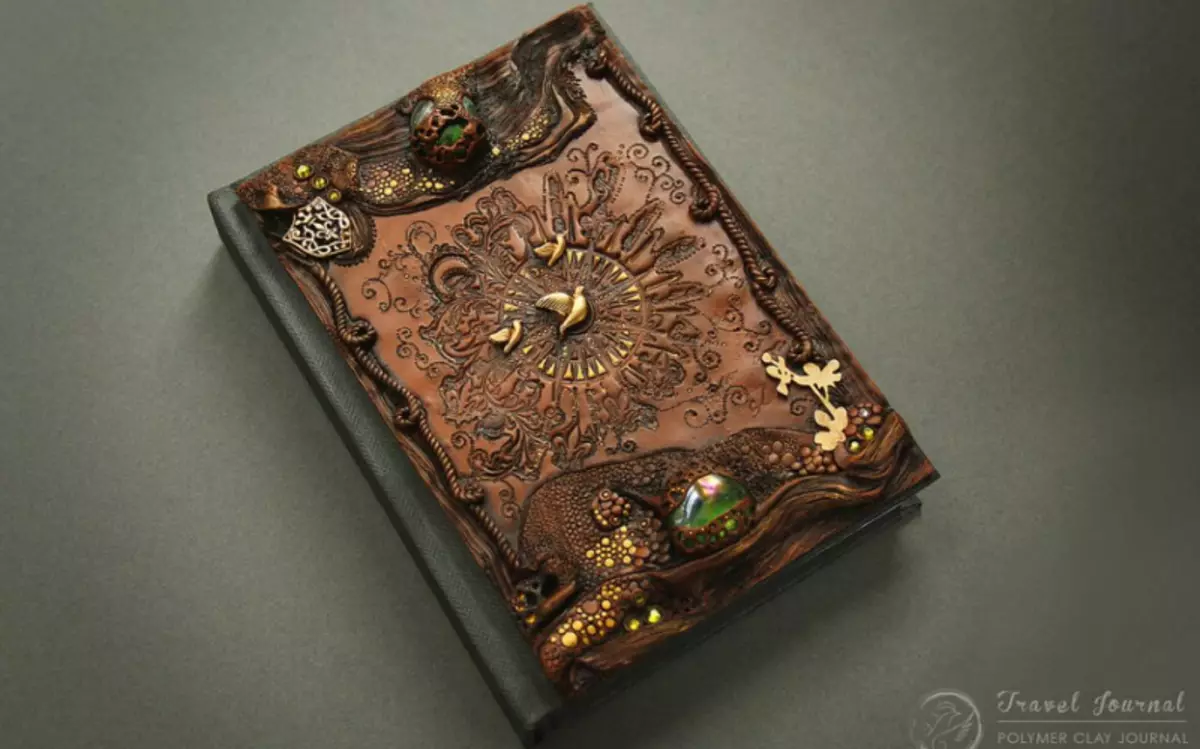
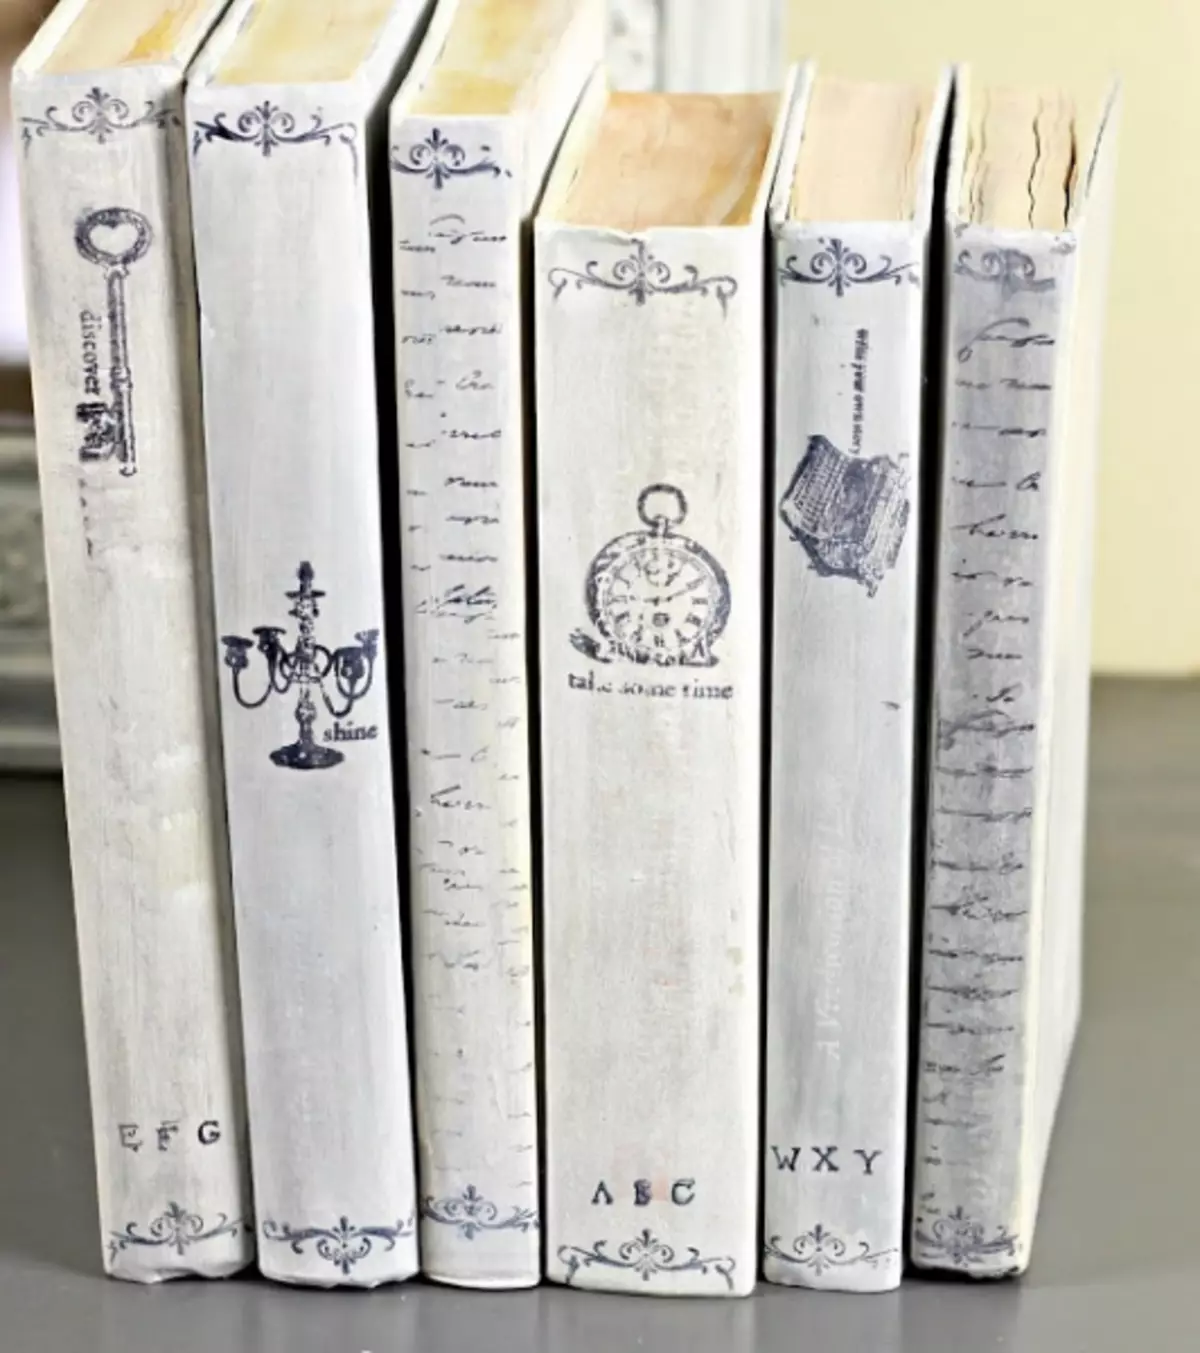
Effect of antiquity
If you prefer books under the old days, then this master class is for you.
In order to make such an effect, take the book, the paint is ordinary, then staring paint, rubber prints and stamps, paint stamp.
Take the books and clean them from surplus, degrease the acetone.
Cover the book of ordinary paint.

Then we apply a staring paint and stamps on the book.
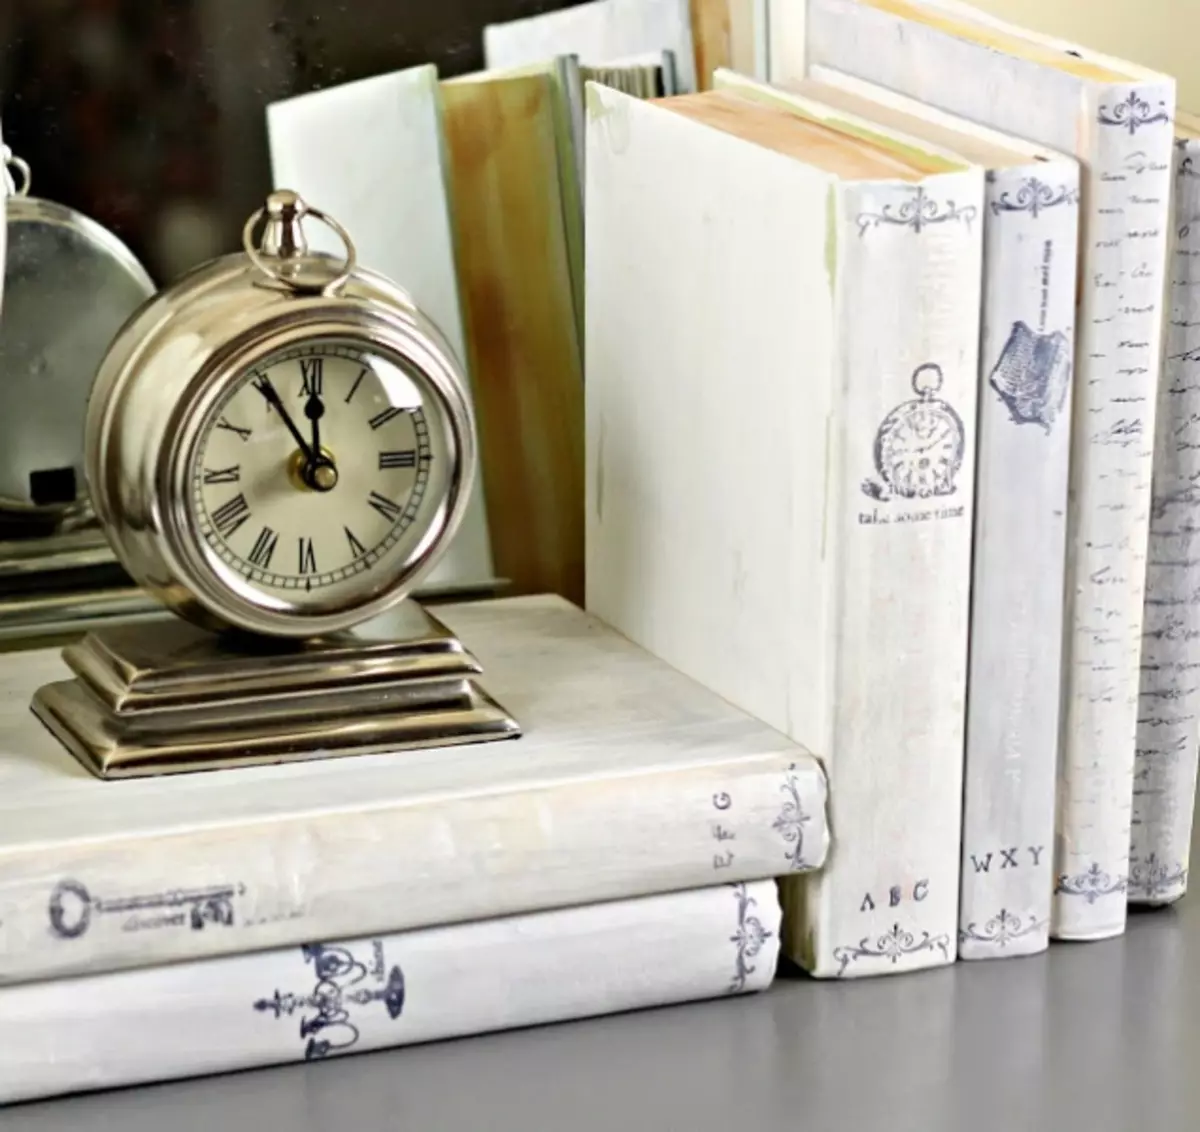
Here are such ancient books from us.
Video on the topic
We suggest to consider a selection of video to create covers for books with your own hands.
Article on the topic: Album for coins with her hands without a soldering iron: Master class with video