
Your life changes dramatically with the advent of the child in the family, because now it is necessary to be responsible not only for your life, but also for the life of the newborn. Most likely, you, like any other mother, want the best for your child. When the baby appears on the light, he is already becoming a citizen and receives a document - birth certificate. This document is very important for the first 14 years of his life and the main thing is to preserve his appearance presentable on this period. Therefore, we propose to create a cover for your own birth certificate.

Simple lesson
The process of manufacturing the cover for a birth certificate with your own hands in the technique of scrapbooking can be traced step by step on the example of a master class with photos.
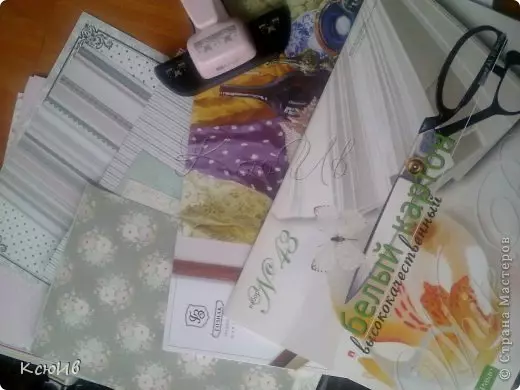
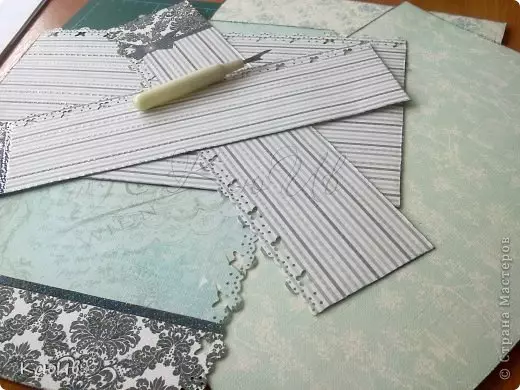
To create such a useful folder for documents, you will need basic materials such as multicolored cardboard, paper, tape, hole punch, pencils, and other faded materials.
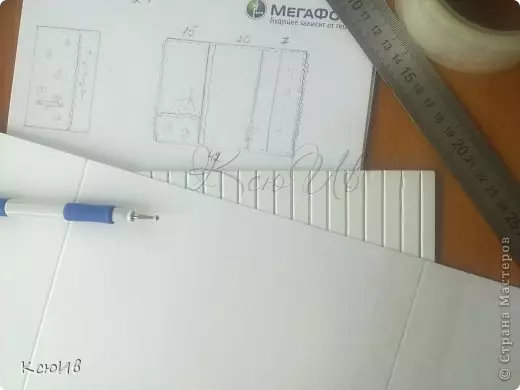
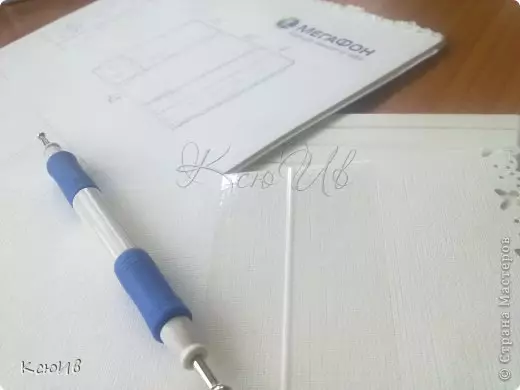
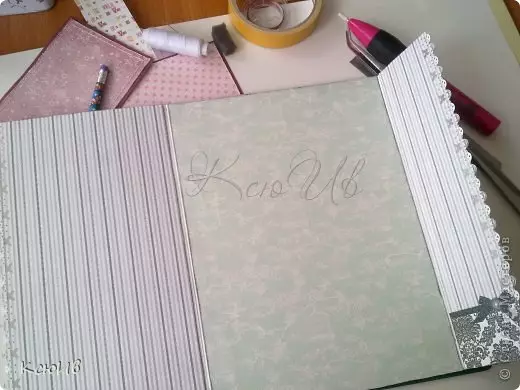
The folder is one of the simplest elements in the scrapbooking technique, so this master class is perfect for beginners who are only trying to mask this technique. So, start. To begin with, we measure the sizes of the certificate, draw a small sketch, and then transfer everything with the correct sizes to cardboard or tight paper.
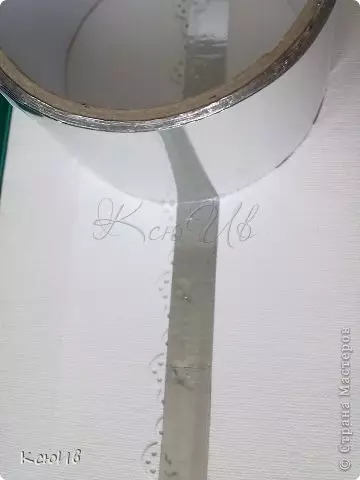
We make a fold that scotch tape from two sides so that it does not deteriorate over time.
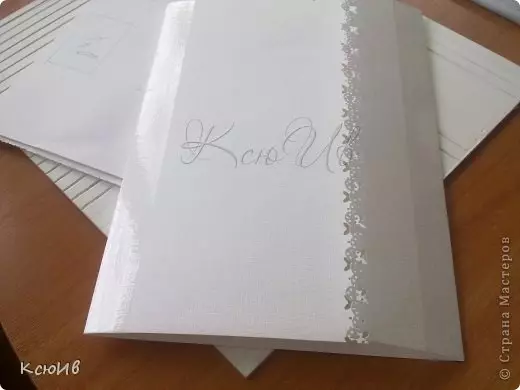
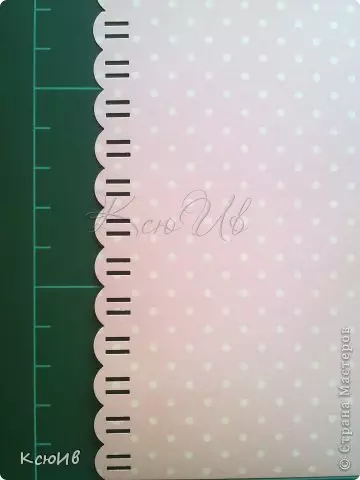
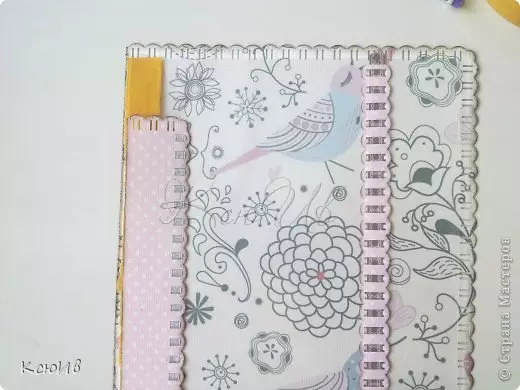
Thus, we made the basis for the evidence. We process the edges of the hole so as shown in the photo.
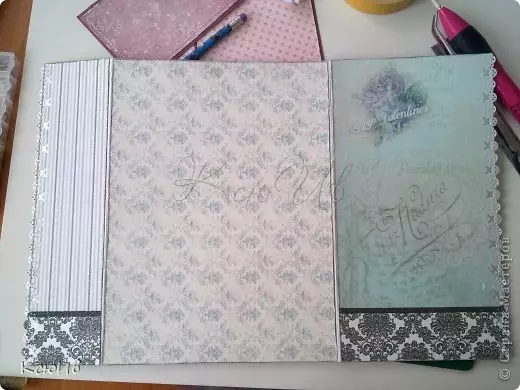
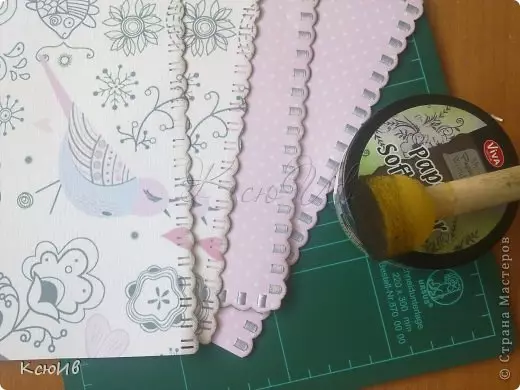
The next step needs to make pages for all sides.
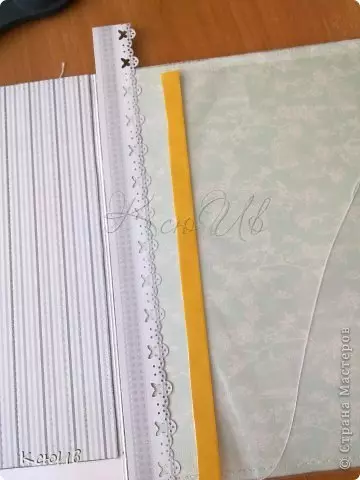
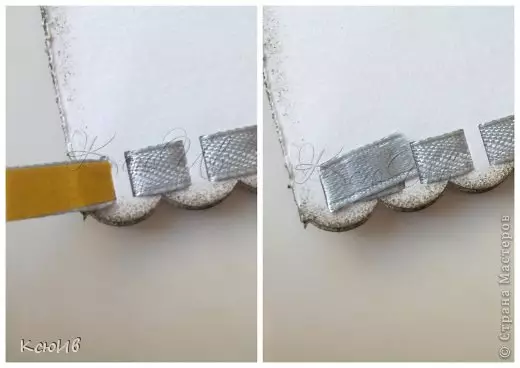
The tool for torn edge must be walking along another edge.
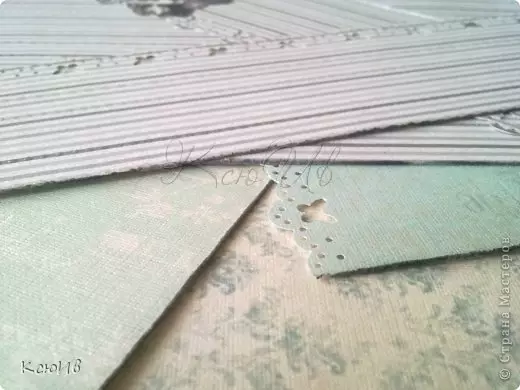
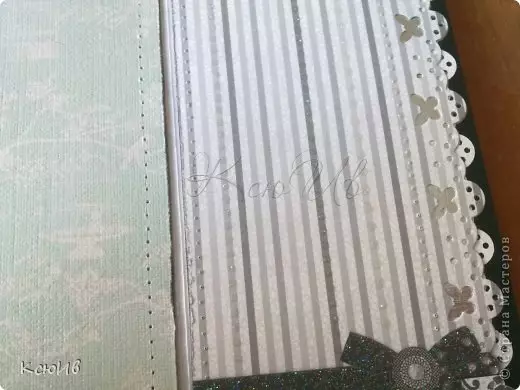
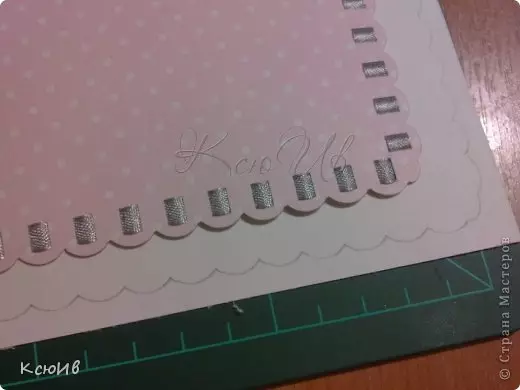
Multicolored scotch tape creek border on the outer sides.
The next step to the main sheet of cardboard you need to glue the finished billets with decorative edges.
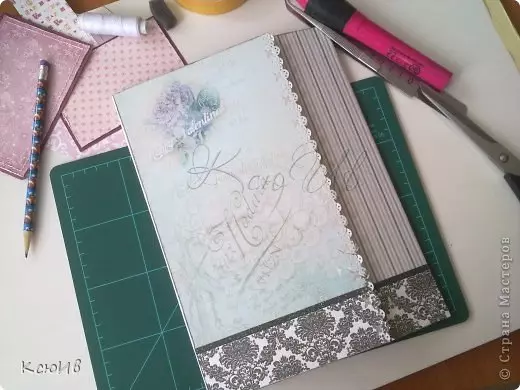
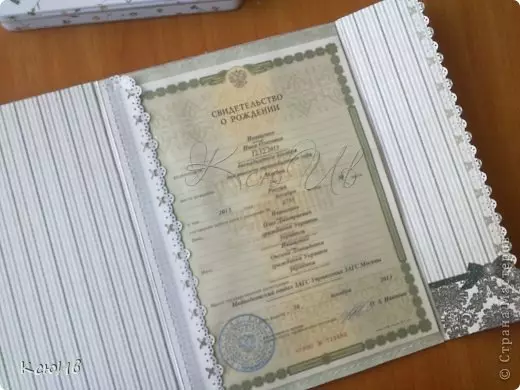
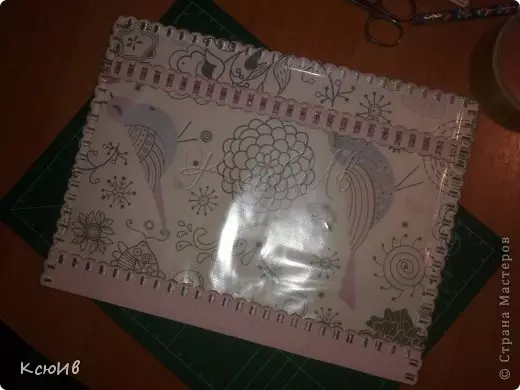
Photos are shown how the folder looks like on the inside.
Article on the topic: Male knitted cardigan with a hood: Schemes with step-by-step photos
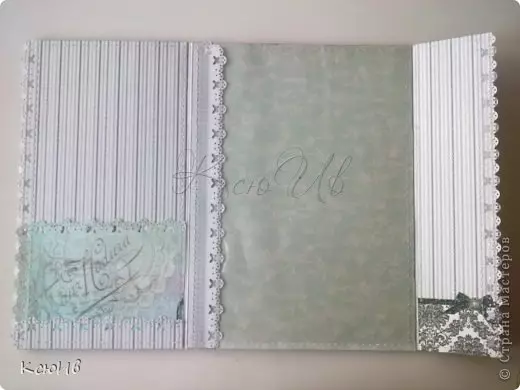
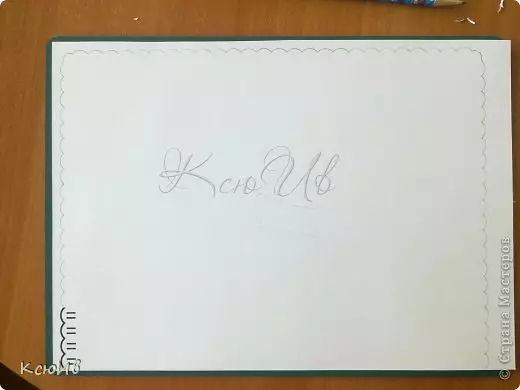
And now with facial.
Double needle are going through the edges. Yes, it is a tedious work, so you need to patience. Such a process can take a whole evening in some. And the next step is to flash the edges. Note also to process edges in places where there is a tape is hard enough.
At double-sided adhesion, glue a transparent film by cutting it out from a regular folder. Subscribe the middle.
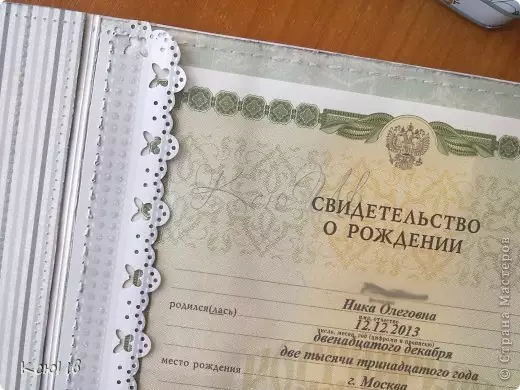
Thus, you can put the certificate inside the daddy.
Purchase your insurance pockets.
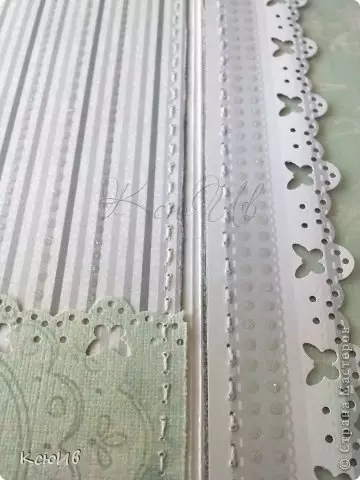
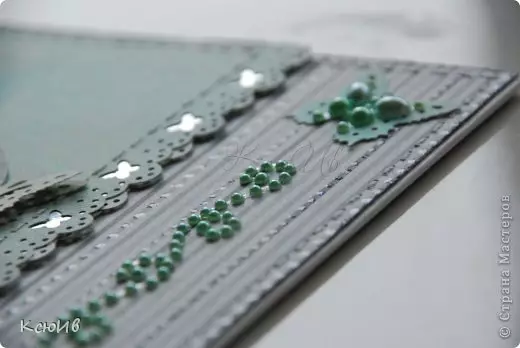
View photo of lines is a little closer.
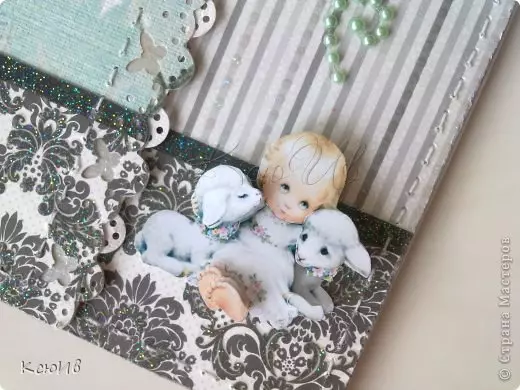
From paper cut off butterflies and get them in an arbitrary order on the daddle.
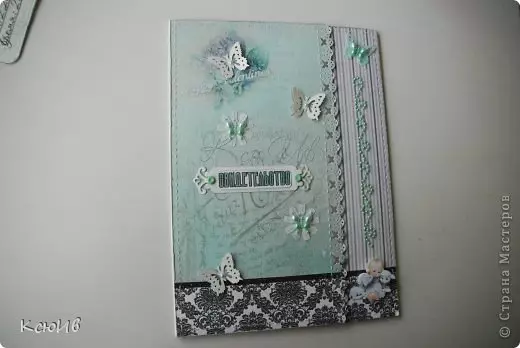
On the edge of the cover for testimony, we stuck a small angel, having pre-cut it out of the postcard.
Beautiful lines pasted beads colors background postcard. And put another small butterfly to the top.
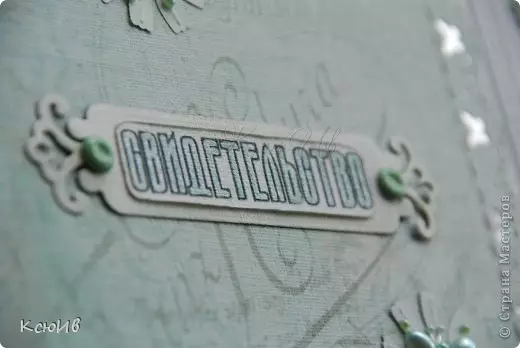
In the middle placed on bilateral scotch inscription Certificate.
We offer a second testimony from two parts, and not three. The initial stages are exactly the same: I measure the measurements of the birth certificate, carry them into cardboard, adding places to bend.
We take place on the first leaf hole pair. Then we impose it to the rest and supply the contour pencil.
Strictly along the contour cut out the rest of the cover details.
At the edges you can walk with ink pads.
In the middle glue a fold.
Processing facial fold.
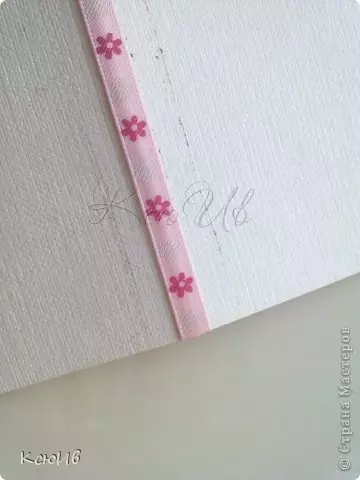
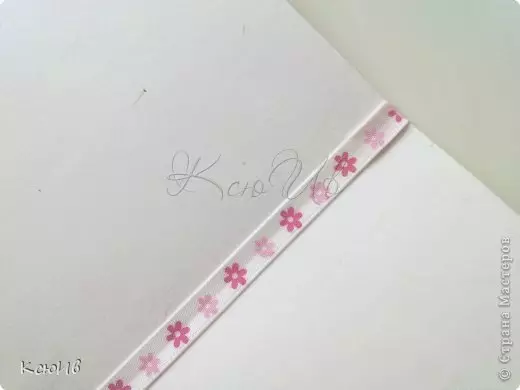
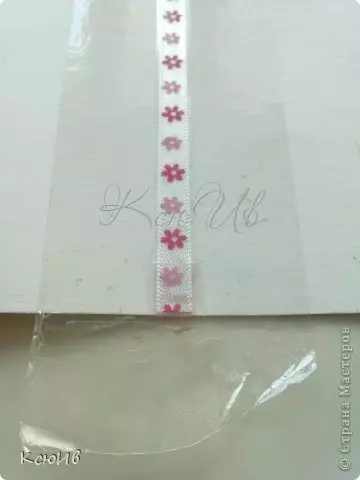
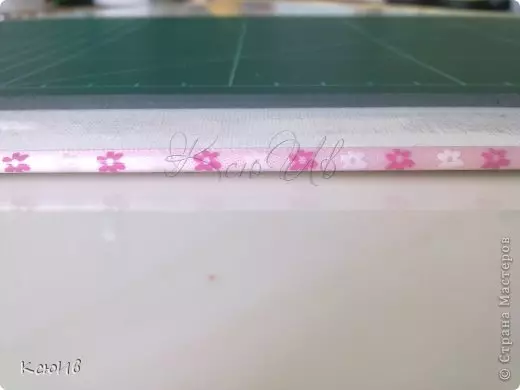
Cover ribbons with scotch.
And from the outside.
Bilateral scotch and glue the file on the fabric.
On the edge we pass the ribbon.
Send all finished pages based on.
These are two wonderful ideas for creating a cover for the birth certificate we have.
Video on the topic
We offer to see a selection of video to create a birth certificate with your own hands.