
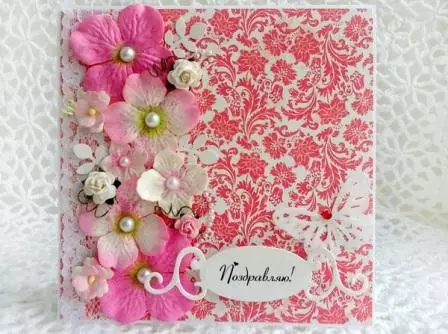
Create and draw up the covers for the photo album with their own hands is a whole art, in recent times, their popularity is growing very much. In this article we will show two ideas for creating covers for the photo album with their own hands.
Go to the creation process
The process of creating a cover for a photo album from fabric can be traced on the example of a master class.
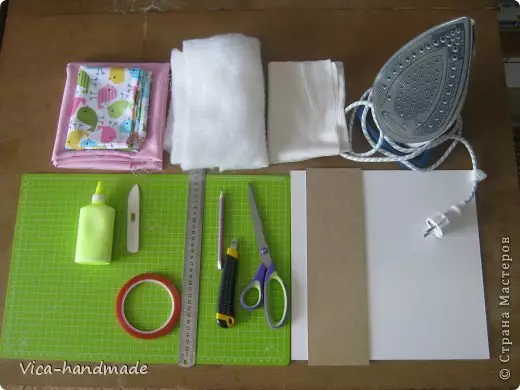
In order to create it, you will need a synthetic tube, ordinary fabric, glue fabric, double-sided tape, cardboard, glue, ruler, scissors and other manual items.
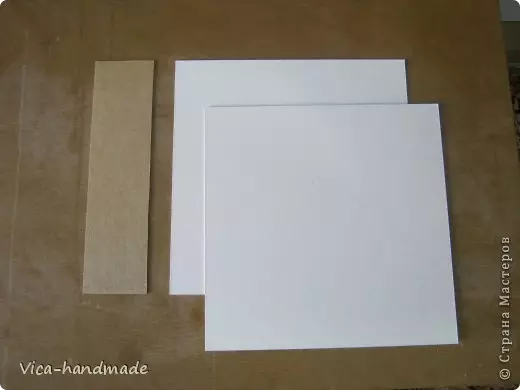
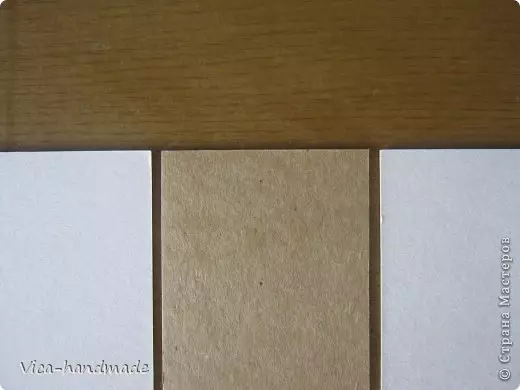
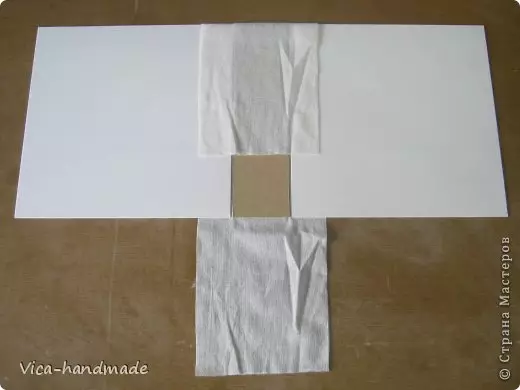
From the cardboard you need to prepare two blanks. Their sizes can be, for example, height 30 cm, width 29.5 cm. Then cut the rectangle for the root: length 30 cm, width is 7.5 cm.
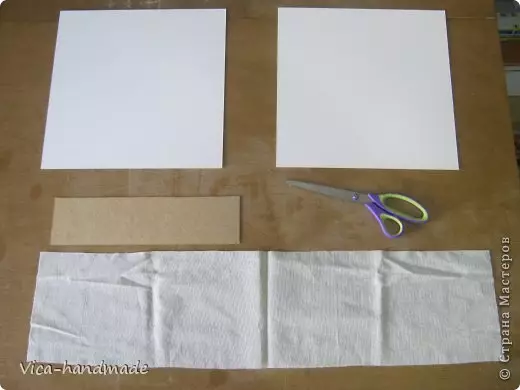
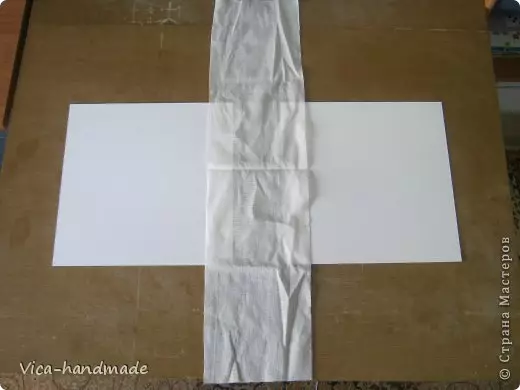
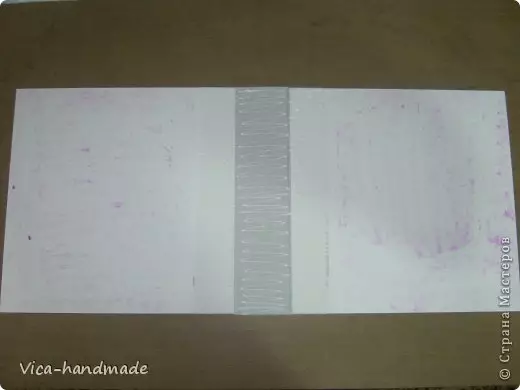
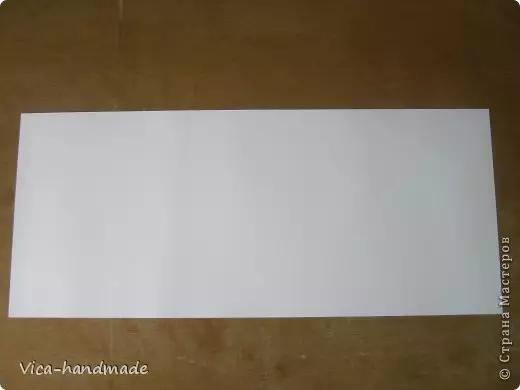
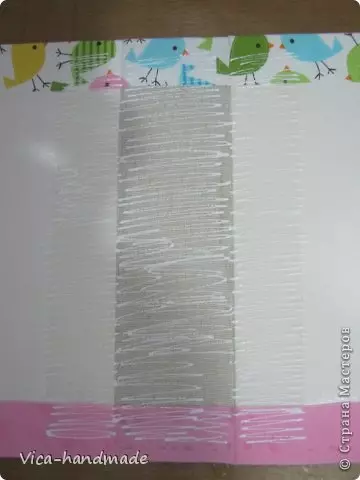
Next, take one-sided adhesive tissue. From it, we cut a rectangle with a width of 10 cm, 62 cm long.
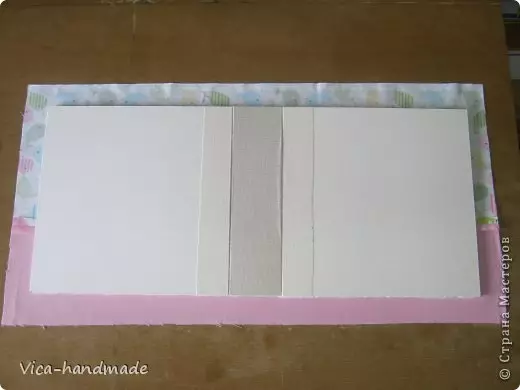
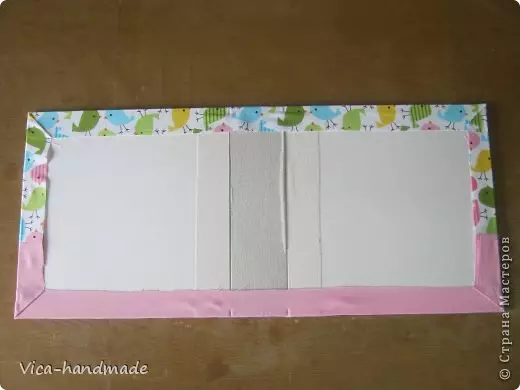
Now put the blanks on the fabric, the root must retreat from the basics of 3 mm.
We apply a cloth side down.
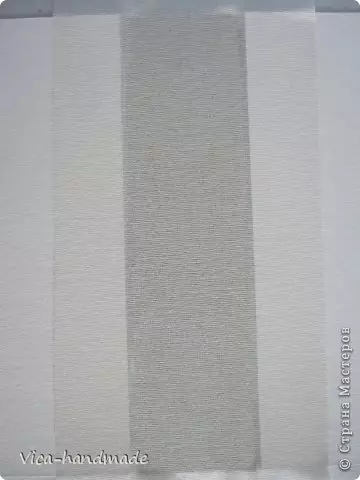
Alive.

The photo shows the ready glue side.
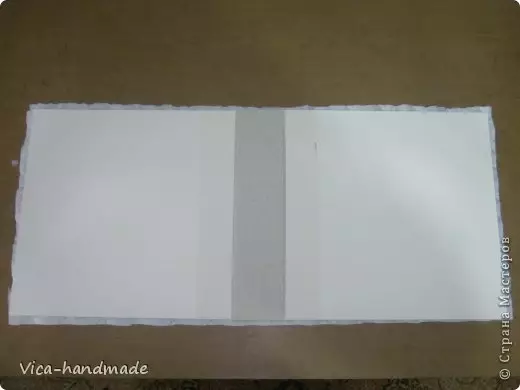
We turn over the next step.
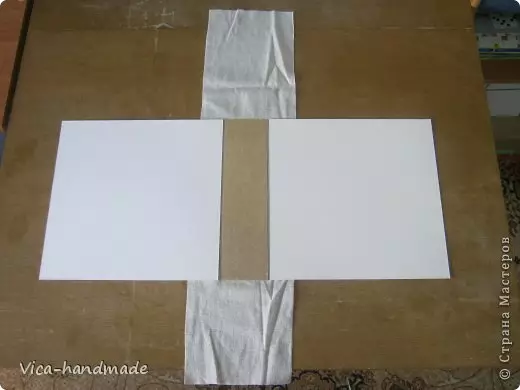
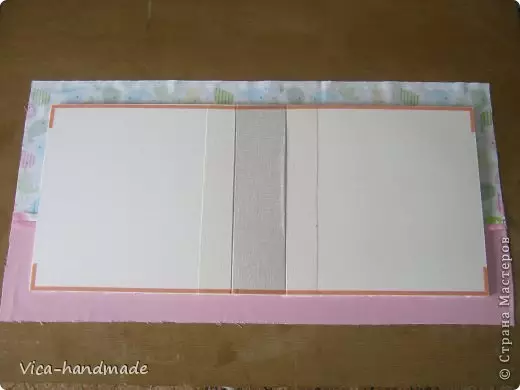
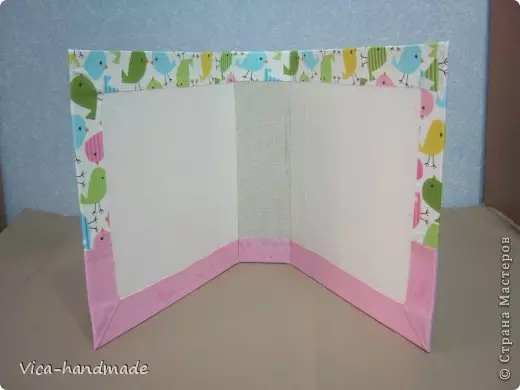
Then we apply a piece on the inner side. The remaining ends need to trim. Next, we go again Iron.
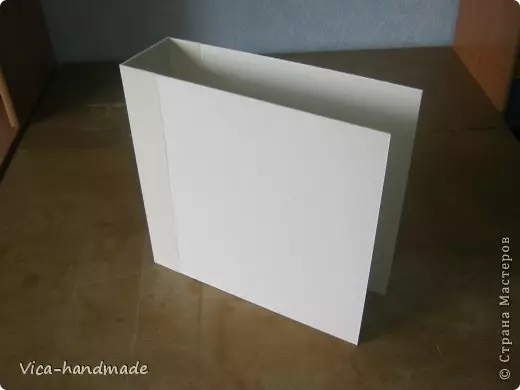
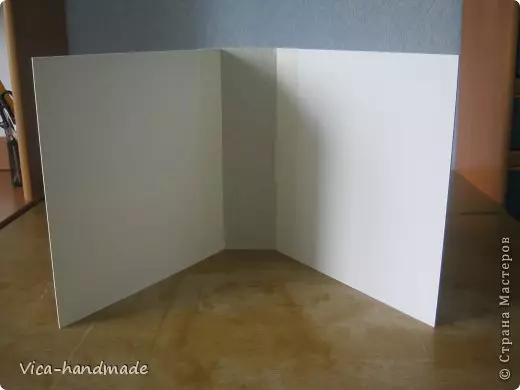
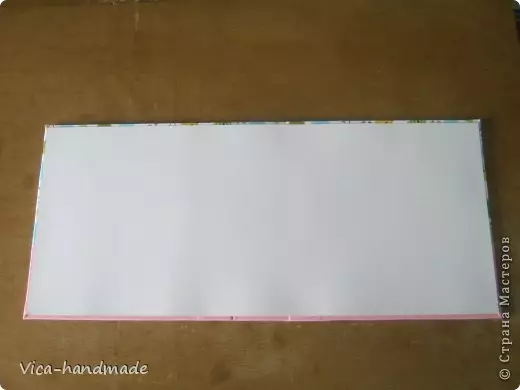
This is what the finished blank looks like at this stage.

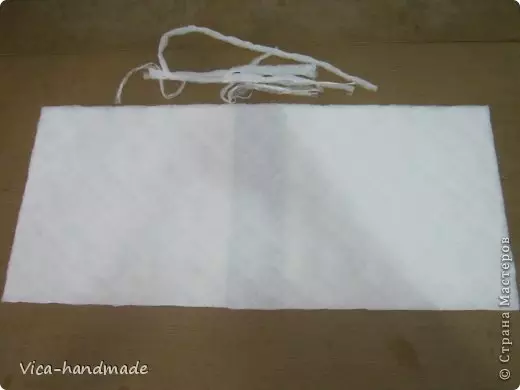
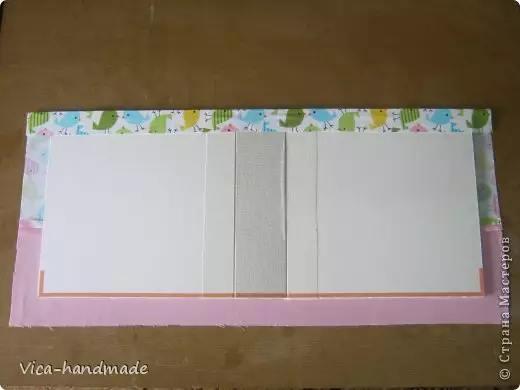
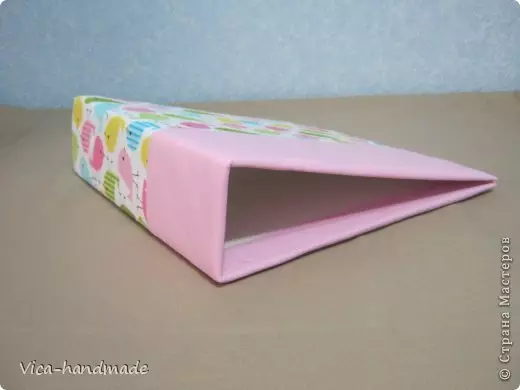
We try to bend and blending.
We measure the dimensions of the workpiece and then cut a piece of synthesis on them.
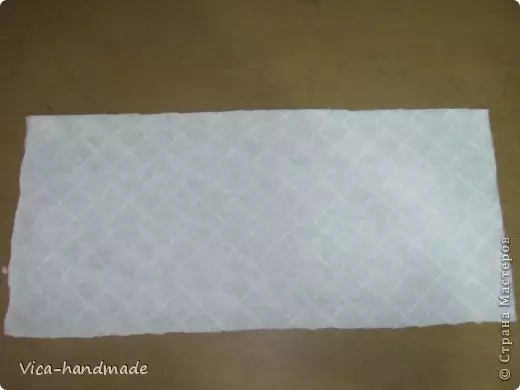
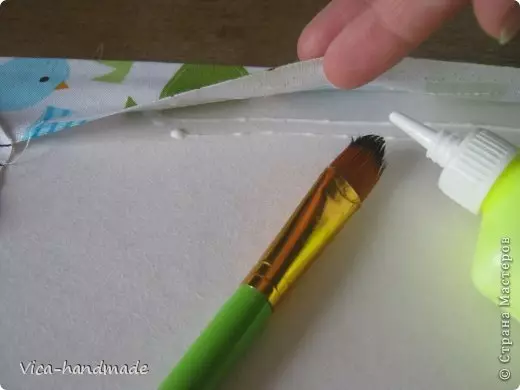
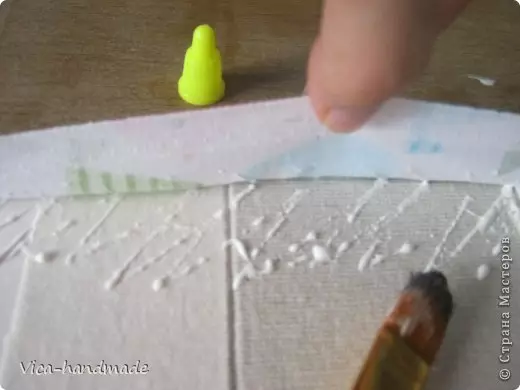
Apply thorough glue.
Then we glue a synthetone.
Remove the surplus of the fabric.
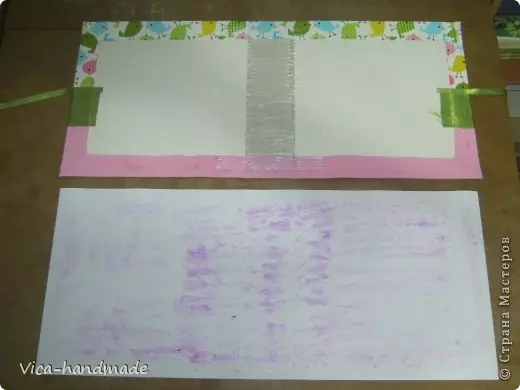
If you want to take tissue of different colors, then it must be sewn. Then we carefully pass the iron.
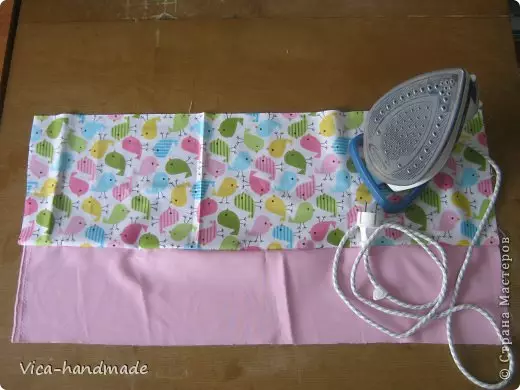
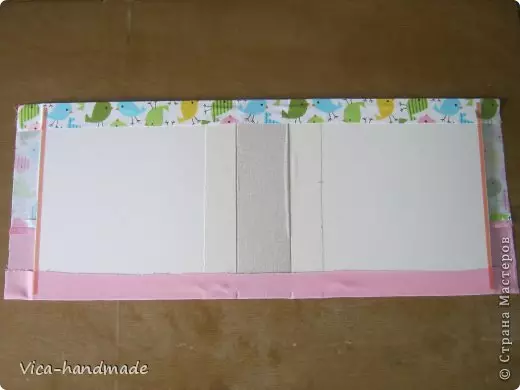
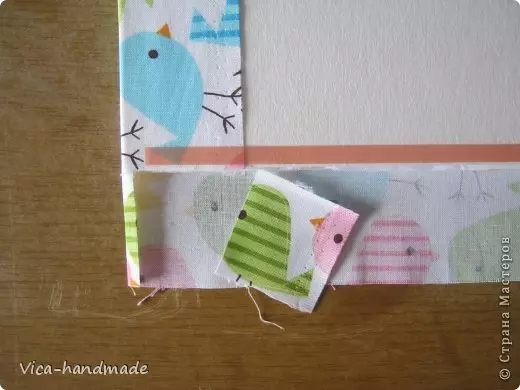
We put the cloth, leaving the allowances on the sides.
On the edge we glue the tissue on bilateral tape.
As shown in the photo, it is necessary to cut off the side slice of the fabric.
Penget.
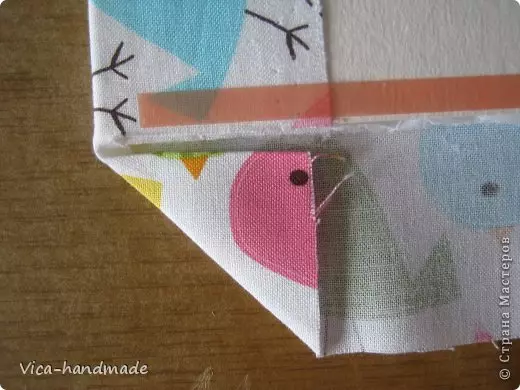
Glue to the edge of this silent bilateral tape.
The first corner is ready.
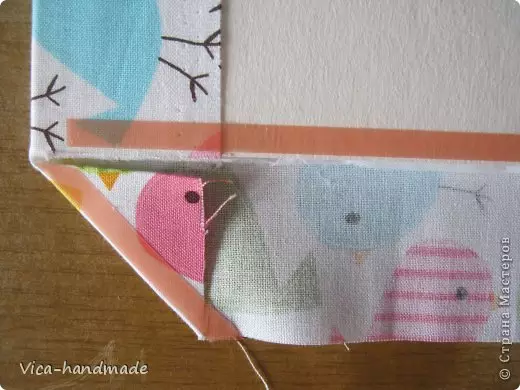
Make the rest of the corners.
On the perimeter we glue glue.
Article on the topic: American Rubber Spokes: Knitting Scheme with Photo and Video
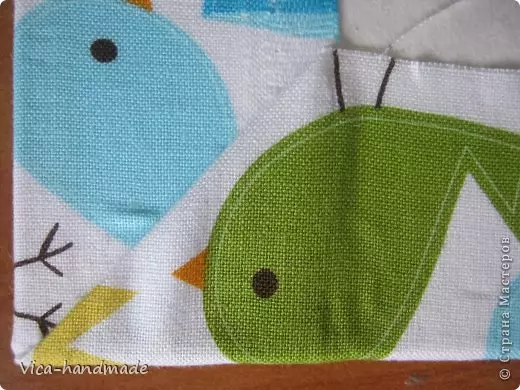
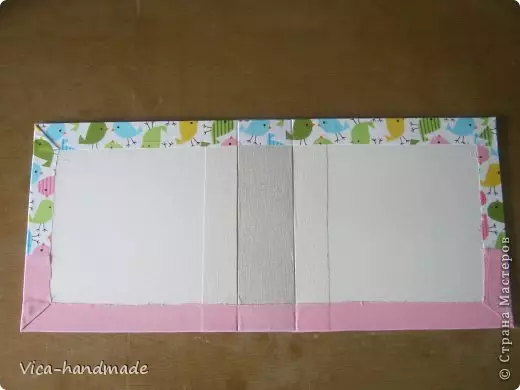
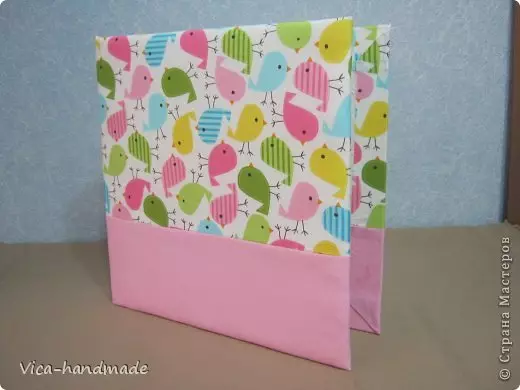
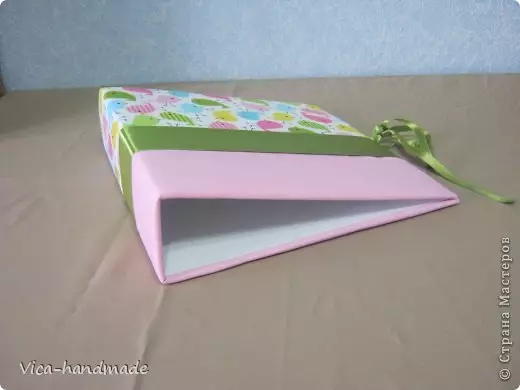
Blank for photo album is ready. Let's look at it from all sides.

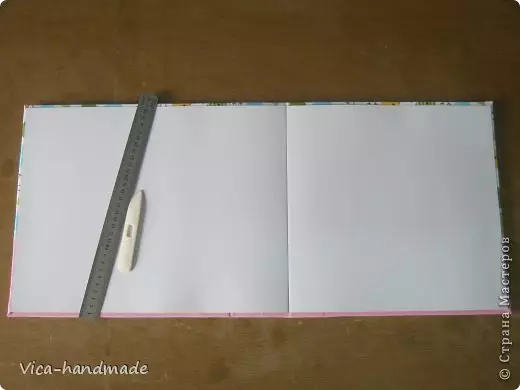
Now cut out the size of the inside and cut out the suitable part from the photo card.
We assign cardboard over.
It is necessary in order to read the inner lines.
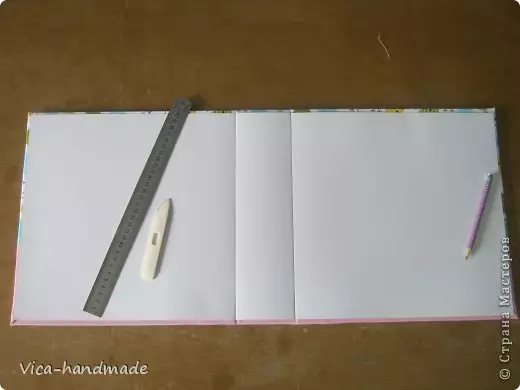
Then it follows to the inside to apply glue.
We glue a cardboard to the workpiece.
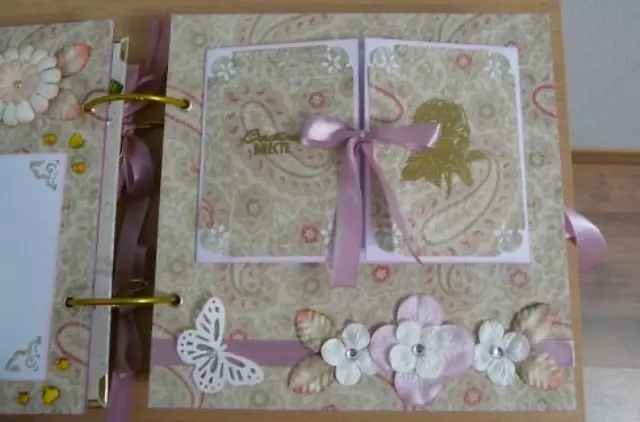
Decorating the photo album with a ribbon.

Small secrets
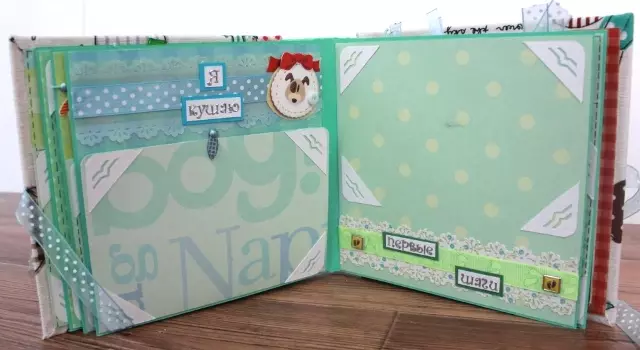
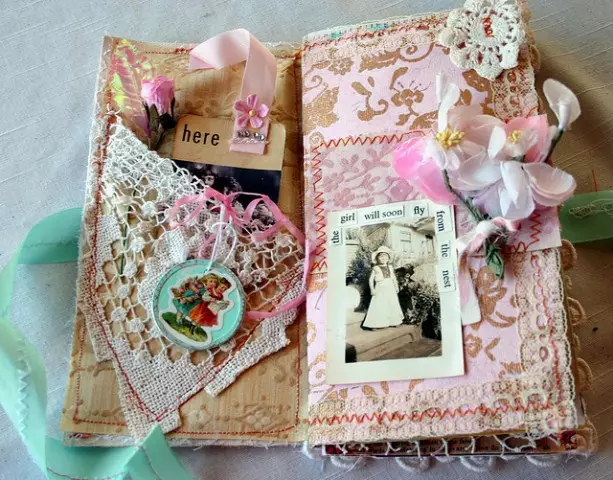
You can decorate the inner part of the album with scrapbooking technique. We offer to disassemble small secrets to decorate the album with their own hands.
For more beautiful design, make small inscriptions, drawings, mark on the photos, the feelings that you experienced at the moment of photography.
You can also try to make a postcard. Cut the blank, the color of which is the same as the color of the album background. On the side, which will be seen, you can stick a beautiful photo, and in the inner - secret.
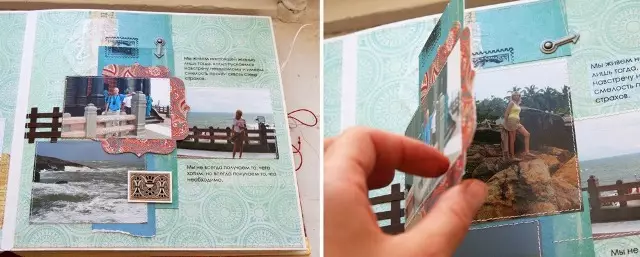
Secret photos can also be hide in special pockets. Make them in the color of the background of the album so that it does not stand out badly, and put your secret inside. You can stick the main photo.
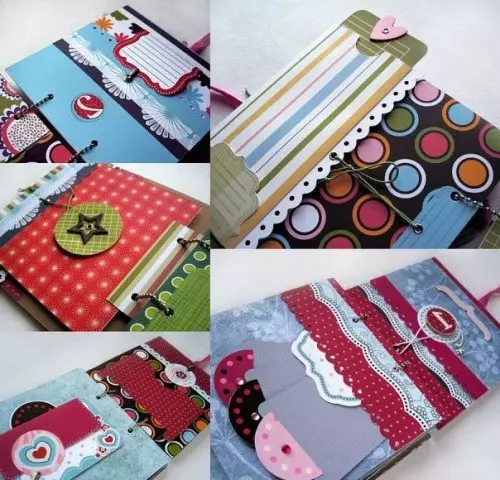
If you want your album to look bright and creatively, try cutting various vertical or horizontal stripes to visually increase the place in the album.
There is another original idea - to make a small decorative door, for which you can hide anything.
Video on the topic
Look a selection of video for creating covers for the photo album with your own hands.