
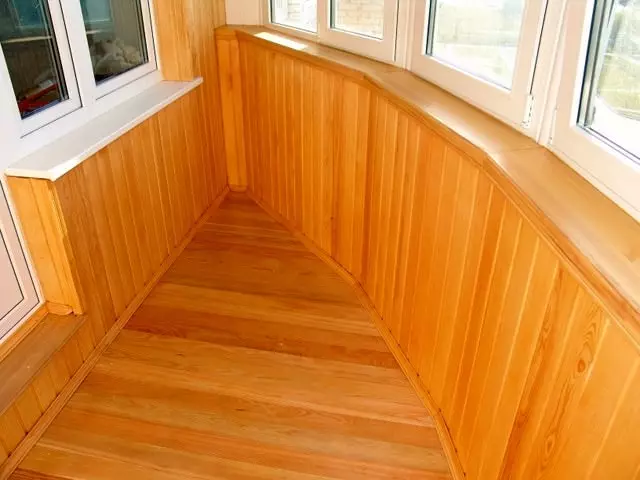
The decoration of the lining of balconies begins with the selection of the most compound of the balcony with its own hands - not the most, of course, a cheap option of the balcony, and, nevertheless, the popularity does not fall it. It would seem that you can use so common PVC panels, but externally wooden and finishing and plastic create a completely different impression.
Internal trim of balcony with lining: Important information
Begin to start with the selection of material. You look at two things: the first is made from what wood the lining is made, the second is the class of lining.
The following wood breeds are preferred for interior decoration.:
- Ash;
- Pine;
- Oak;
- Spruce;
- Cedar;
- Alder;
- Linden.
First of all, check with your wallet. The most expensive type of wood - oak and cedar, and pine lining will cost others. But this does not mean that the lining of pine in quality is lower than the desired, if it is made for all technologies, this is a good coating for finishing the loggia or balcony.
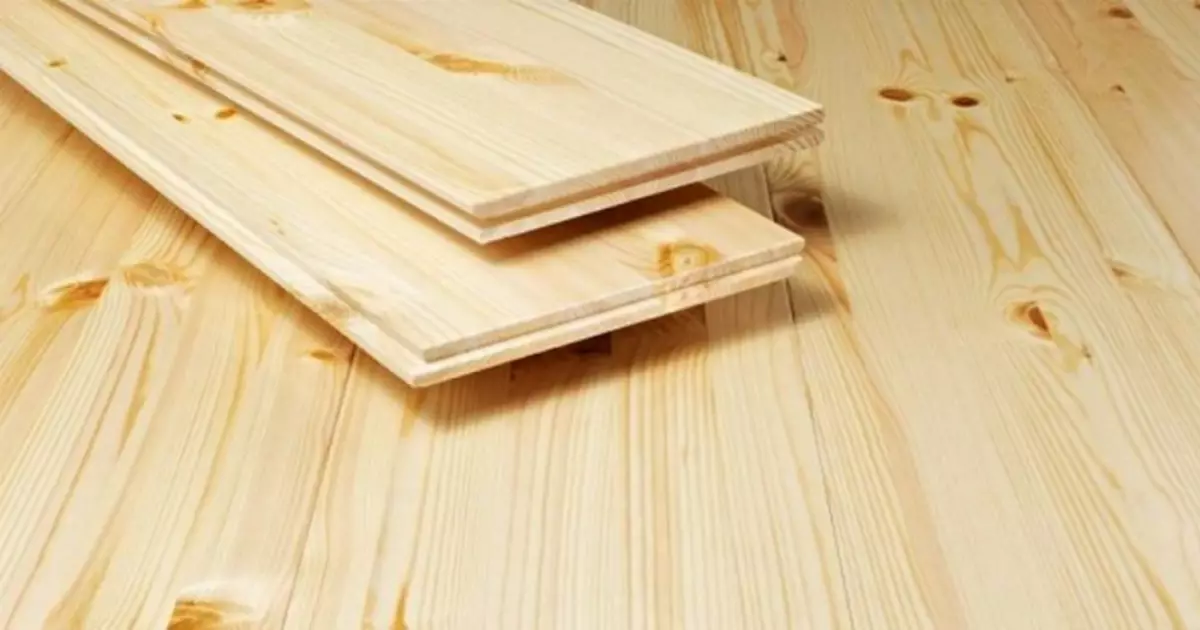
Lining from a natural tree - an environmentally friendly material that does not cause allergies
True, there is one minus in pine lining. When heated, it has the property to highlight the resin, which is unsafe for humans. Therefore, on a sunny balcony or loggia, the finishing of the walls of pine clap is not desirable.
Next, by classes of lining.
In the market, you can purchase materials of four classes:
- Class S. This is a technical lining, in which the bits, cracks, mechanical deformations can easily be. For the interior decoration of the loggia and the balcony is not exactly suitable.
- Class B. . The lining is a little better, slightly - this means that in principle, applicable for interior decoration, but resin pockets and cracks can occur.
- Class A. . Good lining, where one or two bitch is allowed every 1500 mm.
Article on the topic: How to perform a mounting rafted to Mauerlat?
The premium class lining is an extra-lining, having a homogeneous surface without these same bitch and cracks. For the trim, of course, the perfect option, but it is very expensive
Class A and Extra - that's what the balconies are trimmed, let's say and class C if you are going to paint the lining.
Lining for trimming balconies: Stage of preparation
After the lining is selected, you need to prepare the balcony itself to finishing work.
You should make work at least in three directions:
- Walls and ceiling of balconies or loggias need to be cleaned from the remains of the previous finish;
- If there are cracks, they need to be sewed using a grinder, after which it is filled with a repair solution;
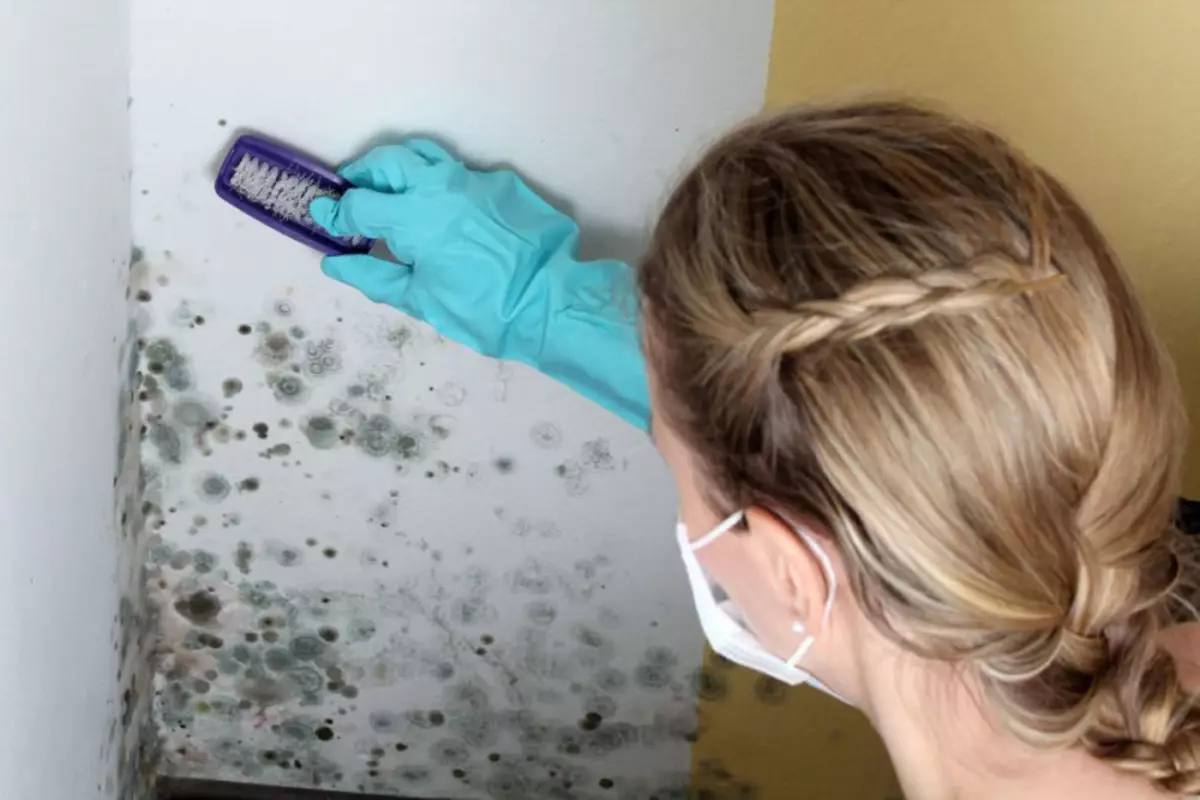
The surface of the ceiling and walls, hidden under the future trim, you need to treat antifungal specials
The next step is the insulation of the balcony and the manufacture of the crate.
What will be the first action depends on the specific case. For example, if in the thermal insulation you decided to take rolls on a foil-based basis, for example, isolon or a foam, then the lamp is constructed only after the insulation is established.
If you decide to take materials on a mineral wool or polystyrene foam, then first the lattice is mounted, and then the insulation is stacked in its lattice.
How to choose lining (video)
Master class: trim balcony with her hands, step-by-step instructions
Further useful will be instructions for installing clapboard. First make the crate.
What is the installation of crates:
- First of all, you install the angular racks. Vertical bars themselves need to be aligned and attached to the walls of anchor bolts.
- After fixing vertical angular racks, they should be connected by longitudinal bars. Brussia are located in 500 m increments.
- In these cells, the insulation is stacked, and the glue-foam is used for fixation.
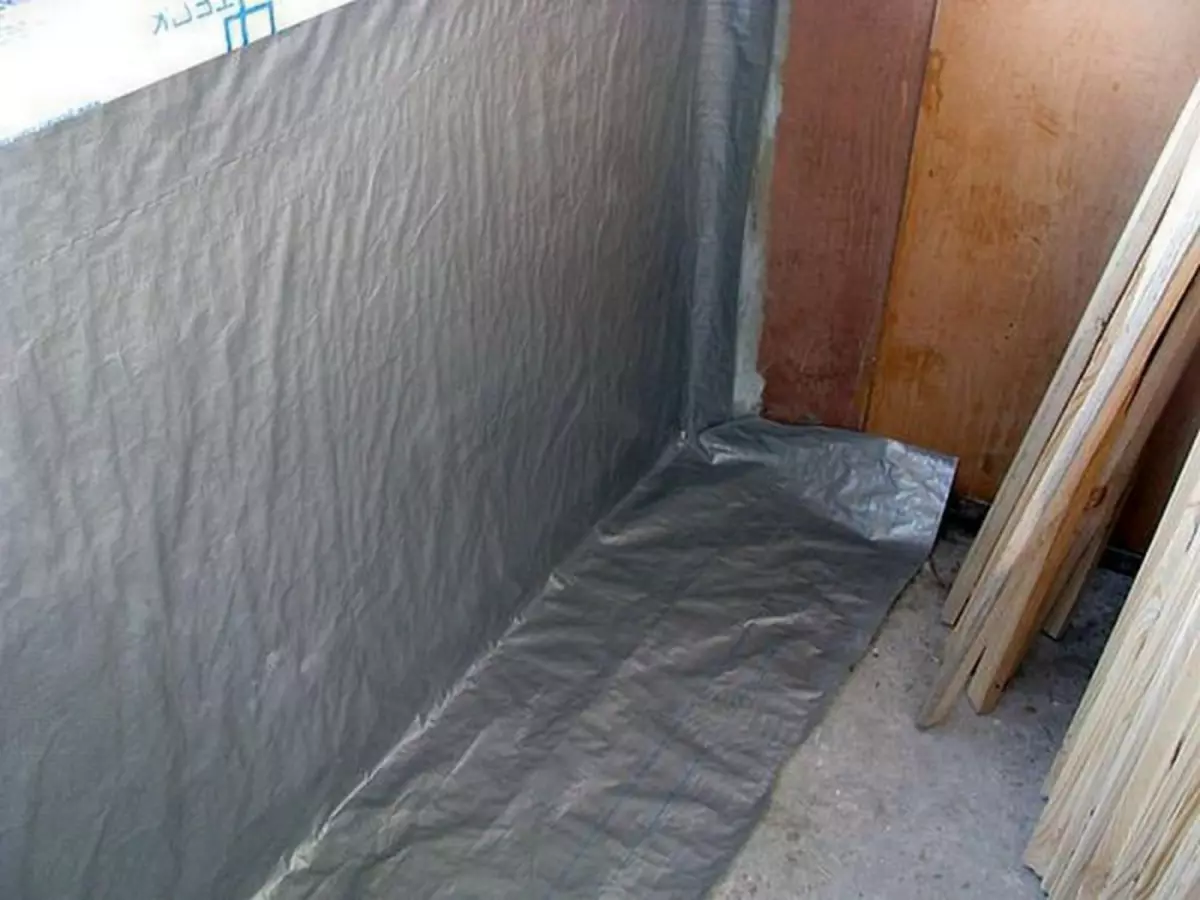
A vapor insulation film is mounted on top of the insulation
After these actions, you can mount the lining itself directly.
Article on the topic: House with balcony and terrace: Project of frame structure
Finishing balcony and loggia clappers:
- You need to start the trim from one of the corners. The lining panel itself is installed exactly vertically, and begin to fix the crates to the bars.
- The cladding cladder is attached or a nail into a groove or a special klimmer.
- Nail, if you chose this method, first "naked" and only then through the extension is clogged to the end.
- The panel attached to their own hands is the following, and knocking on the end, the new spike of the new panel pours into the groove of the already installed panel.
- First, there is a control level of the position of the lining, and only then the panel is attached.
- The balcony (trunk trim) is trimmed, the final action is to install overlays on the corners, as well as the installation of platbands and, of course, the windowsill.
Be sure to impregnate the lining, already installed, the means of protection for wood.
How to separate the balcony and protect the lining
Cover the material with a special composition, which will increase the life of the lining.
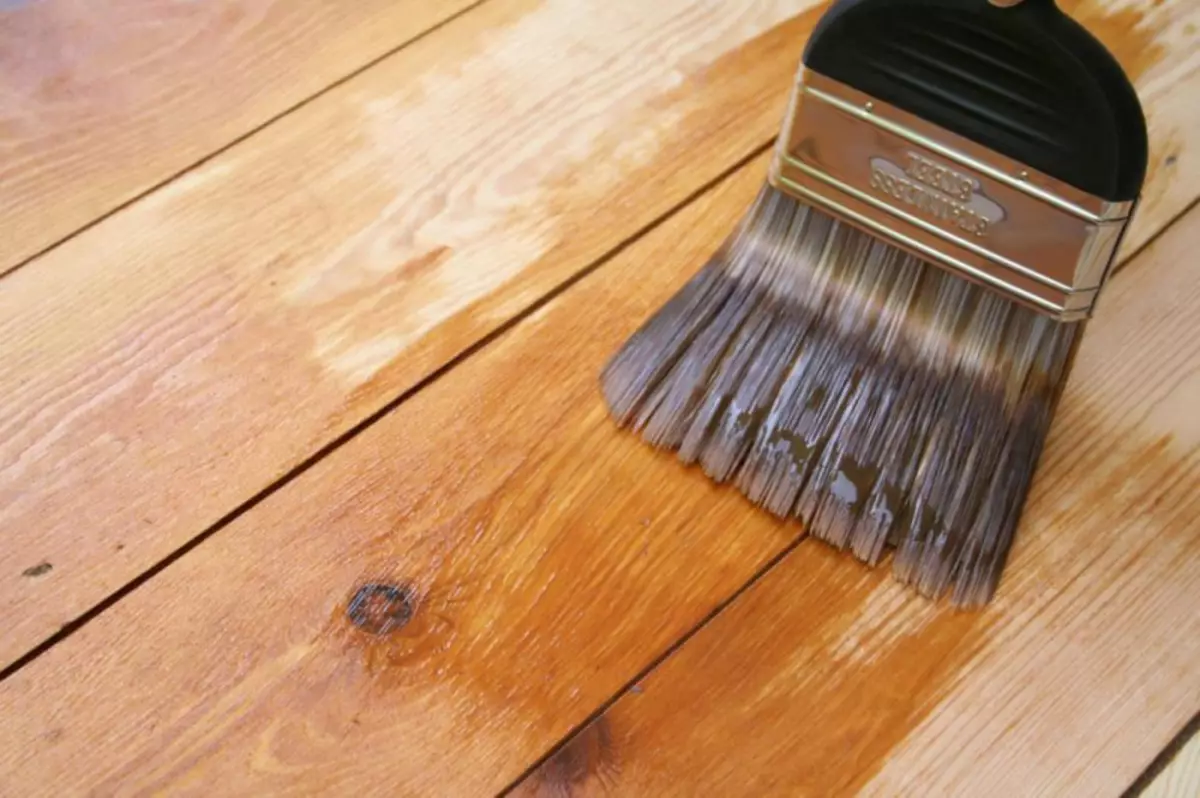
The antiseptic composition will protect the lining from mold and fungus, give an aesthetic type of material, and will also serve as protection against ultraviolet and deformations
What makeup can be used:
- Coating or lesing antiseptics;
- Acrylic lacquer;
- Oil paints;
- You can also acrylate paints;
- Alkyd varnishes;
- Morilka (in several layers).
And some more mini tips that will not be repeated:
- Work is customary to start with an uncomfortable angle;
- Lastly, the slopes are trimmed;
- Completes installation of plinths.
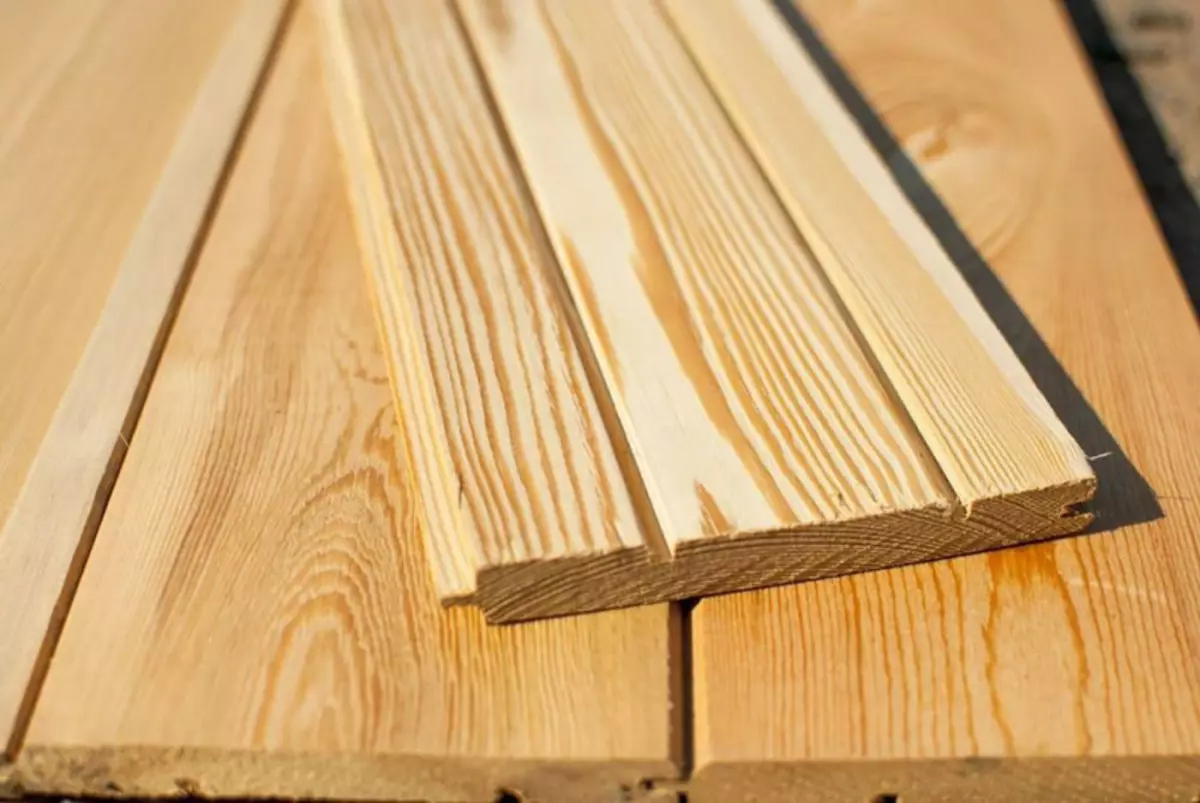
If you have not yet decided on the material, then the masters are advised to look at Euro woman
Eurovant making has a longer spike, almost twice as much. So sticking the boards, align them easier and the process goes faster. And the moisture content of the Euro woman is lower, which contributes to good ventilation, and also reduces the risk of fungi and mold.
The finishing of the loggia - the lining is also applied, but it is more commonly found finishing the loggia of the PVC lining.
Article on the topic: Red wallpapers in the interior: photo, black for walls, which curtains are suitable, white mammoth, background, colors, poppies with gold, brick, for kitchen, video
Warm balcony: trunk finish (video)
Cozy, comfortable, beautiful room - this will be your balcony, if it is high-qualityly sheathe it with clapboard. After such a finish from the balcony, it is not just a storage room, but a small but functional room.
Successful repair!