
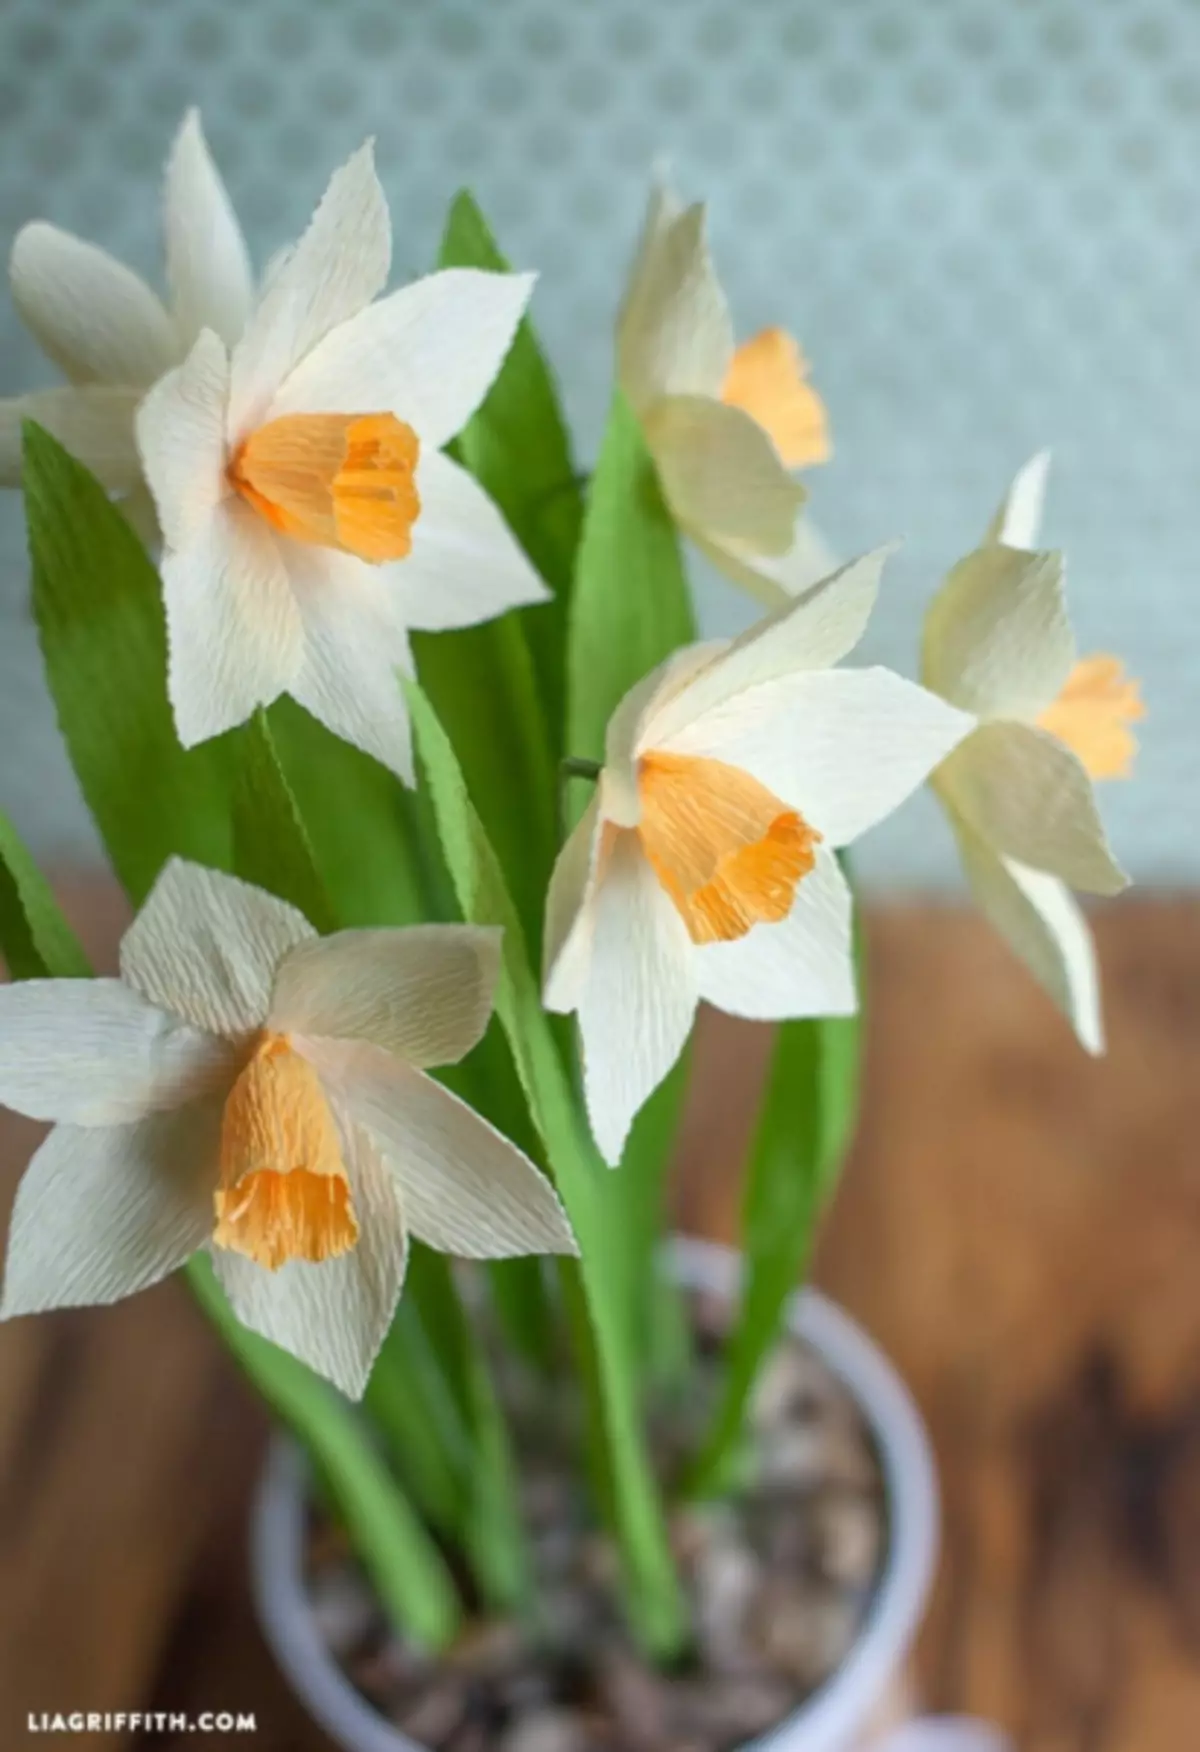
Each of us knows how the daffodil is blooming, how much joy it gives his beauty, and his yellow bud looks like a sunshine, which swings on a thin leg. How much good and charm in themselves carry these flowers. In this article, we want to tell you how to make daffodils from paper.


Solar applique
And remember how we were given an adult greeting cards that were made with your own hands? They never missed them, but carefully stored in a separate box, so that after years, get and remember the past. Now in primary classes and kindergartens, kids are very often asked to make crafts and pictures. In this article, we will tell you how to make a sun applique that will delight your eye even in cloudy weather. Why is she sunny? Yes, because it will be a daffodil. Be sure to add to this exciting business of your children.
For this work we will need:
- Half cardboard A4 format (color should be rich blue);
- Green paper tape (its size 12 by 10 cm);
- Tape of corrugated paper of light yellow shade (its size 4 per 200 cm);
- one orange napkin;
- glue.
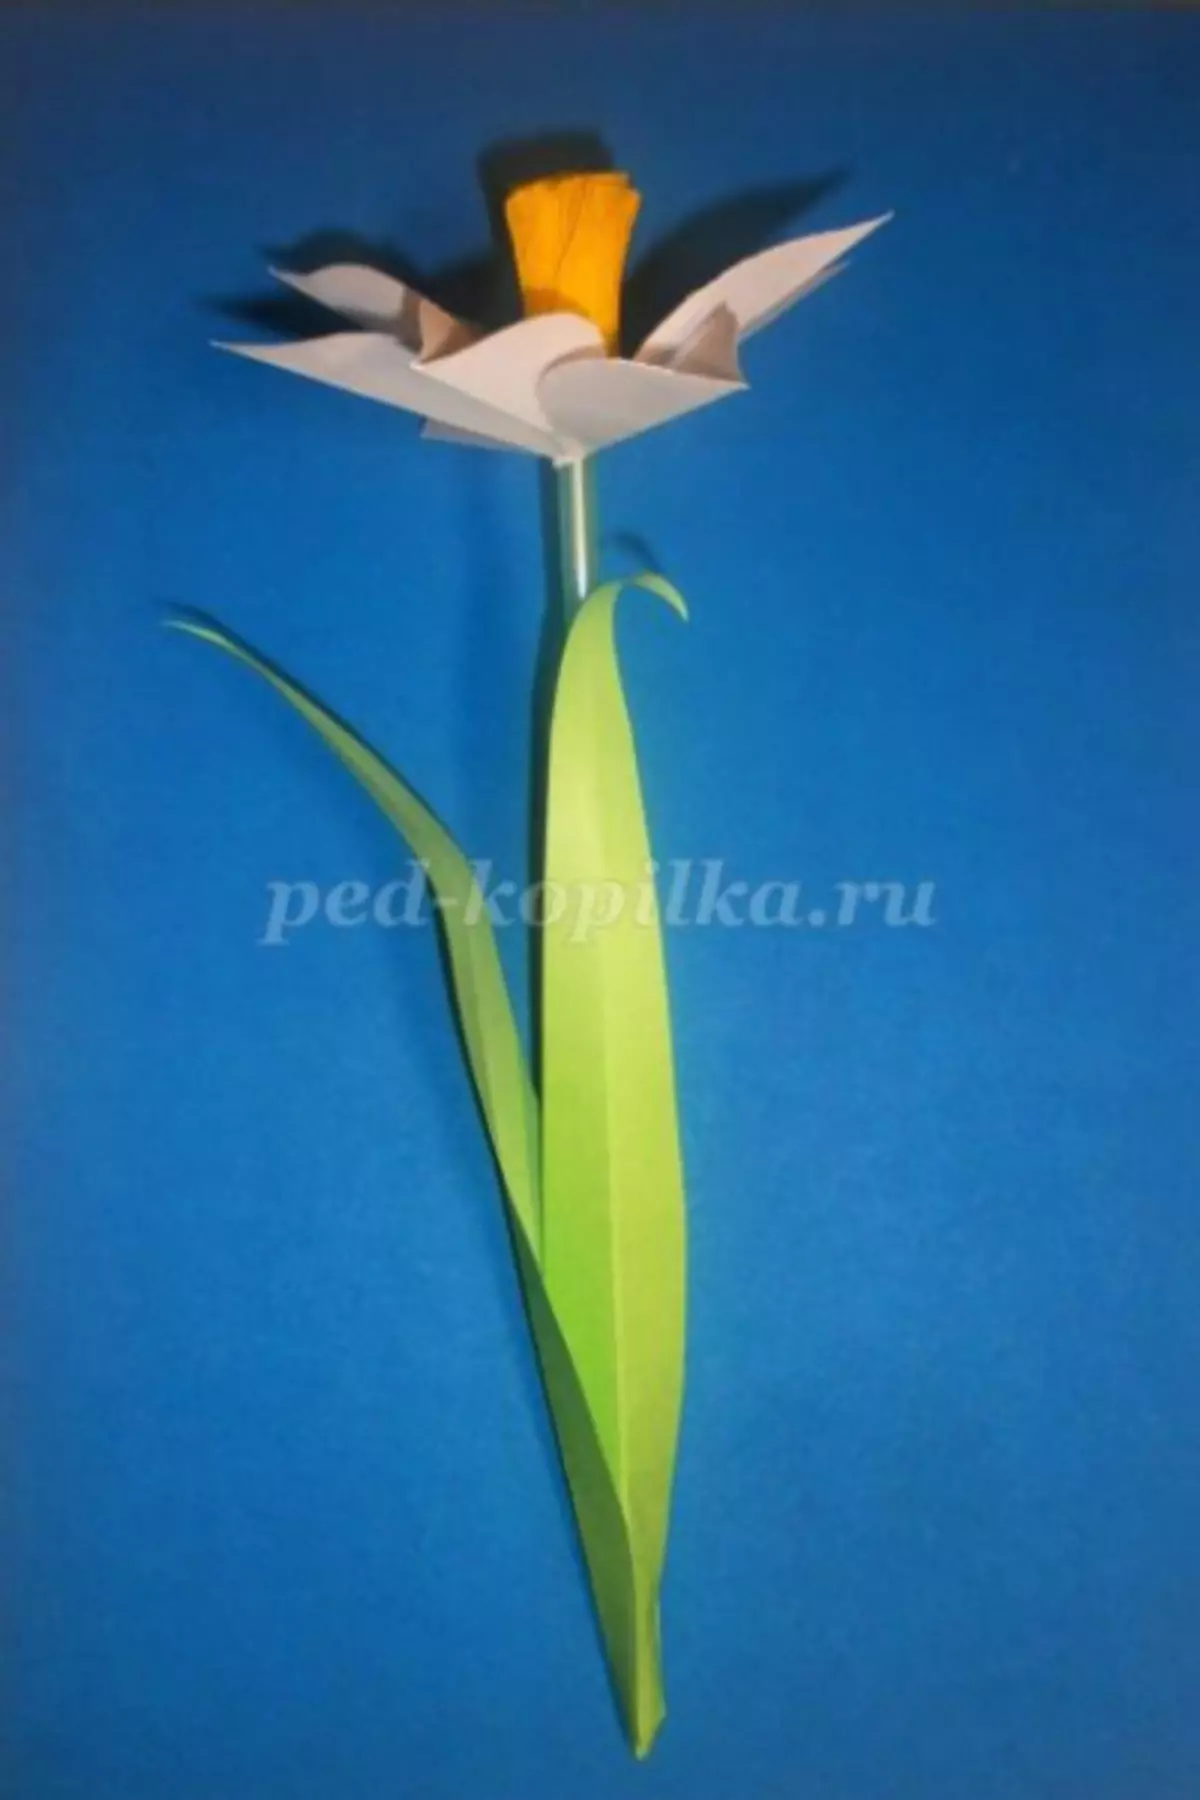
As soon as you cook everything, you can proceed to work. From one green paper sheet you need to cut striq. It will be a stem for a future flower. So cut the leaflets, they must be necessarily with pointed ends. At the middle of the cardboard, lay the stem with the leaves, stick. Wait until it gets up well. Take the corrugated yellow shade paper and prepare the leaflets for our bud. They should be oval with pointed ends.
Now with the help of glue, attach them to the top of the stalk.
In order for the flower seemed more lively, better pointed tips left not glued, so the applique will acquire some kind of texture and airiness.
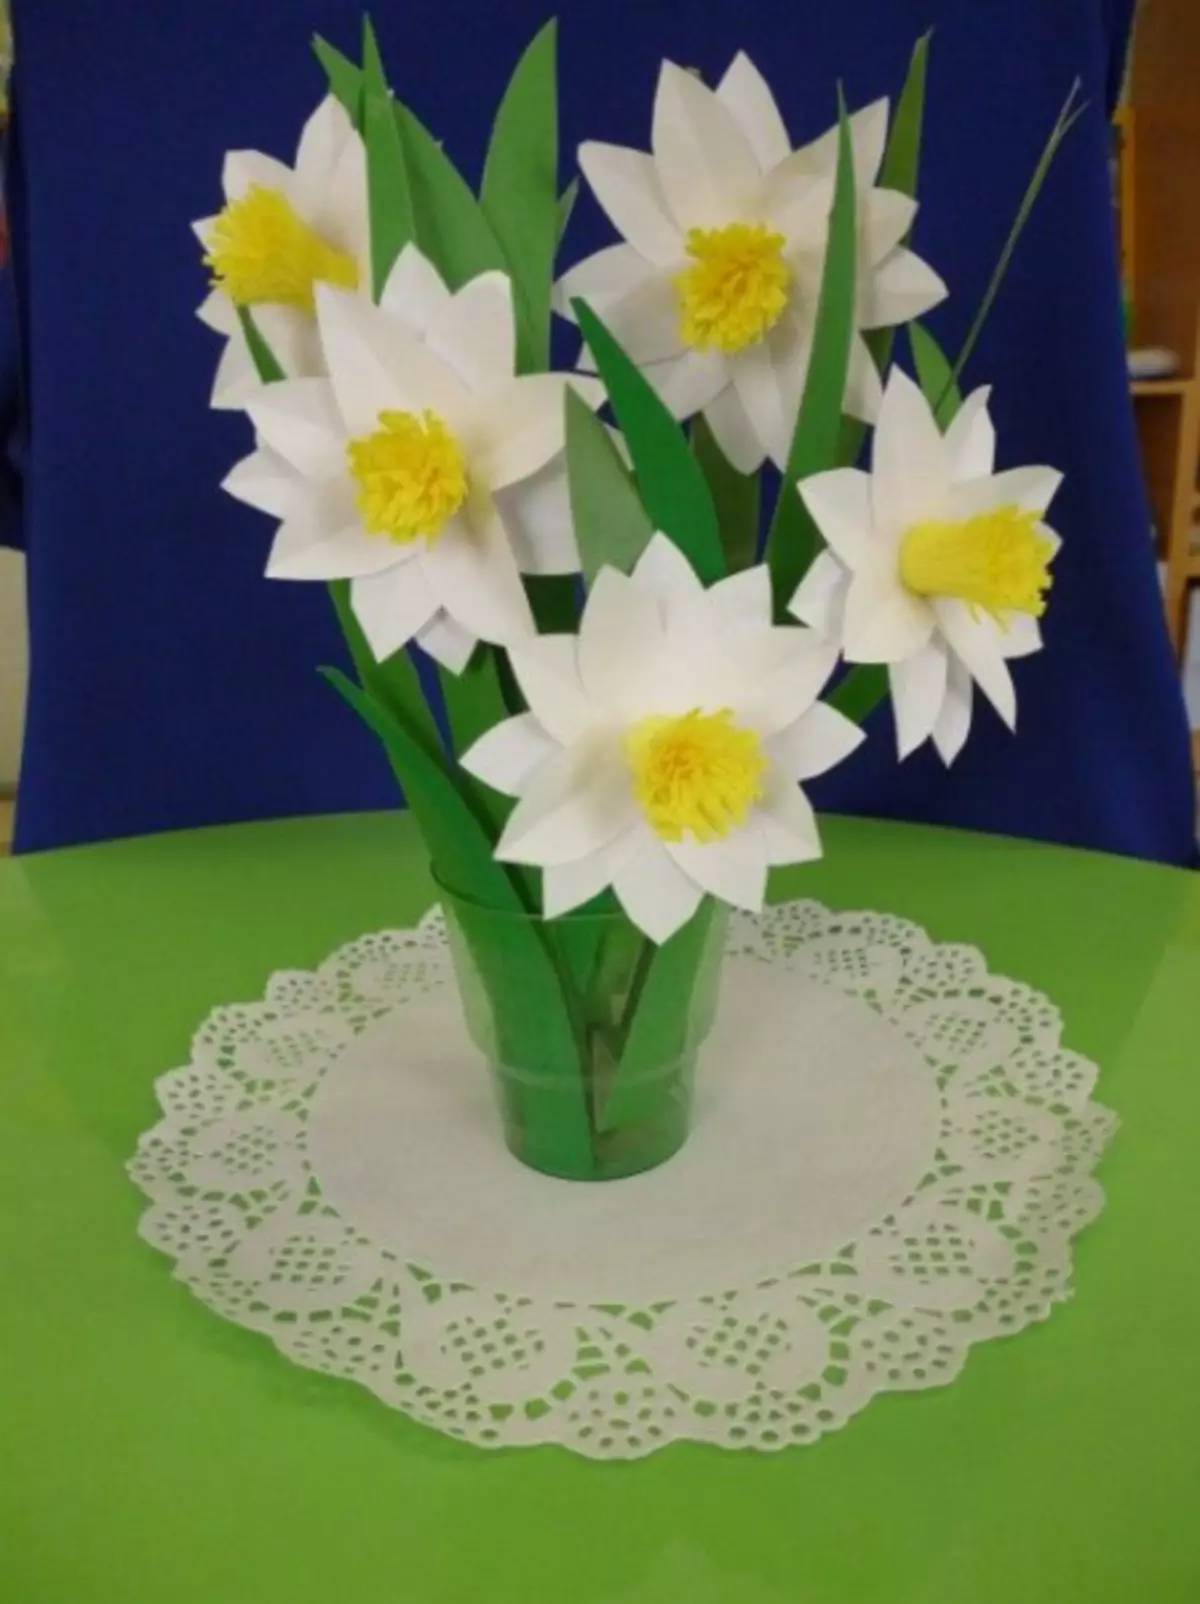
We need to make the core, prepare an orange napkin for her. Cut a lot of small squares and carefully doubt, as if you want to make snowball from them. When the details are ready, you can safely glue them to the stated place for the core. Volumetric Applique is ready!
Article on the topic: toy in the form of a crocodile do it yourself
Origami technique
Let's try to make Narcissus in the Origami technique. This is a very exciting process, not only children can join it. Practice shows that such a time is very tightened and adults. The creation itself is performed very quickly according to the scheme, and on the end you will get a beautiful product. And yes, a huge plus is that the flower does not start and be happy to please.

To create a Narcissa, we will need:
- A4 format sheets (green, yellow, white);
- Thin tube for drinks;
- scissors.
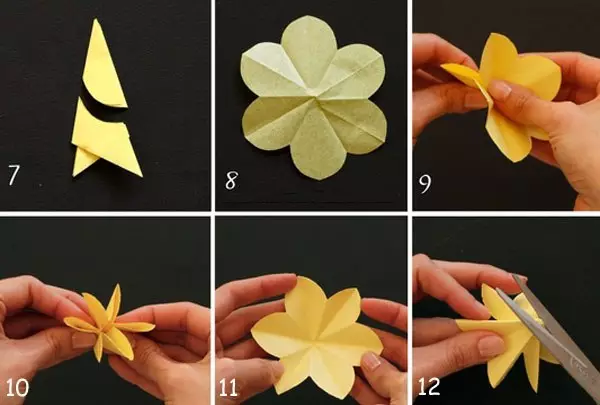
Everything you need can be purchased at the stationery store. So, proceed. From a yellow leaf cut out the square, its size is 8 on 8. Now fold it vertically. Further horizontally, diagonally, and then break it back. After you have done, you need to make a rhombus from this sheet, folding it diagonally, then bends inside.
The remaining side faces of our figures fold to the center of the vertical line. Repeat the entire algorithm four times. When you have a sidewall, bend it in the middle of the triangle. You must have paper with six angular glare. Bend at the finished diamonds of the bottom corners towards the middle. Repeat this step for the remaining corners (three times).
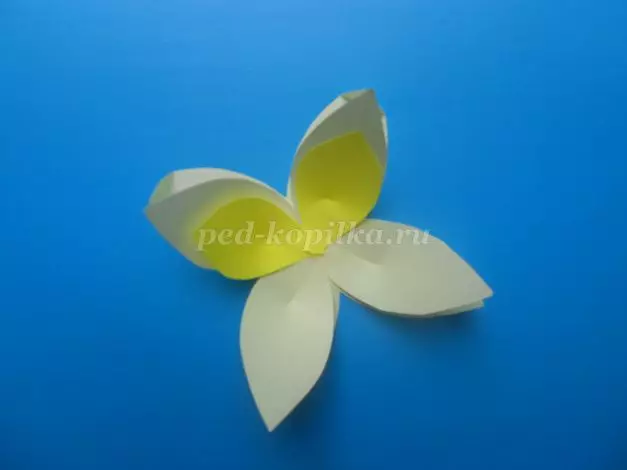
Now generate four sharp corners to the center of the sheet. You got a flower core. We proceed to the creation of petals Narcissa. Take a rectangle with dimensions of 8 to 8 and make the fold in the middle. Fold this paper vertically. From each side it is necessary to make a fog to the middle under an acute angle (desirable 45 degrees). Expand our product and do the same with free edges. You must have a rhombus again.
Two triangles, which in the process you turned out, you need to bend at the center, making a triangle from the rhombus. Fold it in half and see how you got a petal. Make similarly eight petals. Now connect the details of the first circle between themselves and insert the finished core from light yellow paper into the center of the resulting circle. Take a thin tube and wrap it with green paper, fixing with glue. Assembled bouton attach to the stalk. Our beautiful daffodil is ready. You can do the whole lesson several times, and you will have a charming bouquet of solar colors.
Article on the topic: Knitting overalls for a newborn on the spokes: Schemes and descriptions of work for beginners
Video on the topic
Thematic video selection: