
Bathroom repair is one of the longest clauses: a lot of operations requiring time. Completes all the bathroom trim tiles. Also not the easiest task that requires knowledge of technology. In addition, it is necessary to develop a laying scheme, but not somehow, but beautiful. And also - to calculate the amount and not mistaken.
Technology
According to modern requirements, the tile is placed on an even base. Smooth is with a maximum difference of heights of 5 mm per 1 square meter. m. If the walls or the floor do not respond to this requirement, a putty is necessary for the walls - with deviation to 3 cm - or plaster with more curves surfaces. Gender in this case is aligned with a screed.
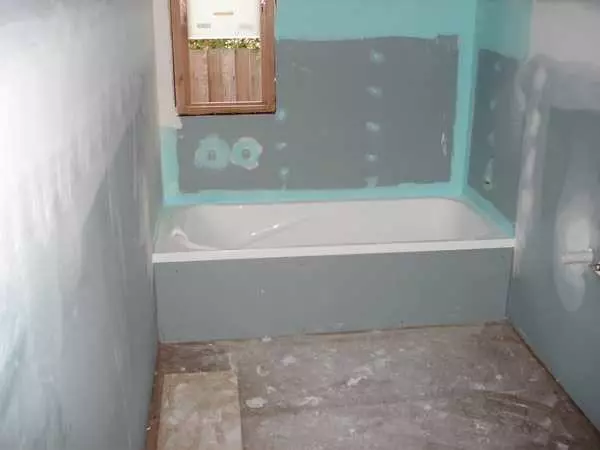
Walls must be even
If there is already a tile on the floor, but you want to replace it, you will have to string up, align more or less all the drops and pour with a concrete solution, align in beacons. You can use self-leveling mixtures, but they also need to ram, although not so carefully as ordinary concrete. After the concrete drops about 50% of the design strength (about 7 days at a temperature of + 20 ° C), it is possible to continue.
Sometimes the tile is not deleted on the floor (usually small). In this case, the screed in 2-3 cm can be pouring on top then to lay new ones.
How to smooth the walls of the bathroom
How to smooth / put the walls in the bathroom? All formulations are made on the basis of two binders: plaster or cement. Since the bathroom is a room with high humidity, the use of plaster plaster or spacure is undesirable. No, you can use them, especially since in many high-rise buildings the walls of the bathrooms are also made of plaster. But the plaster is very hygrocked and will absorb moisture from the air, from the walls. This does not hurt neither tile nor glue. So that he does not "pull" moisture, the fungus or mold appeared on the walls, the surface will need to be well soaked with the compositions that reduce hygroscopicity. And preferably several times. And this is additional costs, and considerable. Therefore, it is better to immediately use cement-based compositions - they initially have low hygroscopicity.

Rotband - Popular Gypsum Plaster, Old - Cement
Primer
Before starting plaster or putty, before laying the tile, all surfaces are ground. It is impossible to forget about this stage. Primers improve the adhesion of one layer of materials with another, which has a positive effect on the quality of the finish. If we put the finish on the walls without primer, the likelihood that the finish will bounce, sometimes along with putty, sometimes just with glue - where the weakest clutch will be found.
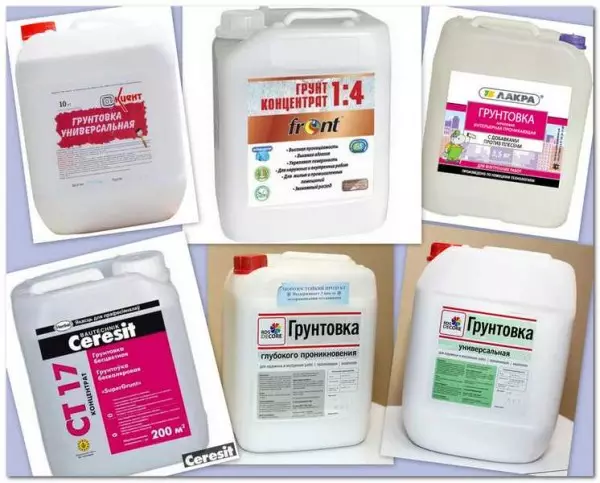
Several options for the primer
When choosing a primer, pay attention to its additional properties. In the bathroom comes with anti-grab additives, as well as hydrophobic additives (repulsive water).
How to put tiles
Actually, after all these steps, the bathroom finishes begins with tiles. First of all, it is placed on the floor. Use special tile glue for wet rooms. Start from the door, move to a long wall. Usually along the opposite wall there is a bathroom, so all trimming will be under it.
A layer of glue is applied to the aligned floor, the excessive spatula is removed by the tiller, they put the tile, align it in a horizontal surface, checking the level. In the same way, all the subsequent, withstanding gaps with plastic crosses are placed. A large format tile is usually used on the floor, therefore the crosses take thicker - 3-5 mm.
Article on the topic: The perfect surface with grinding walls after putty
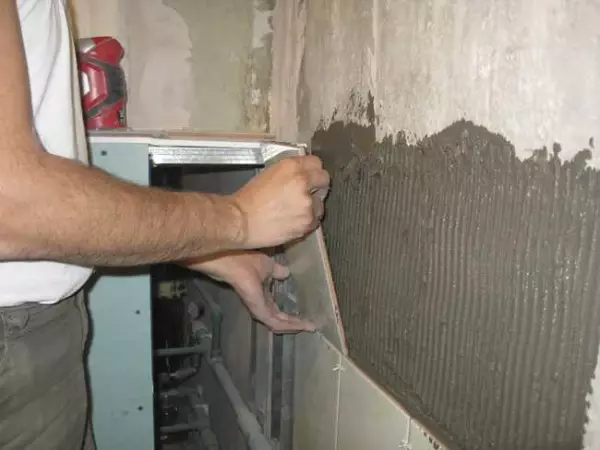
After drying the glue (the period is indicated on the package) you can start the walls of the bathroom. The technology is simple and very similar to the above described:
- A layer of glue with a thickness of 3-5 mm is applied to the projected smooth wall, the excess is removed with a toothed spatula, which forms recesses;
- The tile is dipped for a few seconds into the water, installed in place, pressed and stick to the Kelly handle, achieving it smooth in all position planes;
- Check the position with the help level, checking the horizontal and verticality of the installation;
- Nearby put the second;
- The gap between adjacent elements is exhibited using special plastic crosses (2-3 mm depending on the format);
- Vertical and horizontality is checked.
Bathroom finishing Tile: Put on the walls
There is another way - glue is not applied on the wall, but directly on the tile, removing the surplus all the same toothed spatula. Apply it to the wall and also leveled. This is no better way and no worse. Choose the one that seems more convenient to you.
The first row is gradually filled - from the wall to the wall. The second is set on it, and so on, already before the ceiling, then go to the second wall. During work, do not forget to remove crosses. The glue is captured quickly, as a result, they are difficult to dig them. Also make sure that the tile is clean. All traces of glue, even the most minor, must wipe. You can use a sponge or rag, or both. Pay attention to the fact that the glue does not speak from the seams. They should be half empty - they will need to be finished - rub.
Slip the seams with special painted compositions, which are chosen in tone or make contrast. After the glue is dry, the grout is bred to the state of the paste, applied in the seams using a small rubber spatula, they also remove the surplus. The remnants are rubbed with a soft non-blocking cloth.
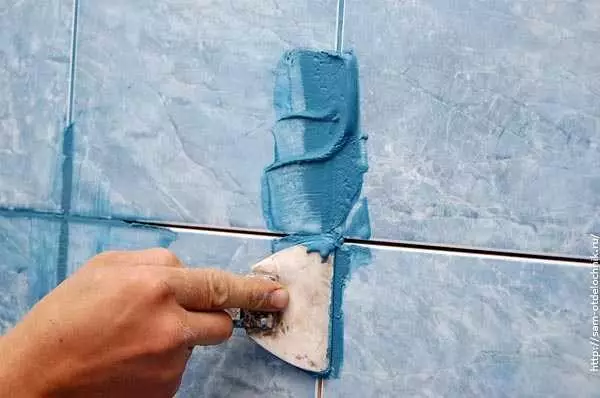
Shutdown seams tile
There are still quite a few features and nuances - on the layout, the design of the bathroom, doorway, etc., but in general, the trim of the bathroom with tiles is due to such technology.
Features layout
To get a high-quality and beautiful bathroom, you must first consider the tile layout. Suppose you have already looked after several variants of different colors or sizes. Now it is necessary to decide which better to buy and in what quantity. The complexity is that today the trim of the bathroom with tiles sharply happens at the floor to the ceiling. Typically combined two or three colors, and there is still a certain number of fragments with a pattern or decor. And we need to accurately calculate their number to purchase from one party and not mistaken at the same time (due to the characteristics of the technological, the color of different parties may have significant differences).
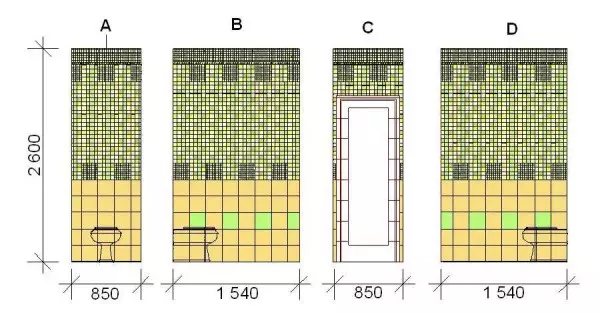
Example drawing tiles for trim bathroom
To solve this task and, at the same time, develop a chart of layout of the tile, you need a large sheet of paper into a cell or millimeters, pencil and color pencils. On the sheet draw a room scan, accurately observing the dimensions and proportions. On the appropriate walls, mark the location of the doors, bathroom, plumbing, mirrors, washing machine. All items draw on the same scale. The drawing is better to do large - it will be easier to draw parts, as well as count the tile of the piece.
Article on the topic: How to make a refrigerator on the balcony
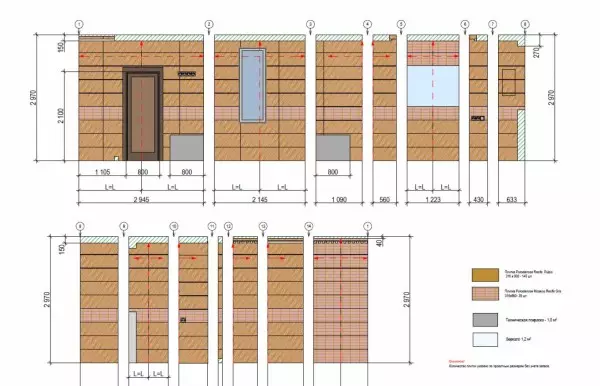
An example of laying tiles in the bathroom
On the prepared plan, on the same scale, draw tiles, painting it with the corresponding colors. So it can be more accurate to imagine how everything will look, testing several layout options - in horizontal stripes, vertical, shifting them, making wider / already / higher, etc.
When you decide exactly how you want to lay out the bathroom (in the sense of the location of different colors, the widths of the bands and other nuances) it will be necessary to redraw a selected layout again, but already taking into account trimming in size.
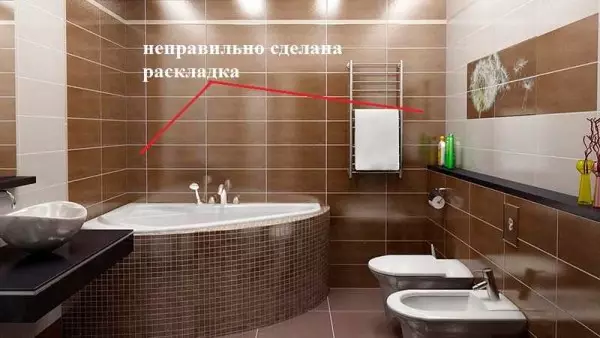
Cropped tiles are located in one of the corners
If you start putting the tile just from one of the corners, you will have to cut it in the other. Since today in the trend, the tile of a large format, these trimming on the one hand strongly spoil the overall impression. Therefore, it is laid out regarding the center of the wall, "accelerating" trimming along two corners. It turns out a symmetric picture, which looks much better.
Only here there are nuances. To watch the wall normally, the width of the trimming should be more than half. Too narrow inserts look a bit. This is regulated by the location: on the center line you can place the seam or the middle of the tile. Draw so that only narrow strips are not in the corners.
Redraw the selected method of laying, taking into account these moments. Then consider the amount given those that need to be trimmed. Yes, the amount of tiles will be more, but the view of your bathroom in this version is much more attractive.
The principles of creating a bathroom design are described here. The features of the design of combined bathrooms are described here.
How to put a tiled bath - rectangular, rounded
One of the important points when finishing a bathroom with tiles - how to arrange the front of the bath. Most often it is also covered with tiles (more option - to sew plastic panels). But just do not hang it, it is necessary. It is made or brick (better ceramic, not silicate, even though he is cheaper) or from moisture-resistant drywall.
From both materials you can post the wall smooth or rounded. With bricks, everything is more or less clear, you just ask you to drag on the drawn arc, climbing a slightly broken line. She then bore plaster.
To bend the plasterboard, it is cut from the inside to the strips of 3-5 cm wide, depending on the bend radius, the floor lines break the gypsum and bend it as necessary. Having a suitable form base, it is ground and you can already lay the tile on the glue in the standard way.
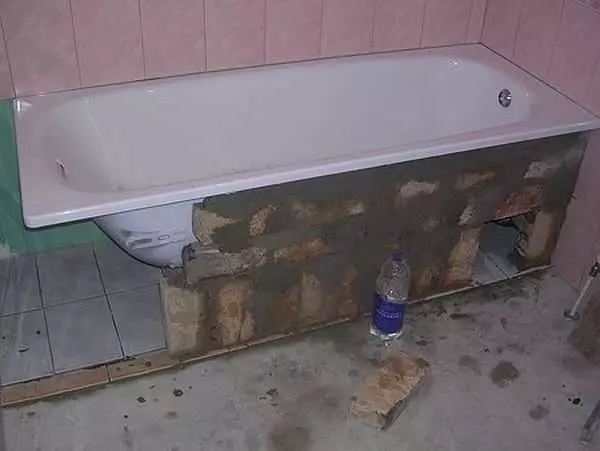
So lay out the basis of bricks
There is another subtlety when finishing the bathroom: between the side of the bathroom and one of the walls can be a decent distance - from 5 to 15 cm. This distance must be closed with something, otherwise the water will fall down and the distance is more, the problem is more problematic. The output is to make a shelf of plasterboard, which is then pasted the tile. The order of work is:
- exhibit the bath strictly horizontally;
- Transfer to the wall of the upper edge of the bathroom on the wall (salt or ruler);
- From the resulting line, we retreat down on the thickness of the planned materials (the thickness of the tile + thickness of the drywall + the thickness of the board, to which all this will be relying);
- At the resulting line attach a bar or profile (the upper edge coincides with the applied line);
- A wide board is fastened to the profile (processed by antiseptics), which pulls out the bathroom to the side;
- The gap between the board and the bathroom is filled with sealant;
- from above stacked with a piece of moisture resistant drywall;
- soil;
- This shelf is subsequently, when finishing the walls, lay the tiled cut-made in size.
Article on the topic: How to connect a shower cabin to the water supply with your own hands?
If you decide to install a shower cabin in the bathroom, you can read about the assembly process here.
Bathroom finishing Tile: photo ideas
In recent years, there are two main tendencies in the decoration of the bathroom:
- Using a large format tile. Rectangular or square - it does not matter, the main thing is that the size is solid.
Basically, the bathroom is separated by a large-format tile
- The use of mosaic - glass or ceramic. These are small squares with a side of 1.5-3.2 cm, pasted on a polymer mesh.
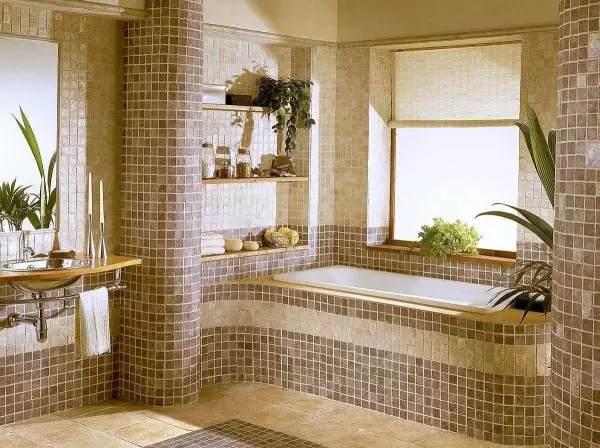
Mosaic - small tiles pasted on the grid
There is another third option - combination. Such options, by the way, is particularly interesting.
Tile combinations and mosaic are most interesting
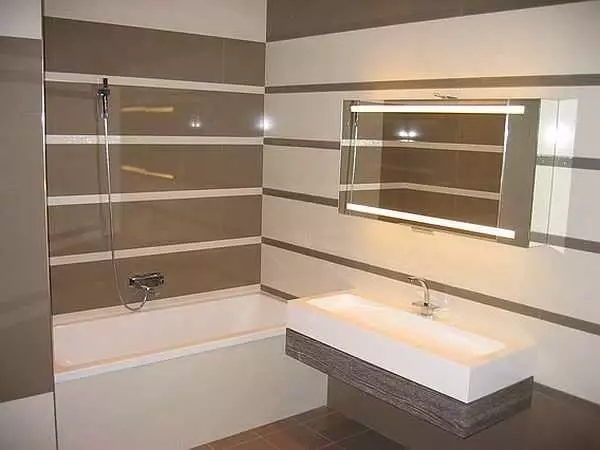
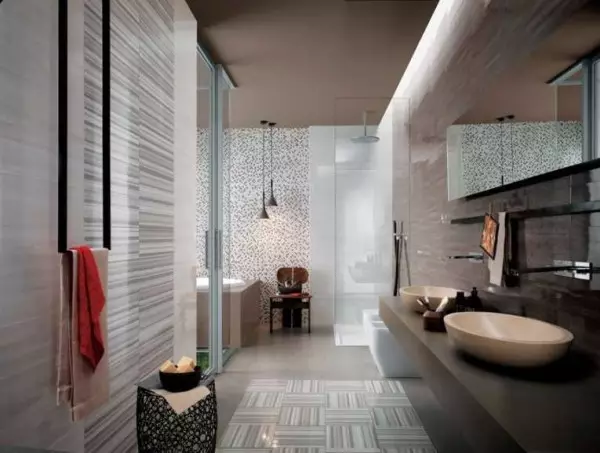
Another nuance concerning the design - the rectangular tile has increasingly began to have "standing", but "lying" - in length. It is justified, as it makes the room visually wider.
Location "Length" visually makes the room wider
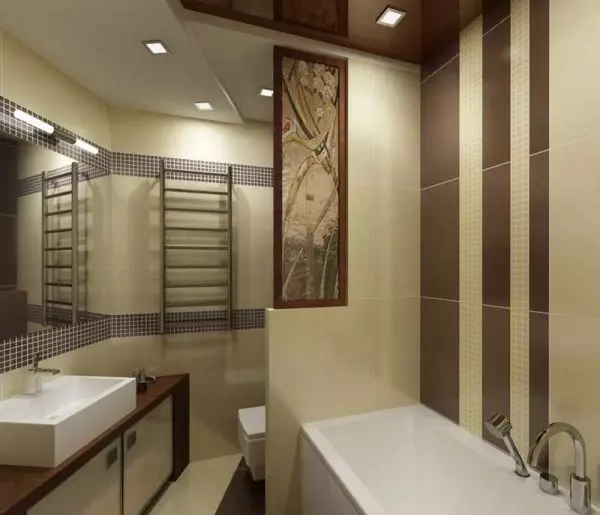
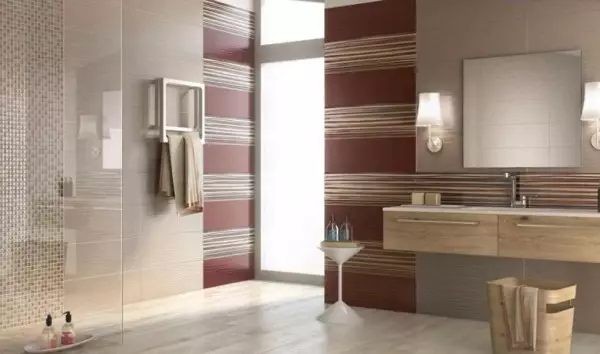
You probably noticed that the strips are increasingly used - horizontal or vertical - different widths. Make them on different walls.
Stripes and fragments of different sizes - one modern directions in the trim of the bathroom
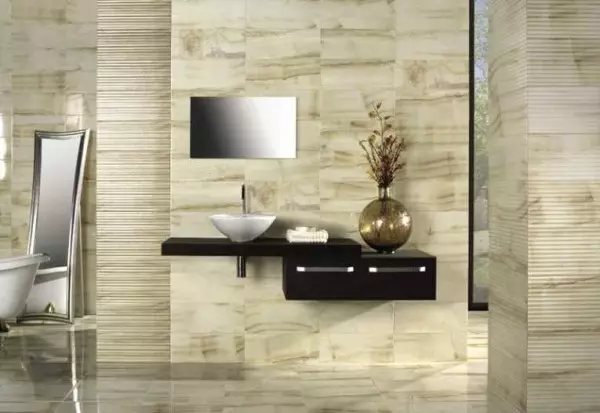
Not bypassed fashion and drawings. Although the flowers or monophonic options are still popular, a tile imitating different natural materials appeared: stone, wood of various breeds, skin. It turns out quite interesting: by type the tree (imitation is high enough), but feelings - ceramics.
Tile with the imitation of a wooden surface - a novelty of the last seasons
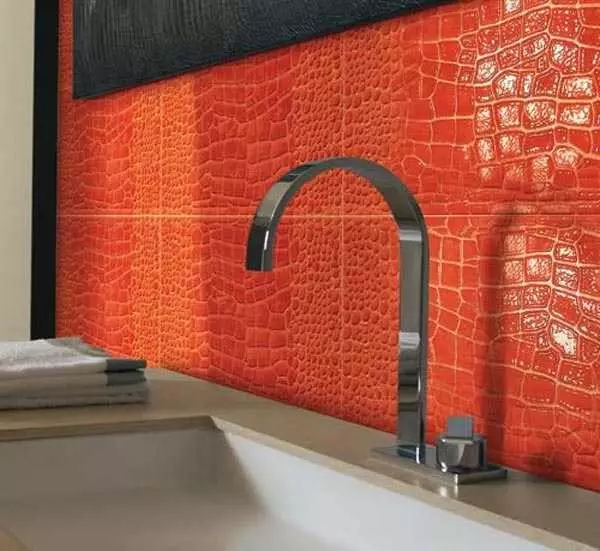
Under crocodile skin - stylish
In general, many interesting ideas of how to separate the bathroom with tiles. Different combinations, sometimes unexpected.
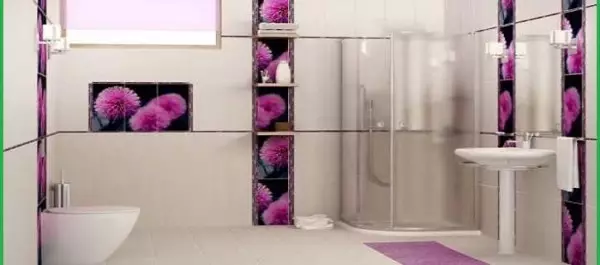
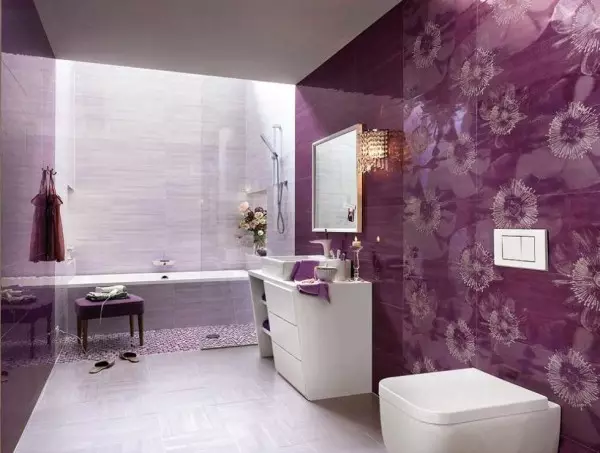
When using a flower ornament, it is important to choose the right background: one of the existing in the drawing
Non-obvious combination but successful
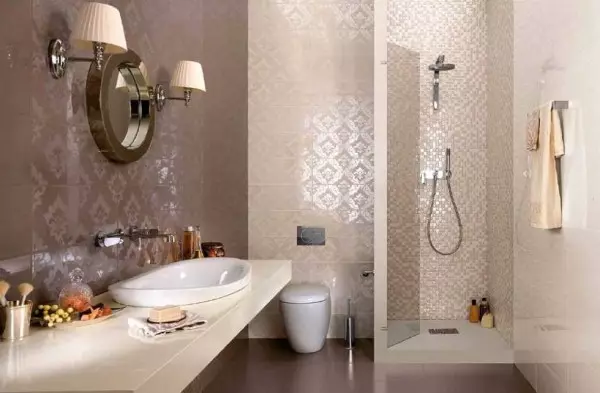
Imitation of dear fabric looks very rich
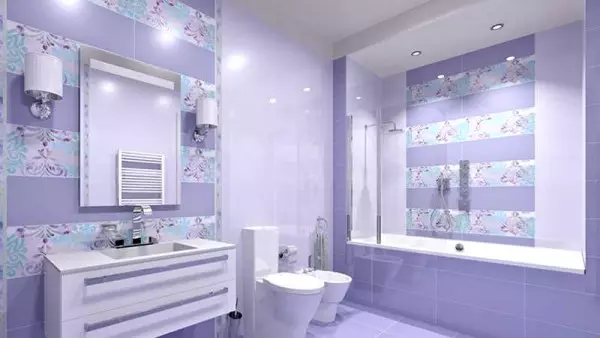
Combinations of shades of the same color are always good
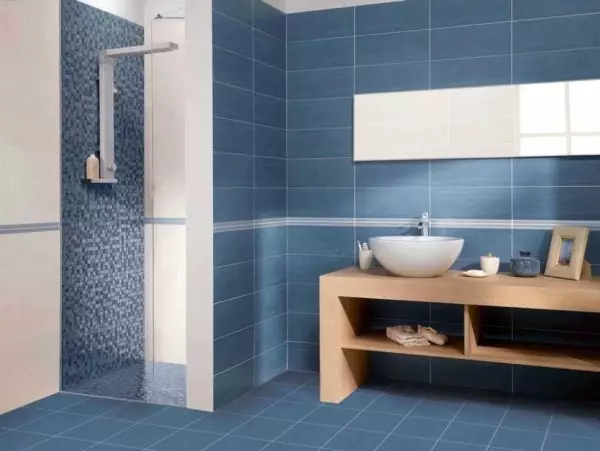
Even a small mosaic inclusion revives the design
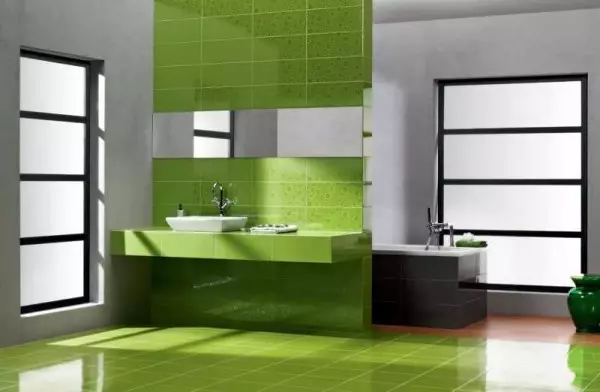
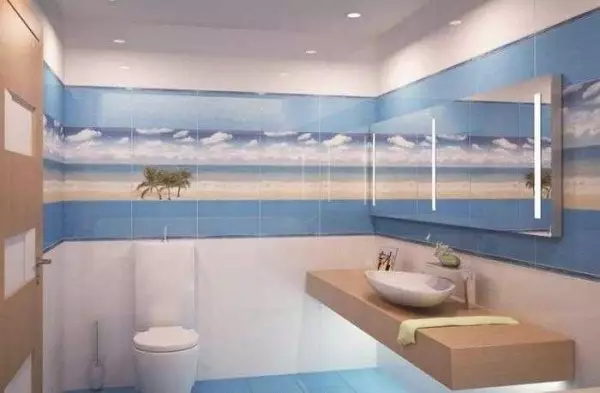
One wall is bright, accent, the rest are more pale and almost monophonic. This is another one of the remedies of the last seasons.
Make a separate niche under the bathroom - an interesting option
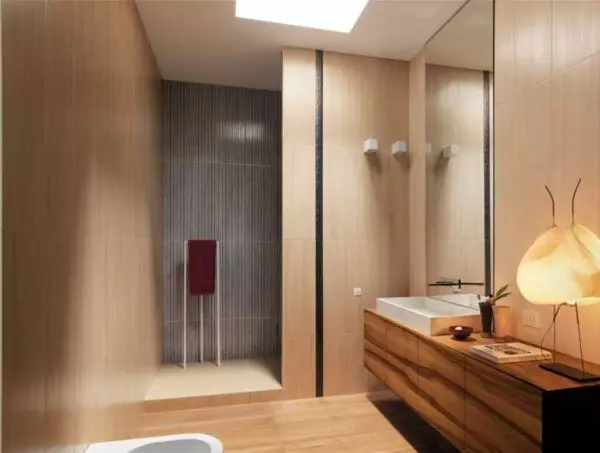
Tile for bathroom in style minimalism is also characterized by concise
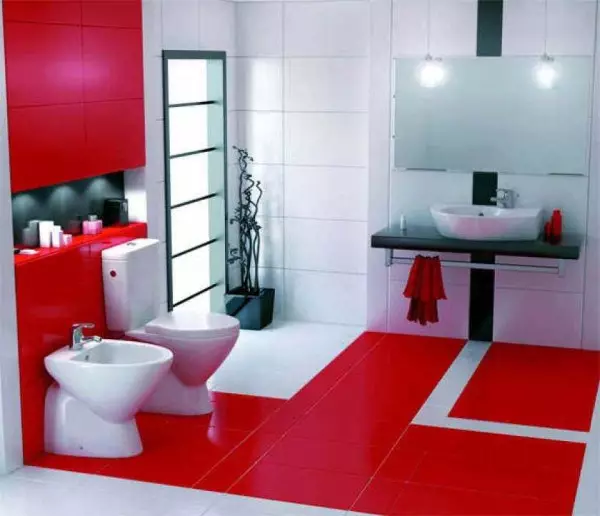
The game in contrasts is always in fashion and attracts attention
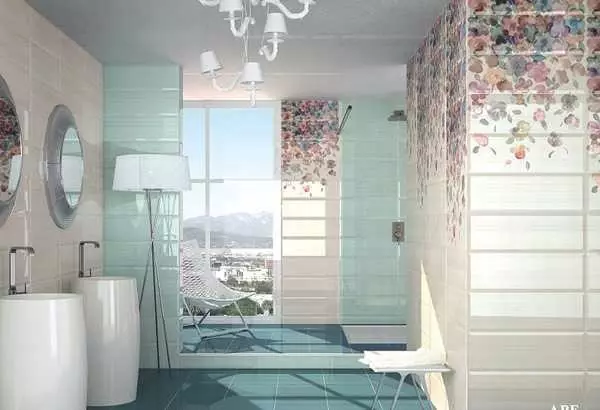
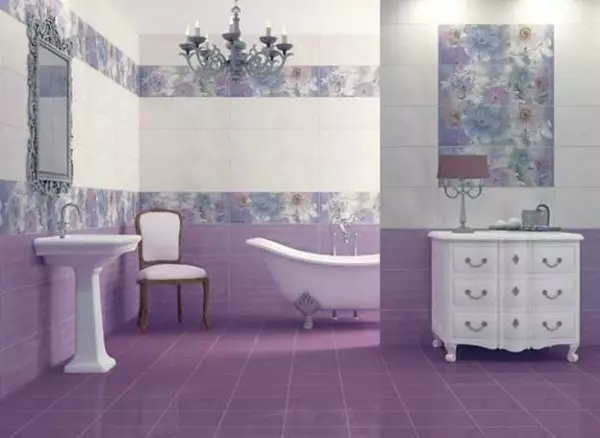
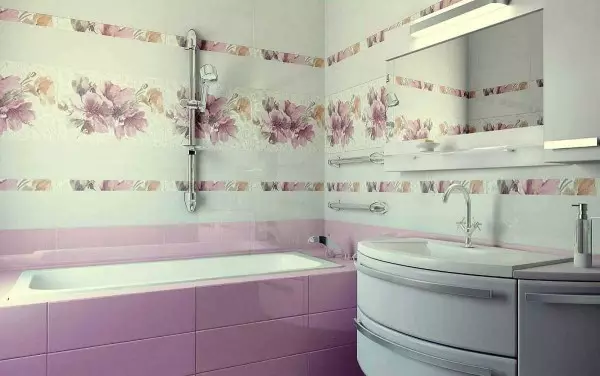
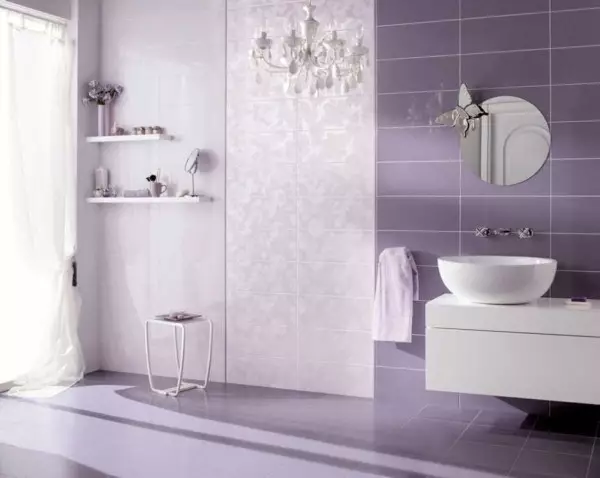
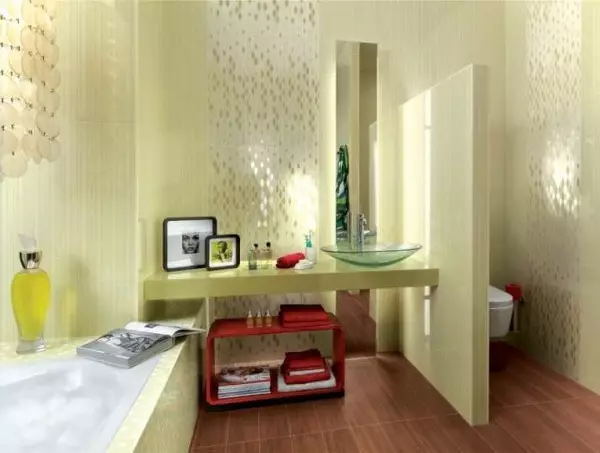
Gentle flowers and unusual tile format
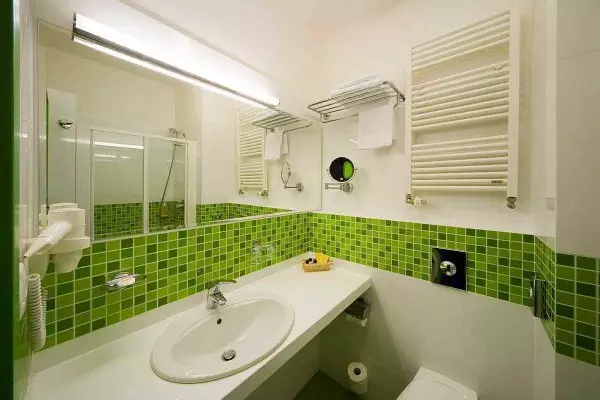
Even one mosaic strip significantly dilutes the white wall monotony
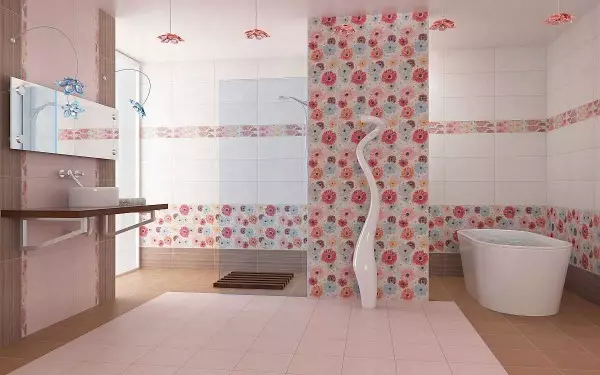
Flowers still do not lose their popularity
Beige and browned tones with blue - an infrequent combination, but looks great
Add a bit of gold for gorgeous bath trim tiled
Mark imitation is also good
There are tiles with photo printing, only the level of image execution has become several times higher.