
The base occupies an intermediate position between the foundation and walls. It must protect them from moisture and to withstand the load of the whole design, furniture and equipment installed in the building. Last year, we made the necessary earthworks with a friend, put the foundation of the future at home. Now he is in his free time lays out a brick base for the foundation.

Bricks for masonry of the second row
Vadik, the owner of the future cottage, economist. It is interested in all ways to reduce costs. When buying a plot and design, he decided in practice to check professional knowledge. Hearing what is cheaper to do with your own hands, I decided to master the specialty of the black-strength and training in the gym. Replace useful physical labor.
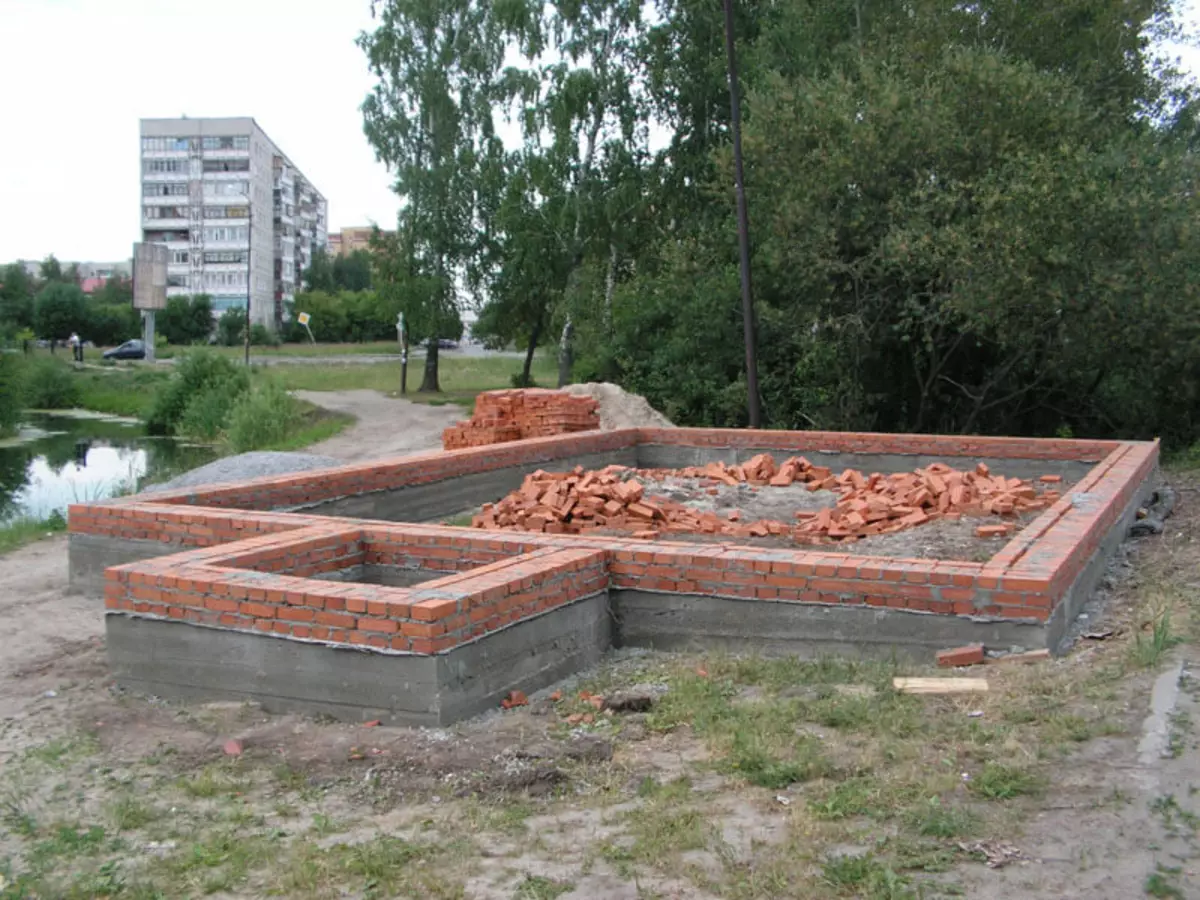
Brick base on a ribbon foundation
It is better to choose an burned brick. He has technical indicators on various properties and, in particular, on sustainability, much higher
On the ribbon foundation, the support layer is made under the walls from different materials, from the bay reinforced concrete to the stone. Red brick for base connects:
- necessary strength;
- simplicity of brickwork;
- low thermal conductivity;
- Budget value.
Having small skills and patience, you can lay out the base with your own hands in a few days. For the protection of walls from moisture, waterproofing occurs during the construction of the base. You can lubricate the foundation surface to be heated bitumen in several layers. According to time, it is for a long time, since it is necessary to wait for the simplicity of the applied material and only then to smear the next surface.
It is better to use runneroid in 2 layers. Strips cut through the width of the base, plus 4-5 centimeters. They are bonded by bitumen glue and fixed on the surface of the foundation. You can make a mixture with your own hands or use ready, buying in the store. In a preheated bitumen, I added washed river sand. My friend moved well everything.
Check the size and geometry of the foundation under the base
Society from Fagota
Before starting work, I decided to check the belt foundation. After his fill, time passed. He could give a shrinkage to rainwater. The irregularities of the foundation plane will entail a skew of all at home and constant repair of walls and overlaps. Measurements are carried out using a line-level, roulette and cord.
- I measured the ribbon foundation using a rash level along and across several places. It is better to do in the corners and every 2 meters of length. Putting a long device, it is easy to determine the presence of a slope. If you have only an angular level with short parties, put the board.
- On the foundation in the corners put a dry brick over the outer edge. Then with the help of Vadik checked a diagonal. In the right rectangle, the size of the cord from the angle to the angle is the same. If the length is different, then the corners are not straight. For a brick base of a residential building, a difference in the length of diagonals up to 2 centimeters is permissible.
- Find overcasts, and check the size is better than a roulette. Was stared at the corners. The foundation was poured without formwork. Outdoor walls are uneven. Brick simplifies measurements.
Article on the topic: Penage door do it yourself: Installation Recommendations
By adjusting the dimensions of the displacement of the corners, once again checked the diagonally cord. Then I marked the position of the brick base. Now, stretching the cord and consolidating it to the pegs, designated the outdoor side of the walls. It remains to lay a brick base. In the correctness of the geometry of the carcass at home I was sure.
My friend, with his own hands, smeared with glue a ribbon foundation from above, laid the layers of the prepared runner, connected together by a bituminous mixture. Lower waterproofing is ready. Walls will not be cooked from moisture from the soil. Under the brick, waterproofing, laid out a layer of cement solution with a thickness of 2 cm. It will serve as a pillow and compensates for irregularities. For strength, the metal grid was drowned in it with a cell of 50 mm, cutting it in width a little already than the base.
Brick laying scheme and socket width

Cap of bricks
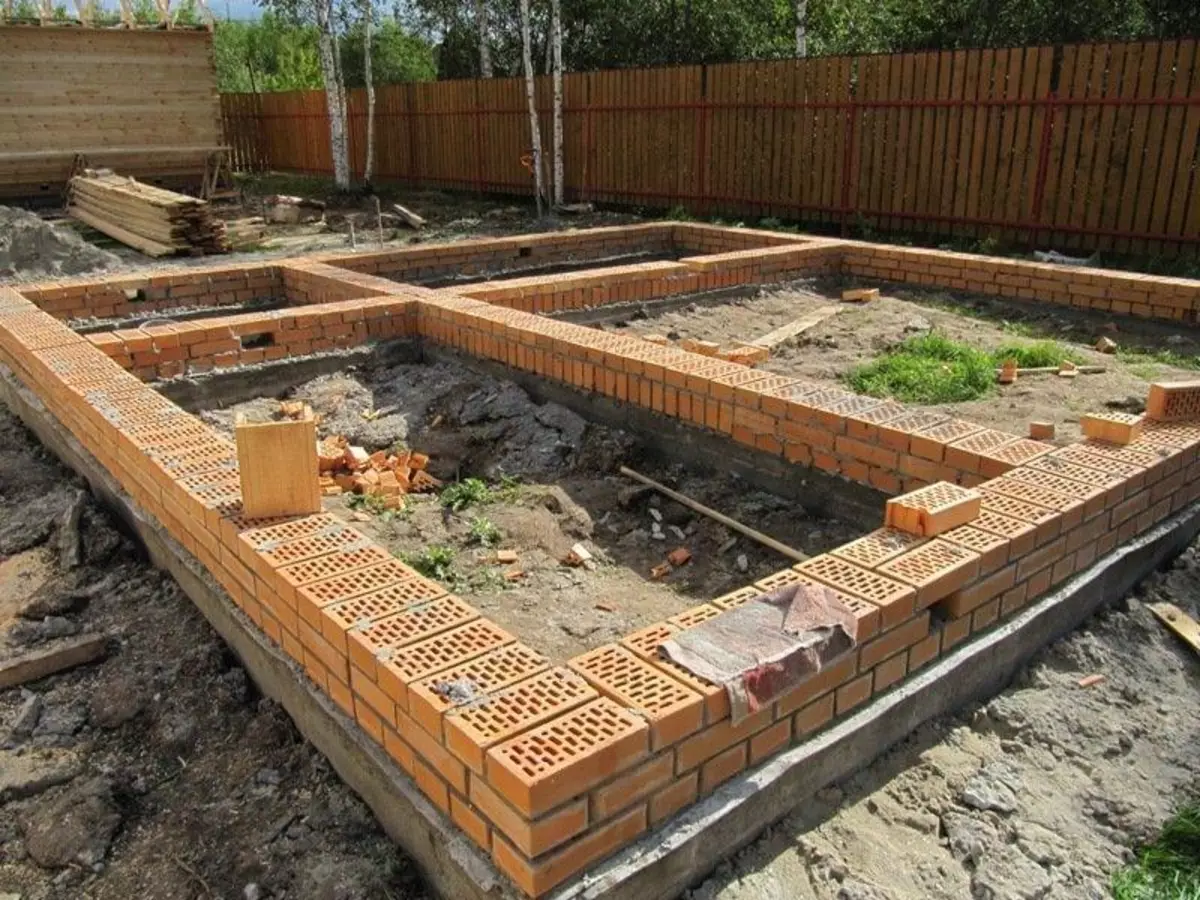
Prepare a ditch to the ribbon foundation we started after the completion of the project of the house. Then I accurately represented what should be the width of the brick base, based on the calculated loads. The weight of a two-story brick building is large. If the masonry is narrow - 250 mm, then the brick for the base may not withstand. Cracks on the walls will be formed. Repair and strengthening of the house will cost more construction.
What is the width to make the foundation, determine the laying of the base. Standard brick dimensions 250x120x50 mm. The minimum size can be lay out, alternating rows with a transverse laying in one row and longitudinal two. Such a foundation is done under light houses from wood, foam concrete, and seven. Under the walls of wood and lightweight material for cottages in the 2nd floor, the masonry is suitable for one and a half bricks (380 mm). Vadik plans 2 levels, a residential attic with insulation. It is better to use a wide masonry for a brick base in two rows (520 mm). The repair of the house will be needed to do with this foundation in 15 years.
Article on the topic: how to clean the knee of the toilet from a limescale
Determine which size of the finished base in the width is simple. Brick dimensions are added 10 mm per seam. I made alternation of the ranks:
- Two rows of bricks across the foundation;
- The outdoor and inner row along, the middle is filled with laid by artificial stones.
Such a base guaranteed stability for a high-rise building from a heavy building material. Repair of the outer decoration of the base may be required in a few years.
Choosing materials for ceramic bricks base

Silicate blocks can only be used in a dry climate
Buying a brick, Vadik asked me, what to take and why. I advised him solid. When the temperature drops, especially in winter, condensate - dew in the holes. The moisture accumulates, absorbed into the material and destroys the base. After a few years it will be necessary to repair. The practitioner economist is Vadik, interested in a cheaper way to build a brick base. I told him about the opportunity to use the used material. When dismantling buildings and demolition of partitions, if they make overhaul, break the walls. The brick is purified from an old solution and firmly fit into the base, choosing less damaged for exterior rows. For strength, such a top of the foundation is inferior to the laid out of the new stone, with proper geometry. The load on it is less. Laying with your own hands for beginner complex. It is necessary to constantly check the level and select pieces of bricks of the desired size.
As a binder material, I used the M-75 cement mortar. I made it my friend in the concrete mixer. Loaded into it:
- cement;
- sand;
- lime milk;
- After stirring, water added.
The proportions depend on the cement brand. For example: on one bucket of Portland cement M500 is added 0.8 liters of lime diluted in water to the state of milk. Sand 7 buckets. The water is first fed by parts and its proportion is determined in the mixture. The solution should be kept on a slide stand and not slip from the inclined plane.
Tip: Lime should not exceed 10% in a dry mixture. Introducing it better than hawed and dissolved in water - limescale. Builders without experience working slowly, it is better to buy a ready-made mixture with plasticizers and additives that slow down the solidification of the solution.
Bearing bricks in the base and waterproofing
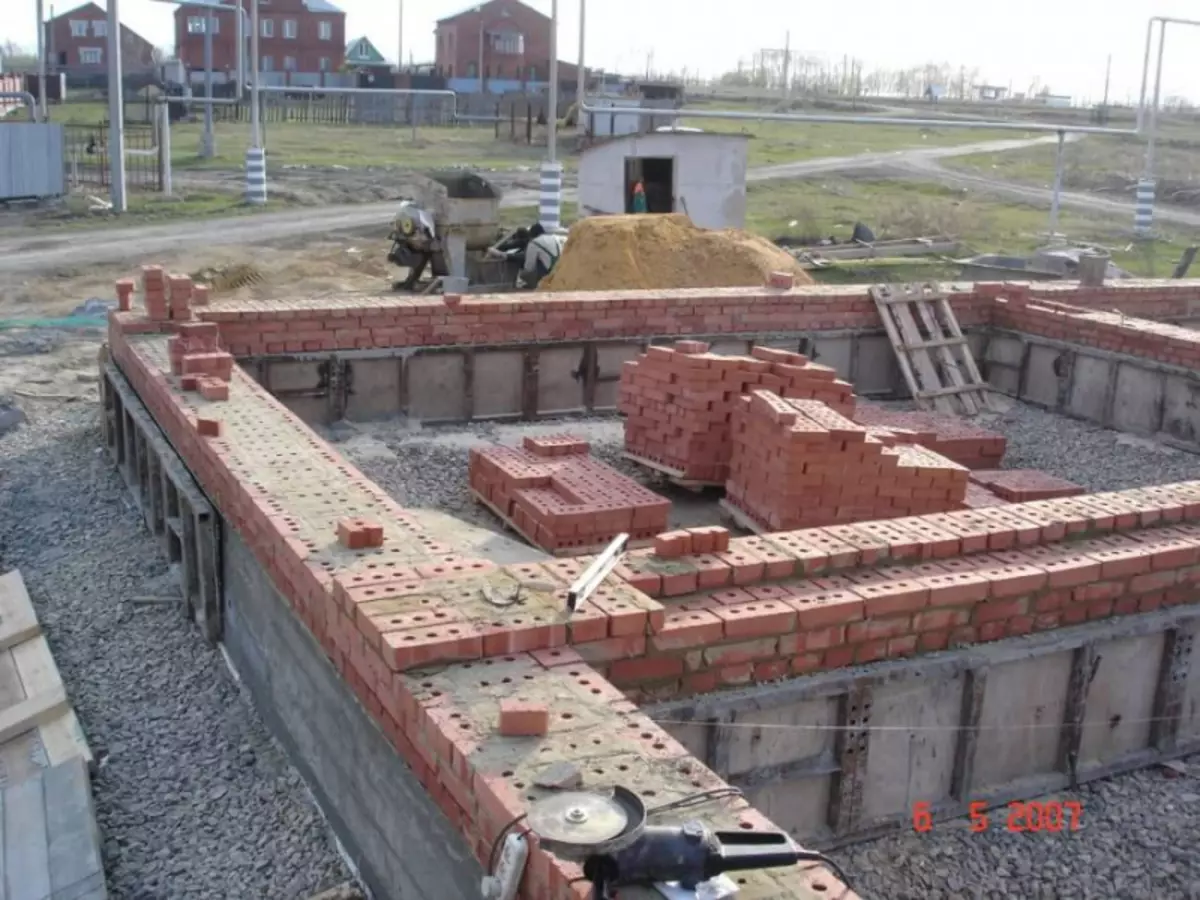
Masonry base of bricks with their own hands
Article on the topic: How to put the tile in the bathroom?
On the waterproofing layer, my friend laid out a layer of concrete and retail the grid in it. Now I did masonry the base. I need a sternum to prepare a solution. But Vadik wanted to try everything with her own hands. I asked to choose a plot easier, on a flat line without angles. He diligently equalized the outer row on the outstretched cord and then put the rest of the rest of the brick. After a couple of hours she brought everything himself. I secured at each corner of 2 boards close to the masonry. Now it remained to lay a brick, pressing to them. Carnations for cord of the outer line are easily clogged into the tree. Such an adaptation helps when you need to repair the corners and the facade of the house.
Every 4 row, now I am already as a healthy, laid the grid for strength. While the concrete mixer worked, stirred out the openings for the berthins - holes for ventilation of the underground space of the house. Prepared the top layer of waterproofing, which was additionally laid under the masonry wall.
I advised Vadik to choose a lining with a lumping brick. The outer layer was alternated with transverse and longitudinal rows. Now when laying, the joints did not coincide. It made the base durable, and excluded repairs in the near future.
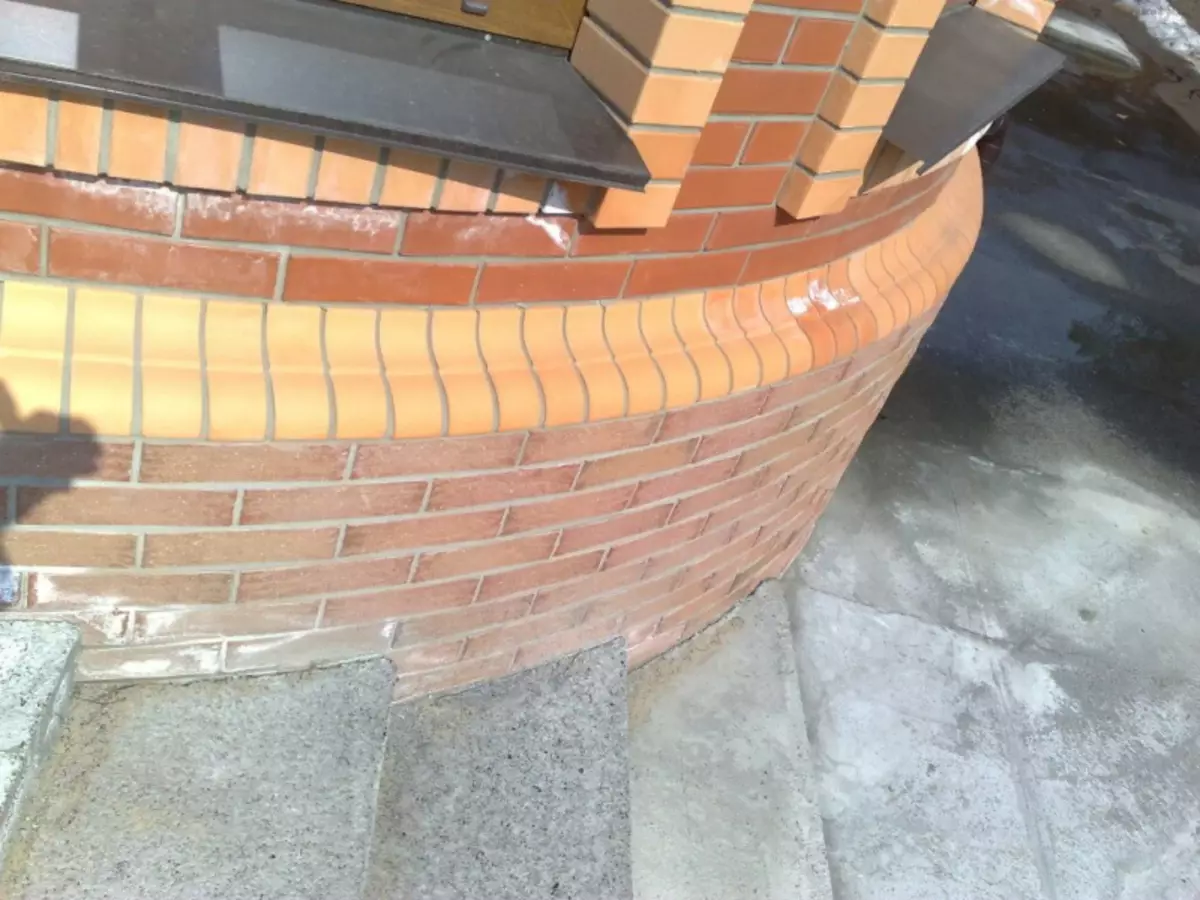
Protective and decorative decoration of the outside base and scene
Brick Toculation Masonry
After completing the masonry of the base, we proceeded around the perimeter of the ditch and poured the pillow under the slash. Its width was determined by the size of the roof of the roof, plus the band for the guaranteed flow of rainwater on the concrete path. The slope from the building was made 1.5 - 2 degrees. Otherwise, the water will leak under the base, destroy the foundation and have to do the repair, removing the mold in the corner of the walls.
The final outdoor finish I made a decorative stone on a concrete solution after the construction of the walls.