
In this article, we will look at how to create patterns of plasterboard on the ceiling with your own hands.
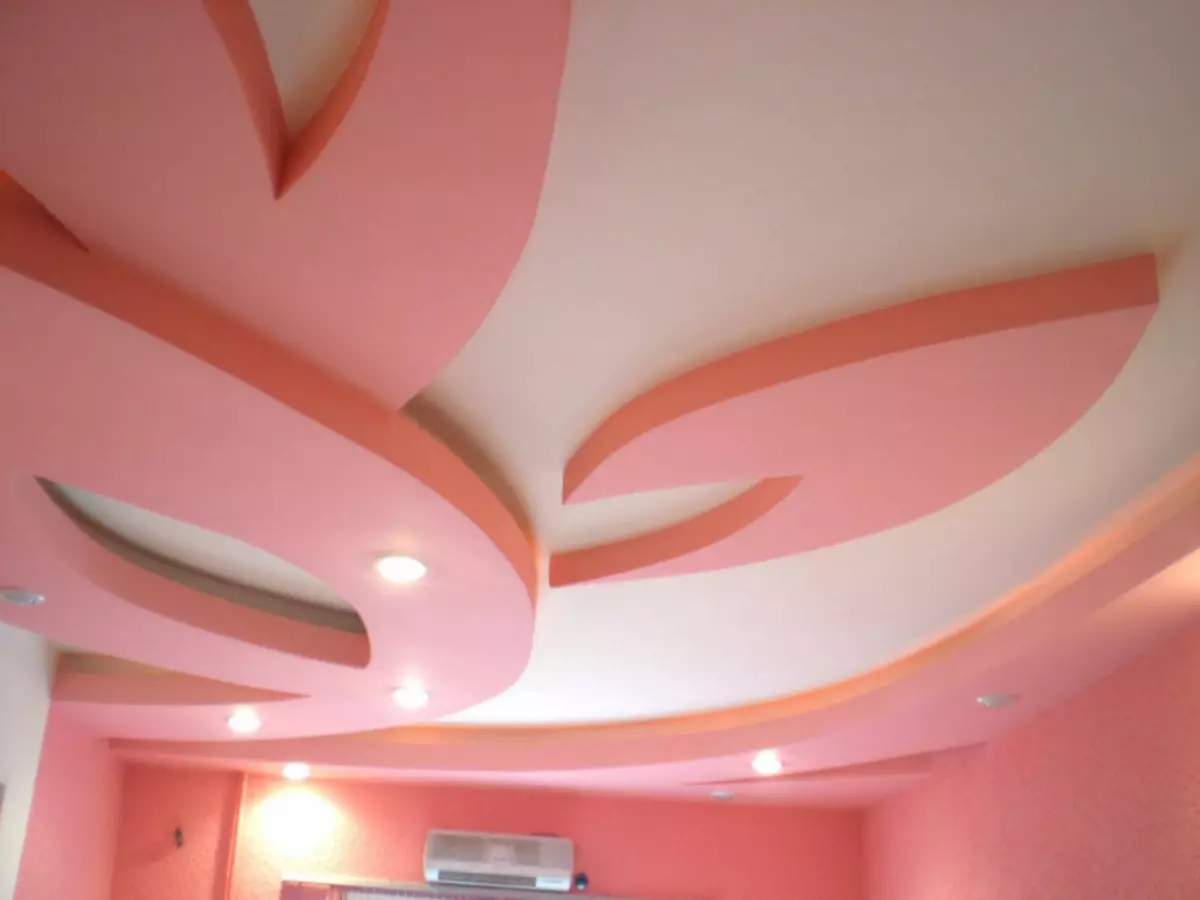
Plasterboard material that can take various geometric shapes, which allows you to create elegant and unique ceiling designs.
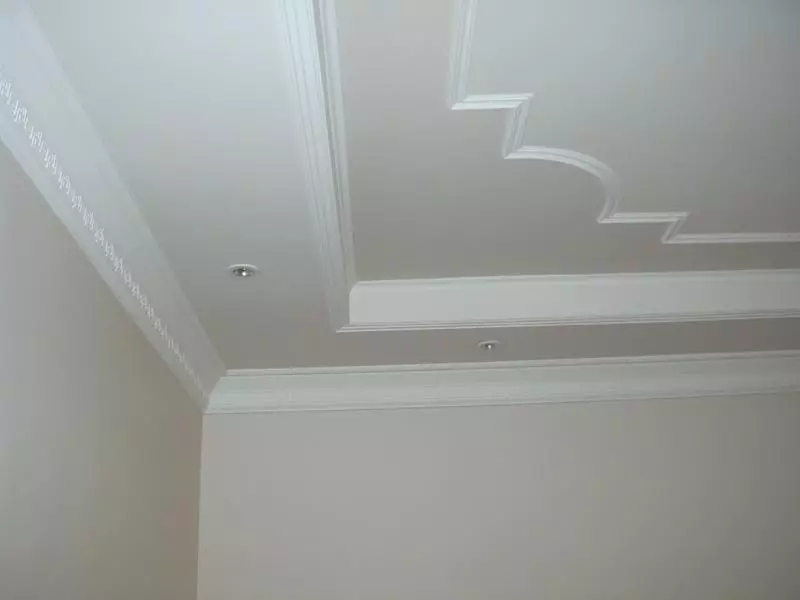
Plasterboard - material that allows you to manufacture not only standard partitions and close the surfaces, but also more complex patterns and shapes.
Types of sheets that are on sale:
- GLK - ordinary plasterboard;
- GKLO - fire-resistant plasterboard;
- G Clac - moisture resistant;
- Globo - fire-resistant sheet;
- GVL is a gypsum fiber leaf.
With the help of this material, partitions are made in the apartments, level the walls, but the special respect for the builders of the plasterboard received from the opportunity to beautifully arrange the ceilings, multi-level, simple, with bends and without, but always equally smooth and ready for further finish. When installing, ordinary tools are used, and the value of the material makes this repair very attractive.
How to start making ceiling patterns with your own hands?
We will need the following materials and tools:
To the main advantage of the ceiling of plasterboard, there is simplicity and the speed of its installation.
- Plasterboard (standard dimensions - 2500x1200 mm);
- Frame profiles: Profile guide PN (27x28 mm) and ceiling profile (60x27 mm);
- suspensions, distinguish between simple and wire;
- self-tapping screws and dowels to fix the suspensions to the ceiling;
- Self-tapping screws for securing a profile;
- Self-tapping screws.
Tools:
- screwdriver;
- Drill with a perforator;
- water level;
- roulette;
- construction knife;
- Bulgarian or scissors for metal.
At the next stage, we must come up with what the ceiling we want to do. There are no standards here - look at advertising, photos of different projects and come up with your own. If the project turned out a multi-level, it is better to mount a layer behind the layer, and not all at once. Installation will be easier, and the turning of the material is insignificant.
Article on the topic: Fence from the chain grid do it yourself
Directly installation of the patterned ceiling
Let's start the installation: departing from the ceiling some distance and carry a line on the wall throughout the perimeter of the room.
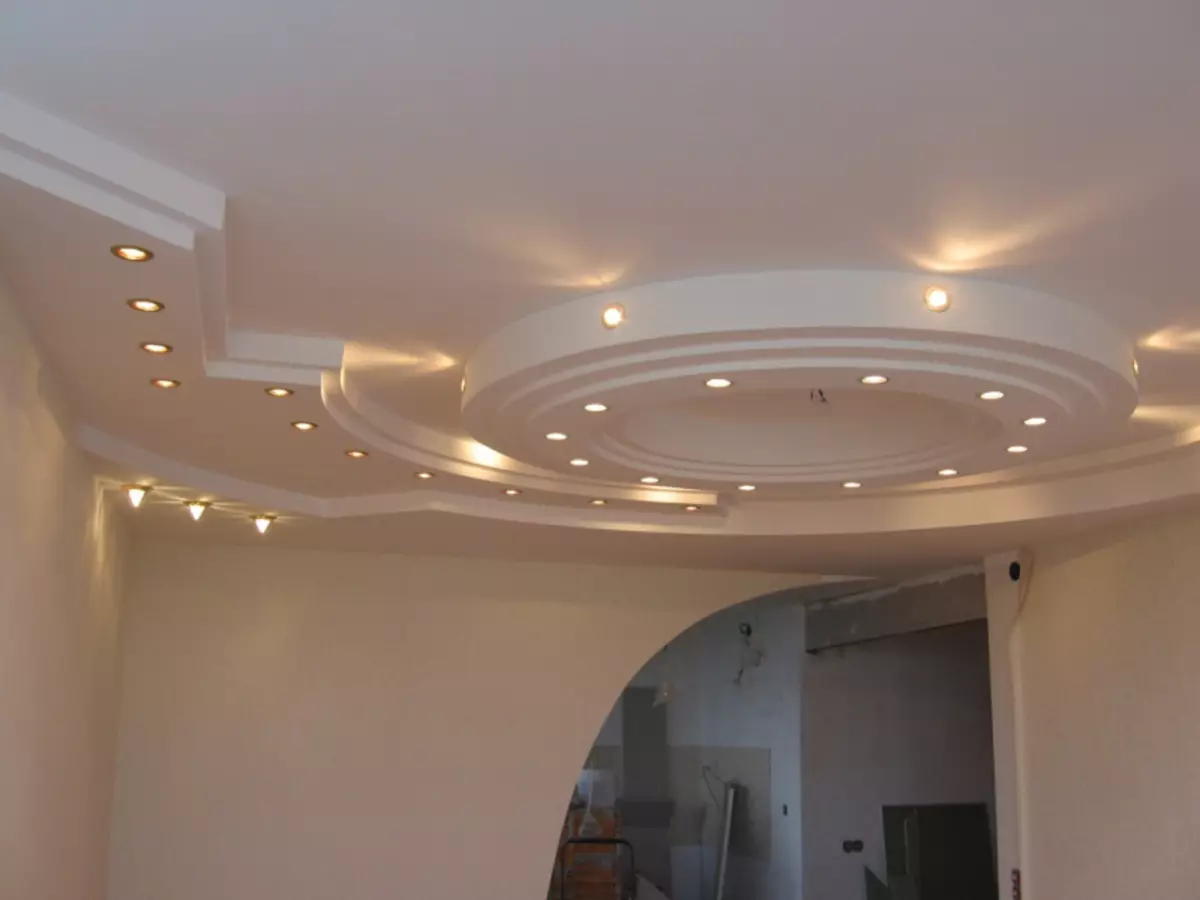
Thanks to the point lighting of the ceilings, you can emphasize the geometric forms of the ceiling can be made even more expressive.
If there are no lamps there, then there is no need to retreat. Otherwise, the indent will need to increase in order to fit lamps and wiring. Then take a guide profile and secure it along the line. Increasing the profile simply, I joking it with each other. Fresh profile dowels, the maximum distance between each dowel - 60 cm.
Then make the ceiling markup for fastening the suspensions. Plasterboard is not very lightweight material, so the distance between the attachments should be no more than 40 cm. The most difficult task at this stage is the drilling of the holes in the ceiling.
Having finished working with suspensions, let's start the mounting of the carcass. Take the ceiling profile 60x27 mm, we lengthen it or shorten up to the size we need and insert into the wall profile. Check the horizontal profile using the level. When the profile in all places is without deviations, fix it finally. If the large size room is additionally exhibited between the longitudinal profile, it will make our construct more rigid.
The main design is ready, you can now mount wiring and noise insulation. We will begin to secure plasterboard on the ceiling. Sheet joints should not be opposite each other. You can cut the plasterboard with a hacksaw or jigsaw, however, a lot of dust is formed, so the best way is cutting with a regular paper knife for paper. After the end, they simply "overlap" the sheet. Now they are secure sheets to the ceiling (this work is not very simple, so we need an assistant).
But we wanted to create something more original, and not an ordinary ceiling. To do this, we start the second level: I repense the necessary distance and secure the profile again. If the pattern is figured, we cut each side of the profile after 3-4 cm. Now it is easily lightning and it can be given any form.
Article on the topic: How to grow tomatoes on the balcony
We make a framework for an already familiar to us the principle, creating it with self-draws. Now you can mount the wiring and secure to the profile prepared in size sheet of plasterboard. Straight sections of a sheet by cutting a knife, curly - pubsy. It remains to close the end pattern of the pattern. If the bending is small, bending a sheet with your hands. If the bends are large, you need to wet one side of the plasterboard and give the desired curvature.
The joints of the sheets are necessarily attached with a sickle ribbon, after which they put off.