
The installation and painting of the ceiling plinth is the final stage of the room repair. The cartoons are painted and installed only after the walls of the walls, the ceiling and the floor are completed. It is more convenient if the painting of the foam plunth will be performed before it is installed. This will save the walls clean. Regardless, in what order work will be performed, you must first figure out whether you need to paint your ceiling plinth from the foam when it is better to do and what paints can be used.
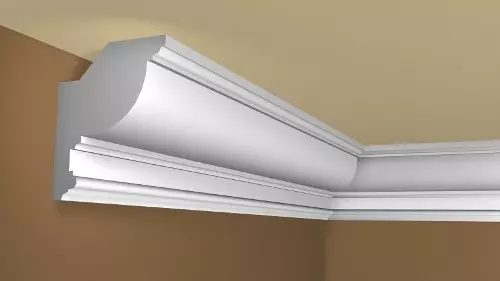
Ceiling plinth will not only hob the wall connection and ceiling, but also help to transform the room.
In what cases do you need to paint the ceiling plinth?
Questions about the need for painting ceiling plinth from foam and other materials occur almost every person who performs repair with their own hands. Most often on sale occurs white fnethoods. And if the ceiling is white, then many believe that the painting of cartoons is simply an excessive waste of money and time. However, they are mistaken.
After staining, the ceiling plinth acquires a more solid look.
The fact is that the ceiling plinth, made of foam, will inevitably have minor scratches and similar defects. With enough bright lighting, they all become perfectly noticeable. Polyfoam has a sufficiently loose structure, it even shines slightly, and only after painting the material acquires a more solid look and becomes durable.
After some time, the unpainted ceiling plinth from the foam darkens from dust either yellowed. Clear such material is very difficult. And after painting, the ceiling plinth can be easily cleaned with a simple damp cloth.
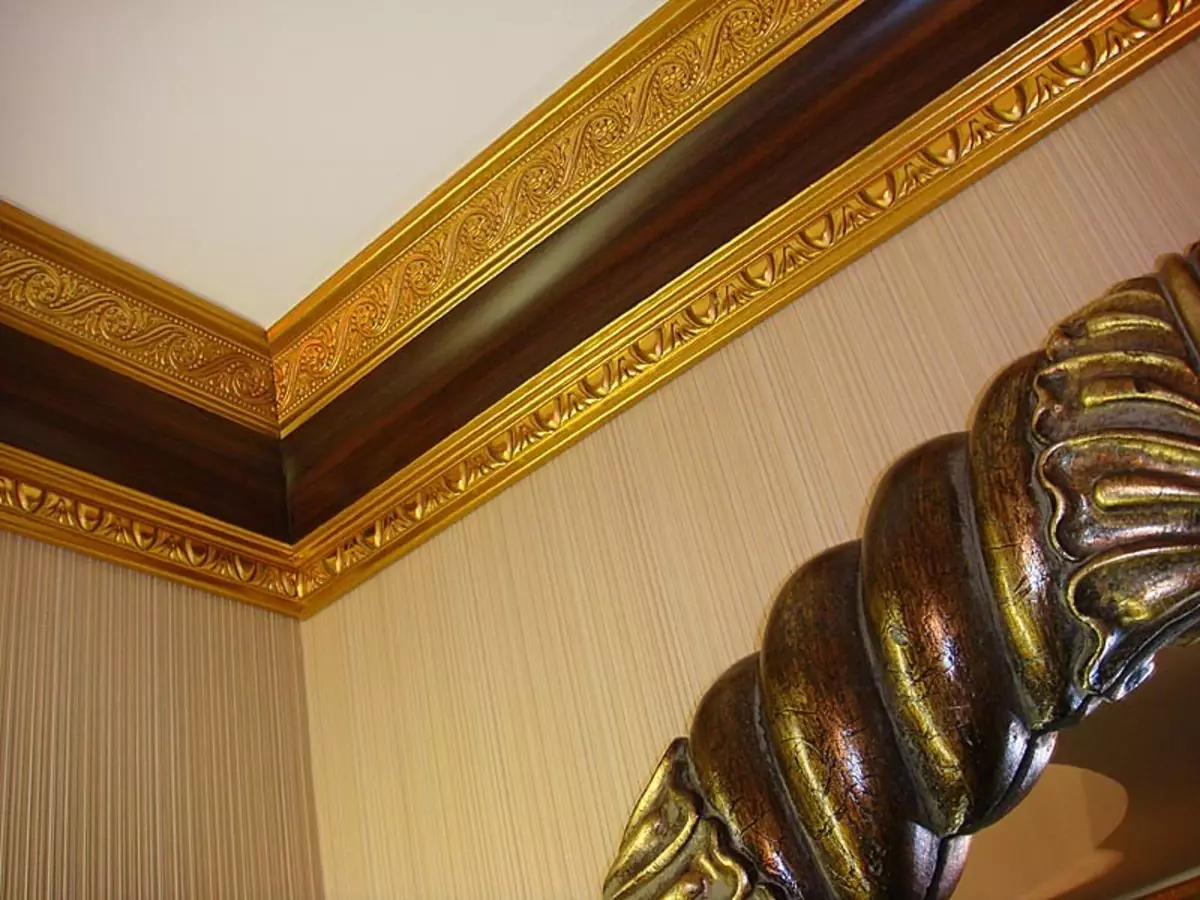
In addition, painting gives high sustainability and prolongs their service life. Also painting ceiling plinths will not be avoided if you want them to combine with the color of the walls and the ceiling of the room.
Article on the topic: Manufacturer Review Profile Dors
If you are going to do with your own hands to paint the plinth, consider the fact that it will not be able to stick without the formation of junctions, which are quite striking. In view of this, before proceeding to the processing of plinths, it is necessary to take joints, which in the future will easily hide under the paint.
When is the best painting the plinth?
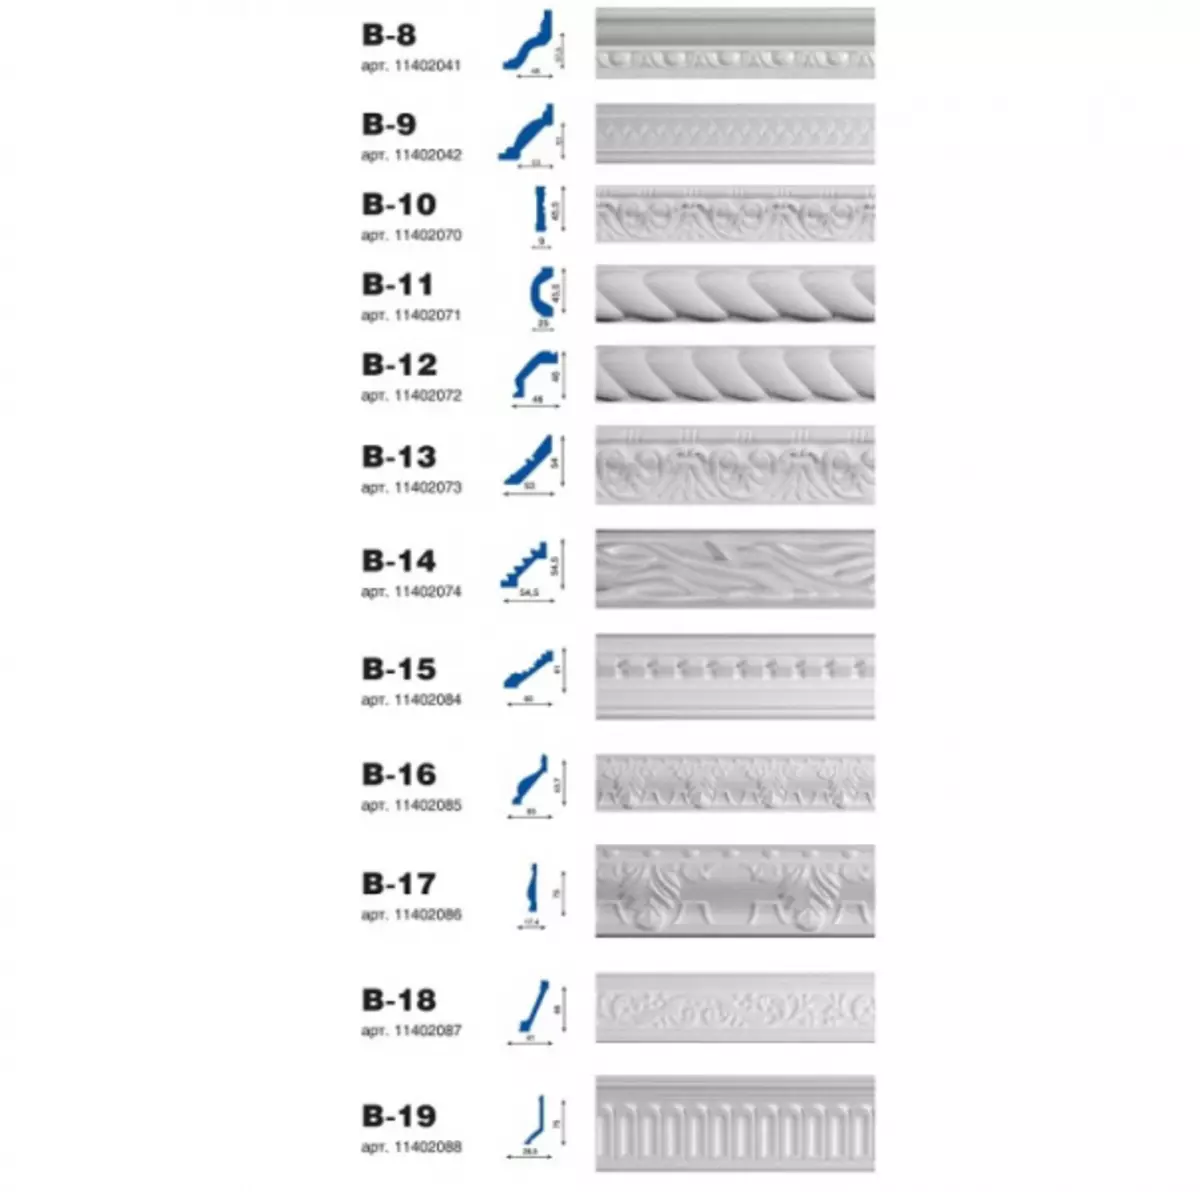
A brief assortment series of ceiling plinths of various shapes.
It is much easier and more convenient to carry out the processing of the ceiling plinth before it is installed on the intended place. Then you will not need to wear a stirrer and worry about the preservation of wall decoration and ceiling. If you are going to paint the carter until the installation of them, you will first need to cut the products on the desired size and adjust them in the corners. However, after installation, it will be necessary to close the joints. And no one guarantees that you can do it carefully without damaging the finishes of the surfaces.
Therefore, the decision about when it is best to paint the ceiling plinth, you have to take on your own. Experts recommend doing it after installation. In this case, the work will require great effort, but the final result will be more neat and attractive. If you plan to paint the ceiling and plinth into the same color, it is best to do it at the same time, even before the wallpaper will be pounded or another finish of the walls.
In the event that the ceiling plinth will need to be primed before staining, it is better to do it before installing it. It is possible to primitive even without fitting products in size.
Selection of paint and recommendations for work preparation
Before painting, the entire ceiling plinth must be placed and cut for the device of the corners.
It is very important to choose a paint suitable for finishing the ceiling plinth. In the case of using a plinth made of polyfoam, it is strictly forbidden to apply the compositions containing White spirit and other solvents. So, only paint on a water basis is suitable for finishing. Latex, water-dispersion and acrylic compositions are usually used. If you decide to first paint the ceiling plinth, and already install it in place, you can use the paint in the canister - it will allow you to perform work as quickly as possible, without the formation of flushing and divorces.
Article on the topic: Warm Plinth Electric: Infrared Option
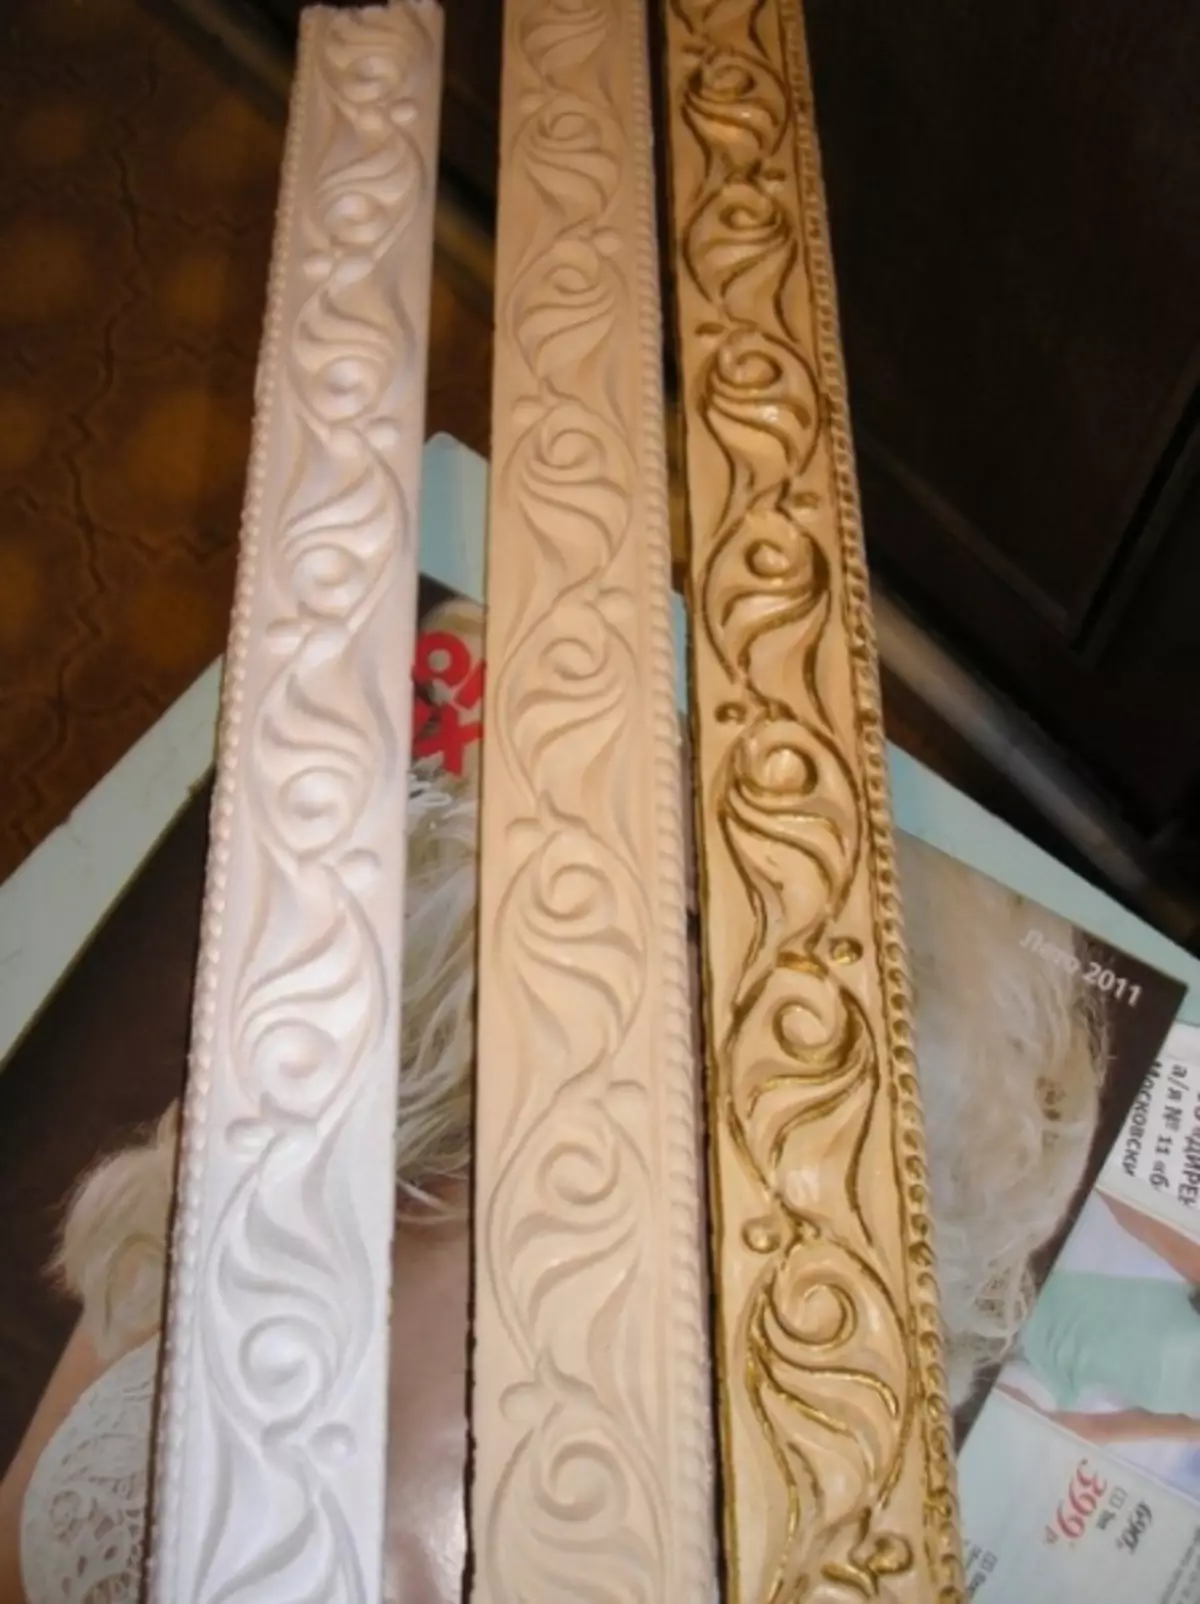
Sometimes it happens that on sale it is not possible to find the paint of the desired shade. In such a situation, you can buy white paint and spin it yourself. You can also take advantage of this service in any more or less large store of building and finishing materials.
You will need the following to work:
To perform small parts on the painted plinth, it will take a thin brush.
- Wide spatula (if not, you can not spend money on the purchase and use cardboard);
- paint container;
- small brush;
- Paint (preferably a water-emulsion).
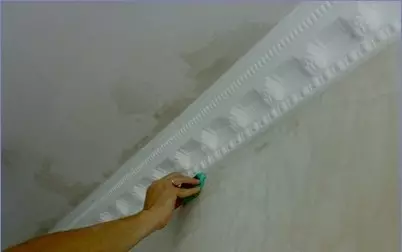
Painting preparation is very simple. First of all, you need to take a soft cloth, water and a small rubber spatula or plastic plate. Take a small amount of putty on the spatula and handle the joint in the direction from top to bottom, moving along the seam. The spatula must be sufficiently tight, but not too much, press to the ceiling plinth. At the same time, attempt to repeat the bends of the profile. Remove excess putty with a wet sponge.
Wait until the putty dry completely, after which take the smallest skirt and thoroughly clean the existing irregularities.
Important precautions
Self-painting of the plinth is a fairly simple task. However, it requires compliance with certain precautions. The procedure for performing the work will vary depending on whether the quilt is painted before installation or after.
Before starting processing, all products will need to be cleaned of dust and, if possible, to be primed.
If the plinth is already installed, and the walls and ceiling are not yet decorated, then you can use a balonchik for painting.
If the plinth is not yet installed or installed on a still intense wall, you can use paint in the canister. And if the walls and floor in the room are already decorated, they will need to be protected from paint. This will help you paint tape. Stick it along the plinths, following the open areas not to remain.
Article on the topic: How to use the bidet?
When scotching, decorative spraying can be removed from the wallpaper or wallpapers themselves can turn off from the surface. To this not happen, you can use another measure of protection. You will need cardboard or thin plastic and a wide spatula. To protect the surface, in the process of painting the spatula will need to apply to the corresponding site.
Step-by-step instruction on painting ceiling plinth
If the cartoons are not yet glued, you will need to find a place in the apartment for painting and shop with it with newspapers or paper. Make sure that there is no high humidity, direct sunlight and drafts.
Take a can with paint or type a little paint into a dry and clean bank. The color of the ceiling plinth should be performed with light movements, moving along the plank. On the surface of the cartoons there should be no traces of brushes and divorces. If you are using paint in the canister, keep it at a distance of about 30-35 cm from the plinth so that there are no drowshes. Wait until the kits are completely dried. Time of complete drying is indicated on paint packaging.
If an already installed plinth is to be processed, then before starting painting it will need to be cleaned of moisture, dirt and dust. Still tape on both sides of the plinth. Give it as close as possible to the cartel to prevent the gaps between it and the scotch.
Instead of Scotch, as already mentioned, you can use a wide spatula or cardboard. With their help, it is also possible to ensure reliable protection of the ceiling and walls from paint. Treat one part of the plinth first, after it - the other. Gradually move the spatula along the ceiling or wall, filling the paint small sections. If you used the greasy tape, it can be removed only after the plinth will dry out completely.
Wait until the paint is driving. If the joints are predicted and you will not like the result, you will need to cover the plinth by another layer of paint. Good job!