
Despite the good repair, there is no guarantee that, after some time, cracks will not appear on the ceiling of plasterboard.
They may arise for various reasons and eventually need high-quality sealing of non-psychic damage.
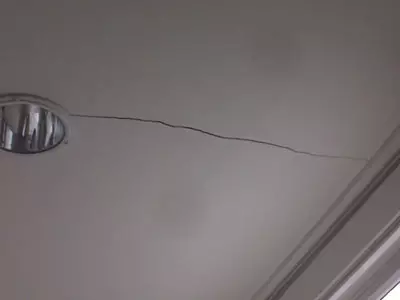
The most common cause of cracks on the ceiling of drywall is a violation of the ceiling assembly technology.
Causes of cracks on the ceiling
One of the main causes of cracks on the ceiling of plasterboard can be shrinkage at home. You can eliminate them only after building drawdown will finally end. Also, damage appears on the spacious drywall, if the size of the room is very large, and the GLC is mounted without offset of the seam of the sheet into the sheet. As a result, a large car causing small oscillations passing near the house can provoke a chain reaction from the weakest place and then the ceiling crackles throughout the seam.
The crack on the ceiling must be carefully for putty.
Another reason for the appearances of cracks in drywall - dowels used in the installation process that are sold complete with screws. Usually they are not able to withstand a lot of weight, because the diameter of the screw relative to the diameter of the dowel is too small, as a result of the wall of the dowel, they are poorly opened in the hole and this set is pulled out of the overlap, forming provisis.
If at a time when a general repair was made, an error was made in the frame mounting process - there is a risk of cracking. This means that P-shaped suspensions to the ceiling were attached for the ears, and not for the main jumper. A suspension attached to the ears is gradually stretched and thus destroys the structure of frozen putty.
It also happens that on the ceiling was not in advance the sites of the jacks of plasterboard sheets or the ceiling surface was not previously primed. Therefore, the putty did not enter the adhesion with a plasterboard surface due to dust, which is going to GKC when installed.
Article on the topic: Firewall: Making your own hands
Another ceiling made of drywall can crackue thanks to the neighbors from above, if they fill tenants from bottom to water. And of course, even the most minor earthquake can cause a similar defect on a smooth ceiling surface.
Important conditions before seeling cracks
If recently recent repairs, there are already cracks on the ceiling - you don't need to strive to close them immediately, as all work in the end can be done in vain. First of all, it is necessary to find out the main cause of damage. Most often, the cracks on the plasterboard surface appear due to the deformation of the ceiling and if it has not stopped, then most likely this process will continue in the future. In this case, close cracks does not make sense, it is better to redo the entire ceiling. This is especially true when the ceiling of plasterboard begins to move with hand when pressed on it. Seeling cracks In this case, it is meaningless - the ceiling must be redoing or dismantled on a new one.What is needed to seal cracks
In order to close the cracks in the drywall, the following tools will be needed:
- Hard short spatula;
- chisel or knife;
- sandpaper;
- A spatula for finishing with a width of 100-150 mm;
- Woolen roller and bath for painting ceiling.
Repair of cracks on the ceiling is not possible without such building materials as:
- primer;
- SANGIPS;
- fugenfuller;
- paint.
If an error was made when installing the ceiling, most likely the replacement will be subject to most of the entire ceiling.
If errors were made in the process of mounting the ceiling frame, then most likely it will be necessary to replace a whole piece of ceiling. In this case, you will need a set of tools that are used for its arrangement.
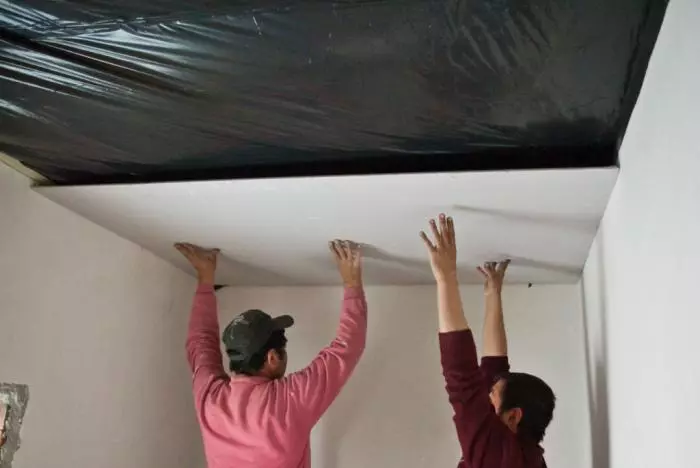
If you need to strengthen the frame with the replacement of the ceiling part, then the repair of the reanimated zone will be carried out on the same principle as the sealing of cracks. To do this, it will be necessary to create a monolithic surface with the same level, and then, it is at the joints of the plasterboard sheets to carry out similar works.
Article on the topic: Specifications of species of blinds
Before making the repair of the ceiling, you need to accurately make sure that it will no longer happen to its deformation and work will not be fulfilled in vain.
How to solve the crack?
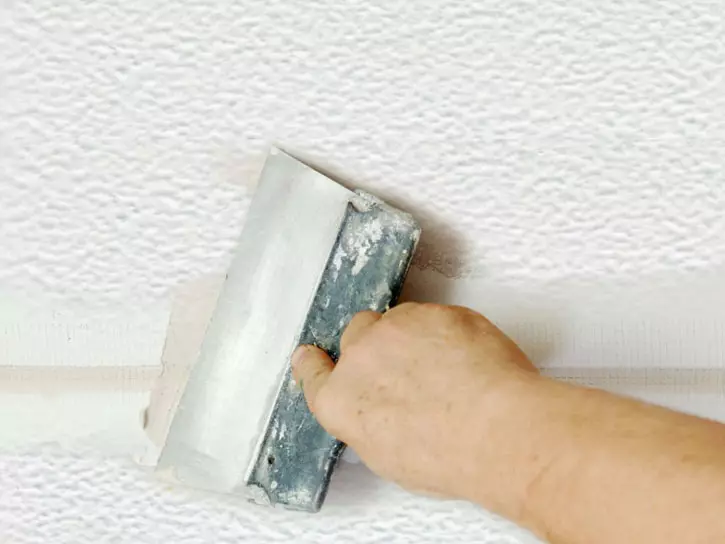
Before closeing the crack, it must be squeezed. This means that with the help of a spatula, knife or chisel, you need to embroider putty to the plasterboard sheet and increase the crack to a width to 5-10 mm. As a result, you can easily remove all badly holding and shrinking particles of putty. If in the process of the cracks of the crack it will turn out to be wider than 10 mm - it is not scary. All that falls off is better to remove immediately so that the new crack does not arise next to the already sealed.At the edges of the cracked cracks within 1-3 cm, it is necessary to remove the paint. This can be done with a knife, spatula, chisels or sandpaper. Such sweep will help the new layer of putty securely secure on the surface.
Before you close the seam, it must be treated with a brush or broom to get rid of all parts of the remaining dust. After that, it is processed by primer and left until complete drying. The primer can use any brand, as its production is engaged in a sufficiently large number of firms, therefore this building material is usually of good quality.
The initial stage of seeding cracks
The final stage of eliminating cracks in the ceiling from GLC is painting.
Often cracks close up by the usual putty, also use it at the joints. After it, the crevice is additionally covered with a sticky ribbon and at the very end - SatentHipse. But to do without a tape and at the same time get tightly embedded seams, it is necessary to take advantage of the fogenfuller.
The fogenfuller is like a putty, only he grasps faster and becomes tougher when solidified. Therefore, it is precisely such a building material better to apply on the joints and for sealing cracks in the drywall.
Article on the topic: bed clamshell do it yourself: product design
It is important to pay special attention to how the embroidered seam will be placed with the help of fogenfuller. A spacchable ceiling has a smooth surface and if a small tubercle appears on the place of the seal, then it will be seen after the completion of all the works. To avoid it, it is necessary to fastened to the surface of the spatula during the enclosure of the fogenfuller. Thus, it is enough to simply make the level of putty as an identical level of a leaf of plasterboard, and not the entire surface. Then it will be possible to apply Satengips and the seam will be almost impaired.
Final cracking
After the fogenfuller is completely dry during the day, it is possible to proceed to the final treatment of cracks. From above, you must apply another layer of primer and wait a few hours so that it becomes solid.
Now it is necessary to put stengips or finish putty to the place of the seal. Usually after the crack is embedded with a finish putty, it does not need additional processing of sandpaper. A wide spatula captures the entire width of the surface of the surface and makes it perfectly smooth. The main thing in this case prevent ingress into the solution to the putty of foreign abrasive substances.
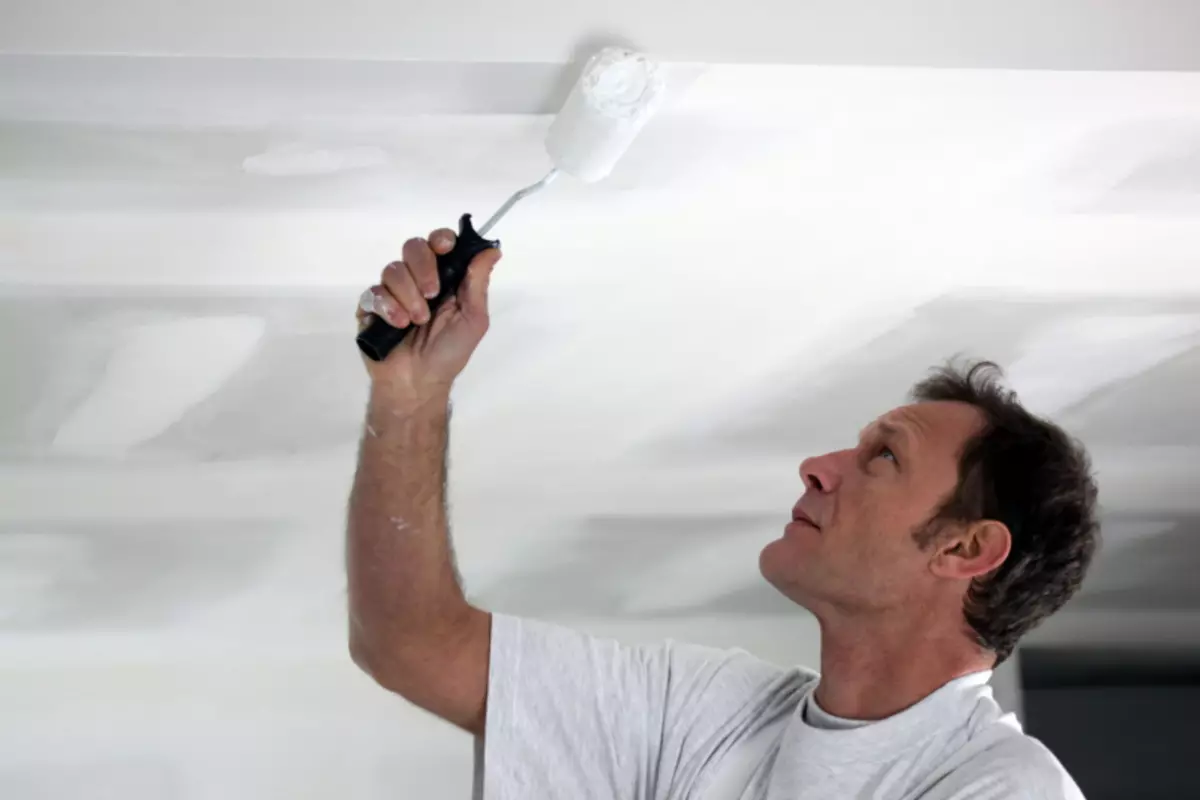
To complete the repair of the plasterboard ceiling, after drying the finish putty, it must be painted.
To obtain a homogeneous color of the ceiling, it is better to paint it completely, so reanimated places will not stand out on a general background.
Of course, it is better to initially make high-quality repairs in compliance with all technologies for mounting plasterboard, because it is more difficult to close cracks than to prevent their appearance. But sometimes circumstances are stronger, therefore, it is necessary to endure some losses.