
In any interior, the frame made personally looks unusually and unique. Make a self-made frame is actually very simple, especially if you take the cardboard. And then the finished product can be decorated in various interpretations, depending on where the fantasy is headed. Frame from cardboard with their own hands will be an unusual decor in the house or an excellent gift for friends and loved ones.
Principle of work on the product
Almost everyone in the house has extra unnecessary boxes. Here you can use them for this mini-project. Before proceeding with the creation of the frame, you need to find a suitable cardboard. And that the frame is turned out to be strong and holistic, you need to prepare all the necessary tools and materials to prepare all the necessary tools and materials.
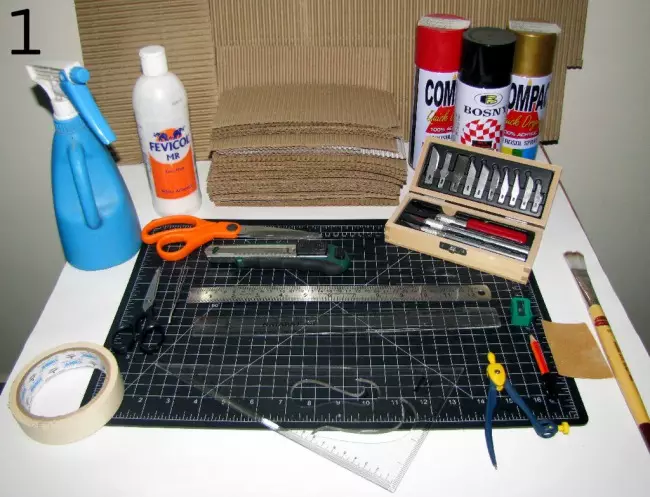
To prepare cardboard as a framework for the framing, as well as make a product itself, you will need:
- fat cardboard (embossed inside);
- Water sprayer;
- scissors;
- knife;
- pencil and sharpener;
- Malyary Scotch;
- PVA glue;
- Rug for cutting.
Initially, you need to cut the cardboard on the pieces, so the size of which will be in the future. You need to spray water on the cardboard and wait a couple of minutes to absorb. Then remove the top layer. In another case, this layer of cardboard can simply erase sandpaper. Next, you can step by step to consider the master class to create a frame of cardboard.
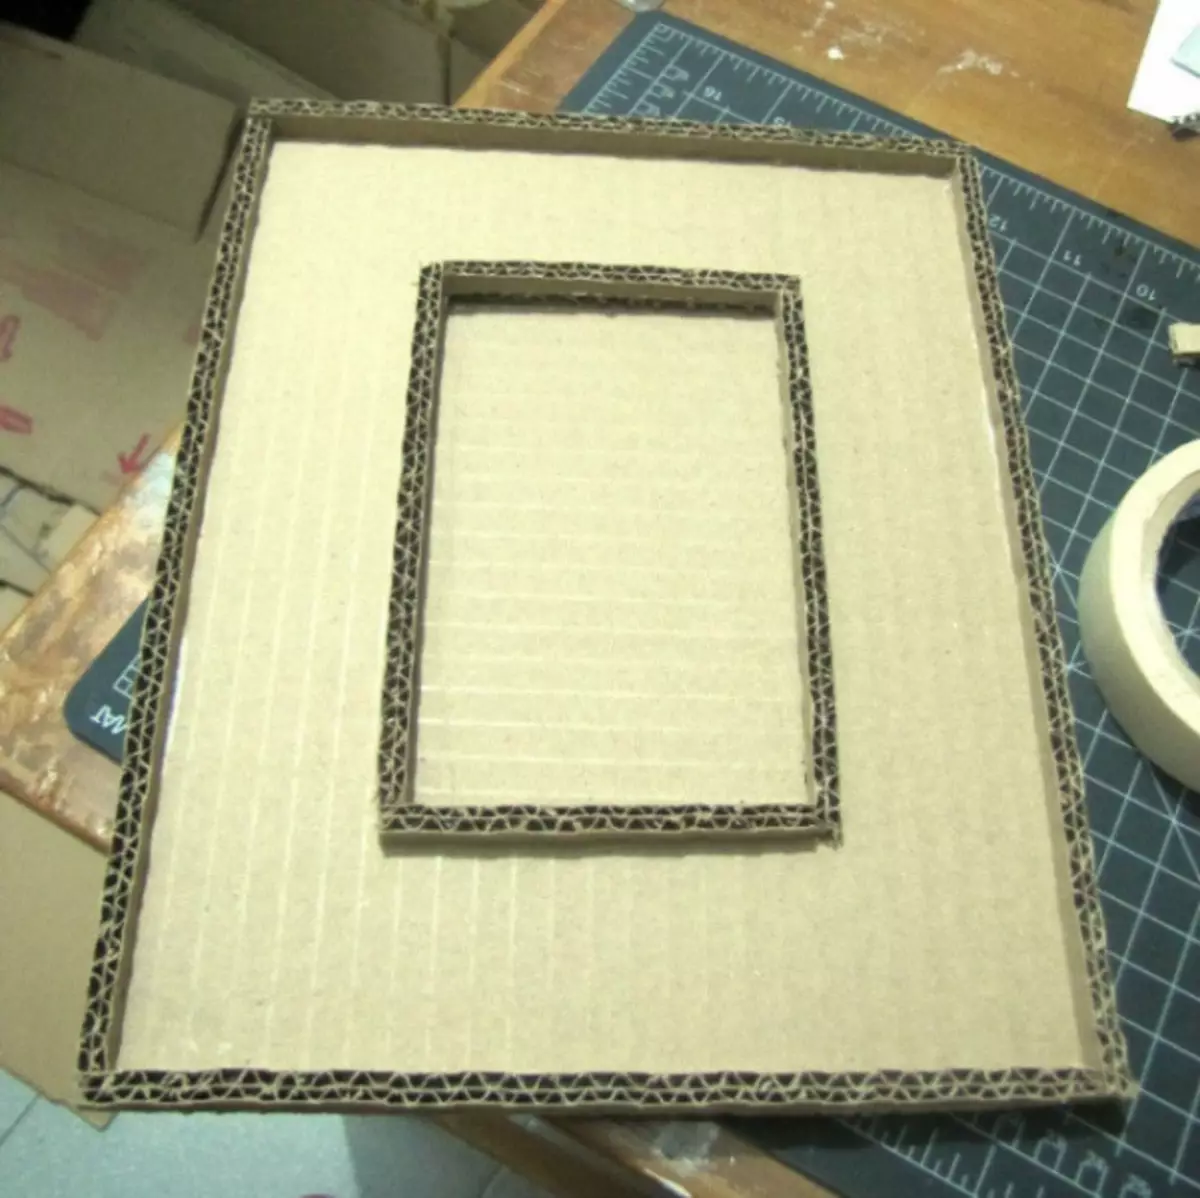
First you need to cut a large rectangle, which will be the basis of the photo frame. Then in it cut a hole for a photo or picture. Then you need to take another piece of cardboard and make a rectangle with scissors, in size a little more than the photo compartment, and it will be behind the photo, so to speak, to hold it. This piece can be glued to the framework of the framing by painting tape so that it can easily open and close. You can call this part of the door. First you need to stick ribbons from cardboard around the door, and then around the entire frame. From the back, you can stick a triangle so that the frame is steadily adjacent to the wall.
Article on the topic: Elephant Amigurumi. Description
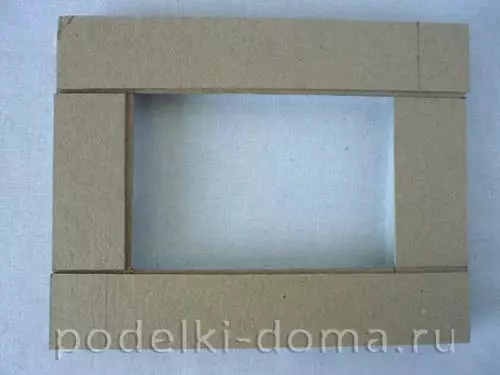
As a result, this plan should be obtained:
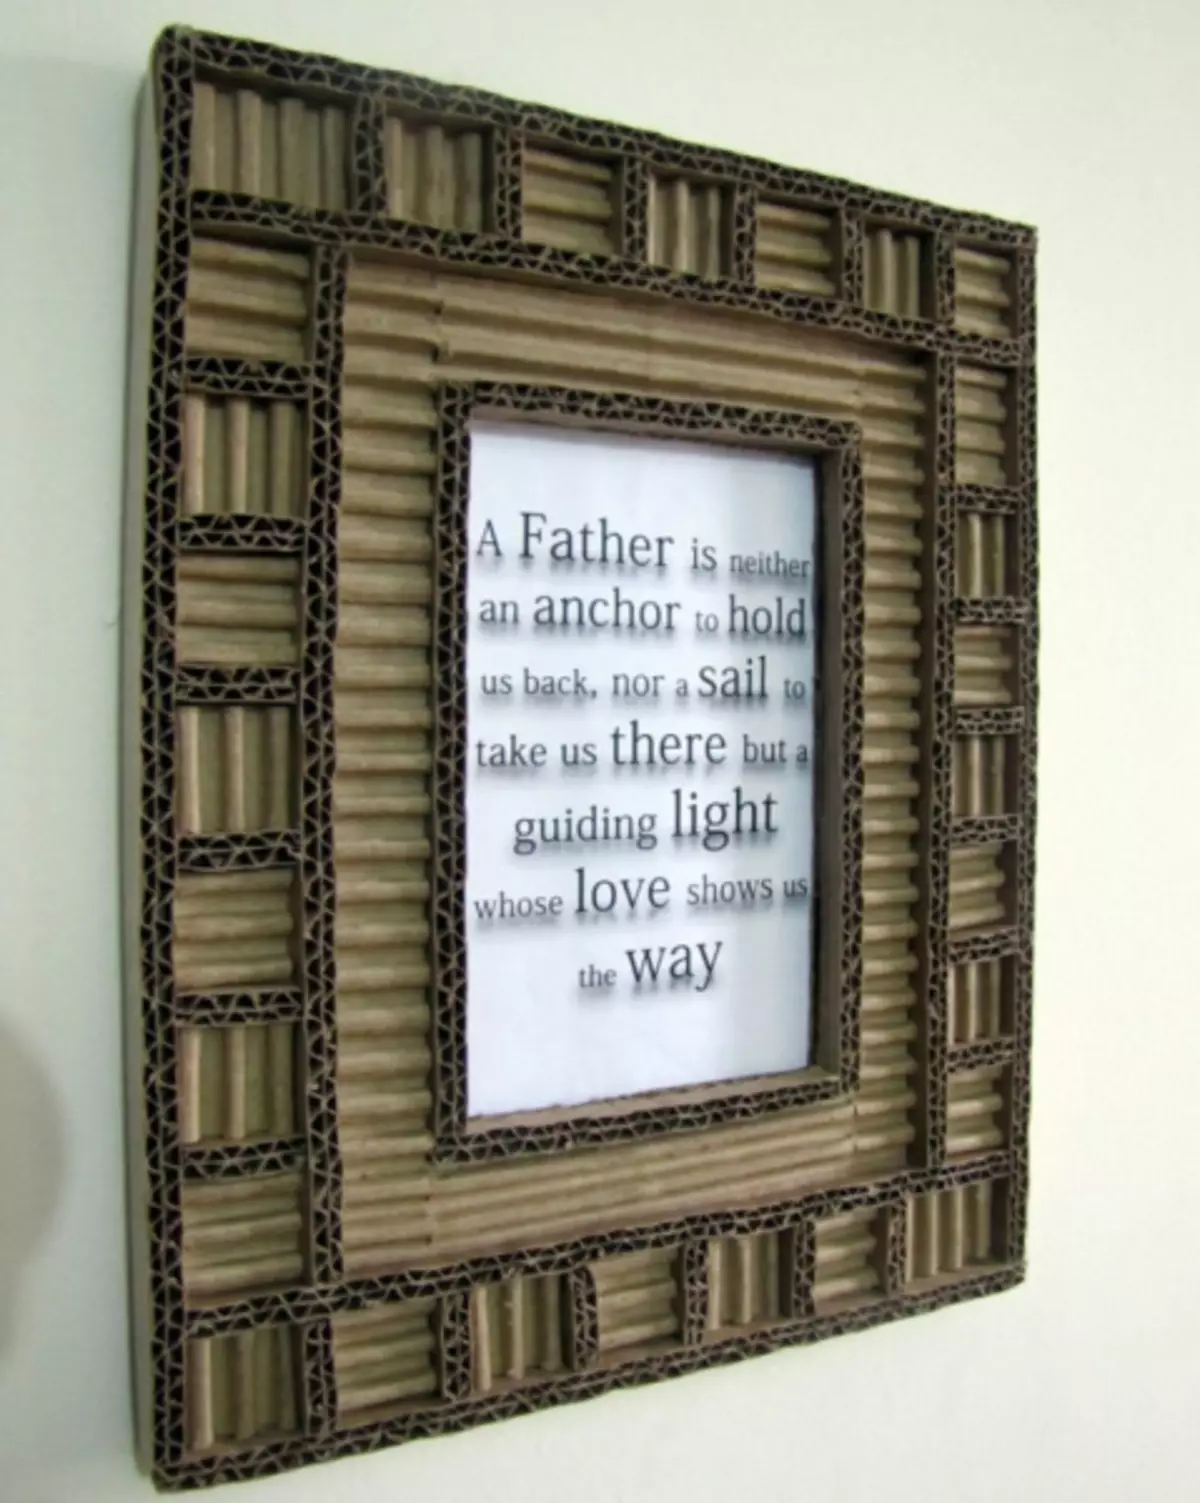
You can decorate your creation using the same cardboard. Just a relief cardboard need to cut into ribbons, and those, in turn, on squares that will create mosaic elements. These elements are glued directly on the frame.
Another option
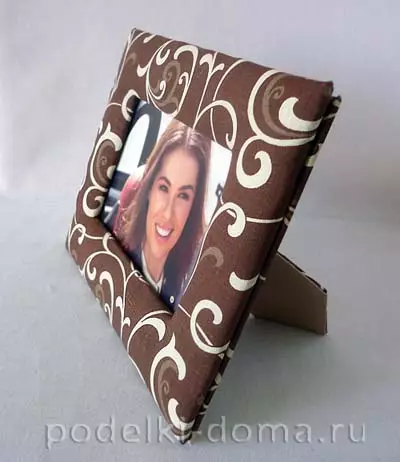
This framework will be soft with the use of foam rubber.
For such creation it will be useful:
- Dense cardboard, approximately 3 mm thick, can and more;
- fabric, any (but preferably cotton);
- foam;
- PVA glue;
- brush;
- dense paper, preferably white;
- stationery knife;
- cutting board;
- glue pistol;
- pencil.
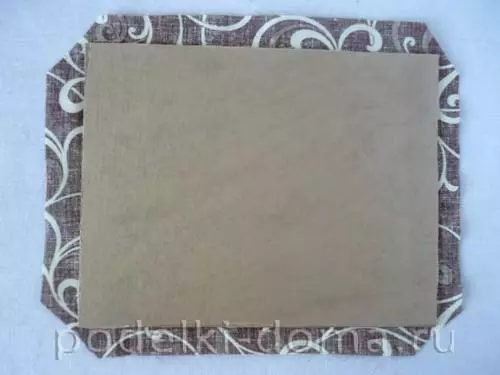
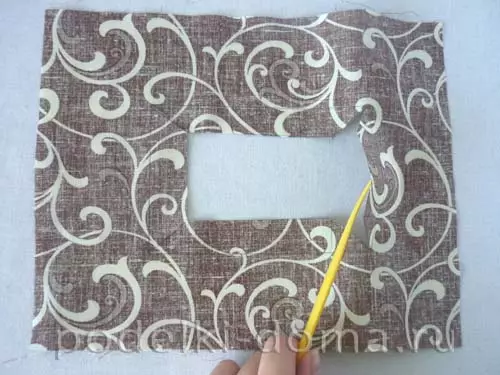
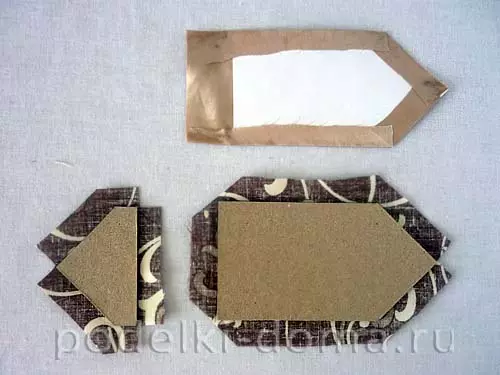
To begin with, it will take some details from the cardboard for the future frame. You can start working by the stationery knife for the ruler, so that the slice is quite even and neat. Next, you should prepare two elements of size - 23 × 18 cm. In one you need to cut the window of 14.7 × 9.7 cm in size, and the indents are made smooth from all sides.

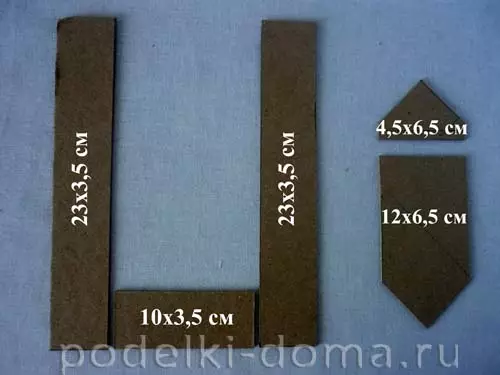
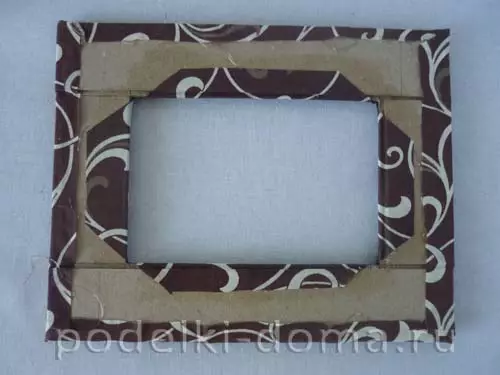
Next, it is necessary to cut the cardboard, which will serve as a certain gap between the walls in front and behind, as well as the workpiece for the stand. It is necessary to cut the figure of the rectangular shape and cut the angles so that it turns out a straight angle.
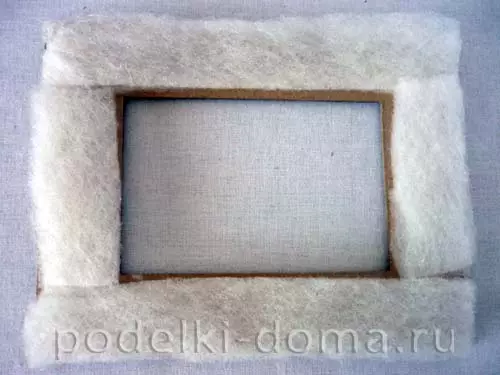
Then you need to decide where the outer side of the frame will be, and stick to it the strips of the foam rubber across the entire width of the product. On the other hand, it will be necessary to attach the details, say, blanks from cardboard. All this must be attached one to one relative to the outer edge.
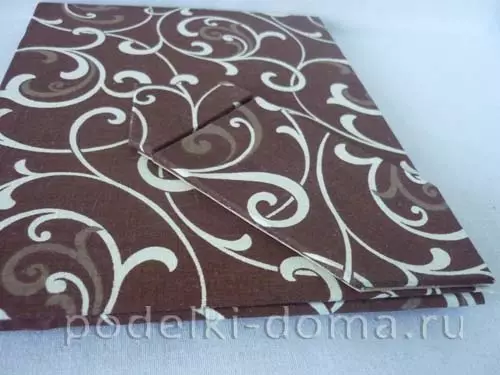
Next, you need to take the cardboard that will be the back of the rim. Apply a layer of glue, just not thick, with a brush. It will be just that side that can be seen in the window of the frame itself when the figure will not be. Therefore, it is necessary to choose absolutely any piece of tissue with a size of 23 × 18 cm, which you want to glue directly to the cardboard. And immediately need to smooth the surface to avoid some folds or bubbles.
Article on the topic: The handbag "Mandala" crochet. Knitting schemes


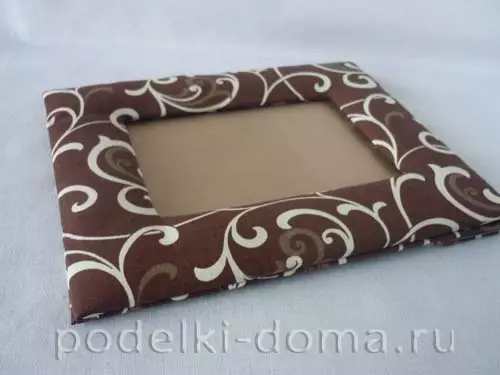
Now you need to apply glue to the other side of the cardboard and glue the main piece of fabric. It is desirable to leave the material layers of approximately 1 cm from all sides. And the corners, of course, you need to cut off the edge of the edge of 2 mm. The glue is required to apply to the place where the gaps should be. Then it all needs to be stuck, but the corners will turn out so that nothing botherso.
Next, you can prepare the basis of the fabric, only the frame itself needs to be put on the fabric and draw the rim in the middle. It is required to cut a 2.5 cm indent window along the edges, cut the angles, and the gaps along the edges must be at least one and a half centimeters. Then it is necessary to put the rim on the fabric foam-foam down, take the intervals initially, which is inside. The glue can be used much more, and in places where there is a transition from one layer of cards to another, make the corners with a certain stack.

Now you need to give the craft a little dry, and then take all the gaps and form the same way as the rear wall. After drying, both parts need to be glued together with a glue gun.
At this stage, it remains for small - you need to glue a fabric for the stand. On one side of each detail you need to apply glue and glue to the fabric. Immediately smooth the surface. Cuts need to be done, as the scheme shows, and the gaps must be single. From Watman or Tight White Paper, it is necessary to cut exactly such a part as most of the stand that needs to be glued to the fabric.

Next, you need to take the gaps of the main parts of the stand and place them one to one. From above, you can glue a blank of thick paper or watman. If the excess fabric will interfere or spoil the view, it can be cut off. After that, it is necessary to give a glued stand to dry, and then apply glue (desirable thermo) into the part in short, glue the leg identically the bottom corner.
Article on the topic: how to remove scratches from glasses
Thus, without special difficulties, you can make the frame of the frame itself.