
Each of us has their own idols and favorite heroes. And most recently fell in love with a fox from all the famous cartoon. After all, it is impossible to pass by such a brave, kind charming and a faithful friend who will always come to help our hero. We offer you in this article to consider several ways to create a fox toy from a little prince.
Knitted foxes
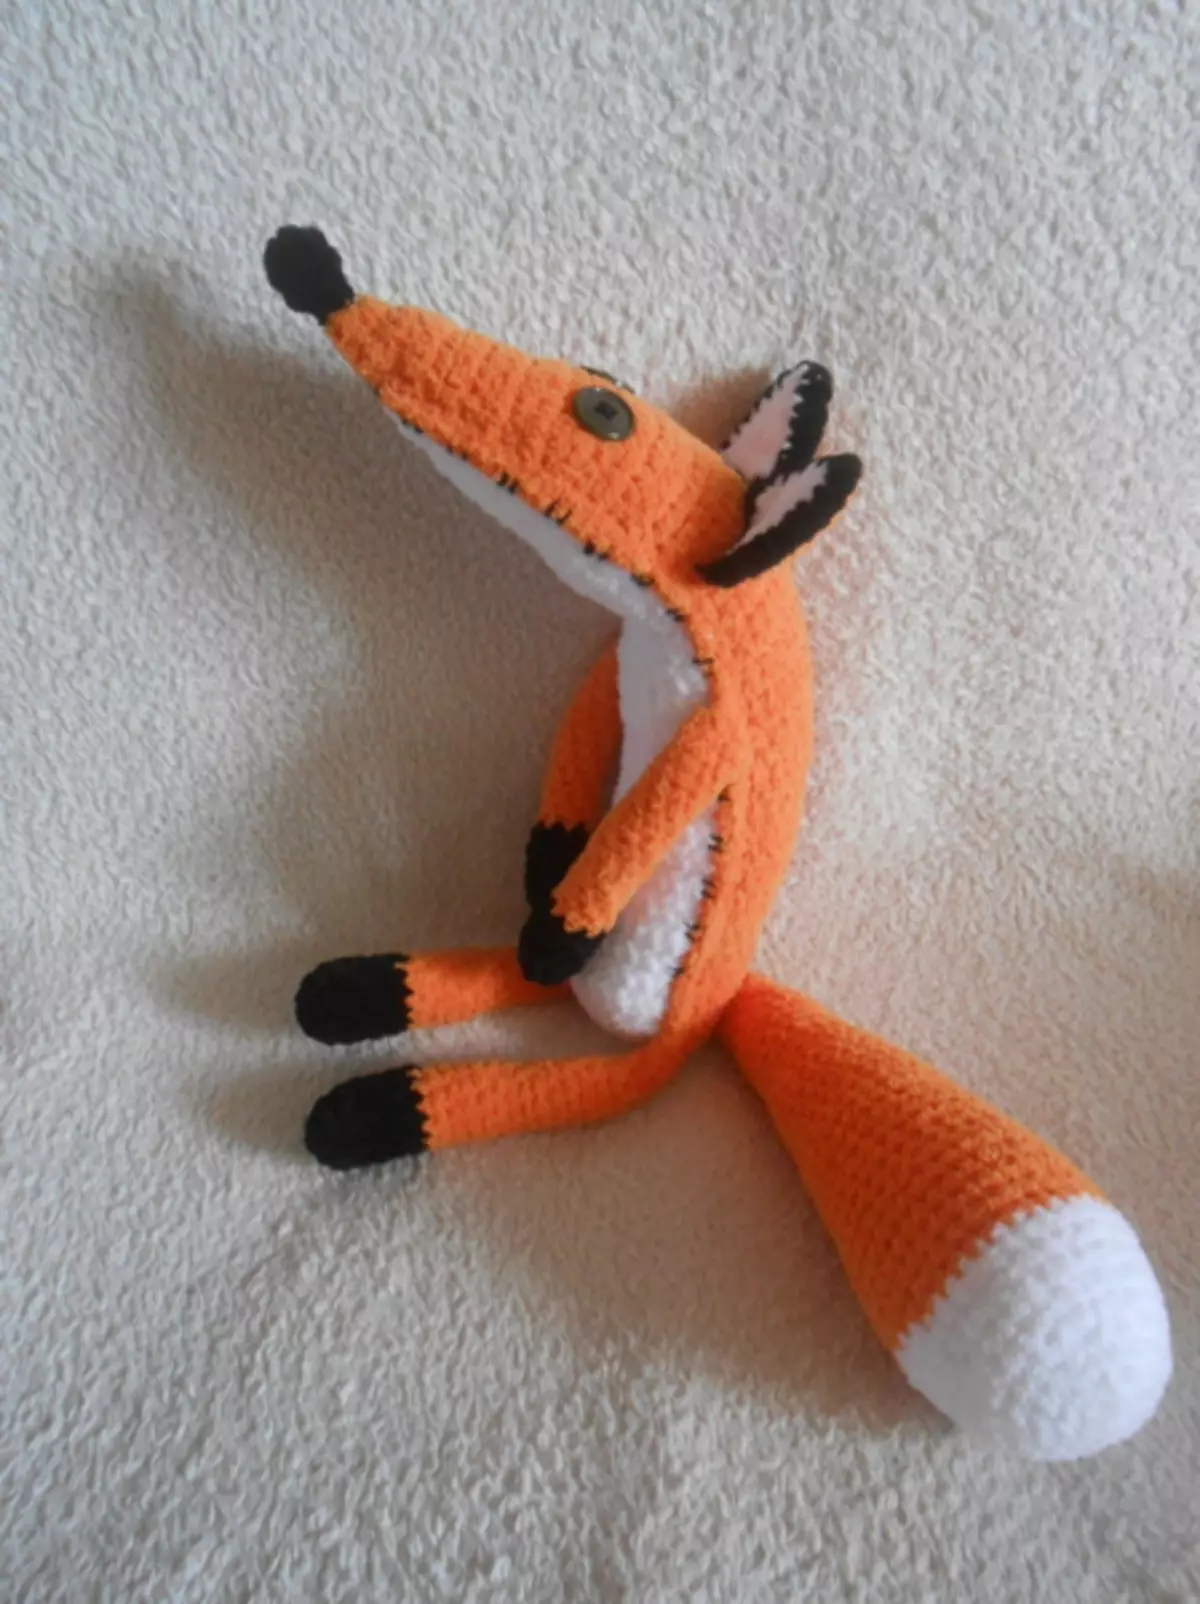
You can knit both with knitting and crochet, it all depends on your preferences. We will tell us on the example of knitting the original, cheerful fox made by crochet.
To work, you will need:
- yarn of 3 colors (white, orange and brown);
- hook;
- Eye buttons;
- filler.
Our toy is made of several parts: torso, paws, tail, ears and spout.
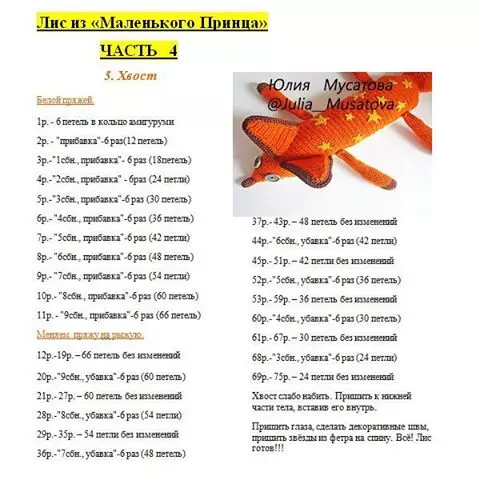
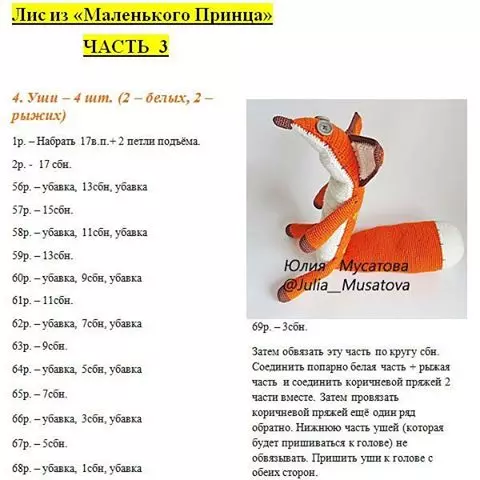
It is performed according to the following description.

Option from felt
Sew such a fox will not be difficult, of course, it is better to perform work on the sewing machine, but if you do not have it, then nothing terrible, it is quite possible and to sew your hands.
If you want to get a fox quite real, then it is best to use a plush with a short pile, but you can apply the usual fabric that you have in the house, most importantly - keep the color gamut (white, orange, brown or black). Also very beautiful will look toy from felt.
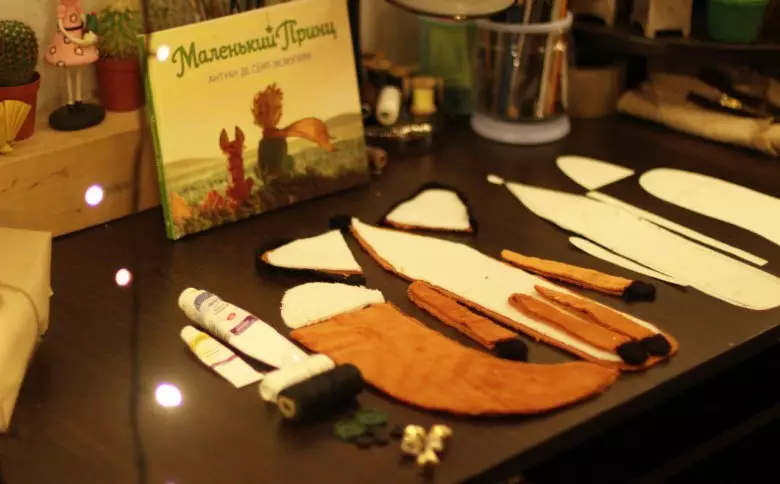
So, what we need for sewing:
- Fabric of three colors;
- Treads for sewing;
- filler;
- Eye Buttons;
- pattern;
- needle or sewing machine.
As for the pattern, it can be completely painted by hand, it is very simple, and you will be enough for elementary drawing skills, but if you doubt your abilities, you can use already available.
Article on the topic: Women's knitted hat for beginners with descriptions and schemes
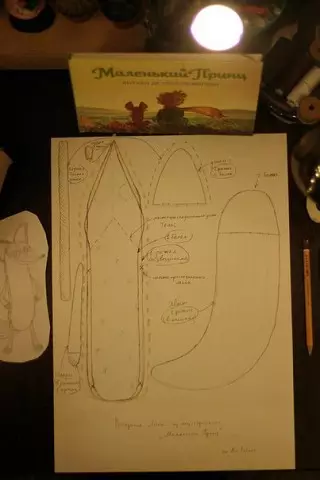
Please note that you can correct the thickness of the body, because it turns out a slender fox.
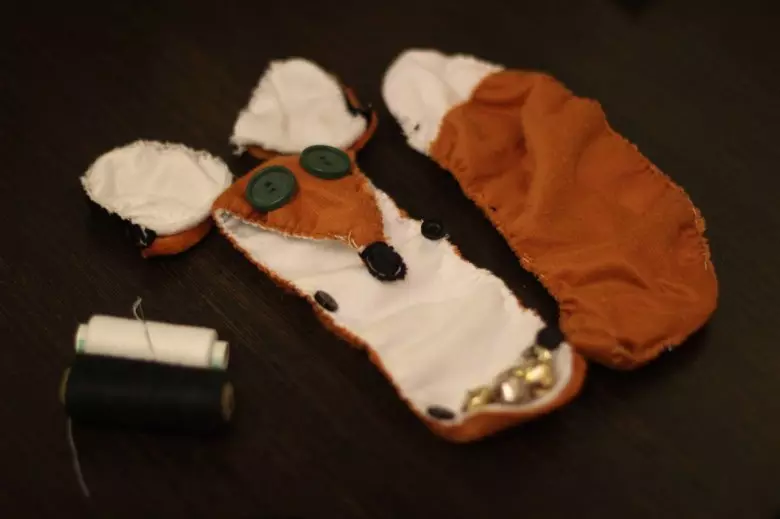
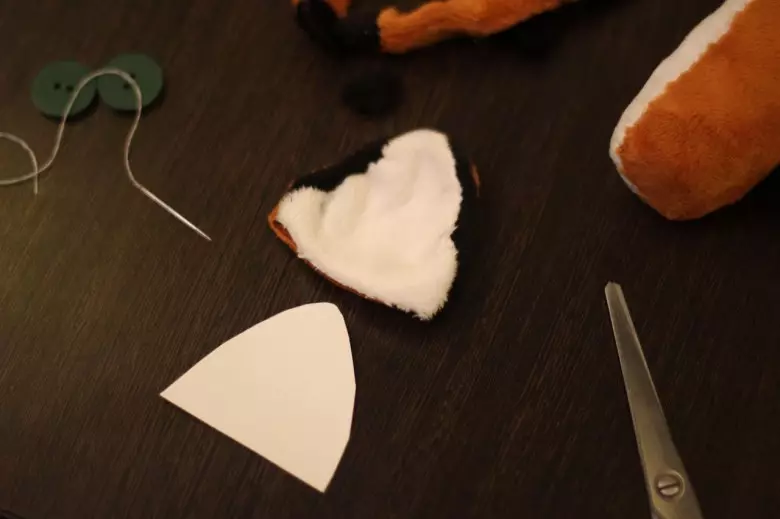
Pattern transferred to the fabric and cut out all our parts.
Now you can proceed directly to sewing. For convenience, it is best to braid all the details of the needles. Do not forget to leave the hole through which we will fill the filler.

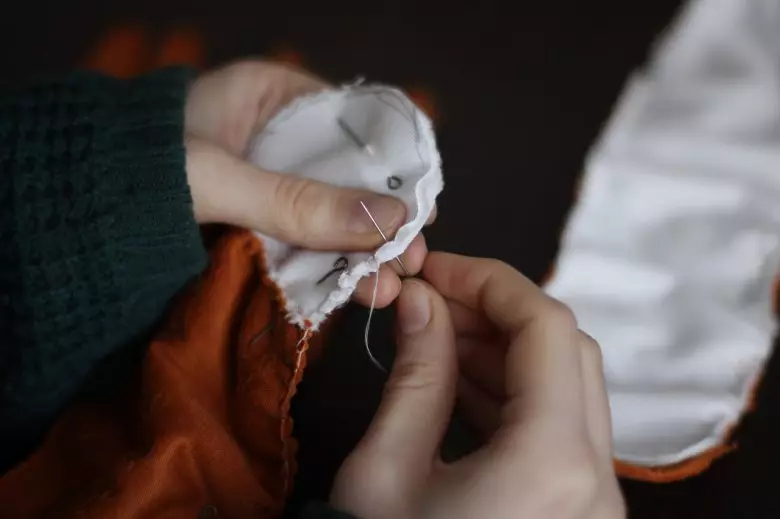
During the sewing of the tail and the paws, it is recommended to start with the sewing of white parts, and then collect the whole tail, and also do not forget about the hole.
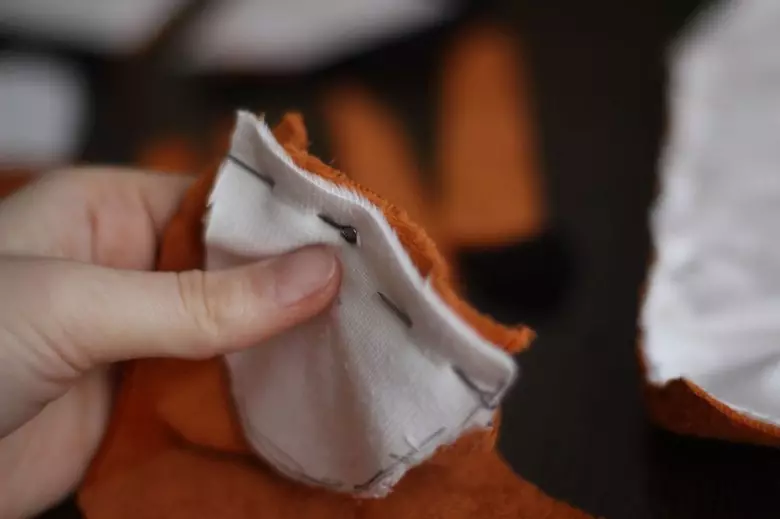
Also act with the ears: first we sew black edging, and then stitch with orange.
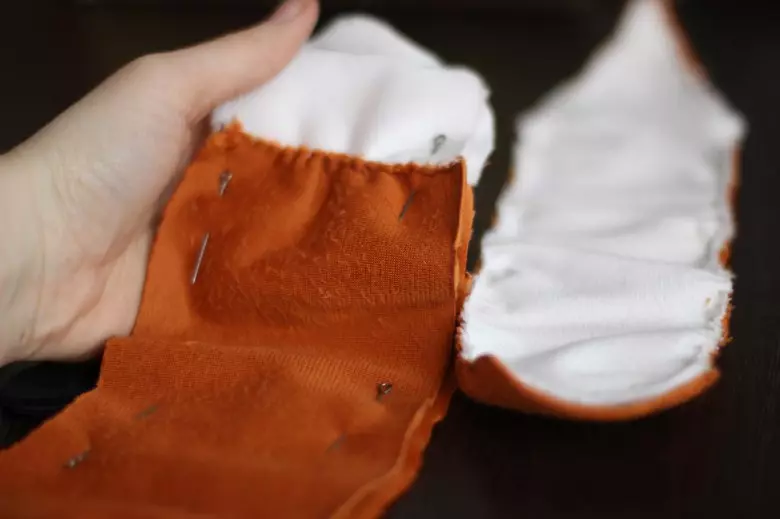
That's what you should get:

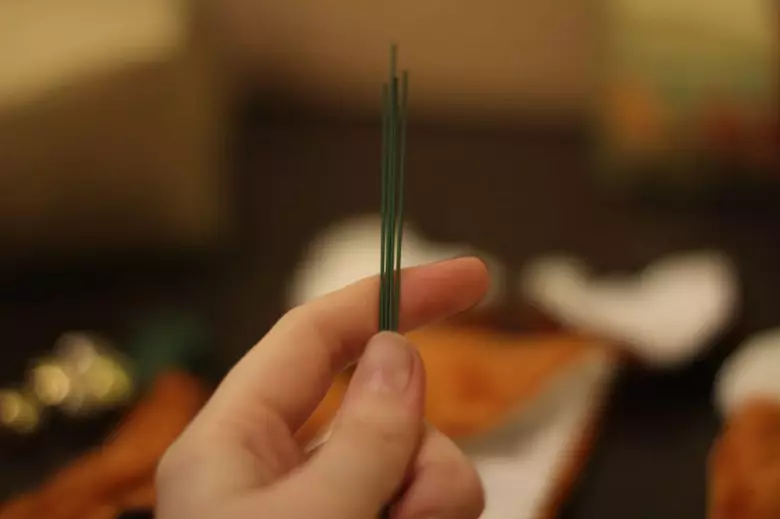
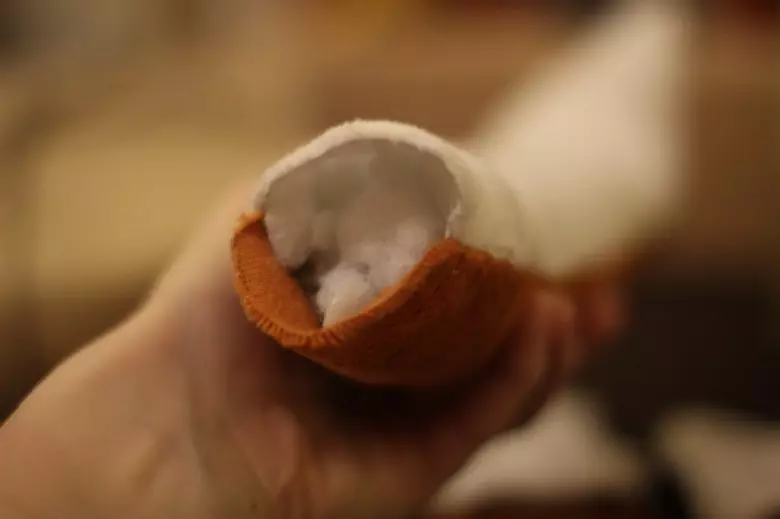
Soak the toy and proceed to feeding the filler. If you want to make some rigid paws, then you can shove the wire.
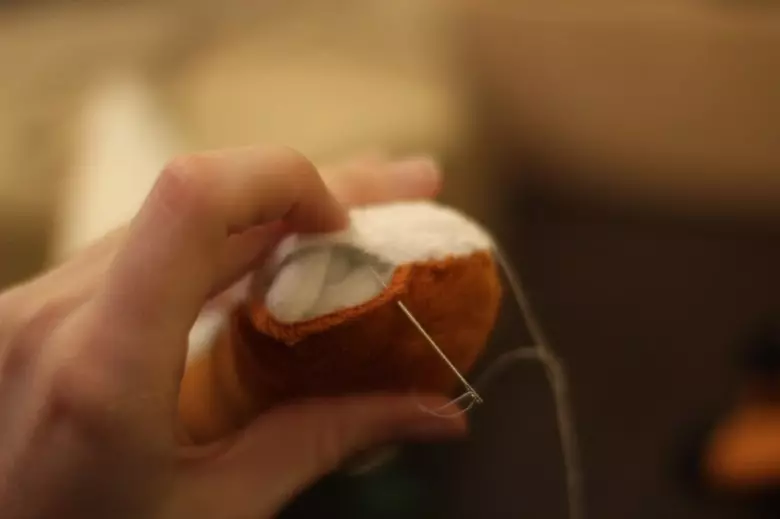
We sew hole.
To the ears were tougher and kept form, add a lining of thick paper, for example, cardboard.
Send our ears into place.
Also we do with my paws, if you wish, you can decorate the paws.

In principle, at this stage, our toy is ready, it remains only to sew eyes.
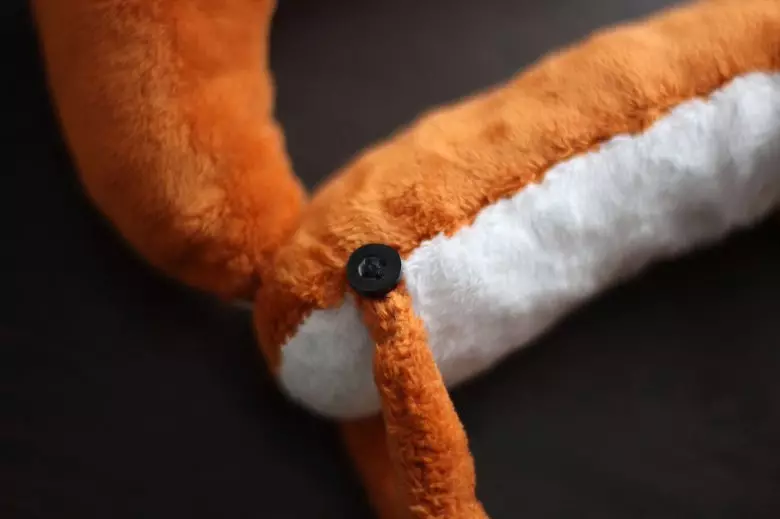
Here is what cutie we do:
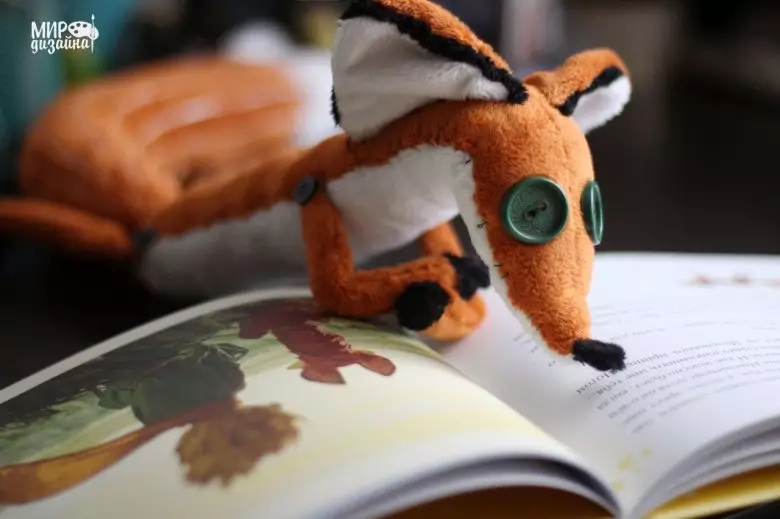
A more detailed description of the work can be viewed on the video.
Create and delight your loved ones.