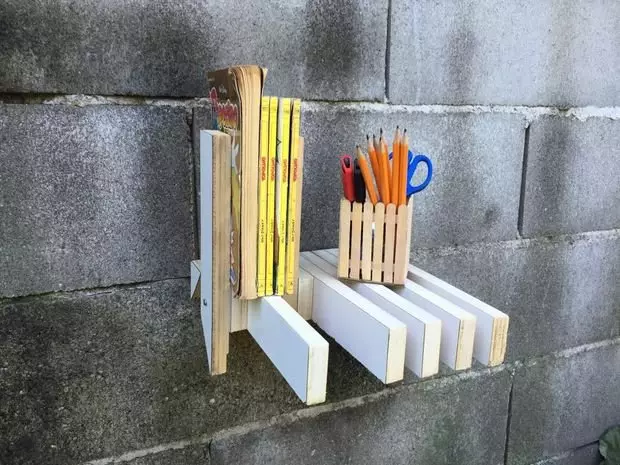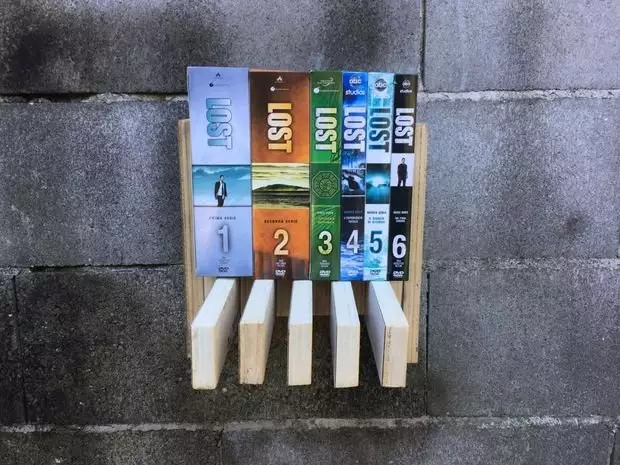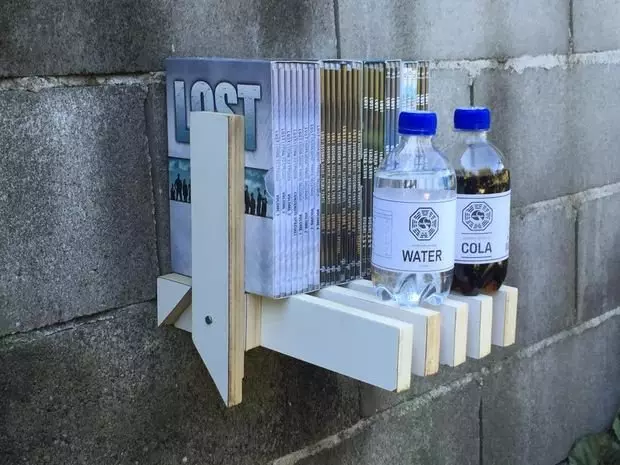
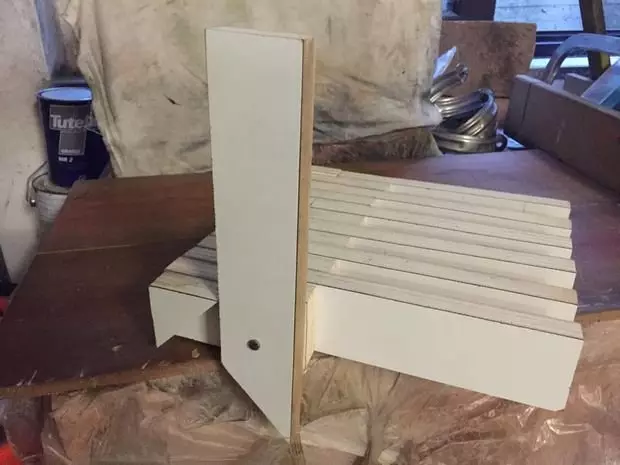
The shelf presented in this master class will perfectly fit into the space of rooms of a small area due to its collapsible design. If necessary, it can be an ordinary shelf on which books and other items are standing, you can also fold it so that it occupies as little space. About how to make a folding shelf with your own hands, read the following step-by-step instructions.
Material
To create the shelves, you will need:
- laminated plywood;
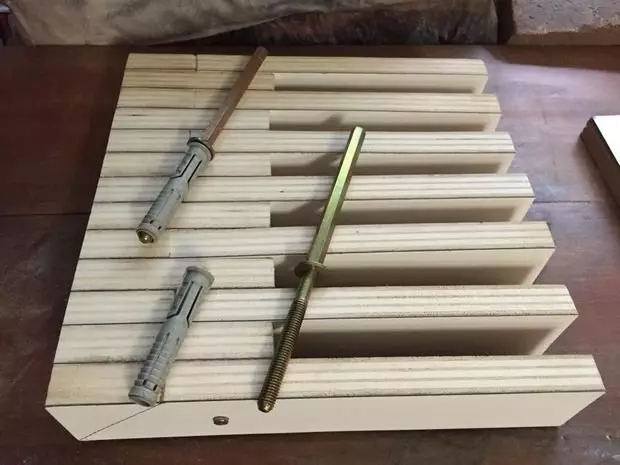
- dowel, 2 pcs.;
- carpentry glue;
- Metal rod;
- fastening hexagon with threads at the second end, 2 pcs;
- line;
- pencil;
- Sander;
- drill;
- saw;
- a hammer;
- clamps.
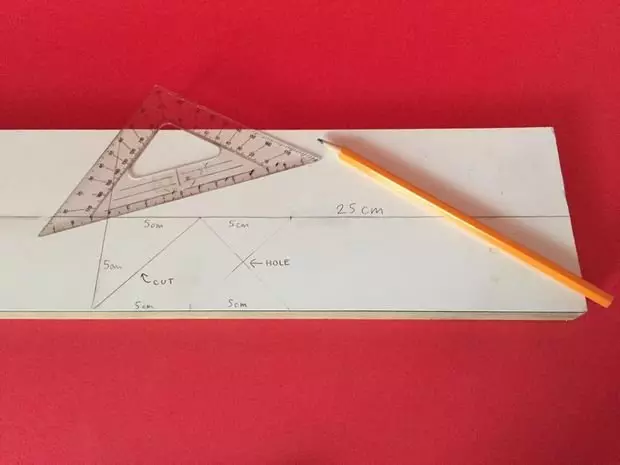
Step 1 . You have a leaf of laminated plywood, 2 cm thick, cut to rectangular rails for the shelf. In total, they will need 13 pieces, of which 7 pieces - rails measuring 26 x 5 cm, and the remaining 6-10 x 5 cm.
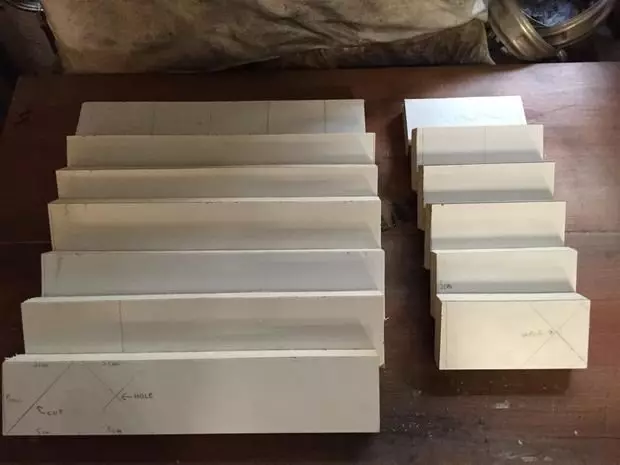
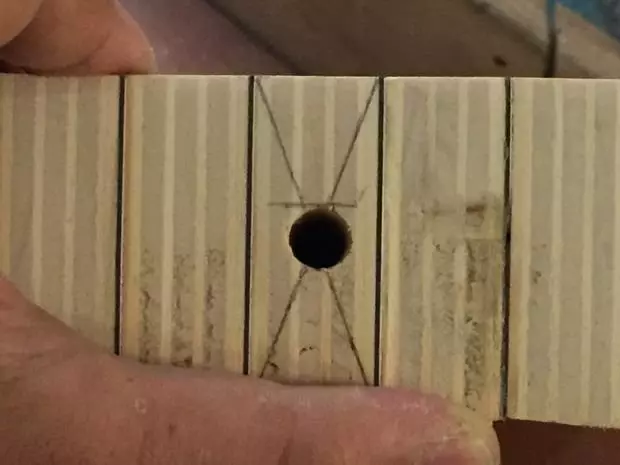
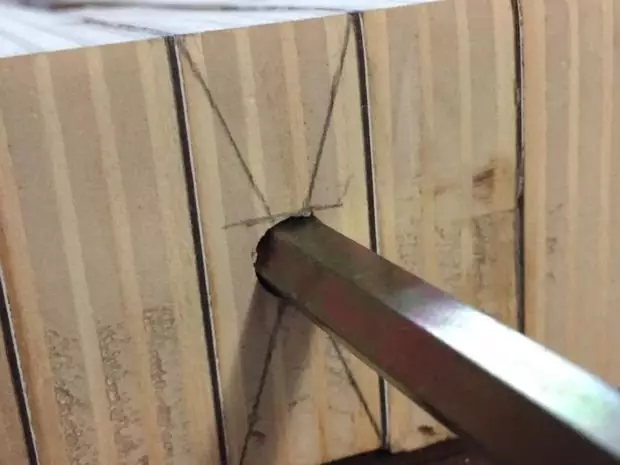
Step 2. . On all rails apply markup. To do this, put two points at a distance of 5 and 10 cm from the edge, respectively. On these points, spend perpendicular lines. You should have two squares. On small slats, such a markup will take the entire surface, and in large - a little more than a third. In the second square on all rails, you draw diagonal lines. The point obtained at their intersection is a place for the hole under fasteners.
In the first square on long rails you will need only one diagonal line. Please note the photo shows, at what angle it should go.
Step 3. . At the outline points on all rails, make holes.
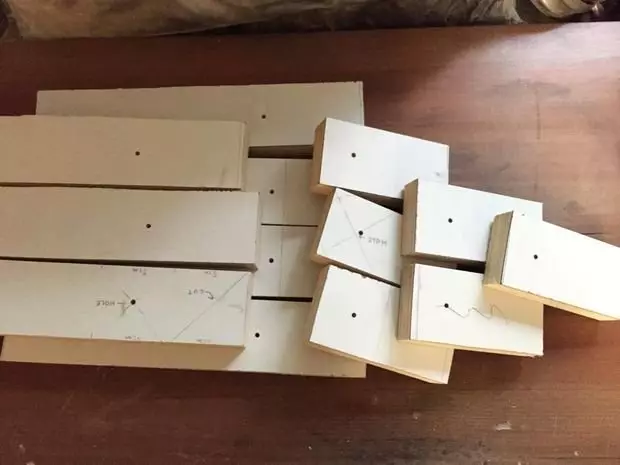
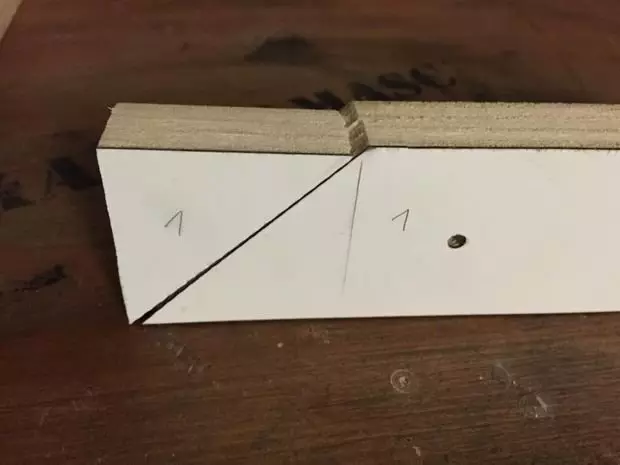
Step 4. . On the long rails, make a slice diagonally. So, you will get a stopper for the shelf and the movable part of it.
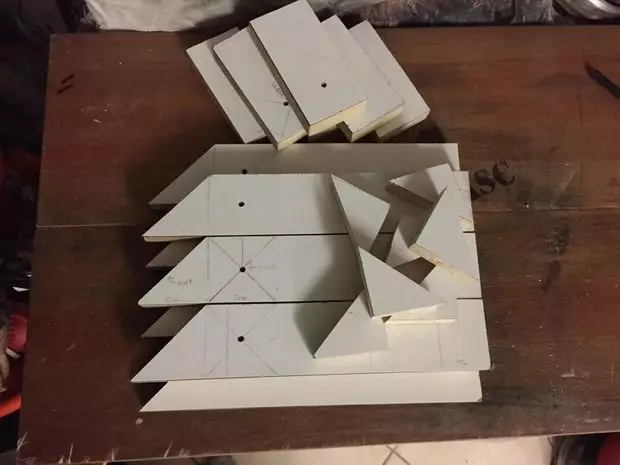
Step 5. . Collect the shelf. Clear the stoppers and small rails, alternating them. When gluing parts, be sure to follow the rails to be exhibited on one line. In parallel to this process, attach movable parts of long specks to the shelf using a metal rod. For better gluing all the design clamps.
Article on the topic: How to grow a flower Aglionm
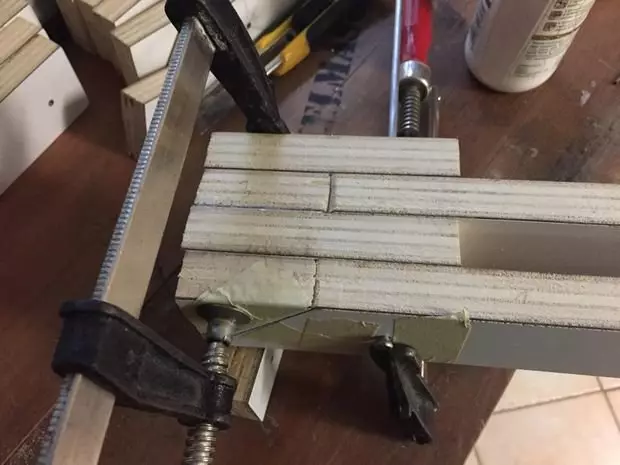
Step 6. . Collect, thus, the shelf, remove the excess glue. Leave it until the material is completely drying.
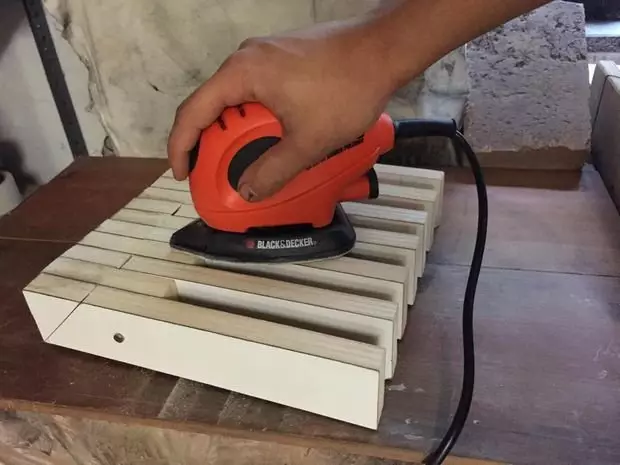
Step 7. . After the glue dries, be sure to sand the entire surface of the shelf and check its performance.
Step 8. . To attach the shelf to the wall, drill two holes from the end side. Make sure the fastener hexagon enters them tight.
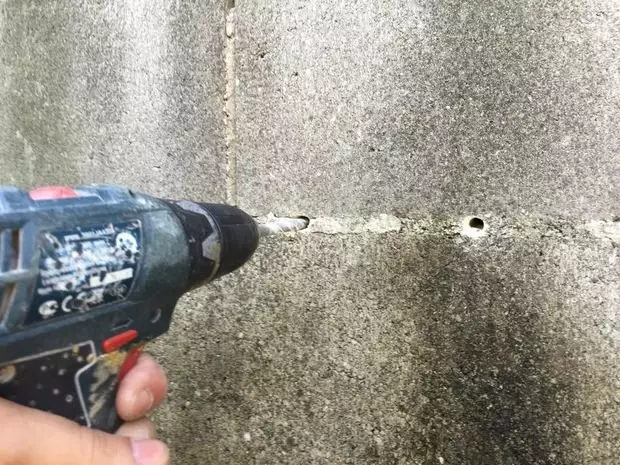
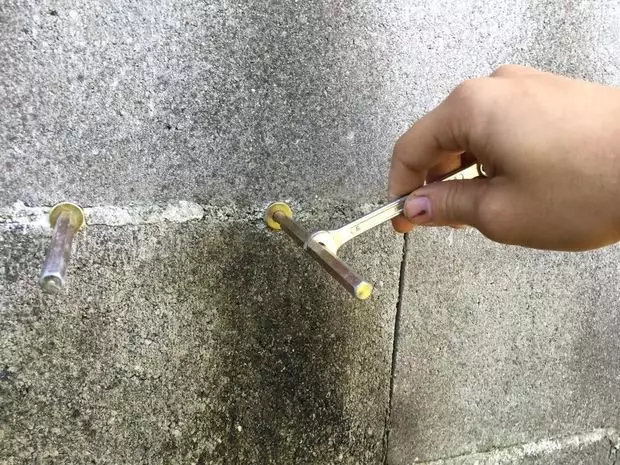
Step 9. . Similar holes Make in the wall to which the shelf will be attached. Do not forget to send a dowel there. Screw fasteners in it and then use the hammer with the manufactured piece of furniture.
Ready! Now you can transform the shelf and use it at your discretion.