
Sometimes you want to add a piece of summer on cold days to the interior, wildflowers are remarkably suitable for these purposes, but where are they not found in the season? The answer is simple - to do yourself. Gentle field chamomiles from beads created by their own hands are never covered and will always remind of sultry summer days. Bouquets of these colors look great in small vases. And the technique of their creation is simple and almost does not take time. A chamomile from beads with a step-by-step scheme will easily leave even a novice master, let's consider in detail the technology of creating these wonderful colors.
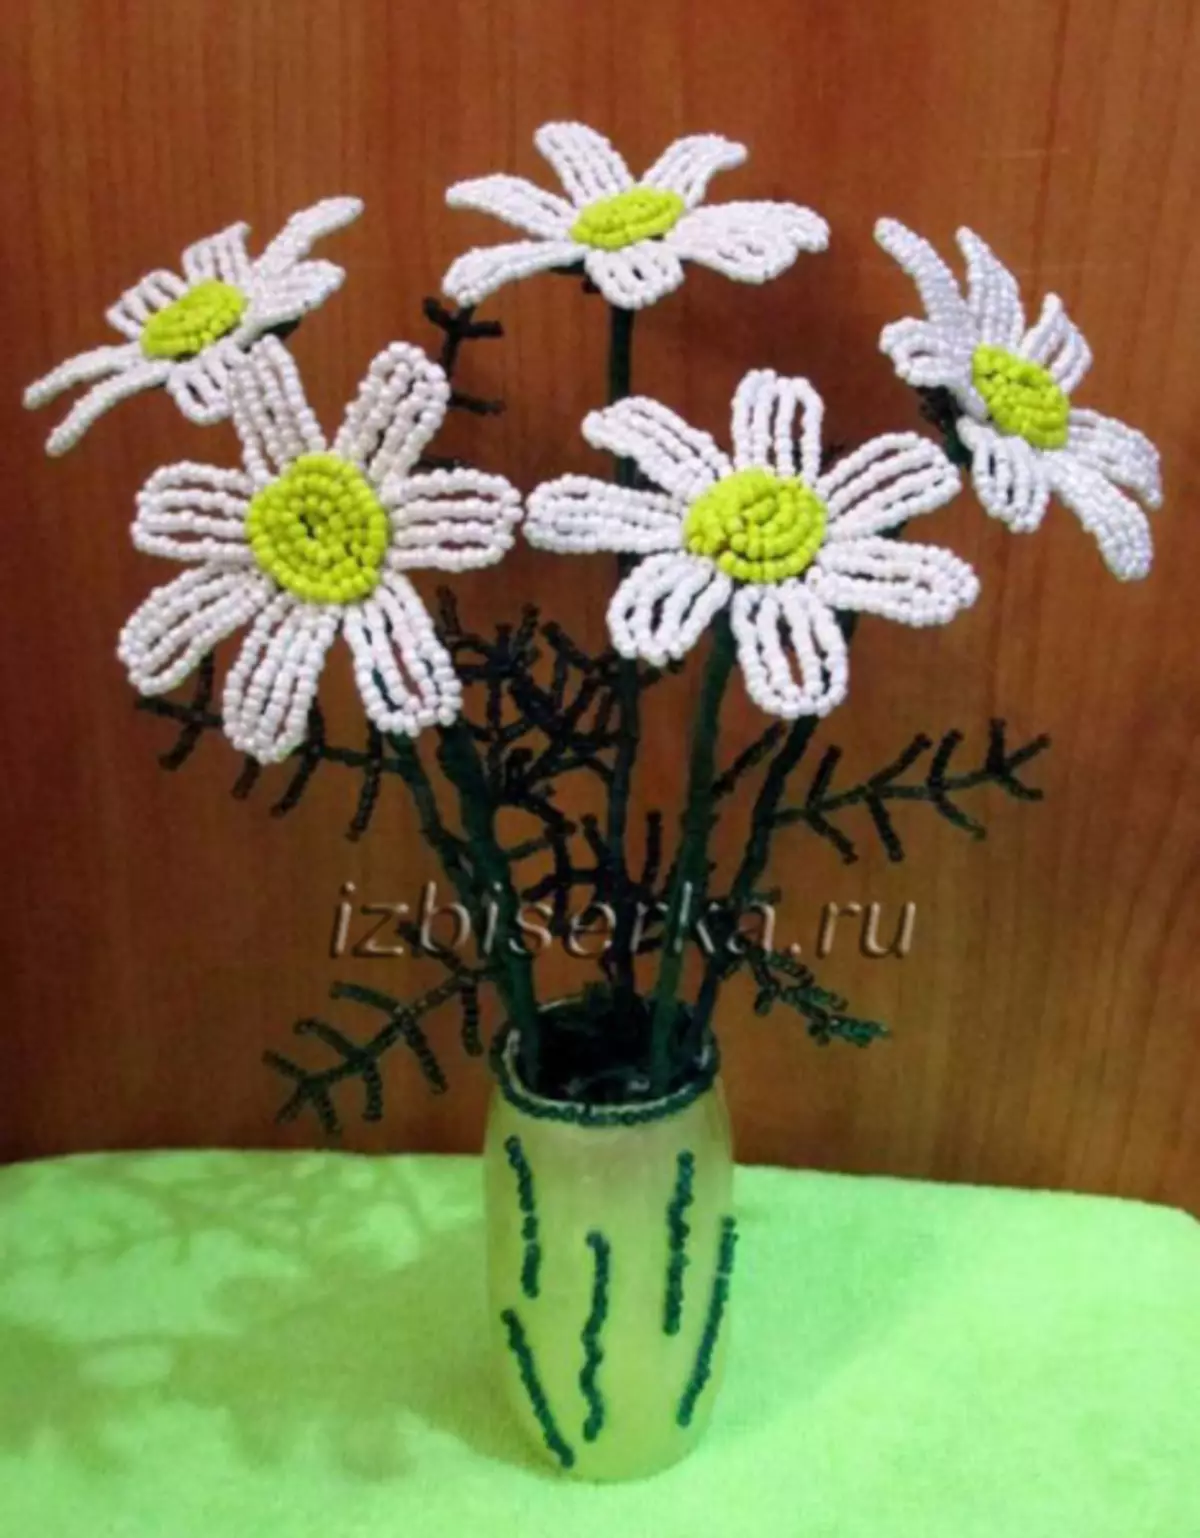
Summer under the side
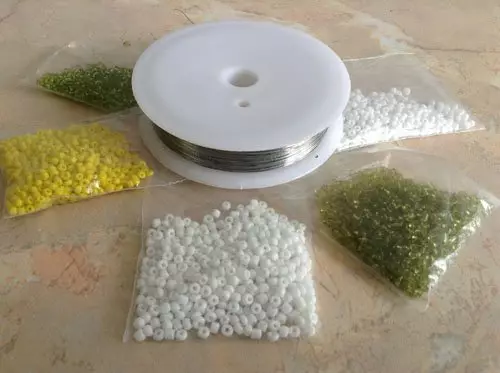
To create this cute flower, you will need:
- yellow, green and white beads;
- high-quality wire;
- Green threads;
- Floral tape;
- nippers;
- scissors;
- Weaving schemes.
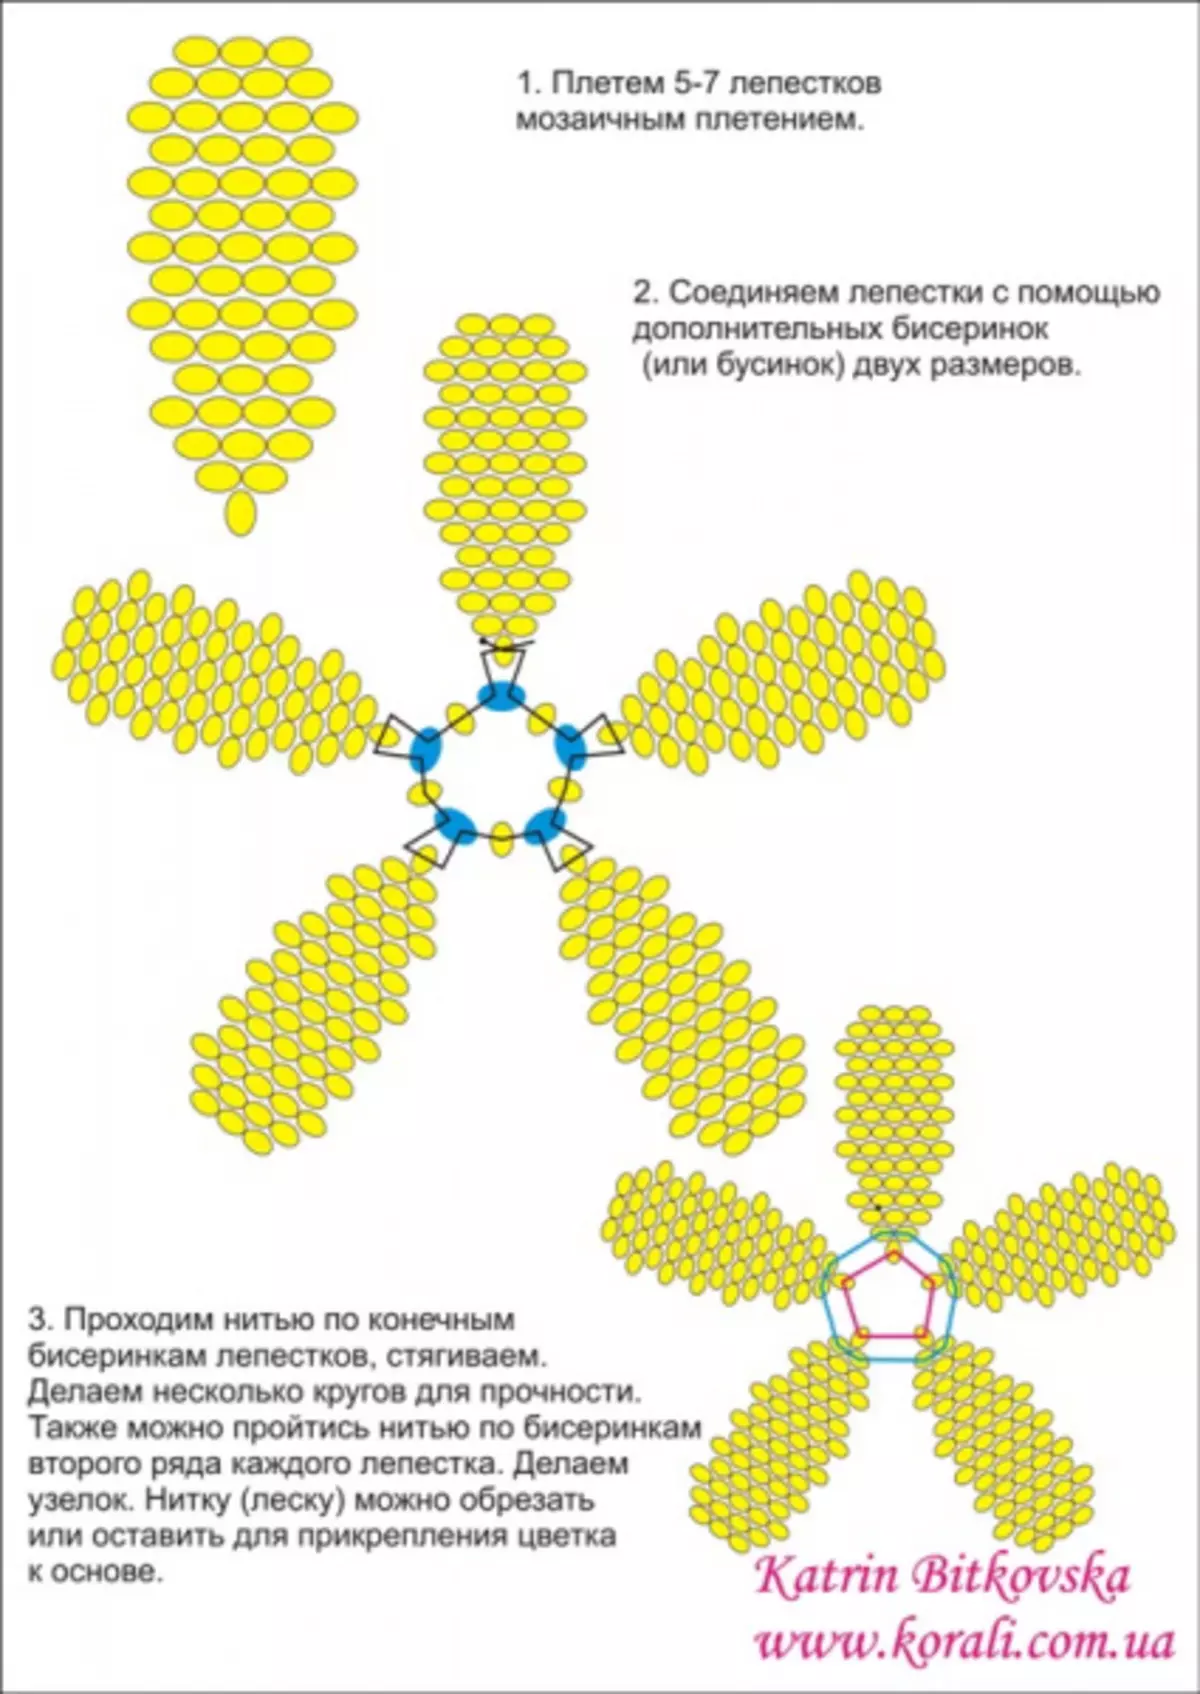
There are several ways to create chamomile from beads, below shows a few simple schemes for beginner masters.

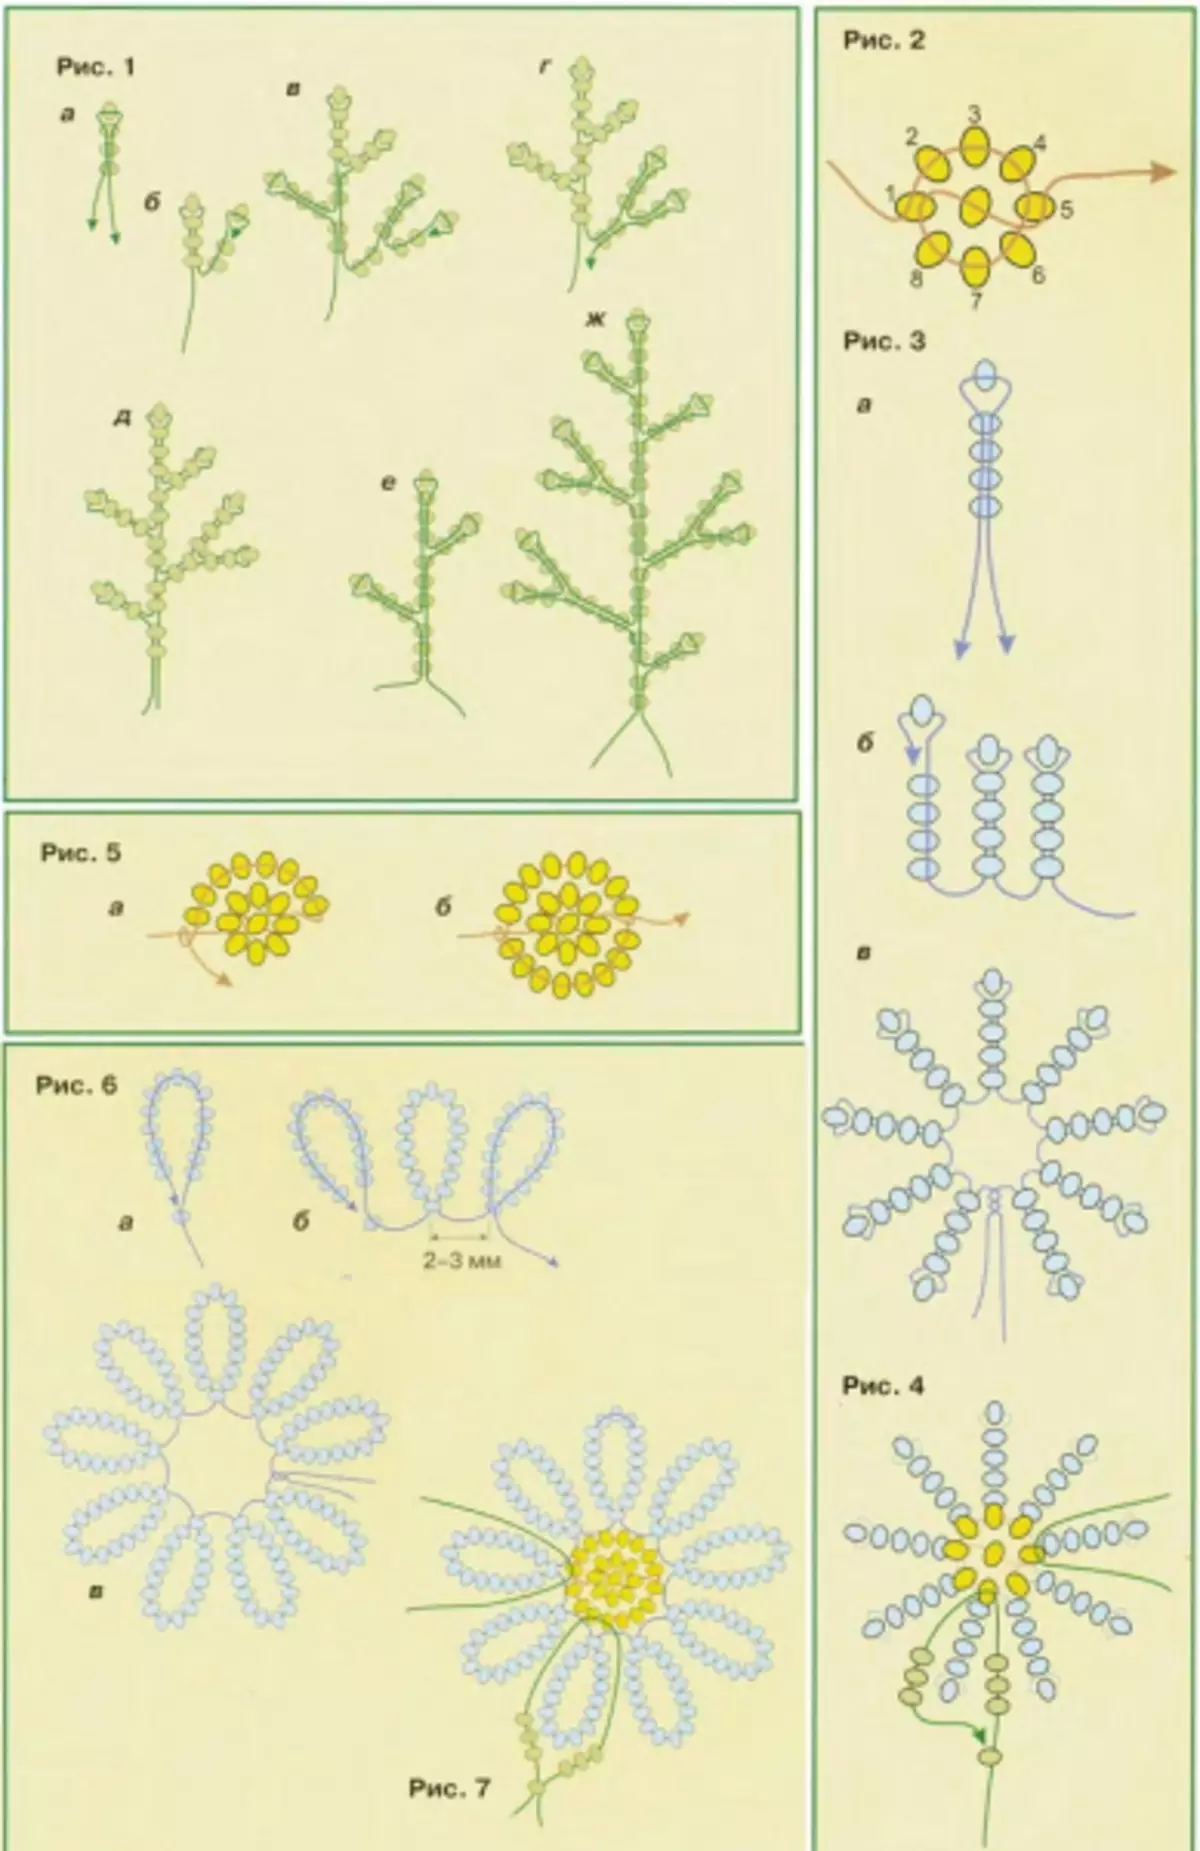
And now let's look in detail one of the methods for creating a chamomile from beads in the master class below.
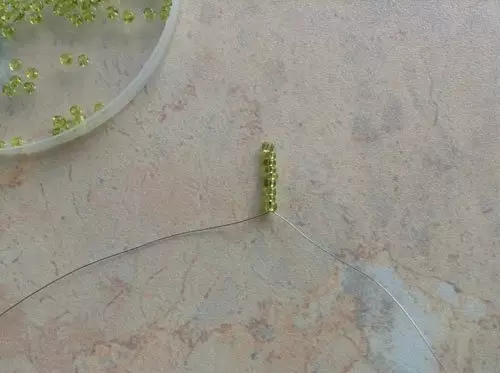
Let's start with the creation of daisy petals. To do this, cut off a piece of wire with a length of 25 centimeters. We put on it fifteen beads, this figure can vary depending on the desired length of the petal. One end of the wire is carried out through all the beads back, except for the last bead, we skip it. We do it in such a way that both sides of the wire were the same length.
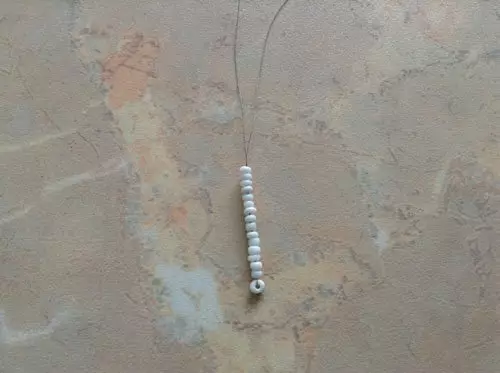
We gain on both the end of the wire 17 of the reservoirs, then we lower them down and produce through the extreme bottom beads, as in the image below.
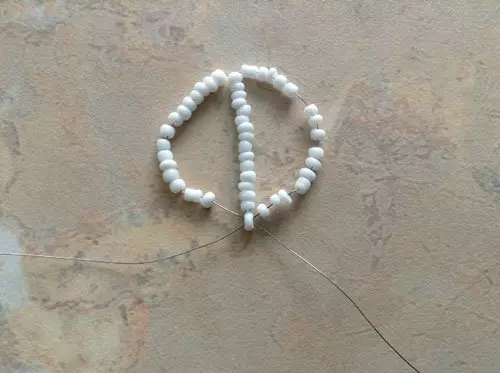
Now tighten, and it turns out a smooth billet of the petal. Then we recruit nineteen beads on both sides of nineteen beads and told the wire in the last bispers of past rows, as shown in the photo.

Tighten the wire so that the petal turns out to be smooth, then we ware, and the daisy petal is finished.
Article on the topic: Openwork Spaces: Schemes and Description Download from photos and video
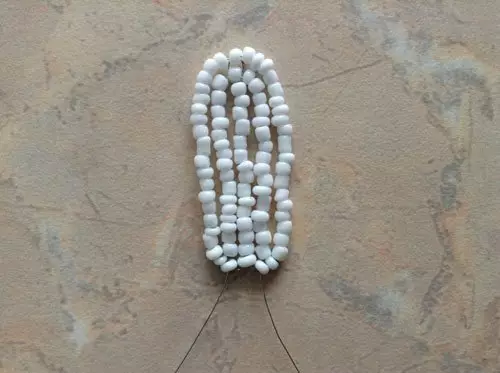
Such blanks will need approximately seven pieces to create a single chamomile flower. Then proceed to creating a chamomile core. We will perform it using French technique. Thanks to this, the product will be greater.
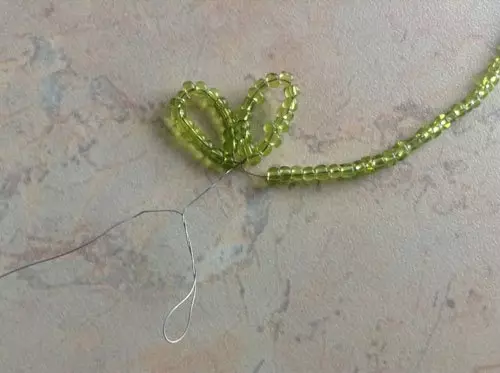
We take a piece of wire thirty centimeters and make the technical loop on the right, as shown in the image below. Then we recruit three beads and make a loop on the left, leaving the long work part.

We recruit five beads and, well pressing them to the first row, tighten the wire.

Now we recruit five beads again, tightly press them to the first row on the other side and twist the wire. After that, we recruit, press and twist the eight pieces of beads on each side. And then the same actions are done by gaining ten beers. So we have a bulk part.
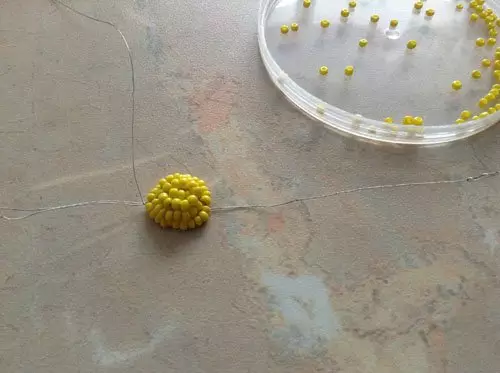
The edges of the wire twist at the bottom of the workpiece.
Then proceed to the creation of a cup of green beads. We take the wire and we ride about twenty centimeters of beads. Hold them tightly, create a loop of the desired size, for example, one and a half centimeters. The loops need to do five or six pieces. After that, both edges of the wire must be twisted together.
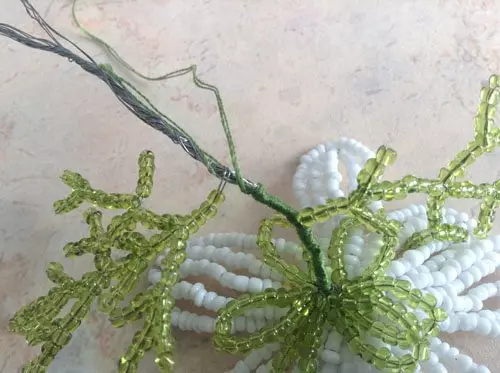
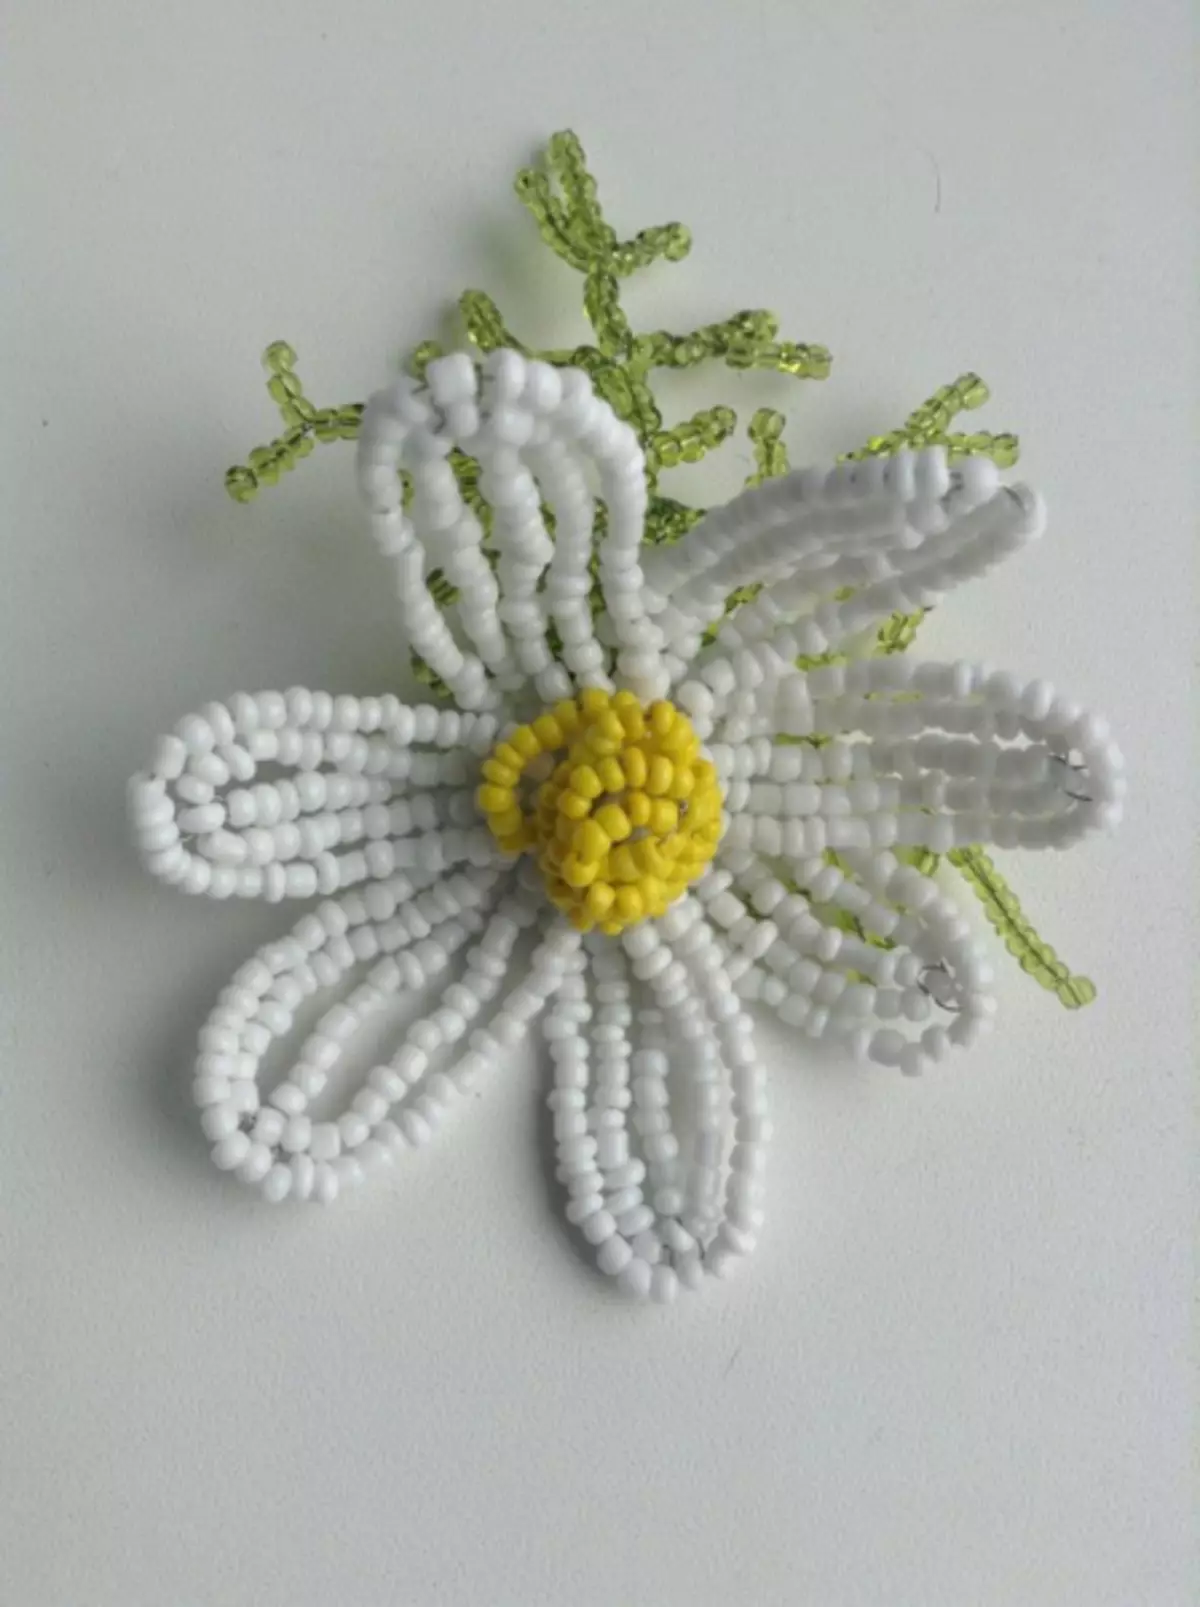
It is time to collect a flower, for this twist alternate all the petals alternately. A hole is formed in the center, inserting the wire to it and twist it with lobes with wires. Control the density by placing parts. From the bottom under the petals, our cupfeem is fed up and twist it with wire with everyone. Method of twisting the parts is formed stem.
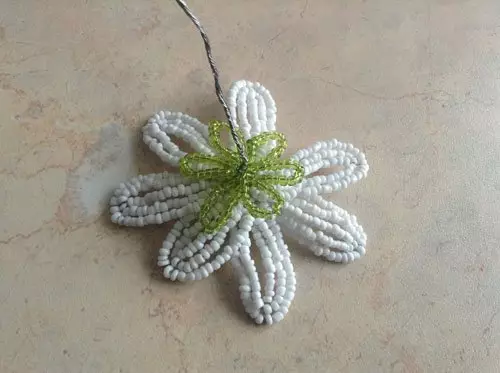
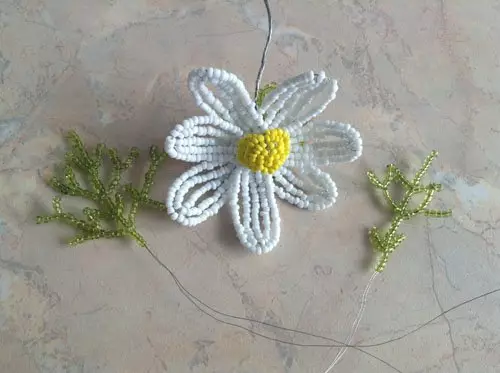
This chamomile should turn out at this stage from above:

And so it looks below:
It remains only to make leaflets for the flower. To do this, we take a wire about forty-five centimeters long and recruit seven pieces of green beads, we carry out the wire through everything back, except for the last beads.
Article on the topic: A simple salting recipe for winter with a hot way
Now, by one of the ends, you collect four beads and proof, skipping the last beerin, repeat the same actions with the other end of the wire.

Beverages place tightly by the middle of the future leaflet, tighten the loops. After that, immediately on both the end of the wire, we recruit from three to six beads, depending on the desired length between the branches.
We continue to create a piece of leaf, raving the wire, keep in mind that the branches can also make branching, then the leaves will be increasing lush and more interesting.
We make a leaf using this technique until the desired size will be achieved. Please note that too massive leschka will not hold, it will not keep the form you need for a flower. Therefore, it is better to create several small leaves than one large sheet.
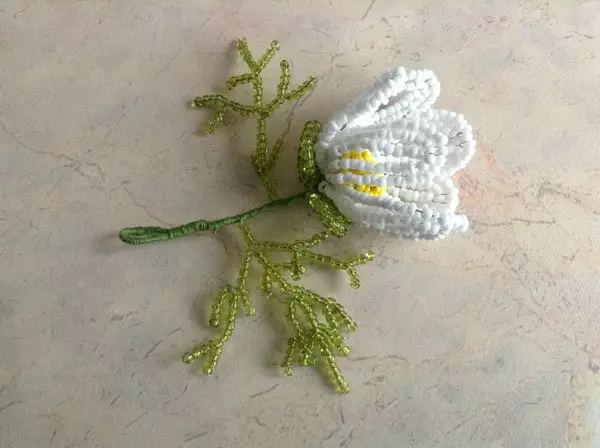
When the leaves are ready, it is time to finish the chamomile assembly. Fresh leaflets at different heights to the stalk. And now it remains only to refine the resulting soft stem. We will do this using the dense retention method. Its color should be as close as possible to green beads. The threads of Mulina are well suited, it is possible to mount them using PVA glue.
It turns out a wonderful chamomile, however, this technique turns out a very plastic stem, so this flower is not suitable for installation in the vase, if you do not give stiffness to the plastic stance before winding.
Now the flower chamomile is finished.
Video on the topic
In conclusion, we present a few video with lessons to create wonderful daisies from beads.