
Plasterboard popular, inexpensive and easy-to-use building material. With it, it is easiest to eliminate the irregularities and differences of heights on the ceiling and walls and hide the necessary communications there, while creating a perfectly smooth and smooth surface. In addition, the plasterboard can be sewed and a column that will give the spacious room an individual style. Inside it, you can install shelves, light sources or hide ventilation and electrical cable.
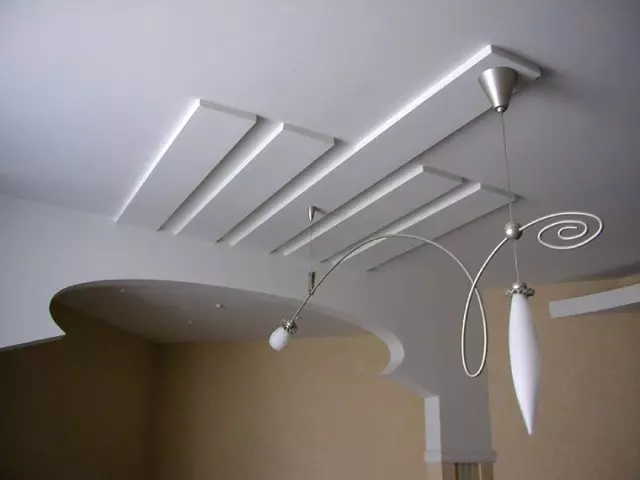
Plasterboard hides well all the irregularities and disadvantages of ceilings and any other surfaces.
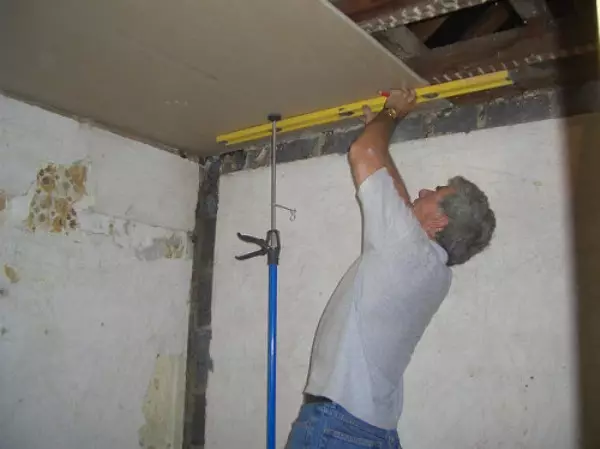
To do this, it is not necessary to be a professional builder, but before starting work, it is necessary to carefully read the instructions on how the plasterboard is to sew the ceiling. Knowledge of the main stages and subtleties of the technology will help to properly create a high-quality suspended ceiling of plasterboard with their own hands.
Required tools and materials for plating ceilings and columns
Before you begin to sneak your hands, the ceiling and a gypsum column need to prepare everything you need.
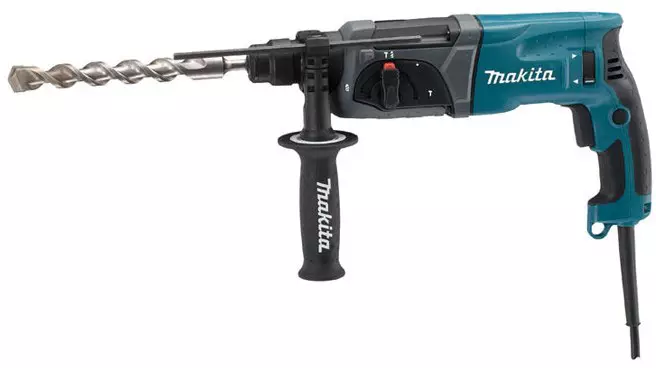
The perforator is one of the tools needed to work with plasterboard.
Required tools:
- level or laser;
- Perforator;
- screwdriver;
- cord and plumb;
- hacksaw with small teeth;
- construction knife;
- edge plans;
- electrolovik;
- Long wooden ruler and pencil;
- working gloves and safety glasses;
- Mediterranean sandpaper.
Necessary materials:
- reinforcing tape;
- plasterboard sheets;
- primer "Deep soil";
- putty;
- UD profile. (attached around the perimeter of the walls at the height of the planned suspended ceiling);
- CD profile (attached to the main ceiling or plumbing in a step of 30-50 cm);
- Suspended plumbers (lower the ceiling level up to 1m) or a distant interpretation (lowered the ceiling level up to 12 cm);
- Self-tapping screws on plasterboard and metal;
- Dowel (for fastening the crate on the walls);
- Connectors to build a CD profile in length).
Preparatory work
Before starting work, it is necessary to measure the ceiling of software and determine how much profile and drywall will need for its plating, adding to the results obtained 5%.Marking of plasterboard ceilings and crate device
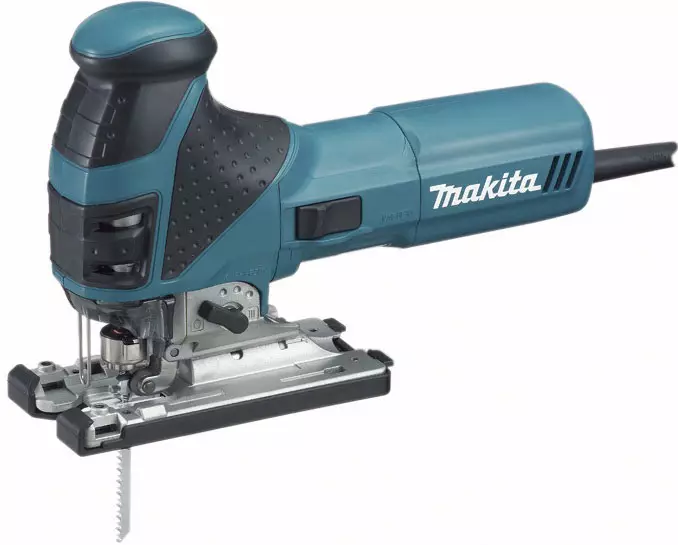
Using an electrolybiz, you can cut the necessary elements from drywall.
Before covering the ceiling must be placed. Procedure Next:
- Measure the height of the ceiling in all corners of the room.
- Choose the smallest value from the received.
- From the top of the lowest angle departing down 5-10 cm.
- At the resulting height on both sides of the corner put the tags.
- Taking advantage of the level and cord, we carry out a closed line through all other angles.
Article on the topic: How to correctly determine the moisture of wood?
Ready marking must be checked. To do this, from each of the angular marks, measure the distance to the floor. It should be the same for all angles. Finding an error, correct it.
In order to properly cut off the profile on the desired length, use the electric bike. In order not to bother the edges of the profile do it sharply, in one movement.
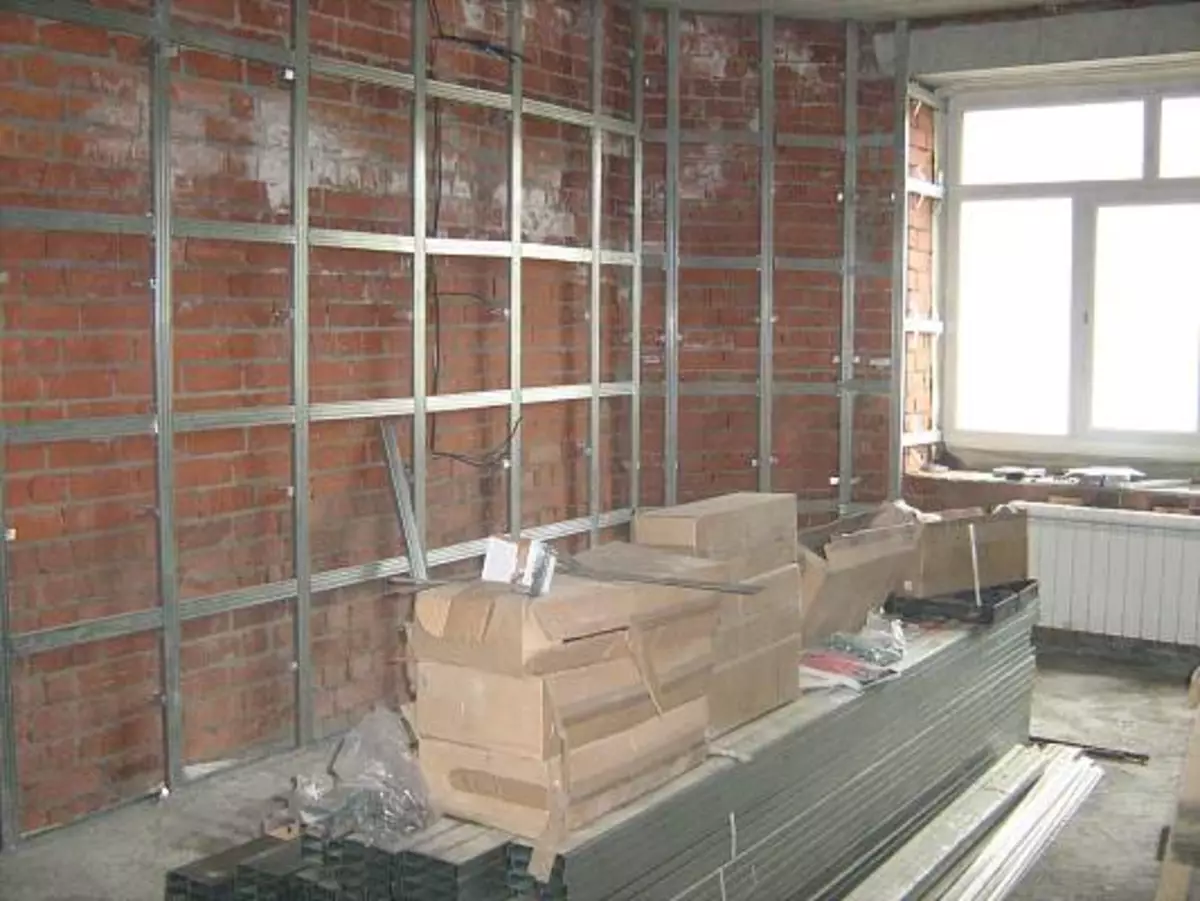
The profile is fixed to the brick and concrete walls. The profile is fixed with dowels, to wooden tree screws. The holes are drilled in the ceiling and profile, and then insert a dowel-nail or self-tapping screws into them.
Installation of crates start with UD profile installation. The guide profile is fixed with the bottom edge of the markup (the markup line should remain under UD profiles).
Place points on which will be fixed by CD -Profile. Most optimally arrange them at the joints of sheets of plasterboard. The markup needs to be produced so that through each distance appropriate, the length of the sheet, the profile was located.
To mount the crate in the form of a box, protruding in the corners of profiles, bended at 90 °, and the extra protruding parts simply cut off.
Profiles located crosswise, if possible, you need to be calculated in the same way (try to come to the joints of the plasterboard sheets). If this is not possible, secure them in a step of 35-40 cm.
In order to mount the crate in the form of a box, the profiles that will be attached in its corners are bended by 90 °, and extra, protruding parts cut. The obtained parts are screwed to the suspensions. Transverse strips are inserted into the crate using a profile crab.
After the plasterboard sheets are off the length, on them with a step in 1 m pinned with plumbing. Each profile plank at the same time should stay at least three plumbers.
After the suspension plumbs are installed, begin to fix the CD profiles. To do this, between UD profiles from one wall to another, the cord is tensioning, which exhibit the horizon level.
In places of end junctions of drywall sheets for the safety net, you can use pieces of profiles or crossbars, for which sheets of sheets are lying.
Then, CD-profiles are fixed along the cord with screws for metal. The height of their lowering is regulated by plumbing.
To facilitate the fixation of the frame elements, first insert it with one side in the UD profile, and then gradually screw to the appropriate plumbing screws. In conclusion, the CD profile operation is inserted into the opposite UD profile.
The elements of the crates are connected by self-draws.
After the installation of ceiling profiles is finished, they are checked using a bubble level to evenness. It is possible to correctly correct the errors only by dismantling and collecting the uneven area of the frame.
Article on the topic: Do I need to apply glue to vinyl wallpaper when sticking
Using the level allows you to determine the calculation of the ceiling.
If the installation of ceiling lamps is planned at the end of this step on the ceiling, the wiring is paved.
Plasterboard is convenient to cut the construction knife. If it is not, use the hacksaw with small teeth:
- With the help of a pencil and ruler conduct lines on the cutting place.
- A long wooden ruler or a flat rail is applied to markup.
- Along the racks several times with pressure spend a knife.
- The sheet of drywall is put on the table, so that the place of the cut accounted for its edge and bend. The sheet will break exactly on the markup.
- Paper on the other hand, the sheet is cut by a building knife.
Ceiling cover plasterboard
Plasterboard sheets are fixed on a frame of self-reserves of drywall 25 mm long. The distance between the self-pressing should be 15-20 cm. Screw them into plasterboard with a slight drowning of 1-2 mm, so that the protruding hats of the screws did not interfere with the ceiling high-speed. In order not to make a drowning unnecessarily deep and not to break the strength of the structure, you can use the limiter to the screwdriver.
When installing drywall, it is necessary to ensure that the sheets of sheets do not hang in the air, and lay on the guide profiles. In the design of the crates, do not use a tree as lining and do not replace them with a metal profile. The tree will dry over time, cracks down, which will necessarily affect the quality of the ceiling.

Sheets should not hang, but lie on the profile guide.
In order to work it was more convenient, the chamfer on the material is better to cut on the floor, before mounting sheets.
Cut along the entire length with the edge of the plates all the corners of the sheets. This operation will subsequently help better sharpen joints on the mounted ceiling. Otherwise, when the junction of the joints, the putty will fall into the cardboard and he, sprinkling, will begin to peel from the filler-gypsum.
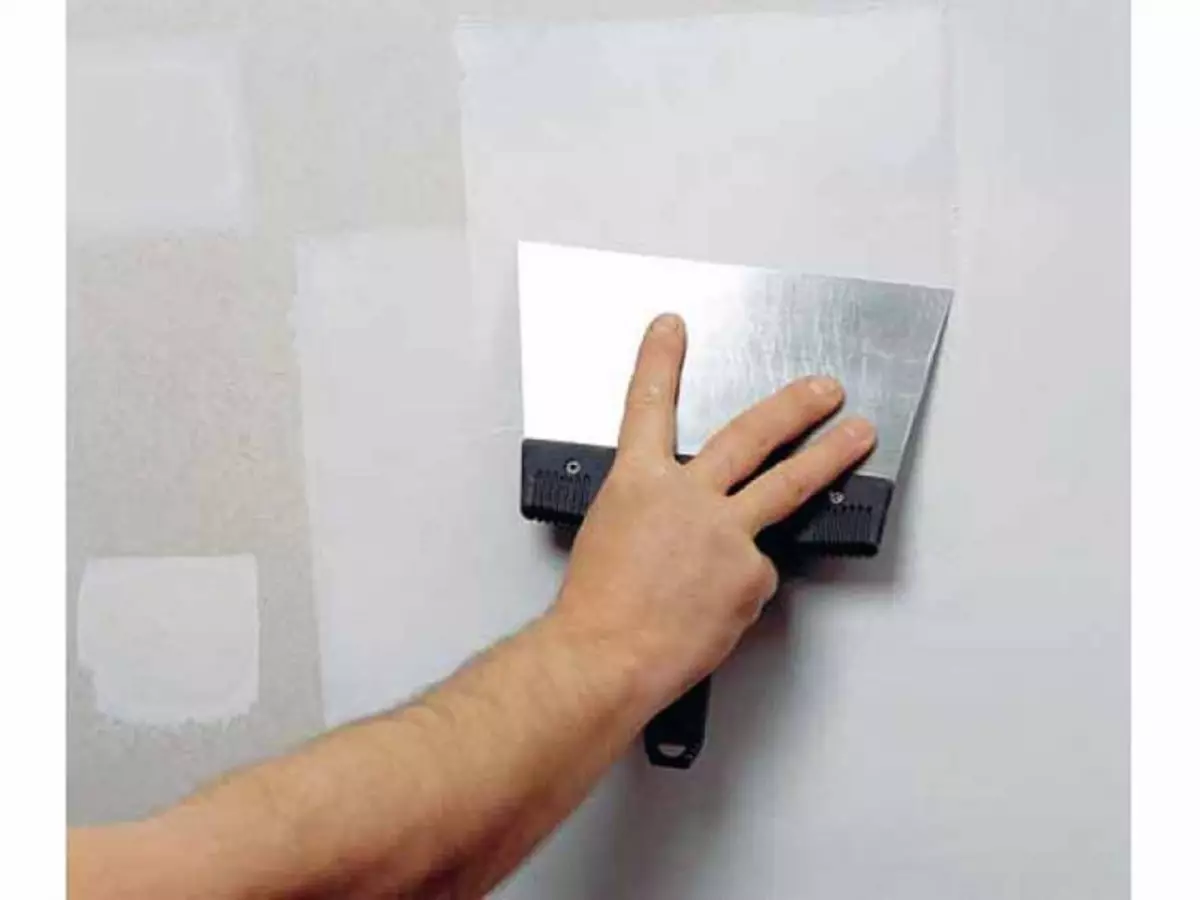
The entire area of the sheathed ceiling is treated with a special primer "deep primer". It will provide finishing finishing materials, such as paint, reliable adhesion with the surface of the drywall.
Shakes close up with putty. Her with an effort is pressed into the seam, after which they fit the reinforcing tape on top and wait until the composition grabbing.
The joints with the reinforced ribbon superimposed on them are put off and waving 20-24 hours until the putty is completely drying, the joints treated in such a way will grind the sandpaper.
Installation of columns with your own hands
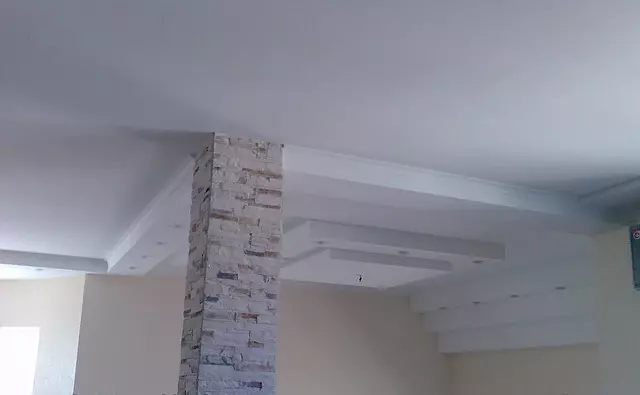
The plasterboard covering perfectly decorate the column, makes its surface smooth.
Previously, the columns were built from stone, brick or concrete. Today you can build a beautiful and functional rashlock with your own hands from the metal guide profile and to strip it with plasterboard.
Article on the topic: Water leakage sensor do it yourself
If the room is planned to install columns, then more correctly install it before installing the ceiling.
The fastest and most even way to reflect the columns with your own hands is to obey their plasterboard. If there is a tap or sewage pipe inside the columns, then it is necessary to maximize them with sound insulation, preferably mineral insulation.
Installing columns frame
The profile of the edges of the rectangular column is set in the same plane with a level or laser. To do this, the ceiling is placed the perimeter of the future column and with the help of the level tolerate it on the floor. Both perimeters are fixed with a metal profile for drywall with self-drawers or dowels selected depending on the floor and ceiling material.To give the column additionally strength, its frame is enhanced at the corners. To achieve this profile, the profile is twisted with each other in such a way that a straight angle turns out from two profiles. Then, on a flat surface of the profile, with the help of metal screws, they are connected to the side faces and only after that is installed on a perimeter.
The vertical profile is fixed with each other with screws for metal every 30-50 cm horizontal jumpers. The width of the step between self-drawing depends on the width of the raftsonna. To give a frame additional strength can (but it is not necessary) to strengthen the vertical profile and diagonally with the same step.
Conduction of columns plasterboard
Putclone plasterboard structures is the final stage in the installation.
It remains to sew the frame of the decorative column with their own hands. To do this, it is measured by its height and width, carry them on a sheet of drywall and cut through the technology described above for the ceiling covering.
The prepared sheet is applied to profiles and fix on it with self-reverses, similar to the above-described technology (with a drowning of 1-2 mm and 15-20 cm).
The work continues until the frame will be trimmed from all sides.
After the entire column is covered, it is put on, paint and add decorative corners.
If the arrangement of the column requires increased sound insulation (inside it there are sewage or plumbing pipes, it is trimmed with two layers of drywall. The first layer is rarely screwed, after 50 cm, and the second step in 15-20 cm.
When the column setting is made in a room with high humidity, a special moisture resistant plasterboard is used. After the trim, the column is painted with moisture-resistant paint or produce it with tiled tiles.