
The technique that was popular for a long time and allowed to decorate the life, - Patchwork. Gradually, its popularity was faded, but lately she became sought-after and found their fans. Through the Patchwork technique, original elements of the interior are created, various accessories with a different designer solution. Special attention is now paid to pillows and blankets made in this style. They can be made with their own hands not only for themselves, but also as a gift to friends.
Options for popular schemes
Sew pillows are not so difficult, even though many and fear to take care. The main condition is to know where to start. For those who take to work for the first time, it is better to choose a simpler scheme and follow the master class.
For beginners, several types of pillows are offered, which can be made by attaching a little effort:
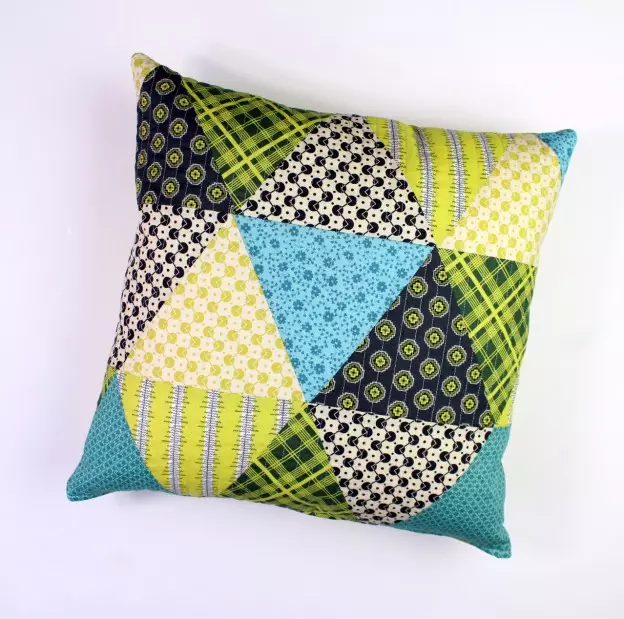
- Set of triangles. Such a decorative product is made of flap of tissue of different colors and textures. They cut out the same triangles and sequentially sew them in a certain order.
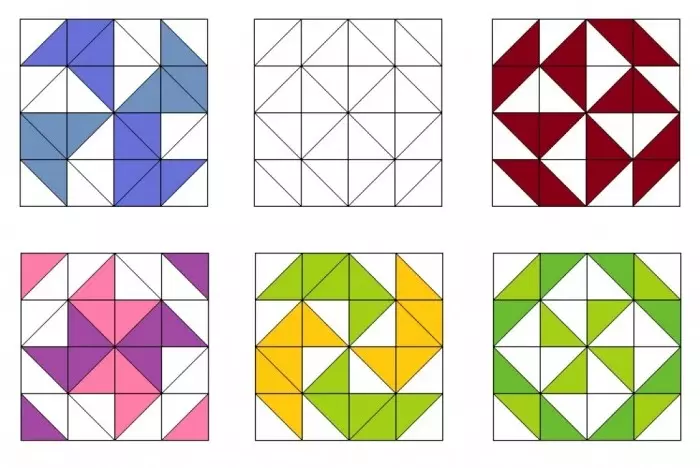
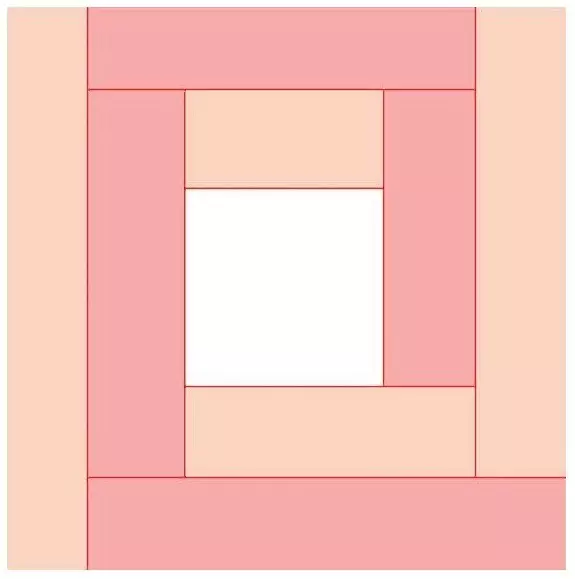
- Patchwork American square. Very comfortable scheme for beginner masters. In this case, the cloth flashes are required in the form of rectangles. They can also be different in color, but must have the same width, and the length can be different.
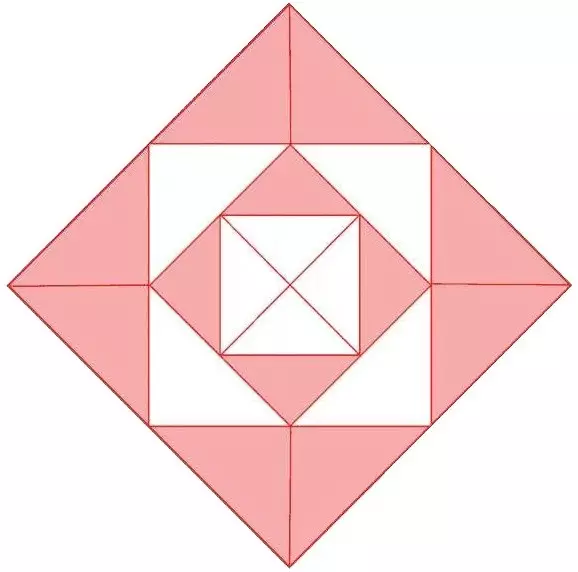
- Russian square. If you look at this scheme, it may seem that it is difficult for beginners. But this opinion is wrong. The pillow consists of flap having a square and triangles. Square is located in the center, and triangles are sewn to its parties. As a result, this combination also forms a square.
Article on the topic: how to tie a plaid from squares: schemes for beginners and important tips
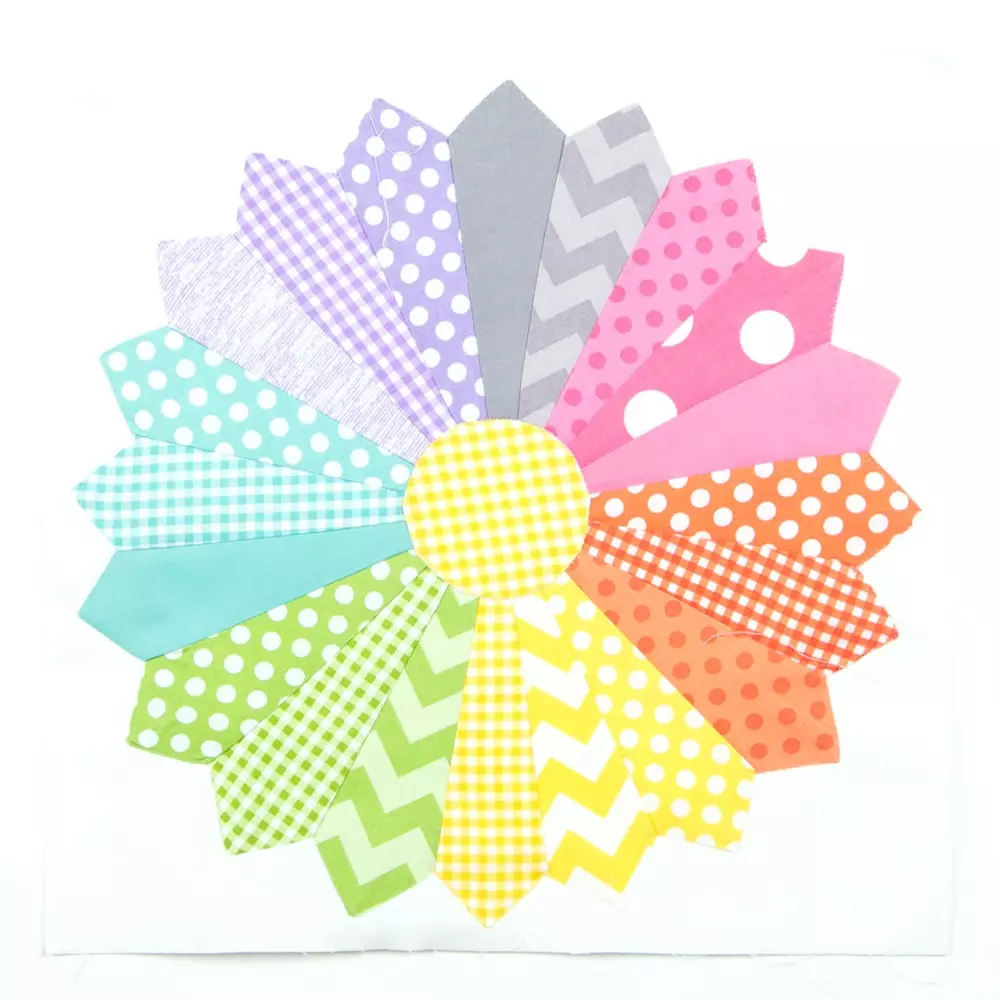
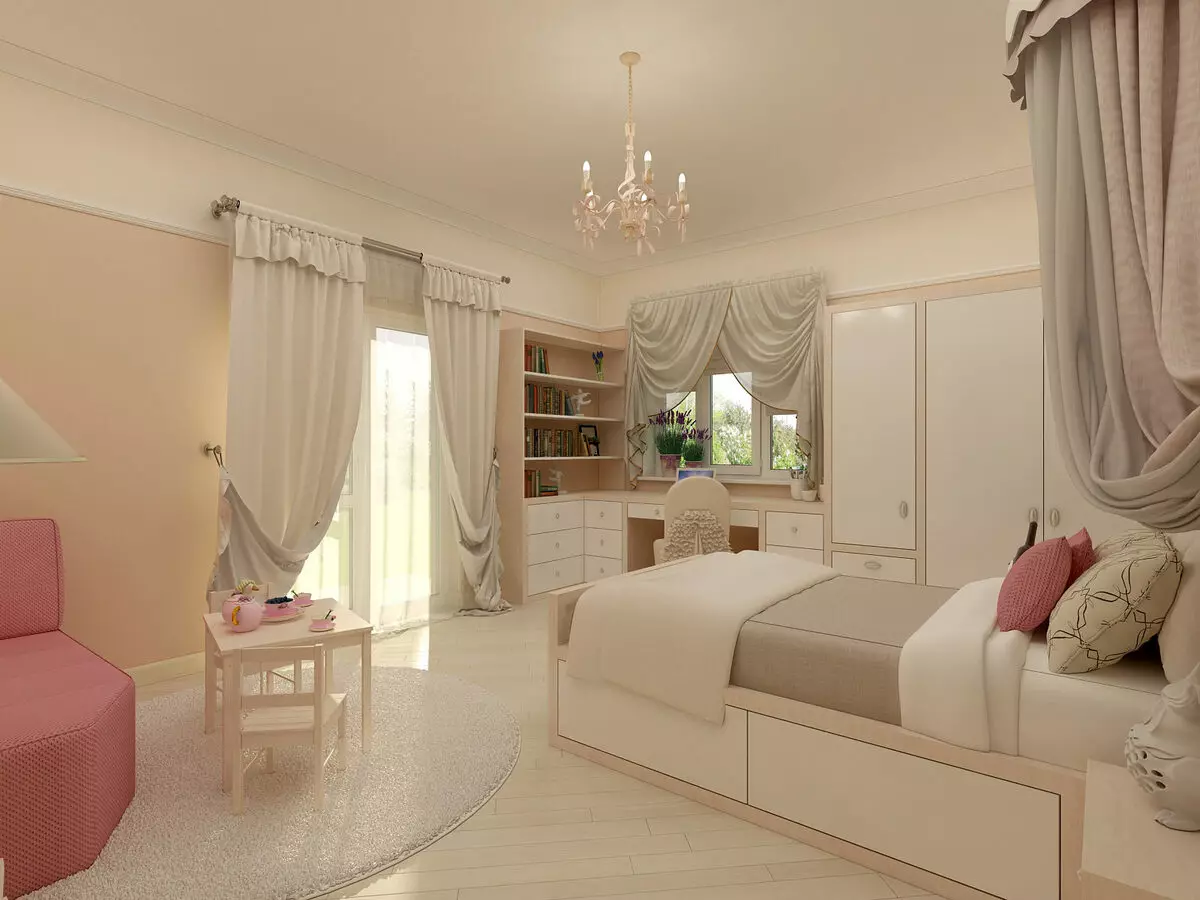
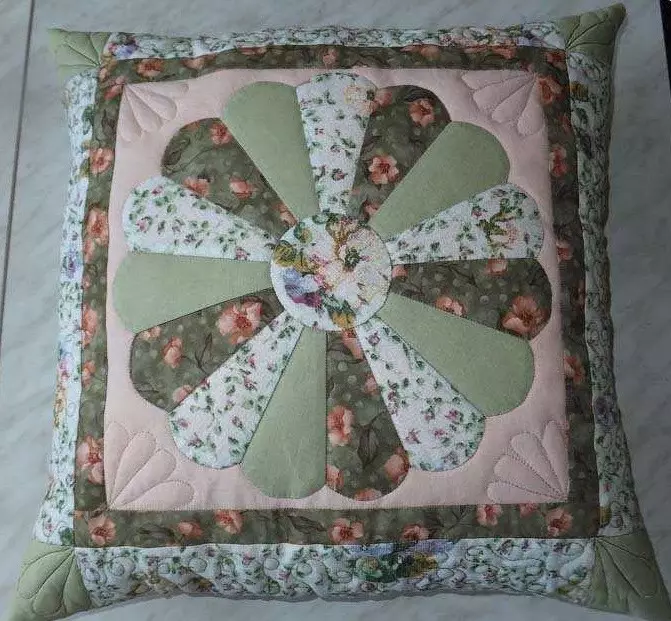
- Patchwork Dresden Plate. This is a scheme consisting of elements that resemble flower petals. As a result, the original element is obtained in the center of square pillowcase, such a pillow will be especially relevant in the interior of a children's or bedroom.
How to start work
It should be started with the preparation of materials and tools. To obtain a decorative pillow, the pillows initially seal the flaps of different colors remaining after any sewing. It is also necessary to think than will be filled with a pillow - most often the function of the filler performs a synthetic dryer.Of the tools for needlework you will need:
- Items for cutting (scissors, ruler, chalk);
- threads and needle;
- Iron for smoothing and sweeping;
- sewing machine.
Patchwork Pillow from Triangles (MK)
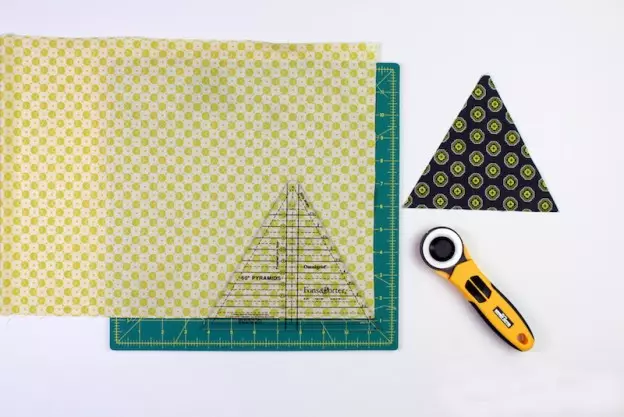
This product is sewn from triangles in the technique of patchwork sewing. Billets are obtained from squares cut diagonally. Usually all multicolored blanks have the same dimensions. Breakdown from tissue of different colors. The number of pieces is determined according to the scheme.
Stages of work:
1. When the number of triangles of different colors is counted, start to cut them out of the fabric, not forgetting to add to skips.
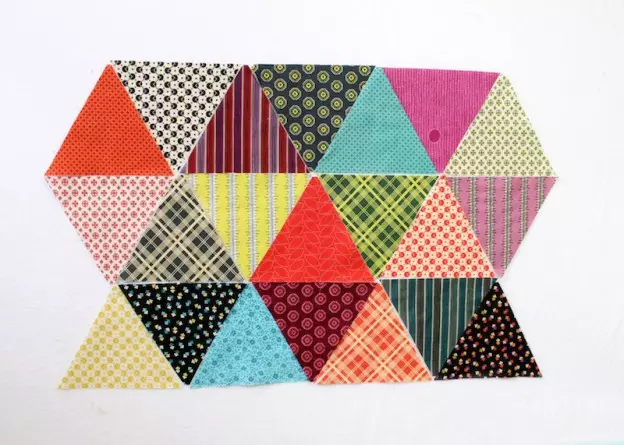
2. Prepare all the workpieces, gradually begin to sew them, following the drawing. Do not forget to smooth out the product every time and cut the pass.
3. After the front side of the patchwork pillow is ready, proceed to the pattern of the back of the future pillow. Send it around the edges, not forgetting to leave a hole for filling.
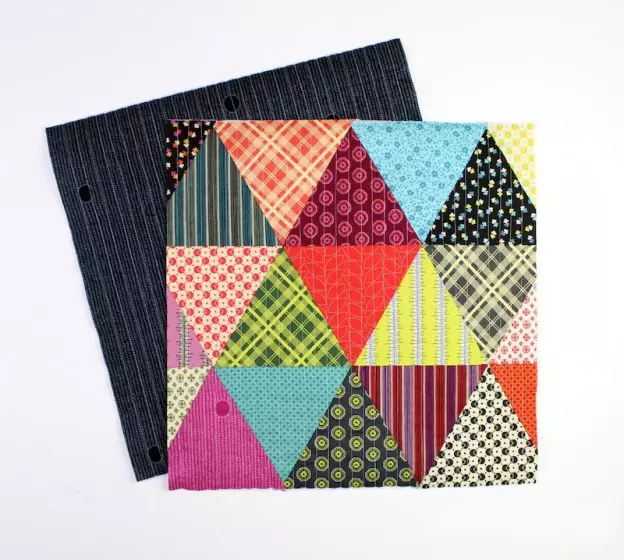
4. At this stage, it is necessary to sew a zipper so that in the future it was possible to remove the obtained decorative cover.
5. At the end, the pillowcase is filled with syntheps, and our patchwork pillow is ready.
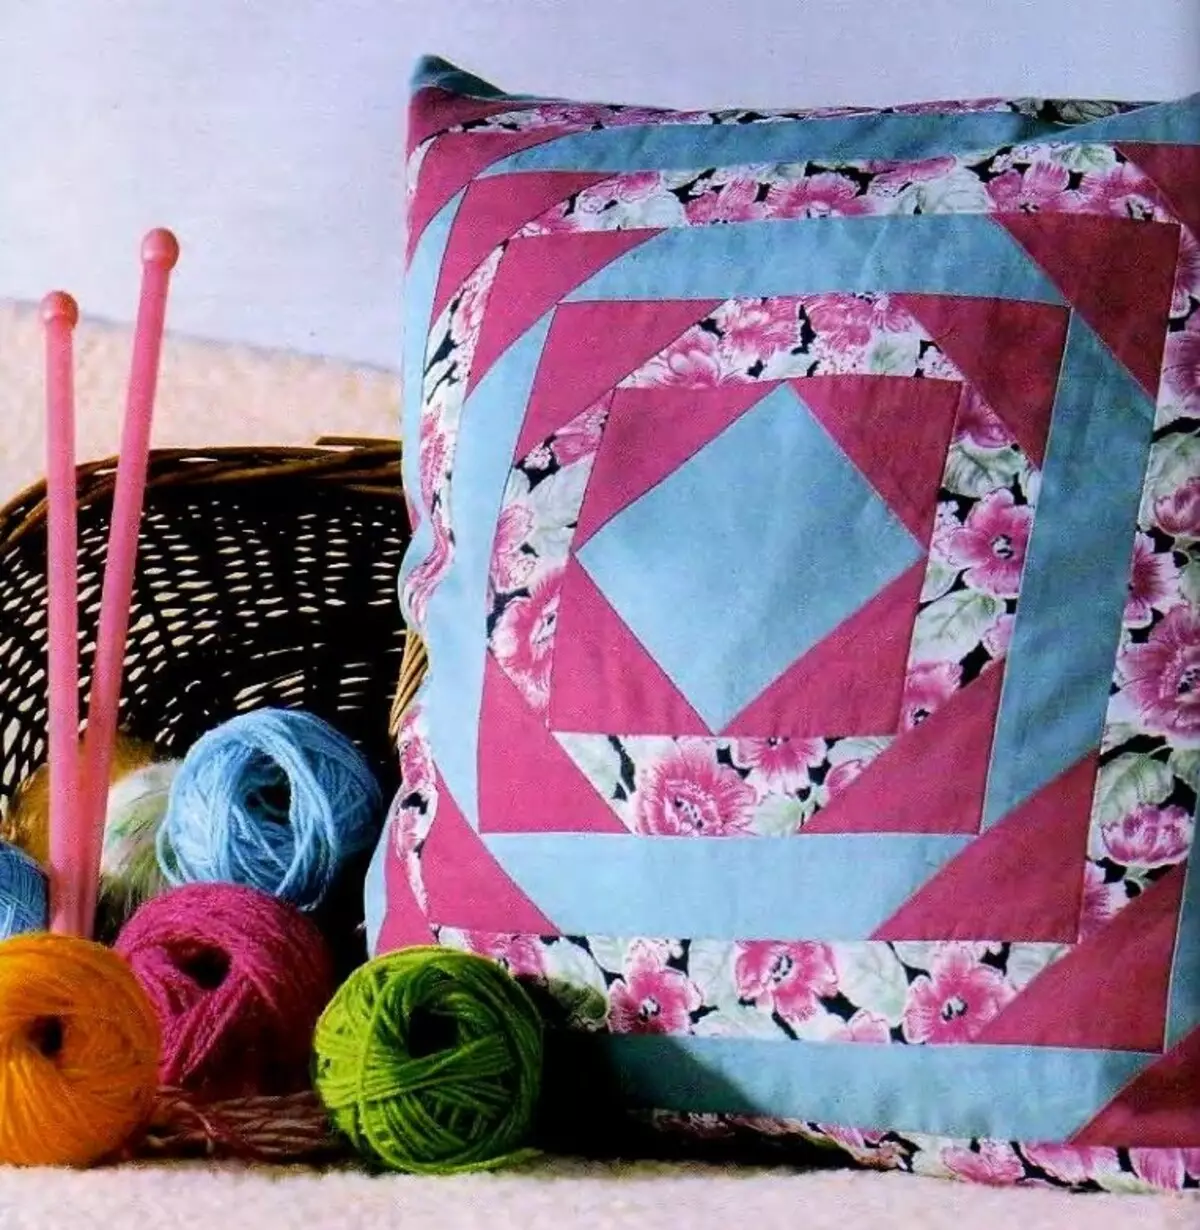
Pillow in the "Russian Square" technique (MK)
To create a Patchwork style pillow "Russian Square", you must perform the following steps that are presented in step-by-step instructions:
Article on the topic: How do you make a decorative cell (2 master class)
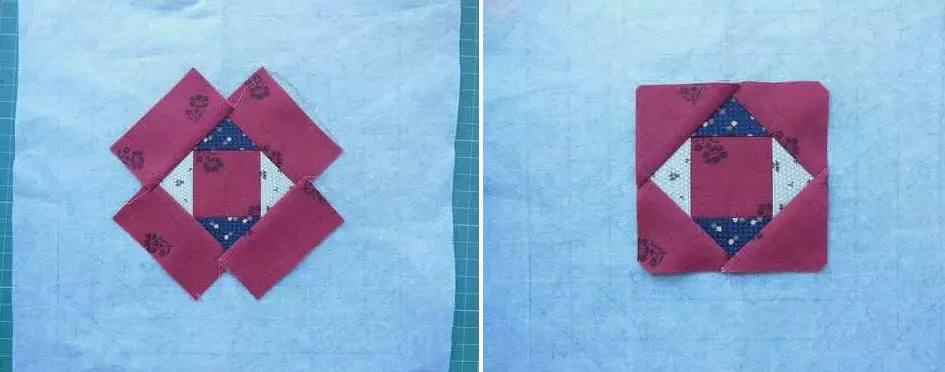
1. Originally harvested patterns. The product consists of a square located in the center of the product. It will be followed by 5 bands around the perimeter consisting of four triangles obtained from a square cut diagonally. The central square has dimensions of 6.5 × 6.5 cm. Squares for triangles used in each floor have a parties 7 cm, 9 cm, 11 cm, respectively.
2. First, they cross the central pink square with blue and white triangles. For this, flaps are folded by the front parties, combining the details in the following way: the side of the square and the base of the triangle. After that, the line is laid. In this way, all four triangles are sewn.
3. Next elements are spread and moved through the iron. The result will be a new square, which at this stage must be stored. To make the correct form, do hardly cut down all surplus, put in order the edges of the seams.
4. In the next step, new triangles are sewn to the resulting square, large in size. All the actions described above are performed. Each time new squares with a large perimeter will be obtained. Having finished all the steps, it is an element of patchwork pillow from various flaps with dimensions of 32 × 32 cm.
As a result, a pillowcase is obtained, which you need to rejuvenate well. To give a patchwork patchwork more stylish, the front part must be passed.
On the video: how to sew a silent pillow in the style of patchwork.
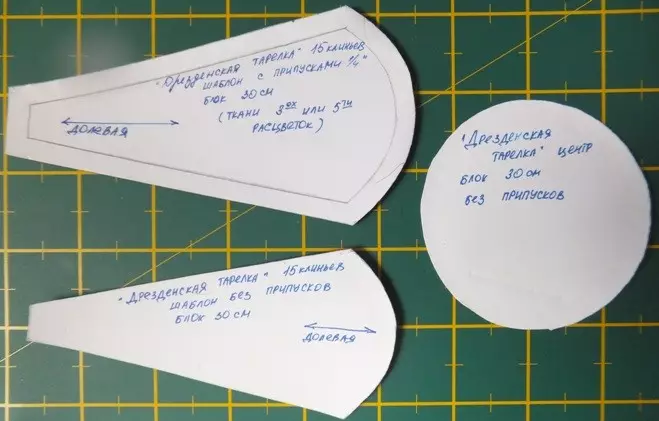
Pillow in the technique "Dresden Plate" (MK)
If you want to create sofa patchwork cushions with their own hands not from the right geometric figures, but something more original, you can try the technique of Patchwork "Dresden Plate". On this master class, accompanied by the photo you can deeper the essence of the technique.
To begin with the fabric of different colors. Used from 5 to 8 species and a combination is thought out in advance. And begin to perform step-by-step stages:
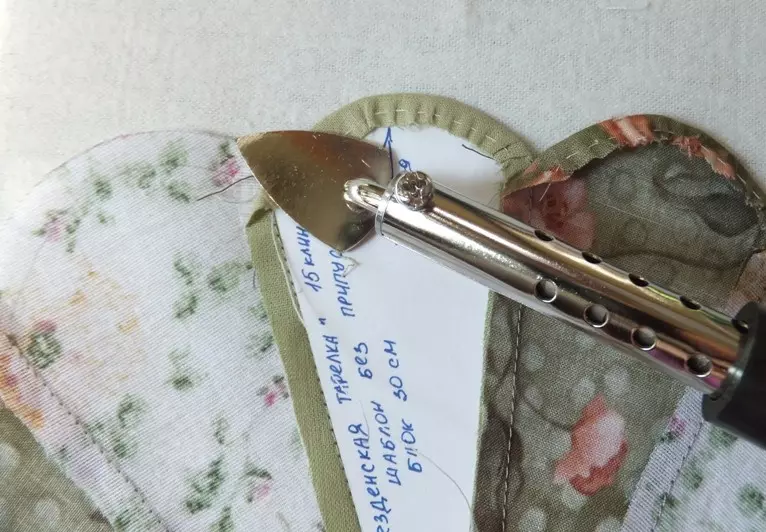
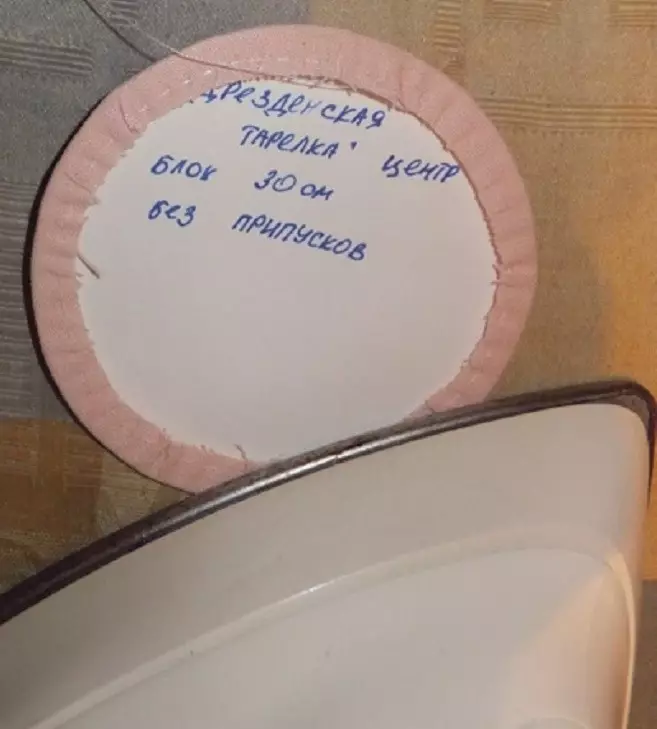
1. Embed to the manufacture of templates for which patterns will be made. They are performed in full compliance with the size of the finished pillow. Templates are a circle and petals.
Article on the topic: We make wall clock from cardboard: Decoupage and Quilling (master class)
2. At the next stage, it is processed to cut the parts for the peeling pads. Doing the billets from the fabric, do not forget to leave the allowances. Usually they are 1-1.5 cm. To facilitate the work and receiving the same patterns, you can make templates already taking into account points.
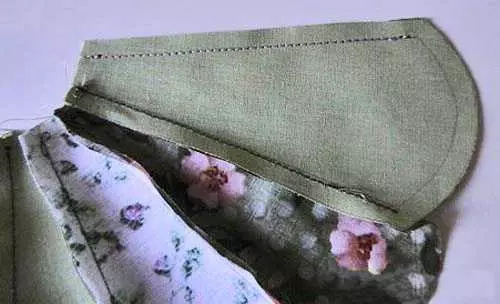
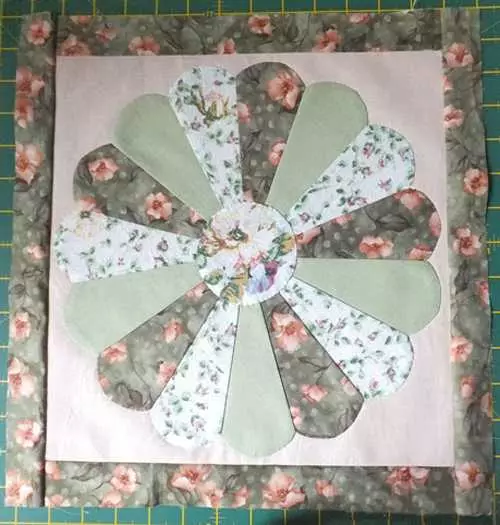
3. Prepared petals begin to sew each other. It is necessary to fold the front side of one and the second part and do the line. Start you need from the center. To cross more accurately, you can attach a template without switch to each petal and break it with shallow. In this way, we get a line on which the line should pass.
4. After all the petals are connected, the circle is sewn into the center, the flower will turn out to be the name of the Dresden Plate Patchwork. Next, this flower is asked for a square shape pillow.
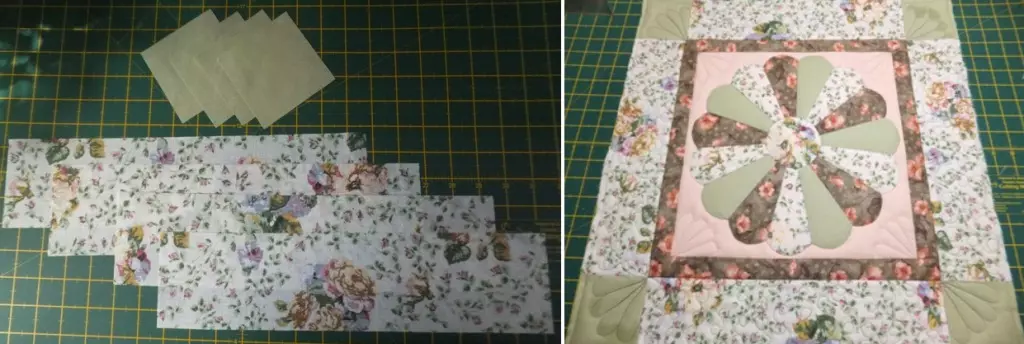
5. At the next stage, it is embarks on decorative finish. For a start, it is sewn to the base around the perimeter four strips of 3 cm. After all the lines are laid, the workpiece must be rejected.
6. Then sew an extreme kaima in the same way as the previous strips. Only the width of the Kaima is slightly wider, about 10 cm. In the corners of the resulting square with the border, four decorative squares are closed with 10 cm sides.
At the final stage, an involne-off fabric is sewn and a pillow is sinyproun. Such a pillow can be decorated with any sofa.
As you can see, there are no special difficulties in creating a patchwork technique even for beginners. One should only be patient and show a little fantasy.
Patchwork in the style of Crazy - what is it? (2 video)
Simple and original pillows (58 photos)
")
")
")
")
")
")
")
")
")
")
")
")
")
")
")
")
")
")
")
")
")
")
")
")
")
")
")
")
")
")
")
")
")
")
")
")
")
")
")
")
")
")
")
")
")
")
")
")
")
")
")
")
")
")
")
")
")