
Repair or construction of residential premises ends with decoration with decorative elements. They not only give the completed appearance, but also perform the function of protection against moisture. Installing plinths both outdoor and ceiling is the final stage of repair of the room. With their help, such defects are hidden as slots between the wall and the floor, the horizontal uneven line.
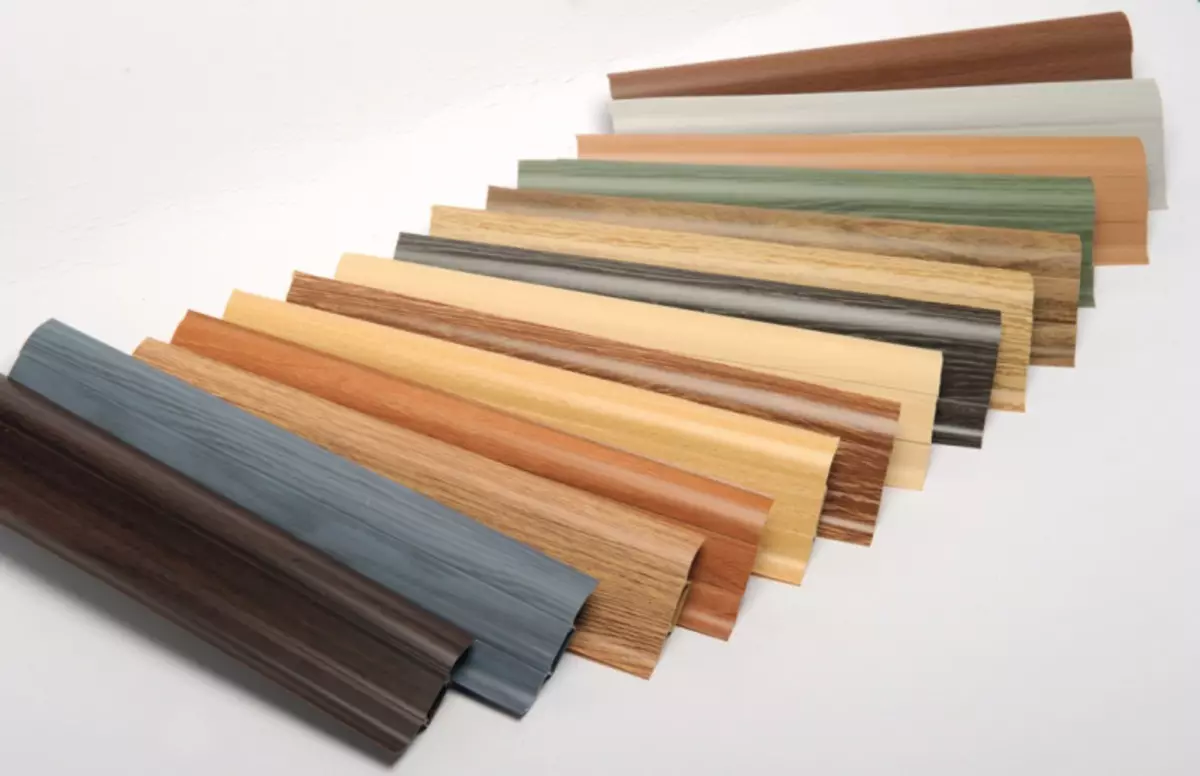
Plinth is able to give the room a more solid and attractive view. The room is transformed and becomes cozy. The decorative element is made from different materials with a rich color scheme. The presence of drawing and stucco on the product adorns rooms. There will be no problems with the choice of this material.
The modern market offers a wide range of plinths. Plastic outdoor profiles are considered the most popular outdoor profiles. They are easy to install and serve long enough. The pricing policy of such materials is available to everyone. Wooden outdoor profile is considered more reliable and attractive from the point of view of aesthetics.
It looks noble and is an environmentally friendly product. Outdoor products are generally divided into:
- Plastic (foamed PVC material). These products have their subspecies that include plinths with channels to install cable and conventional, without wire channels. This type of decorative element is very popular. You can hide the cable, thereby improving the appearance of the room.
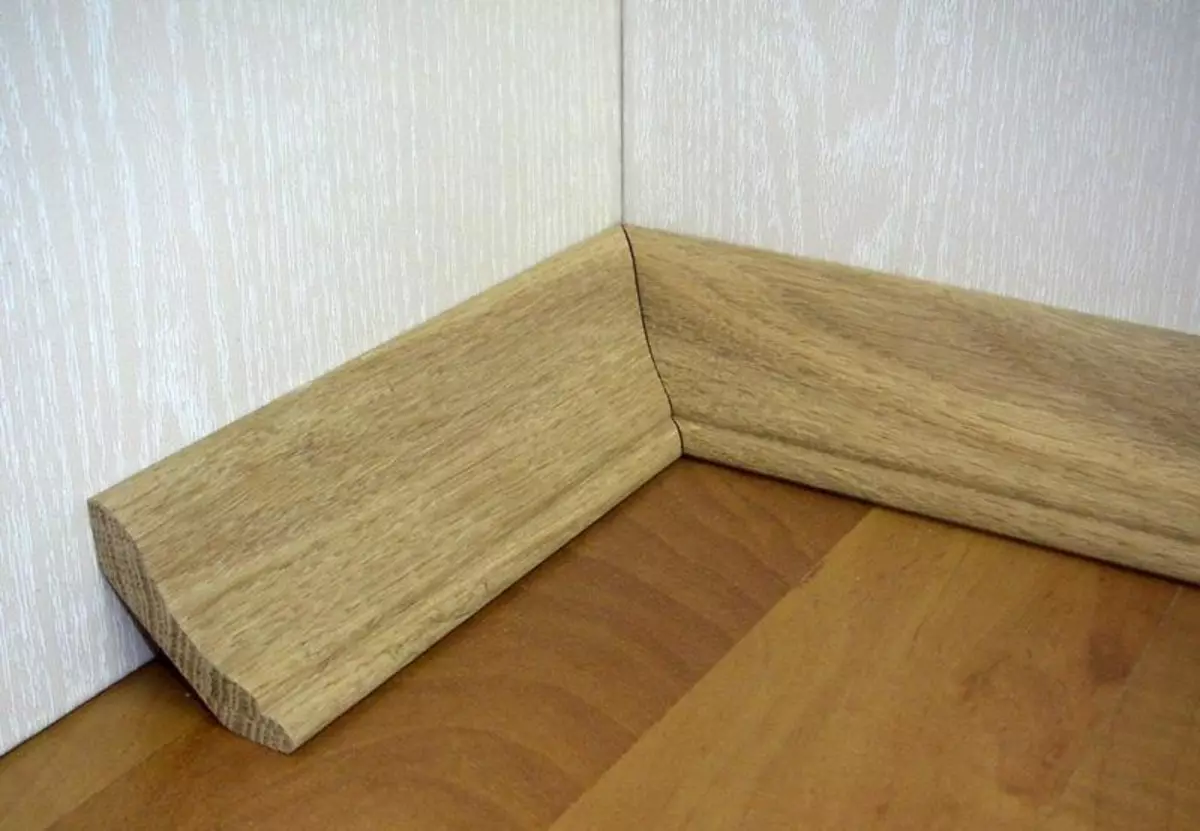
- Wooden Products are made from various wood species. The material is environmentally friendly and has high aesthetic qualities. The room decorated with wooden plinths looks more noble and attractive.
- In addition to the two most common types of products are found Metal plinth . They may be accompanied by canals for laying cable and without them. This type of product is used quite rarely.
The installation of the material depends on its type. For each plinth, its special tool for trimming and processing is required. In general, the installation of any plinth does not require any special skills and skills. Knowledge of the elementary rules of geometry obtained in school will allow to properly cut the corners and install the plinth.
Article on the topic: Profile production for drywall - ideas for business
However, it is worth noting that the installation of ceiling rivers differs from the installation of outdoor. Many are trying to mount outdoor plinth and on the base, and on the ceiling. This is not recommended to do, since the design of ceiling and floor profiles is different. In this regard, do not install the ceiling profile on the floor and vice versa. Universal products do not exist, each area of the room is processed by an element intended only for it.
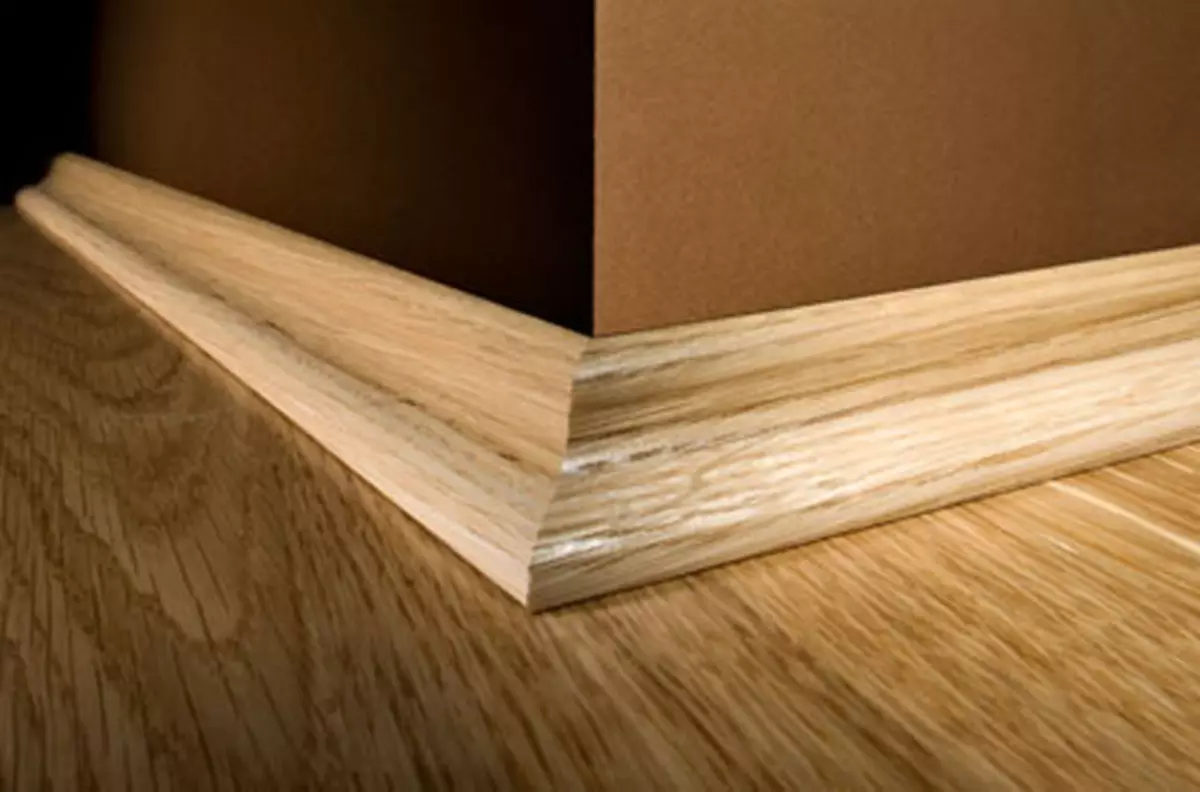
Wooden floor plinths are distinguished by the fact that their set does not include plugs, decorative overlaps for the slots formed during the installation. Thus, itching the angles should be extremely accurately and carefully, since there will be no joints to cover. They must perfectly lay down to each other. The problem of flawless cuts is solved thanks to special tools. Properly processed wooden plinth perfectly lay on the base and wall. The joke will not be visible.
Installing the plinth depends on its type and material. In general, the installation of products is reduced to the correct cut of the corners.
Installation of floor plinths with using Stusla
The main point of the installation of products is the right cut of the corners. Many owners beat over an angle of 45 ° all day. This figure is crazy and is not easy if there is no experience in geometric calculations.
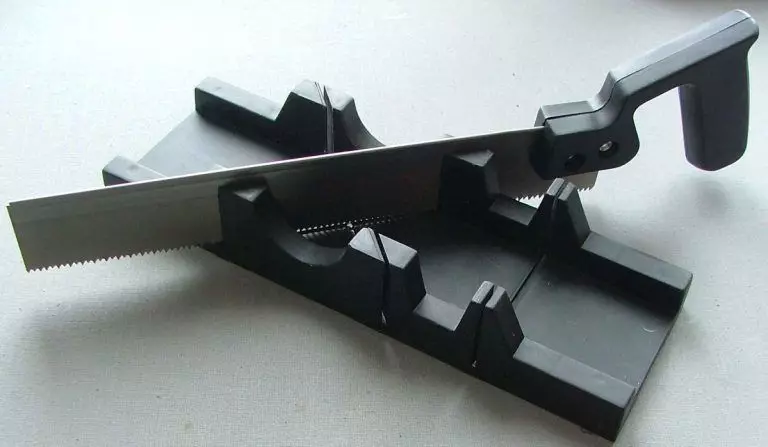
However, a special carpentry tool is coming to the help of craftsmen. It is intended for this kind of work, cutting the necessary angles. Using the tool will save time and nerves, and properly processed plinth will allow you to mount the elements quickly.
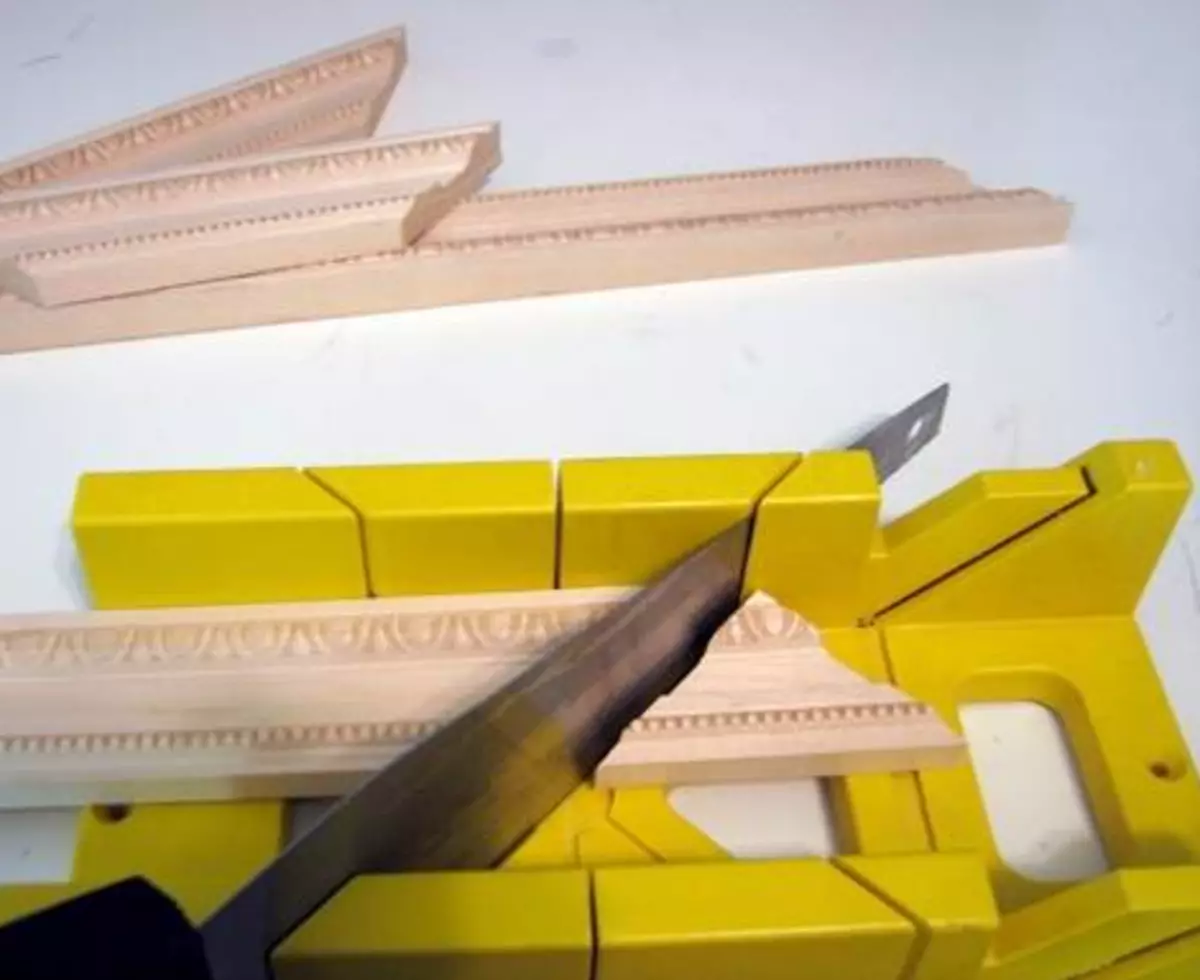
Stuslo must have a different type of clamps and high-quality knobs. The place where the product is stacked should be quite large and comfortable. Comfortable for use of the stub is indicated by special labels - for external and internal angles. This will not get confused where and which side is inserting a rail. Draps for hacksaw are marked with numbers. Recommendations and instructions to the instrument are attached. To flush the internal angles using the stouch should be as follows:
- Prepare two segments of the product whose corners will be shrinking.
- One segment is placed in a stub in the direction of the right left. A piece is cut on the left side, the knife is installed in the hole with the designation 1.
- The second segment is stacked in the stubborn from left to right. The product is cut from the right end, the hackske is mounted in the hole with the designation 2.
Article on the topic: We make the screen for the bathroom with your own hands
Cutting outdoor angles with a stouch should follow the same scheme, with the exception of some nuances.
- Prepare two segments of the product whose corners will be shrinking.
- One segment is put in the stubble right left. A piece is cut on the left side, but the hacksaw is installed in the hole with the designation 2.
- The second segment is stacked in the stubborn from left to right. The product is poured from the right end, the hacksaw is installed in the hole with the designation 1.
The use of Stusl will make it easier for the installation of products. The angle of 45 ° will cease to be flour and punishment. Correct corners with this tool does not represent any complexity.
Installation of the product without the use of stusl
If for some reason it is not possible to purchase a special tool or the feasibility of its presence due to one-time use, you can use the old good way of measurements with a pencil and ruler. Cut the angles in this way very simple.
- Measure the width of the product with a ruler and set the resulting digit from the end of the product. Make a mark.
- Connect the mark with the corner of the product. On this line and cut an angle.
It is possible to do without the tool on trimming angles. Moreover, it is very simple. Properly installed decorative element will delight the owners for a long time, the room will have a complete and aesthetic look.