
Watching the wallpaper with your own hands for every blowing wallpaper is one of the most important stages in the decoration of the apartment. From how correctly the walls are neatly decorated, the entire appearance of the interior depends on the end. Glue wallpaper on the walls is not so difficult. Knowing the basic rules and nuances, with this work you can cope even without the help of professionals. On how to choose and stick the wallpaper so that the room looks neatly, and repair served you for many years - read further.
Preparation of walls to pasting wallpaper with your own hands
Half the success of the wallpaper is depends on the proper preparation of the walls. This stage is important because under thin web such a finishing material, all the irregularities of the foundation are clearly visible.
Preparatory actions occupy even more time than the wallpaper sticking itself. It includes two items: putty and primer walls.
The putty allows you to eliminate all the irregularities of the walls. Without her room will look dirty and untidy.
Such seemingly a simple process as the primer solves a lot of problems. The primer substance glues dust particles, increasing the grip of wallpaper with a wall, also reduces the amount of glue used and protects the walls from the formation of fungi and mold.
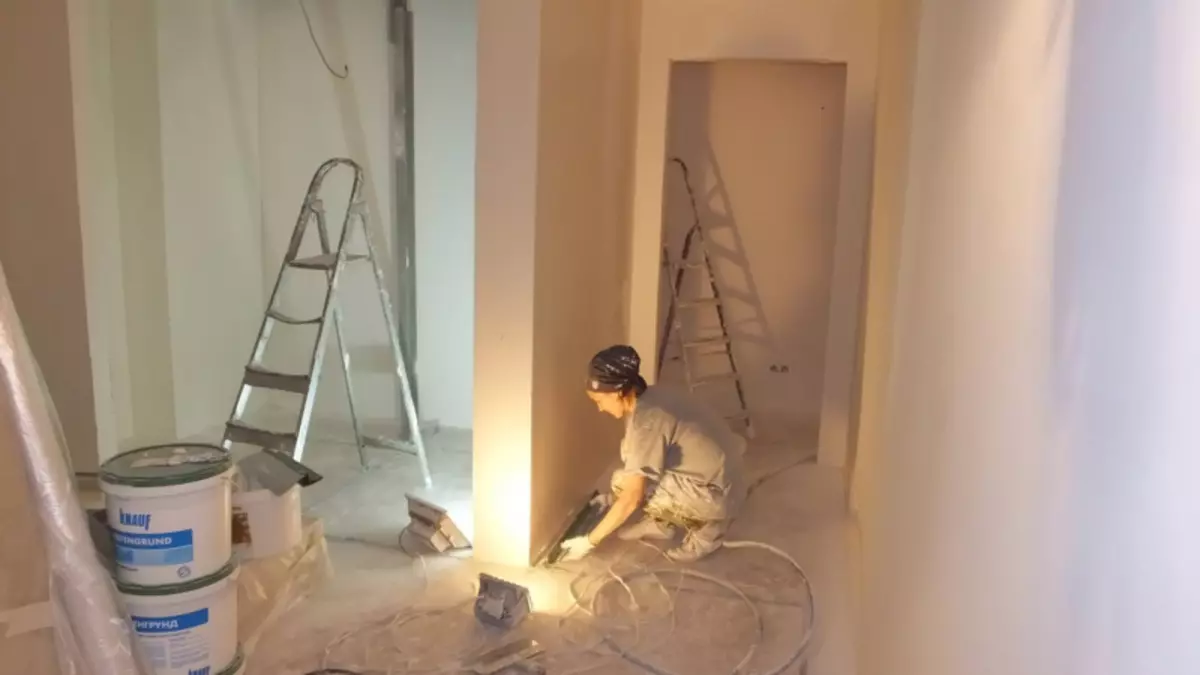
Before starting glue wallpaper, it is necessary to remove all irregularities from the walls
We prepare the walls to stick wallpapers with your own hands:
- The wall is covered with a special primer solution. Convenient
It is done with a roller or a wide brush. Applied primer leave to dry during the day.
- Next is applied gypsum putty. With it, all the irregularities of the walls are eliminated. It is best to start to put the surface with the corners, pulling the composition on the middle. Here your main tools will be a wide and narrow spatula. If you have purchased a dry putty, it must be dissolved with water to the state of fatty sour cream. After completing this work, the wall should become smooth and smooth.
- After the layer of plaster spacing is dry, with the help of a wide spatula from the wall, all unevenly dried particles are removed. The surface is again processed by primer.
- To make the wall beautiful, and the yellow or gray color of the draft putty was not transformed through the wallpaper, the finish layer is applied to it. It usually has a white or slightly pinkish shade. The finishing putty is divorced to the state of a roof sour cream and is applied with a thin layer on the wall. At this stage, the mixture must be applied especially neat.
- The dried walls grinds the special tool, which is a rigid grid inserted into the holder. Next, the surface is grounded last and left until complete drying.
Article on the topic: Couple Couple do it yourself: drawings, instructions
The finishing layer under the wallpaper can be one, but if you decide to paint the walls, then this quantity will be little. These work at first glance seems sufficiently difficult, but if you follow the sequence of actions, then you will independently cover the wall.
Choose the material before walking the wallpaper itself
The finishing materials market is constantly developing, so at the moment there is a huge number of different types of wallpaper. Each of them is characterized by wall mounting technology, so before choosing materials, you need to familiarize yourself with their properties.
The most common types of wallpaper:
- The oldest view of the wallpaper is paper cloths. They are most cheap, so still in demand. However, they do not differ in good characteristics. Such material is suitable only for finishing dry premises. Paper quickly turns, so such wallpaper is easy to spoil when working with them. To break the paper sheets on the wall, it is necessary to lubricate them on the reverse side with a thin layer of glue, the surface that you design also can be treated with adhesive composition.
- Vinyl wallpaper is characterized by their resistance to fungi and moisture. They have an excellent appearance and can be used absolutely in any rooms. Such wallpapers can even be washed, and due to the relief of this material, the small irregularities of the walls are hidden. Vinyl may have a paper or fliesline base, in the second case they are easier and more convenient to glue.
- Fliselin wallpapers are made from a mixture of paper and mineral fibers. Due to this composition, they are not afraid of moisture and do not give shrinkage after drying. To punish the most such wallpaper, you need to lubricate glue only the wall.
- Fabric wallpapers look very expensive, and stand accordingly. They consist of textile fibers planted on a paper or fliesline base.
- Glassworks are modern material with a long service life. They are made of fiberglass. To stick such wallpaper, it is necessary to smear with special glue only the surface of the wall.
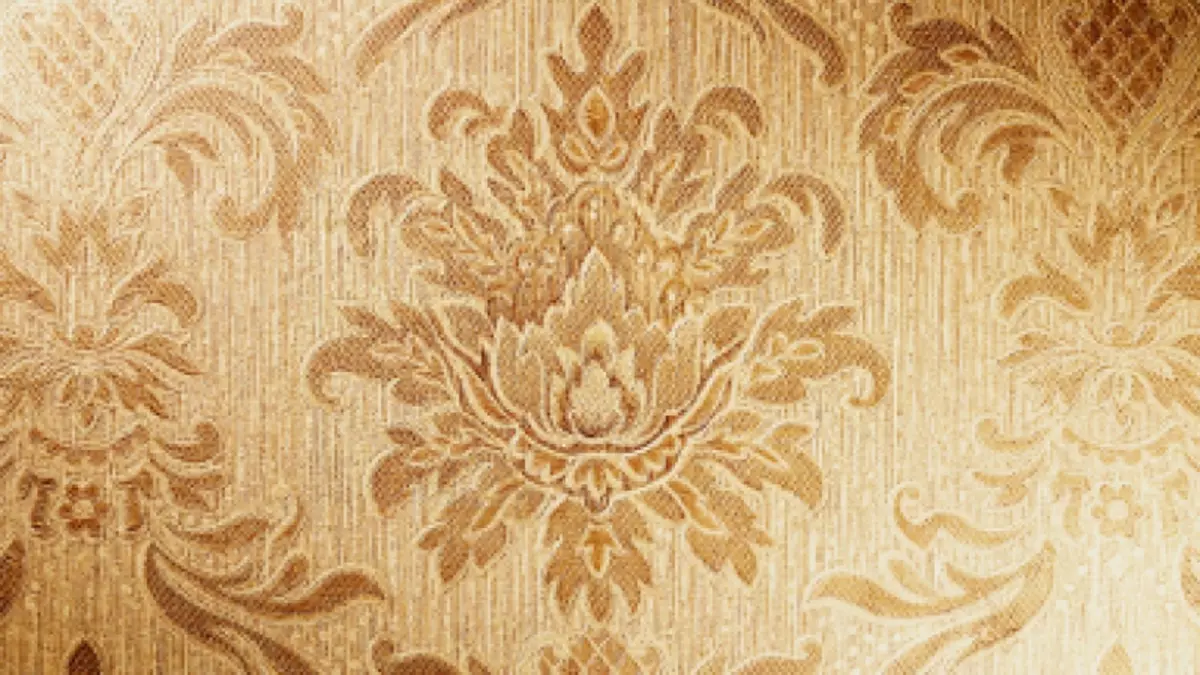
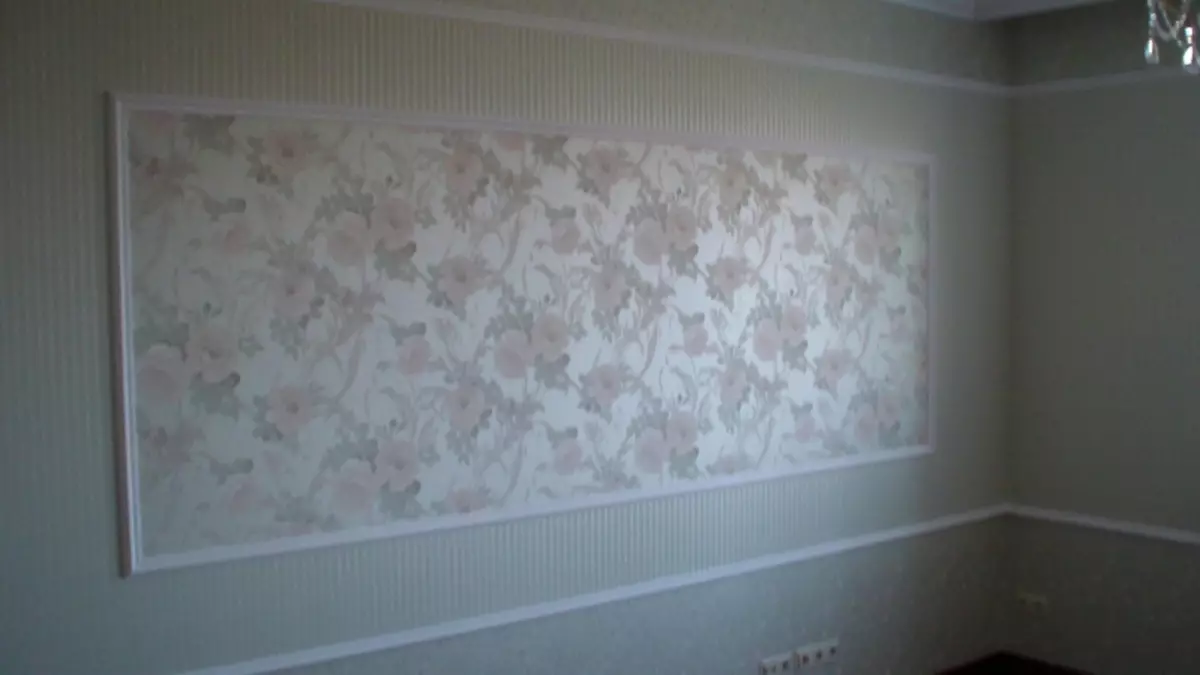
Fabric wallpapers in the interior look luxurious and rich
Liquid wallpapers have a very interesting way of sticking. They are sold in a dry or liquid form and are applied by a spatula as well as putty.
How to calculate and punish wallpaper with your own hands
Another important point in preparation for working with wallpaper is the calculation of the number of rolls. If you do such calculations incorrectly, the material may not be enough and you will have to go to the store, where the desired goods may not be, then your repair is zoked for several weeks.
To calculate the required amount of wallpaper you need to find out the perimeter or room area. To do this, measure two adjacent walls and the height of the room.
Before you buy wallpaper, you need to calculate their required amount
There are two ways to clarify the number of wallpapers needed to finish your room. In the first case, you need to fold the length of the adjacent walls, and the resulting digit is multiplied by two. Next, the length of the wallpaper is divided into the height of the room, and the resulting number is multiplied by the width of the wallpaper. Now you have to divide the first result on the second. The result rounded in the big face is the number of wallpaper you need.
Article on the topic: Plinth for heating pipes: laying tips
In the second case, you need to divide the area of the room to the area of one roll of wallpaper. The first value is determined by multiplying the suma of the adjacent walls of the room for two, and then to height. For the second sizes, you need to multiply the roll length on its width.
Sticker on the wall with your hands of paper wallpapers
First of all, it is necessary to clarify that sticking any wallpaper need not to therapure, as they did before, and the junction into the joint. Only in this case the repair will look neat and modern.
Start the room decoration is needed from the door or from the window frame. And it is always necessary to go in one direction. The fact is that the walls and corners in the room can be uneven, but the windows and doors are always installed strictly at right angles.
Wallpaper sticking technology depends on the material from which they are made. Paper wallpapers are cheaper than other species, but also work with them more difficult.
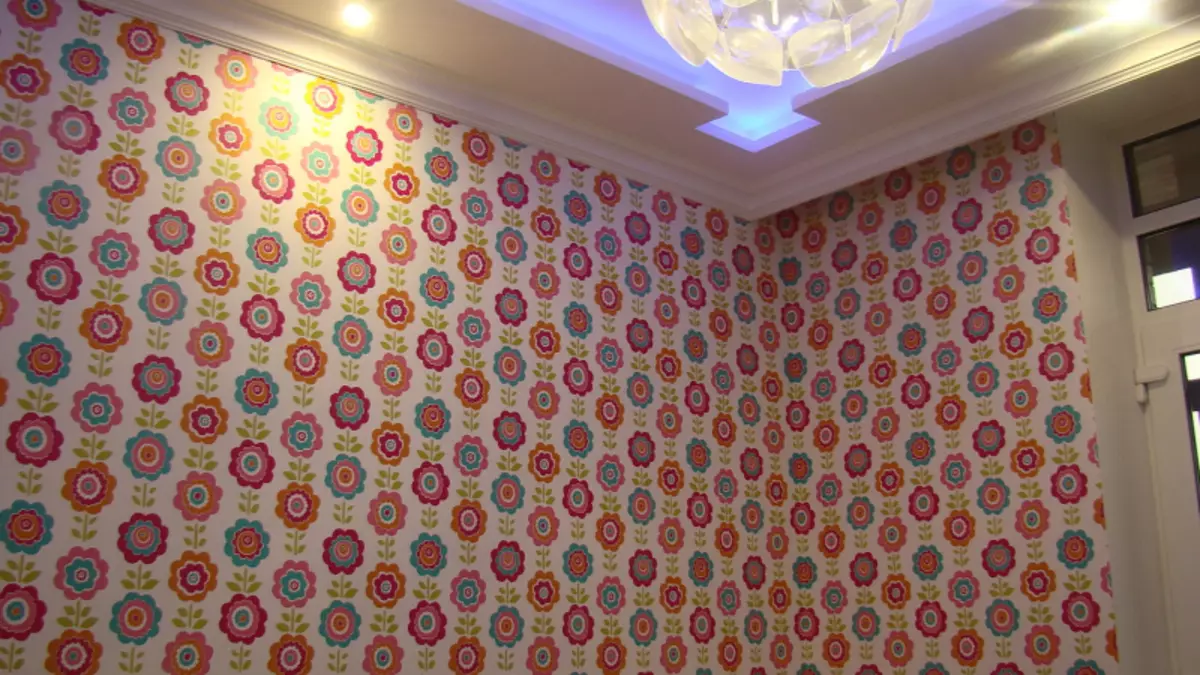
Start shook wallpapers in the room is necessary from the door or window
Sticker paper wallpapers with your own hands:
- Rolls are rolled and edges (if any) are cut from wallpaper.
- Next, the wallpaper is cut onto the canvas corresponding to the length of the room. So that the finish looked carefully, it is necessary to cut the wallpaper with a reserve of 10-15 cm. At this stage, the selection of crafts in the drawing occurs.
- The reverse side is lubricated by the wallpaper glue, which, by the way, you can cook yourself, then the wallpaper can be glued to the wall. If you use dense paper wallpaper, then apply glue to the canvas in two stages.
- Surplus of glue and air bubbles are driven out from under the glued piece of wallpaper with a dry, soft and clean cloth. Remember that the fine paper wallpaper is very easy to damage or stain.
- Surplus wallpaper are cut or hiding under the plinth using a metal narrow spatula.
Casting walls with paper wallpaper is quite a long and difficult stage. So, the glue is applied directly to wallpaper, and not on the wall, glue such wet heavy canvas is hard enough. To fulfill everything as quickly and without errors, we advise you to take yourself in the assistants of the second person.
It is glued with vinyl wallpaper
Vinyl wallpaper is distinguished by their strength and durability. This option is less capricious in sticking than paper wallpapers, but has its own nuances.
When sticking vinyl wallpapers, the plinth is better to remove until the end of the walls are finished.
To glue the wallpaper from Vinyl, you will need special glue. It is very durable and able to withstand heavy cloths of this material.
Article on the topic: Paint-enamel PF 115 and its consumption per 1 m2
Wallpaper from vinyl need to glue on special glue
Glue vinyl wallpaper:
- We cut the rolon on the canvas, which will be 10 cm longer than the height of the wall. The allowance is needed to hide all the irregularities of the walls. Also at this stage it is necessary to adjust the drawing.
- Further, depending on what is the basis of your vinyl wallpaper, glue is applied to the wall, or on the canvas itself. The first option is preferable, such a flashing technology differ on a flieslinic basis.
- Wallpaper strip is applied to the wall, and an excess adhesive and air bubbles are driven out of it. It is necessary to do it with pressure rolling the canvas with a clean and dry roller.
- Vinyl wallpapers are quite thick, so it is likely that you will have to additionally sneak their edges.
Such wallpapers are glued exclusively to the joint in the junction. When you stick the cloth to the angle, it is desirable that it can at least 4 cm enter the adjacent wall.
Flizelin wallpaper: glue with their own hands
Fliseline wallpapers are considered the most durable and modern option from all classic materials for wall decoration. They stick on the walls from the corner.

Flizelin wallpaper must begin to glue from the corner
How to get the walls with fliesline wallpaper:
- Wallpapers need to be cut into stripes that will be 10 cm longer than the ceiling height. Simultaneously with the cutting of the canvas, they can be adjusted in the drawing and twisted into rolls the front side into the inside.
- The glue smears the wall of the wall to which the canvas will be glued. The glue layer must be quite abundant.
- Next, the wallpaper must be pasted onto the wall, roll off the canvas below at the top. Aligning the canvas on the wall, the surplus of glue and air bubbles are expelled from under it.
- Excess points on top and bottom are cut by a painting knife.
Fliselin wallpapers are glued very simply, so they prefer them most professionals builders. By the way, the vinyl wallpaper is also on the phlizelin basis.
How to cross the wallpaper with your own hands
Plywood wallpaper is needed in two cases: if old wallpaper wear out, or if the sticker of the walls on the wall was incorrect. The process itself of this work is not different from the standard shocking of the wallpaper, but the preparatory stage will need to be revised.
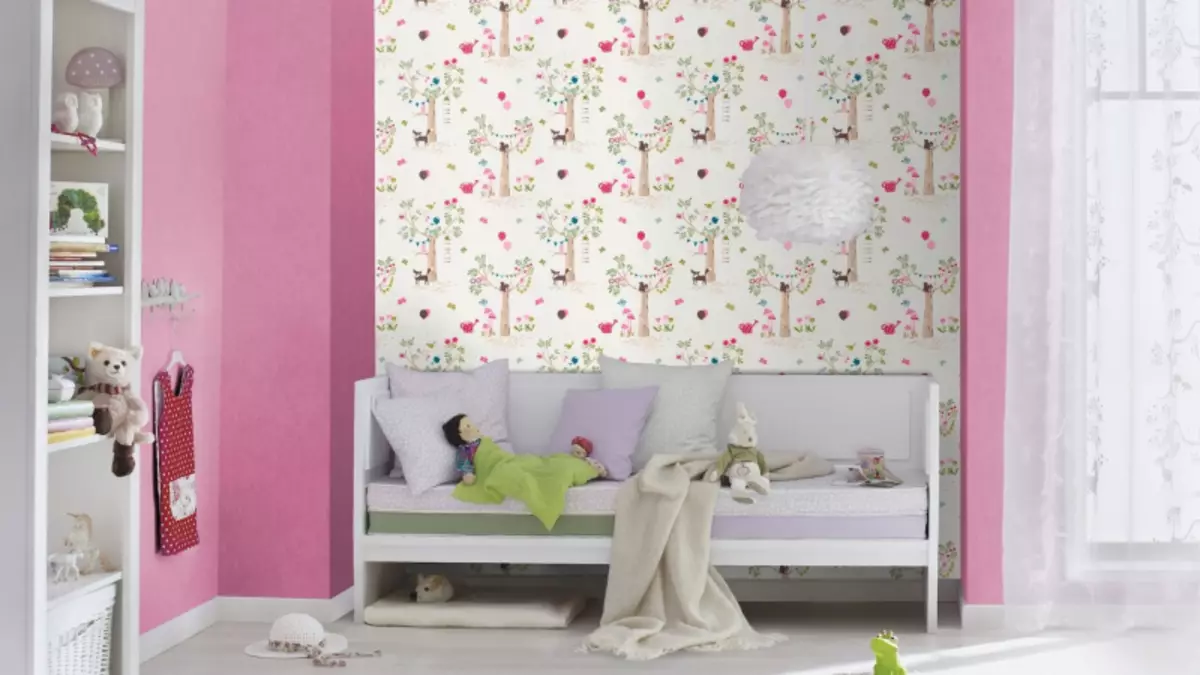
Glit wallpaper with your own hands is simple enough, the main thing is to initially prepare the walls
You can not cross the wallpaper on the layer of the old material. In this case, the canvas even from the most durable material will quickly depart from the base.
To cross the wallpaper, it is necessary to abundantly moisten the wall with water and remove the layer of the old material. The finishing layer of putty is also desirable to remove, and apply a new layer of the same substance on the wall. Next, the surface is ground, and new canvases are pasted on it, according to the technology described above.
Glue wallpaper with your own hands (video)
With the sticking of wallpapers with their own hands to cope with absolutely any person. The main thing is to fulfill all the steps and responsibly approach each of them.