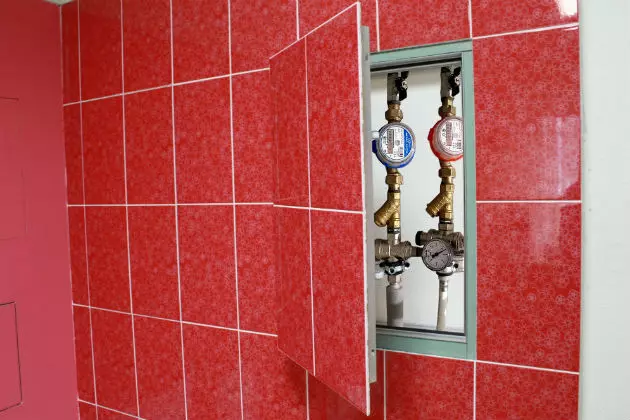
Auditing hatch may differ not only in the component, that is, according to the material used, but also in size, location, design of opening and closing.
When the material is selected, it is necessary to consider what the wall, floor or ceiling is coverage.
If this is a tile, the hatch is also made from the tile, if we put out of the panels.
If the wall covering, let's say, consists of an artificial or natural stone, a hatch cover them.
Revision Luke Materials
In addition to the material used as a disguise, so that the hatch does not spoil the appearance of the interior, the main one is used.They may be:
- ordinary tree. If you have wooden surfaces that you can neatly treat, impregnate with an antiseptic and coat with a moisture proof suspension, this option is quite suitable. If we lose the processing step, the hatch will last long due to the high level of humidity in the room;
- Laminated chipboard sheets or oriented chipboard (OSP). These are durable sheets that consist of wooden chips. Additional processing is not needed - it is enough to trim the already existing sheet below the desired dimensions;
- Plasterboard. Be sure to choose resistant to moisture - only it can withstand the conditions characteristic of the bathroom.
Auditing hatch can be made from different materials.
So, the OSP will serve perfectly to create a frame, and the door can be made of drywall.
Preparation for the creation of a revision hatch with their own hands
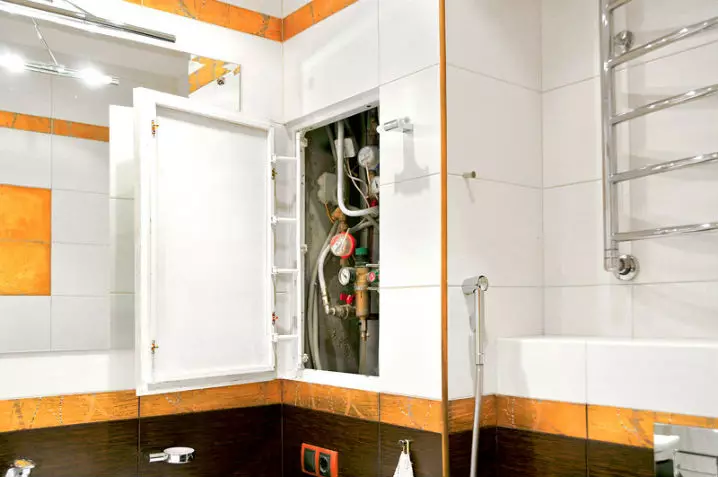
The sequence of action is:
- First we make a frame;
- After assembling the frame, we set it;
- Krepim door;
- Fresh finishing material.
The size of the hatch will depend on the size of the niche allocated to install the devices for maintaining performance, repair and in general, storing important communication devices.
Article on the topic: Wiring in a wooden house with your own hands
We make a frame from an osp - chipboard (can be replaced with chipboard). We measure the distance between the walls.
Typically, for the placement of the water meter and span keys, the size of the hatch is enough 20x30 cm, but if the repair in your bathroom is almost ready, and the walls are covered with finishing material, the dimensions will be individual.

If you need a restoration of an old bath, it is quite possible to create such a hatch near it, below, closing the bottom or unbashed or by the exit lid. The swollen option will be easier.
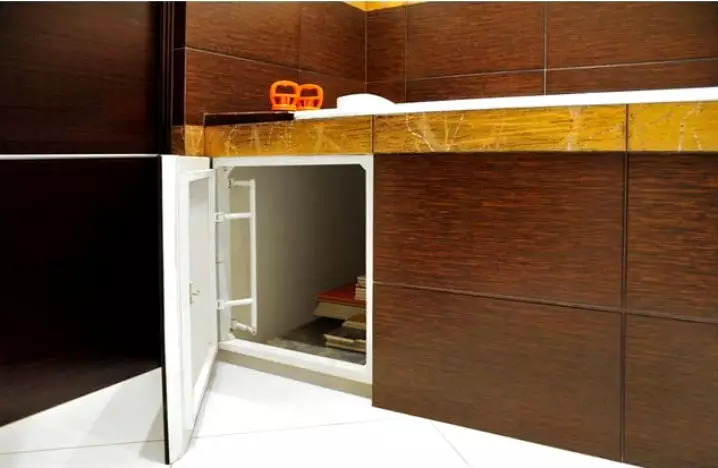
Auxiliary materials:
- the mechanism of the Push system required to open and closing the door;
- glue;
- reinforced grid;
- Glue for ceramics (if you do not have a ceramic tile used when finishing the walls, pick the glue under your material).
How to make a revision hatch do it yourself
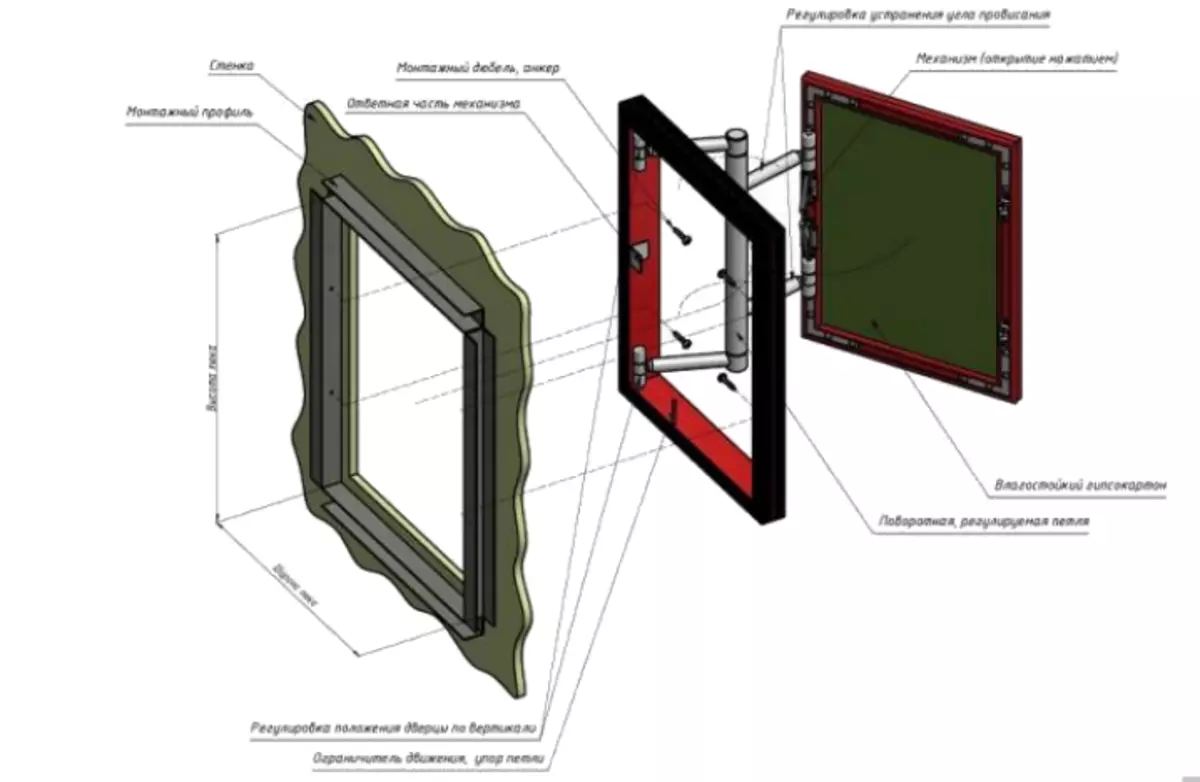
The sequence of actions when creating a hatch will be like this:
- We produce the surface treatment of the wall to which the profile or directly frame will be attached (align, remove dust). The profile is needed to ensure maximum reliability of the design, but its use is relevant mainly when used as a frame of ordinary wooden bars. The profile is attached to the wall on the self-tapping screw, dowel or anchors;
- We establish wooden bars in the profile using the construction glue if the metal profile was generally installed. If not, we collect a separate wooden frame and install, as shown in the diagram above;
- Krepim to Brukes or Push-system frame. Complete to it will go fasteners, and use them. It will remain half of the details from the attachment set directly to the door;
- Make the door. To do this, exactly measure the free space is not inside the frame, but in general, then that should be aligned using the door the outer wall. We produce trimming drywall or other material;
- Confirm on the door Push-system elements;
- Fresh the door to the frame, connecting the push-system elements;
- We try how correctly we have implemented installation;
- The most important stage is the door trim.
Article on the topic: Requirements for boiler houses in a private house
It is better to produce the door with the same responsibility as the plumbing is created with your own hands.
From the accuracy of measurements depends on the appearance of the wall and whether the hatch will be noticeable. If the walls are covered with a tile, measure the size of one tile unit and compare it with the size of the hatch.
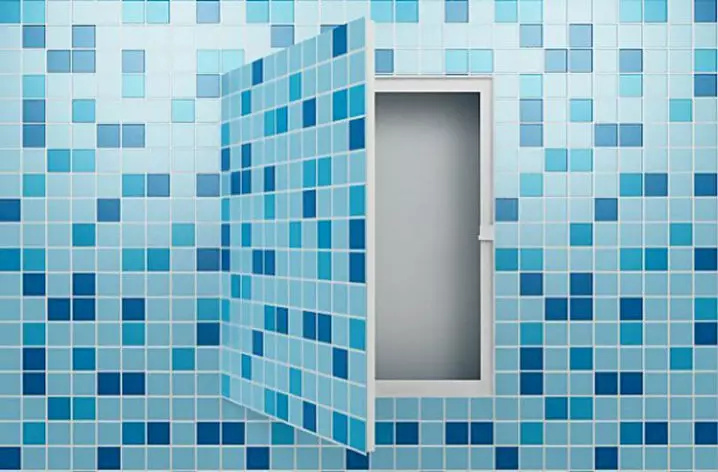
You can make a few identical bands, separating the required size (corresponding to the dimensions of the door) to equal parts.
The tile is attached to a special glue, its in a similar way, as it happens with standard finishing, it is recommended to sweep.
If you do not have a tile of the necessary coloring, buy several monophonic elements whose colors will correspond to one of the colors on the tile patterns that served for decoration.
If the hatch is covered with a stone, it is not necessary to calculate the calculations. But in the case of waterproof wallpaper, it is important to prepare the surface of the door well.
A revision hatch made by your own hands can be hidden by counter, tools, water supply elements and much more.
