
How to make a wooden hanger with your own hands? Very simple, we will tell you how. It would seem that a hanger is in the house? Almost no one notices her, although it is quite a significant and functional subject. You will be surprised how to improve it, and even do it yourself. Special skills will not need there, so everyone will be able to make it.
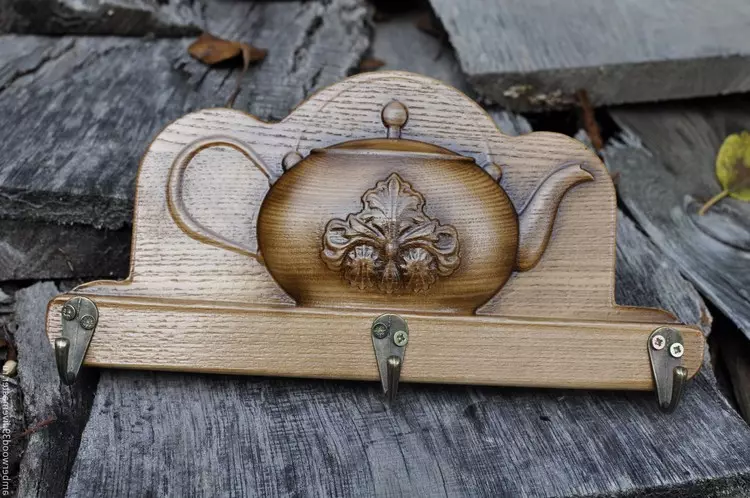
Materials for work: what tree make a hanger
Depending on the type of hangers, we may need different materials for work. There is a general primary list that will be quite useful for any of the works in this category.
The tool arsenal looks about this way:
- The material from which the hanger is manufactured.
- Samoning.
- Screwdriver.
- Pila Bulgarian, with which you can cut the desired parts of the hanger.
- Dowel if the design is wall.
- Schurophvert or drill (better electric).
- Level, roulette, pencil.
- Emery surface cleaning surface.
- Hooks.
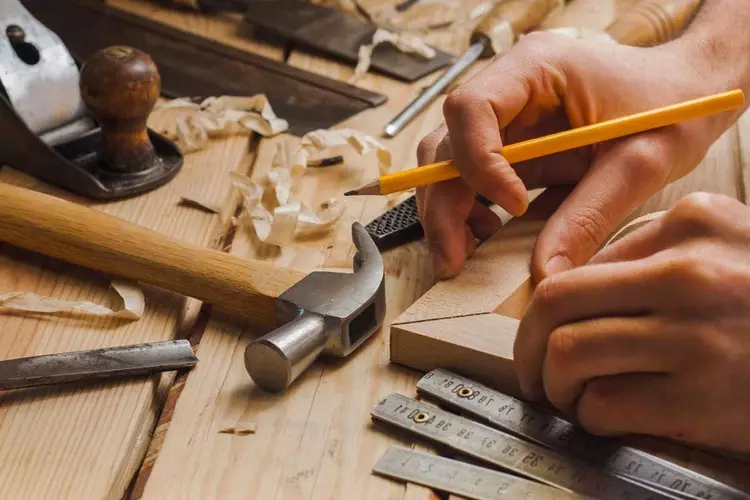
Outdoor wooden hanger with their own hands
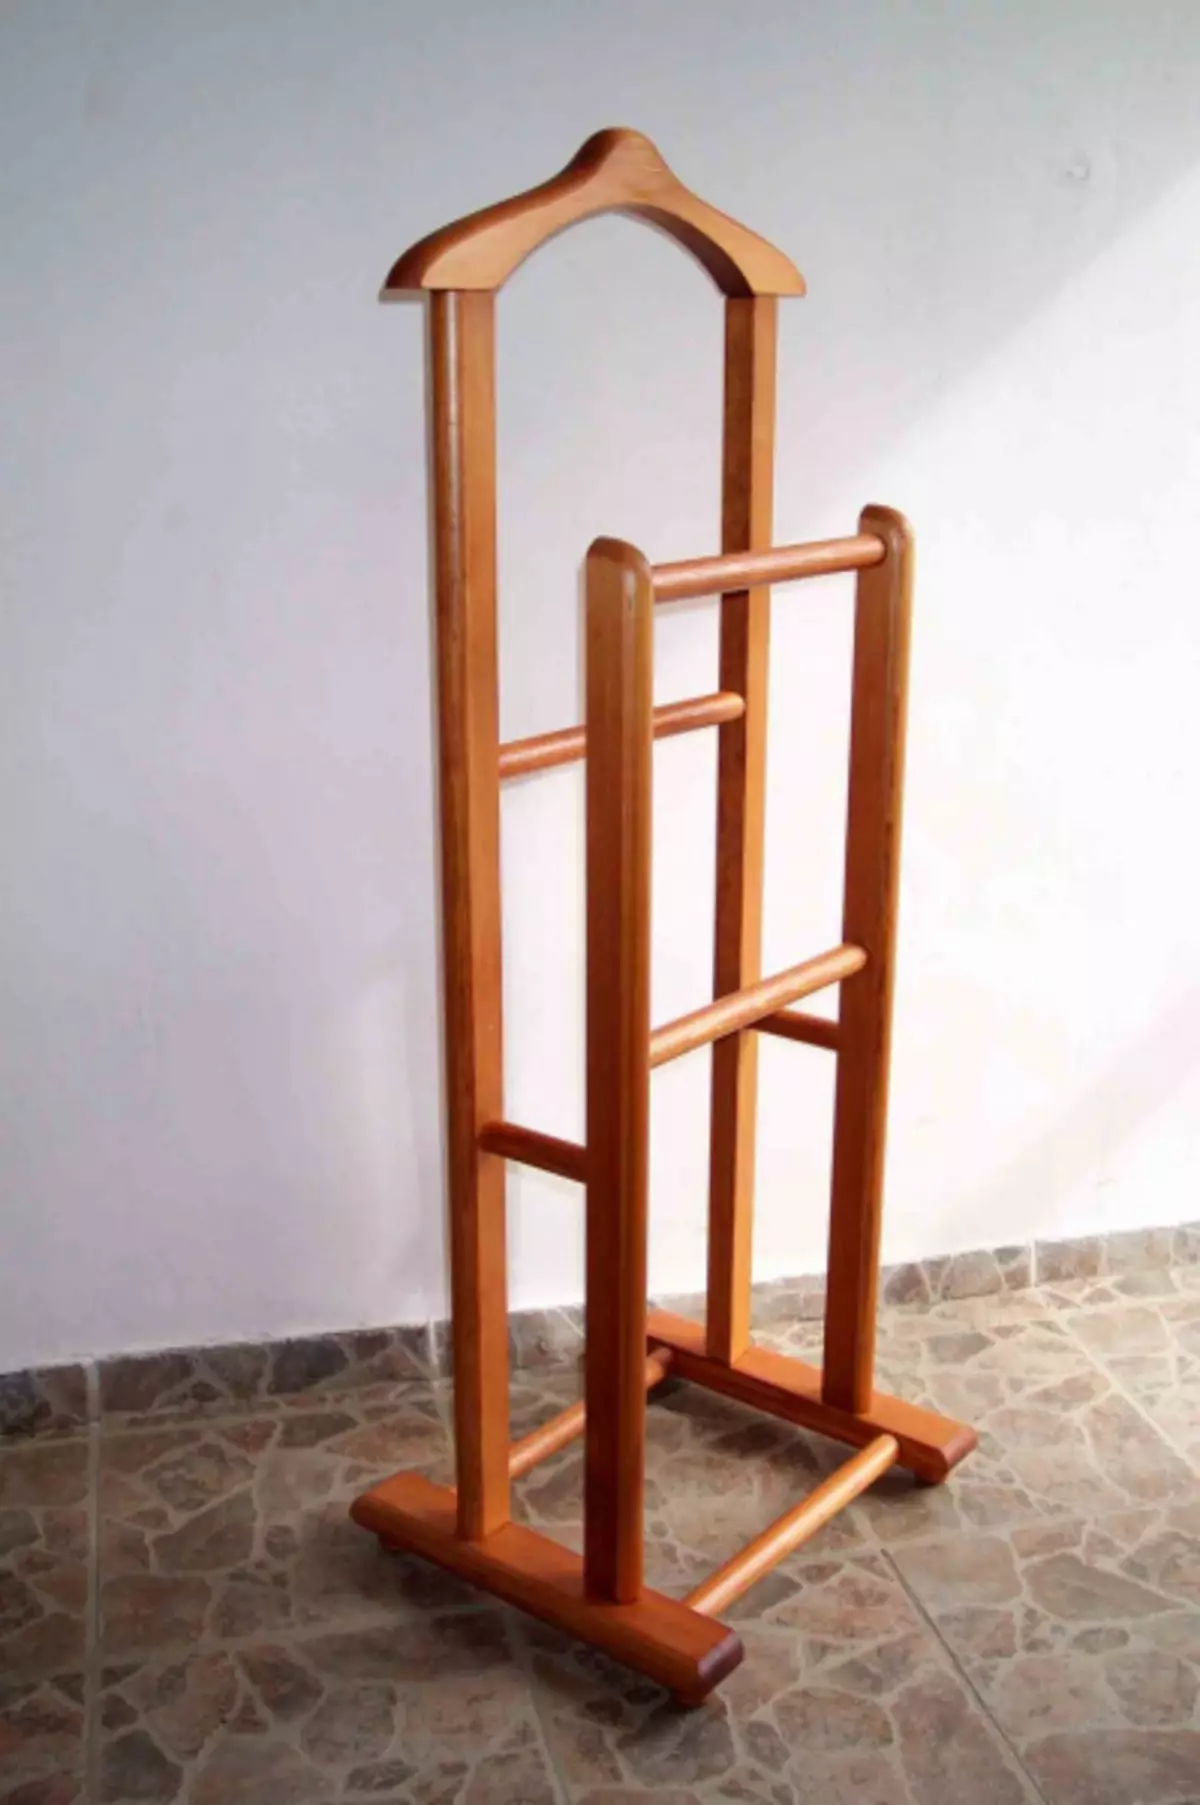
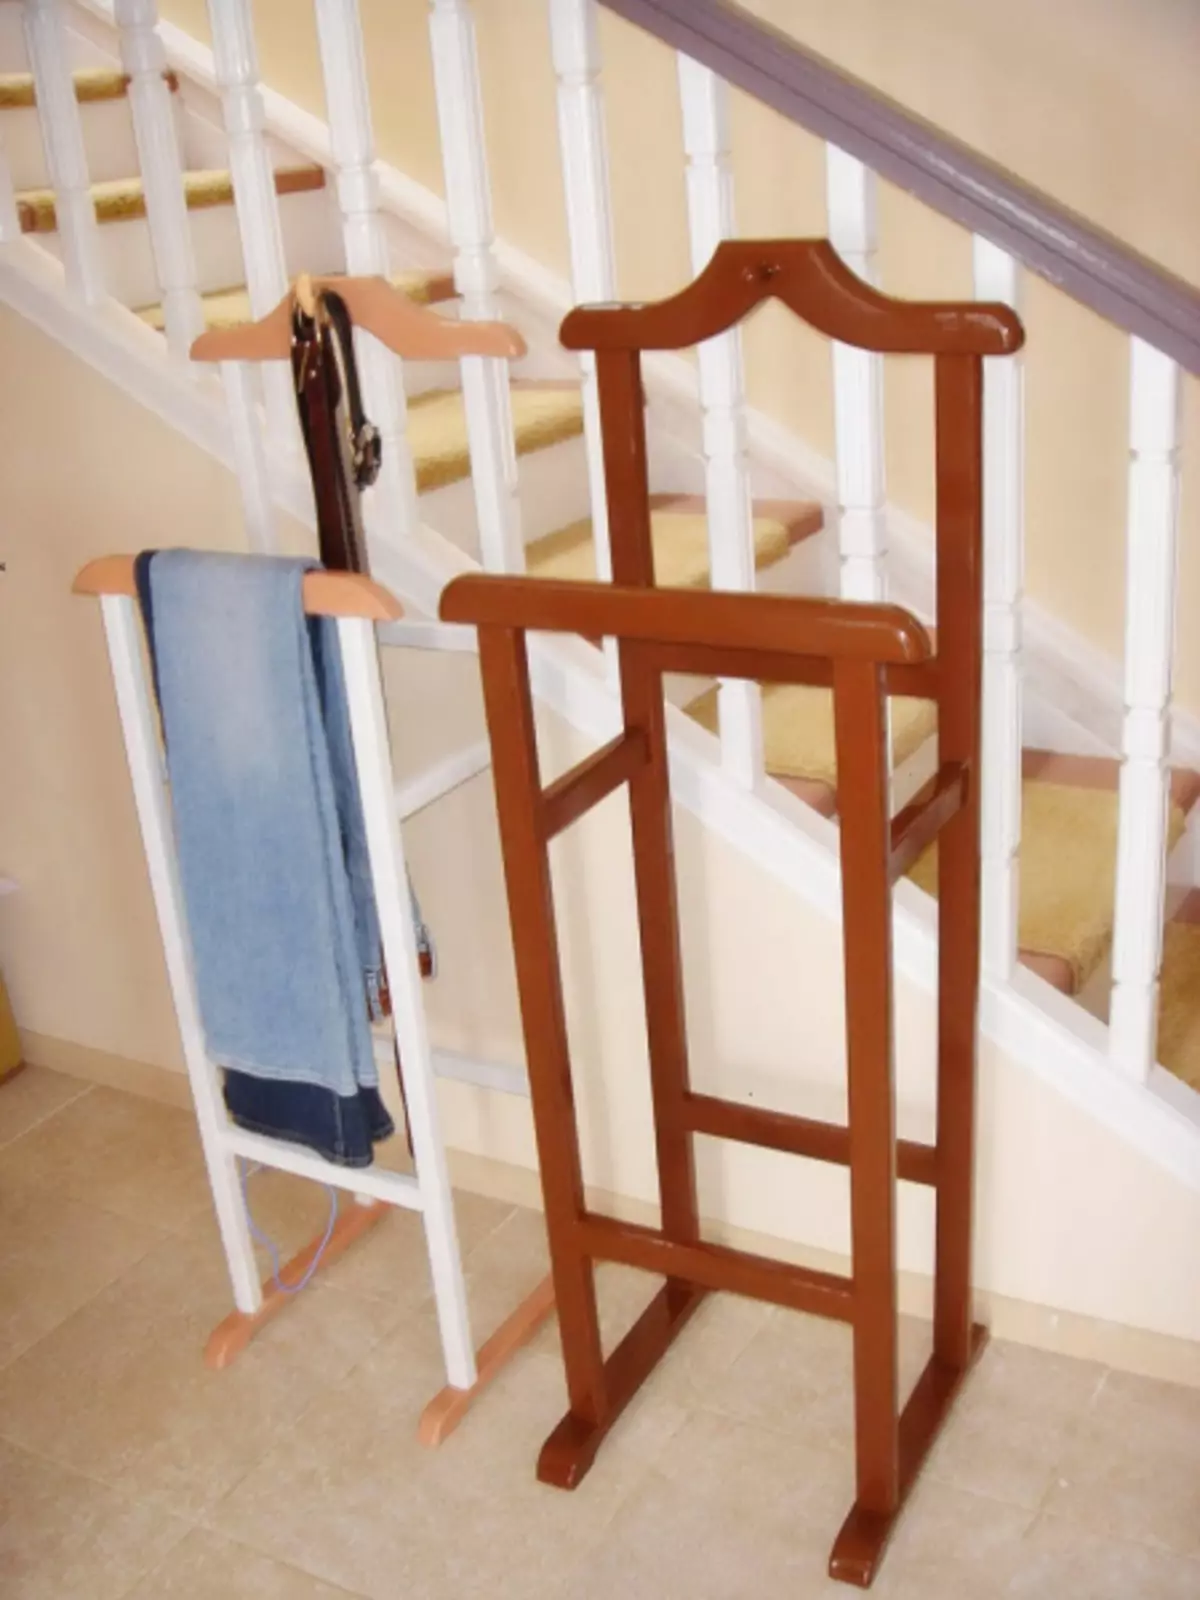
Wooden things have always been high quality and durable, as well as useful in everyday life. This also applies to hangers, so we will now try to build a wooden floor hanger with your own hands.
Much time we will not take this job. It will take about 20 free minutes, as well as all the necessary materials.


To create a floor hanger from a tree we will need:
- Six knees (copper).
- Four tees (copper).
- Four plugs (there must be the same input diameter).
- Wooden round stick of the same diameter. The total length should be 5.3 meters, cut into parts: 2 segments of 125 cm, two more 70 cm., 4 parts of 20 cm., And 6 last 10 centimeters each.
Work move is very simple. Following the threshing plan, we must collect all the design elements. To facilitate the task, they are marked in the figure with letters.
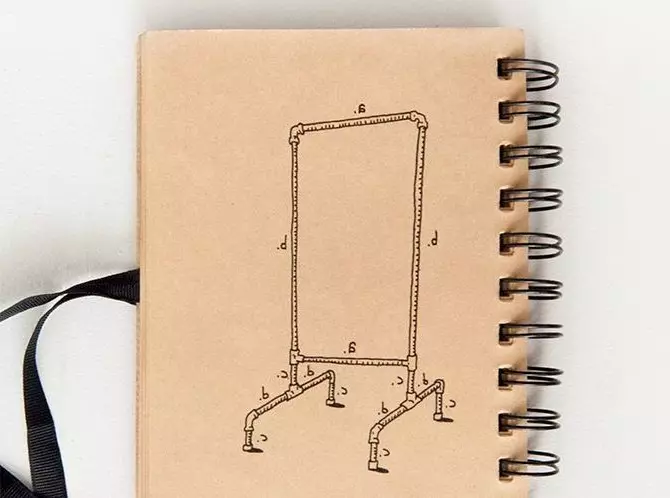
- "A" - 125cm.
- "B" - 70cm.
- "C" - 20cm.
- "D" - 10 cm.
To additionally fix our floor hanger, use glue for wood. It will be interesting to look at the copper inserts, which on the one hand will attract attention, and on the other, they will be strong enough in operation.
Article on the topic: Choosing an electric shaver
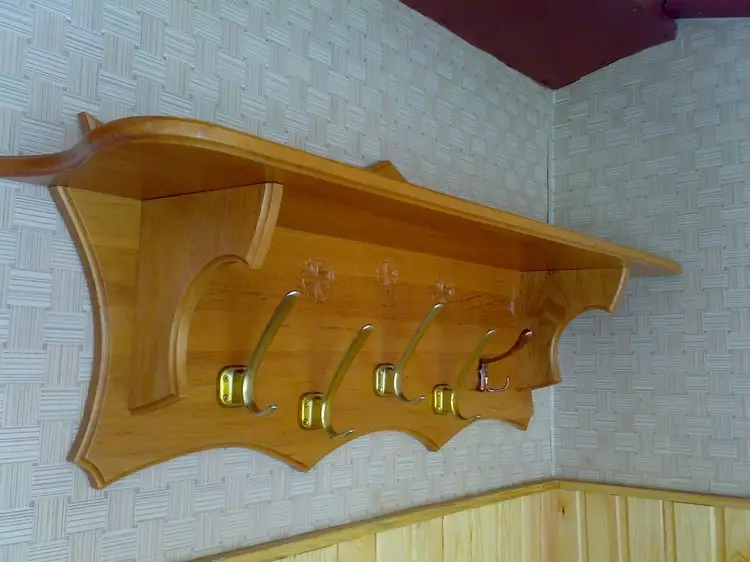
Wall-mounted wooden hanger with their own hands
An integral part of any corridor, as well as an object that is simply necessary in each apartment.
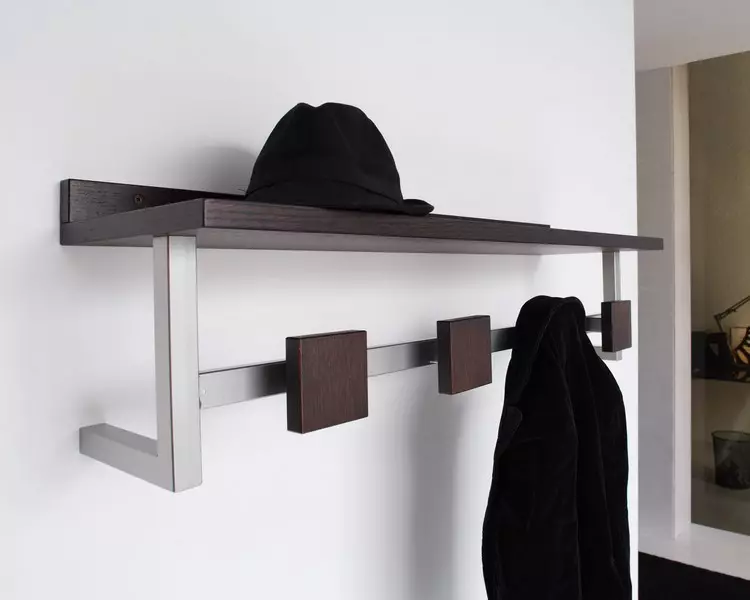
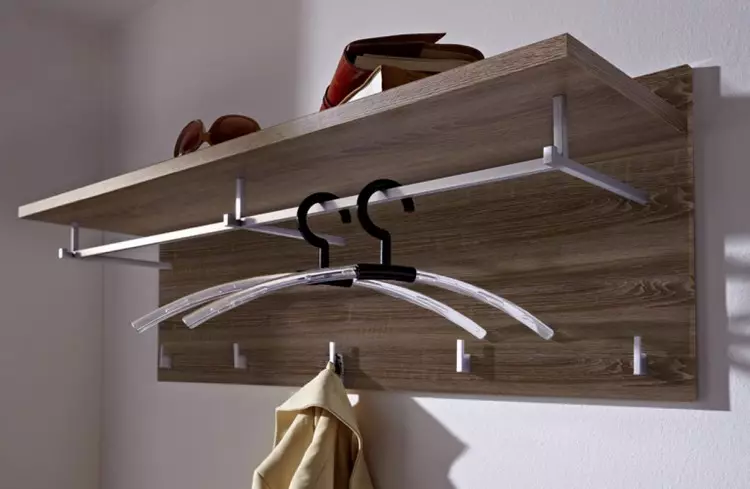
Wall-mounted hanger can be constructed independently, using all the necessary tools. Warrant material can be different, the best thing is best. In the option "cheaper" you can use chipboard.
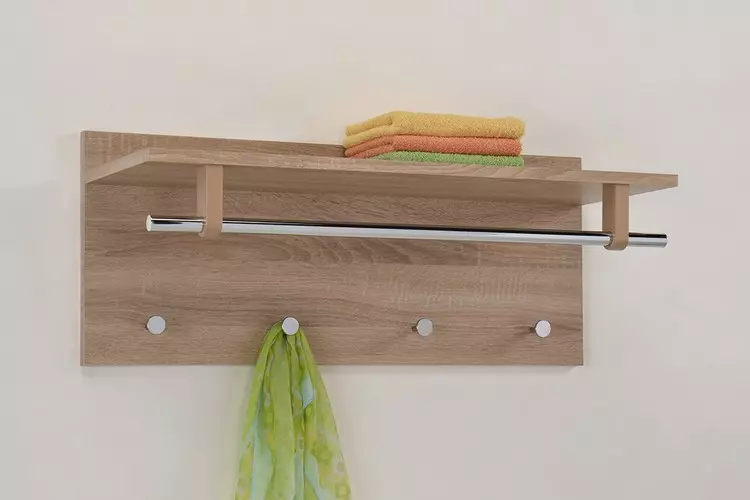

From the tools that we need to need it:
- Screwdrift or screwdriver.
- Drill.
- The set drove.
- Roulette with a pencil.
- Hooks.
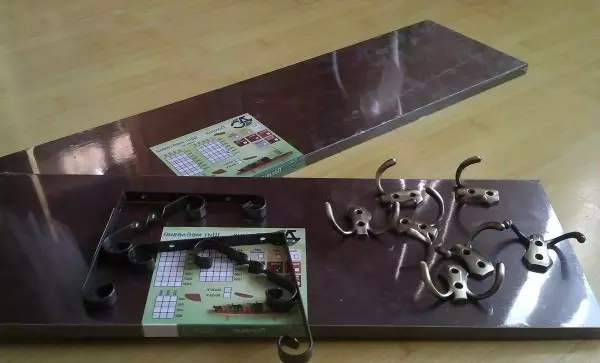
It is done very simply - it is enough to measure the desired distance and resolve the hooks to the board, and then hang the finished hanger on the wall. But there are more interesting options for such a craft.
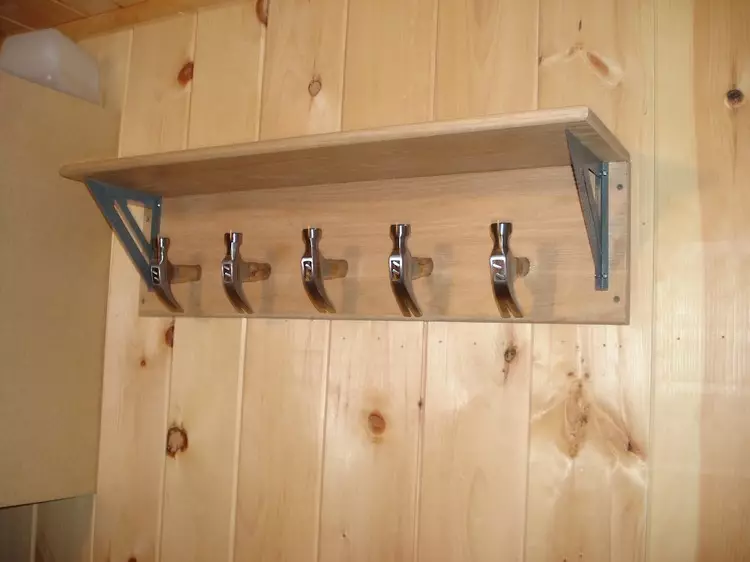
Wall hanger from hammers
In this craft, we will need everything too as in the previous version, only instead of hooks we will use old hammers, from which you need to cut off the handle, leaving the short end that we attach to the board.
Progress:
- We prepare the board that will serve us with a wall hanger. Depending on its condition, we give it an ideal look. If you need - blades and cover with varnish.
- Behind the laid hooks, and celebrate the pencil on the board, where exactly they will be attached. It is not necessary that they go to a row. You can position them with a zigzag or in a checker order.
- After that, we need to note the pencil of the point where there will be places for self-lying. Therefore, we postpone the hooks on the side and directly drill the desired holes.
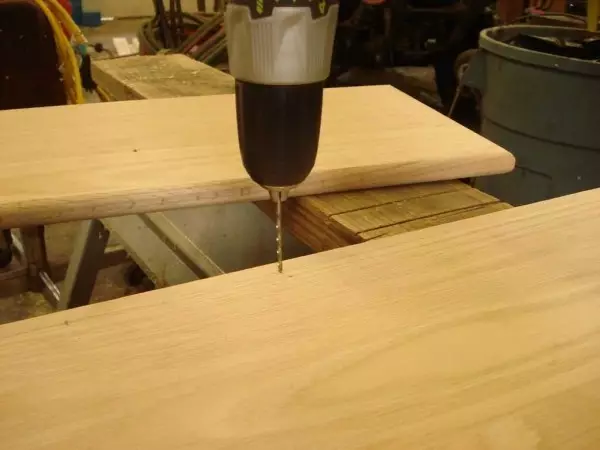
It is important to note that the drill must be about 1-2 millimeters less for the diameter of the samstab. Of course, it is possible and not to do preliminary holes, but it threatens to crack the surface when screwing, and the work would then go much longer and more difficult
- We attach our hooks from hammers to place.
- Additionally, there is an option to make a shelf so that you can place the scarf, a hat, and other small things.
It is done as follows:
- Measure the same distance on both sides, attach the bracket and mark the desired holes for fasteners.
- Drill and install bracket.
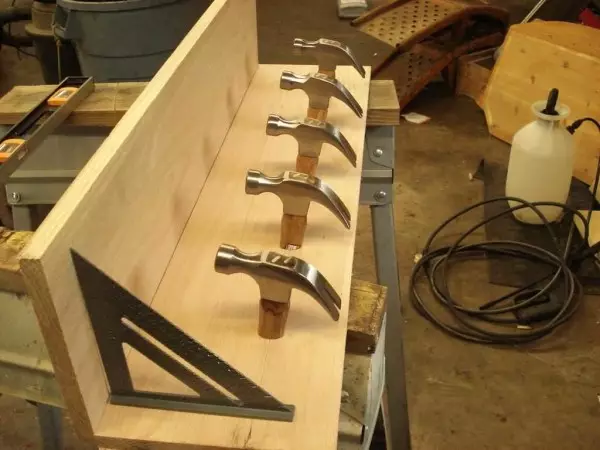
- The final part will be the fastening of the design to the wall. Here the technique will be similar - to mark the place and drill a hole. The drill must be the same size as a dowel.
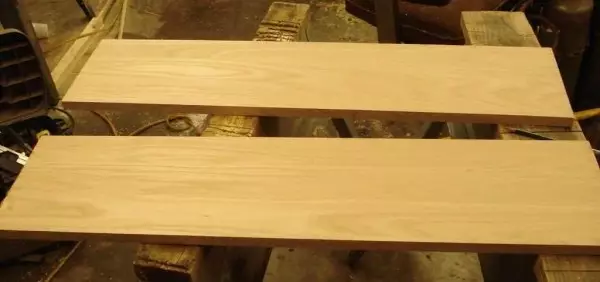
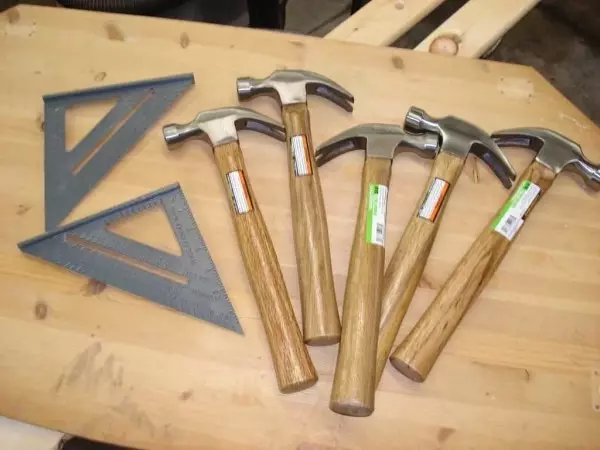
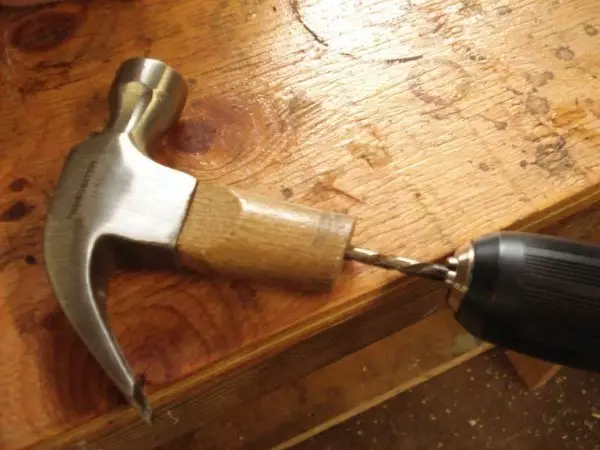
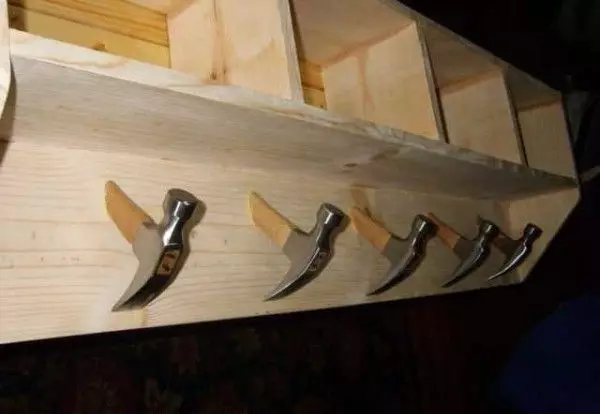
Approximate time of time for which the wall-mounted hanger is really 2-3 hours (this is with the shelf).
Unique ideas for wooden hangers
Outdoor and wall hangers are considered a certain classic, but when you want something extraordinary or creative, you can consider the following design options.
- A collection of things that is similar to the exhibition from the world famous series with Kerry Bradshow. The idea is to get into the corridor, you have not rummaged what a hat or scarf today to wear, but just chose from possessing things.

In order to realize the idea of reality, you will need a free wall in the corridor and ordinary hooks. It will not only be a kind of interior design of the corridor, but also an extraordinary approach to solving the issue of hangers.
- With the help of various types of hooks, it is an emphasis on a particular interior style, whether it is a classic or a modern option.
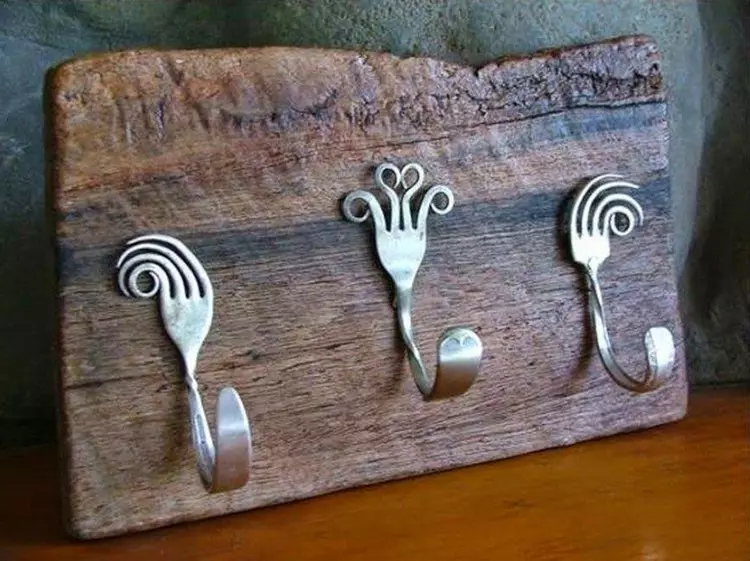
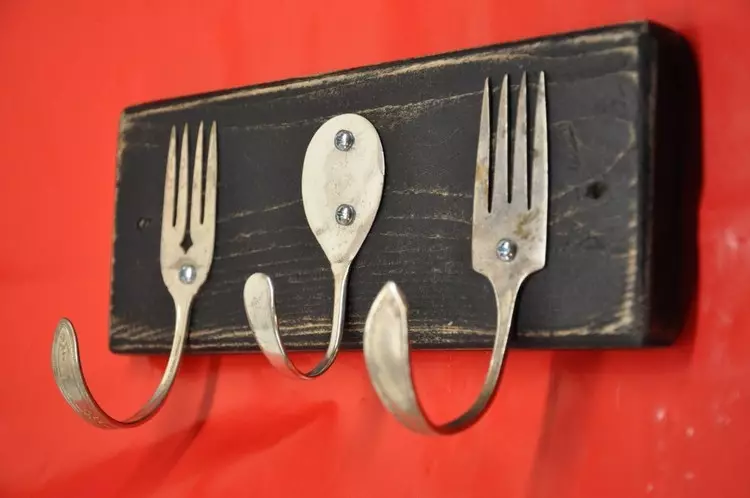
- Do not believe, but hangers may have the most seemingly unsuitable items. A very extraordinary approach will be used in this case old forks or rakes, beating them under the necessary subjects. It is only worth pre-close them sharp tips so that neither you nor your guests hurt.
- Fans of hiking and travel can use old skis or oars as hangers.
- The original substitute for ordinary hooks will serve old chess pieces.
- In a vintage style to create hangers, you can use old doors, perhaps even with nails instead of hooks. Of course, it will first need to treat the surface, but imagine the idea itself already performed. It is enough outrageous, especially if you work on small details.

In this idea, instead of doors, you can also use the old fence.
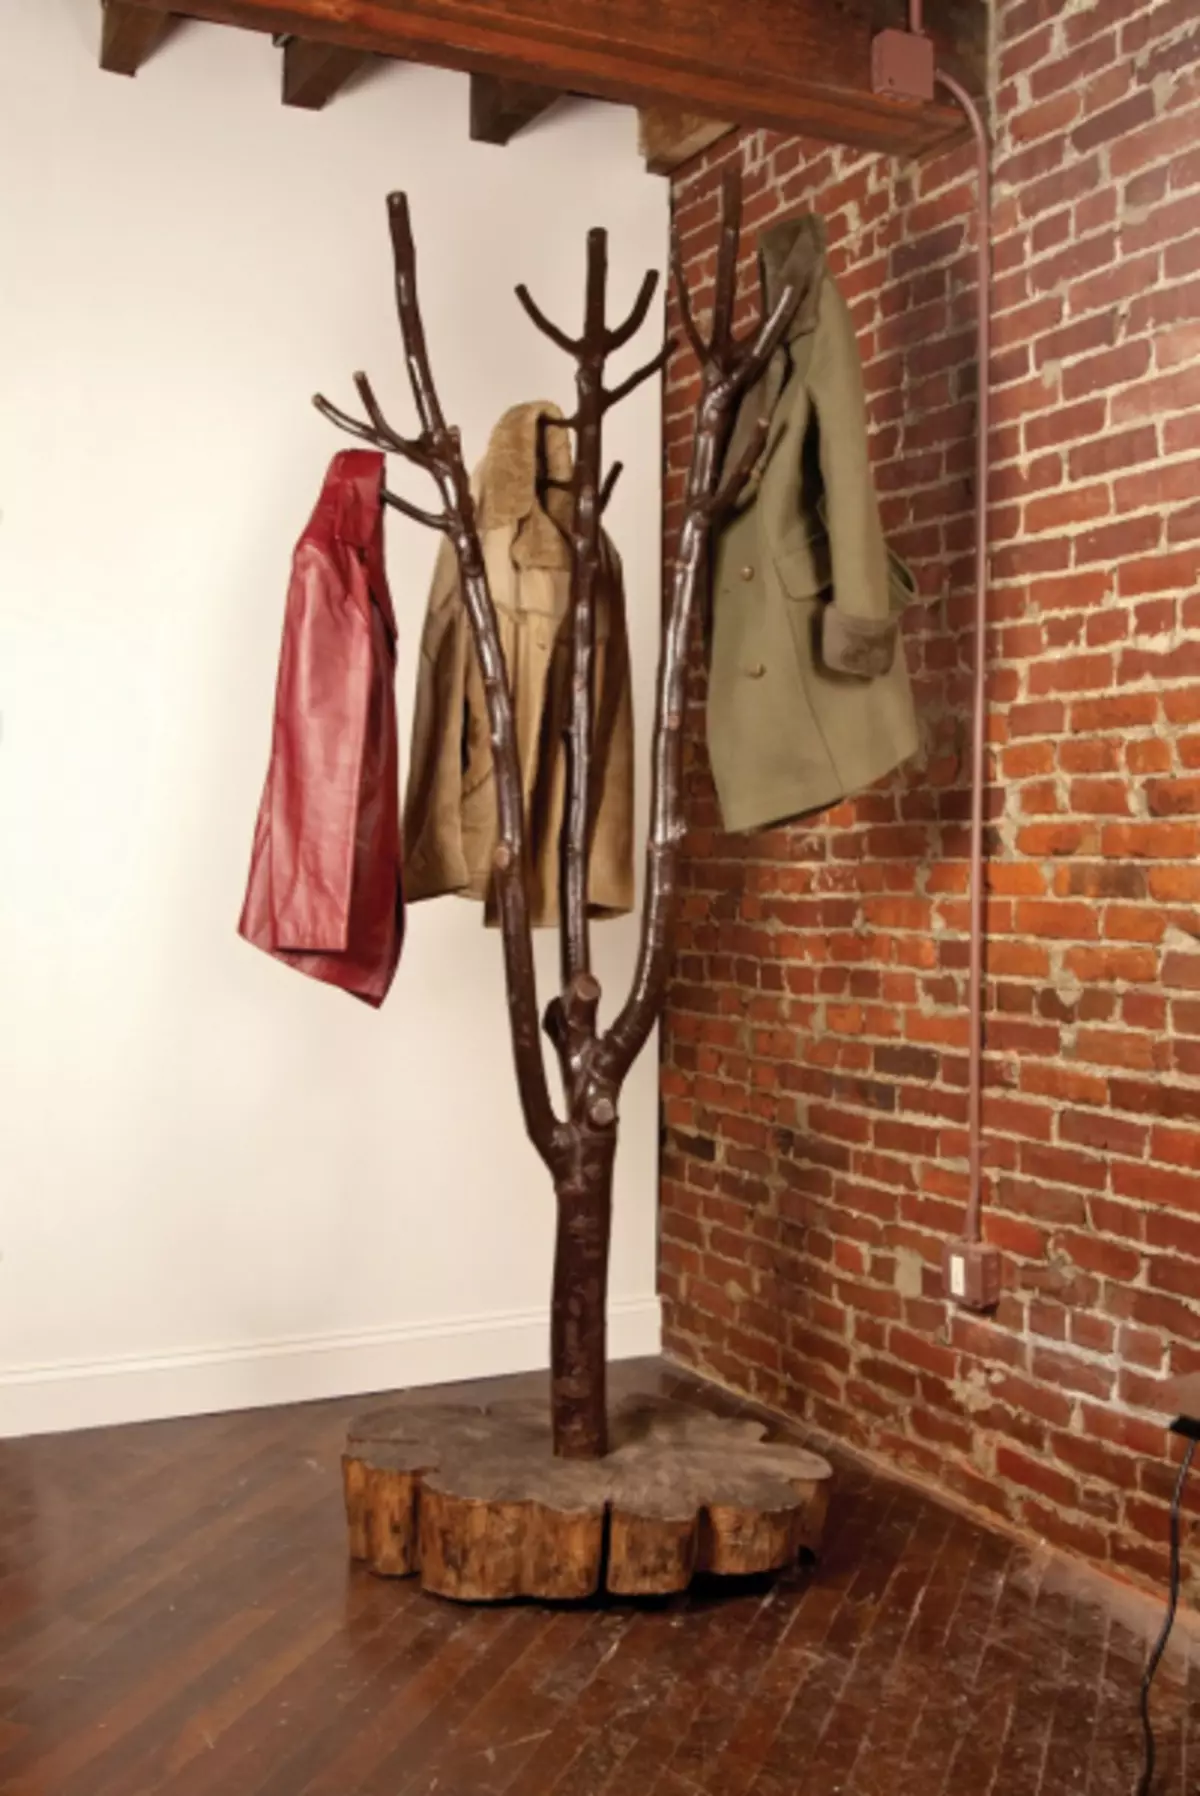
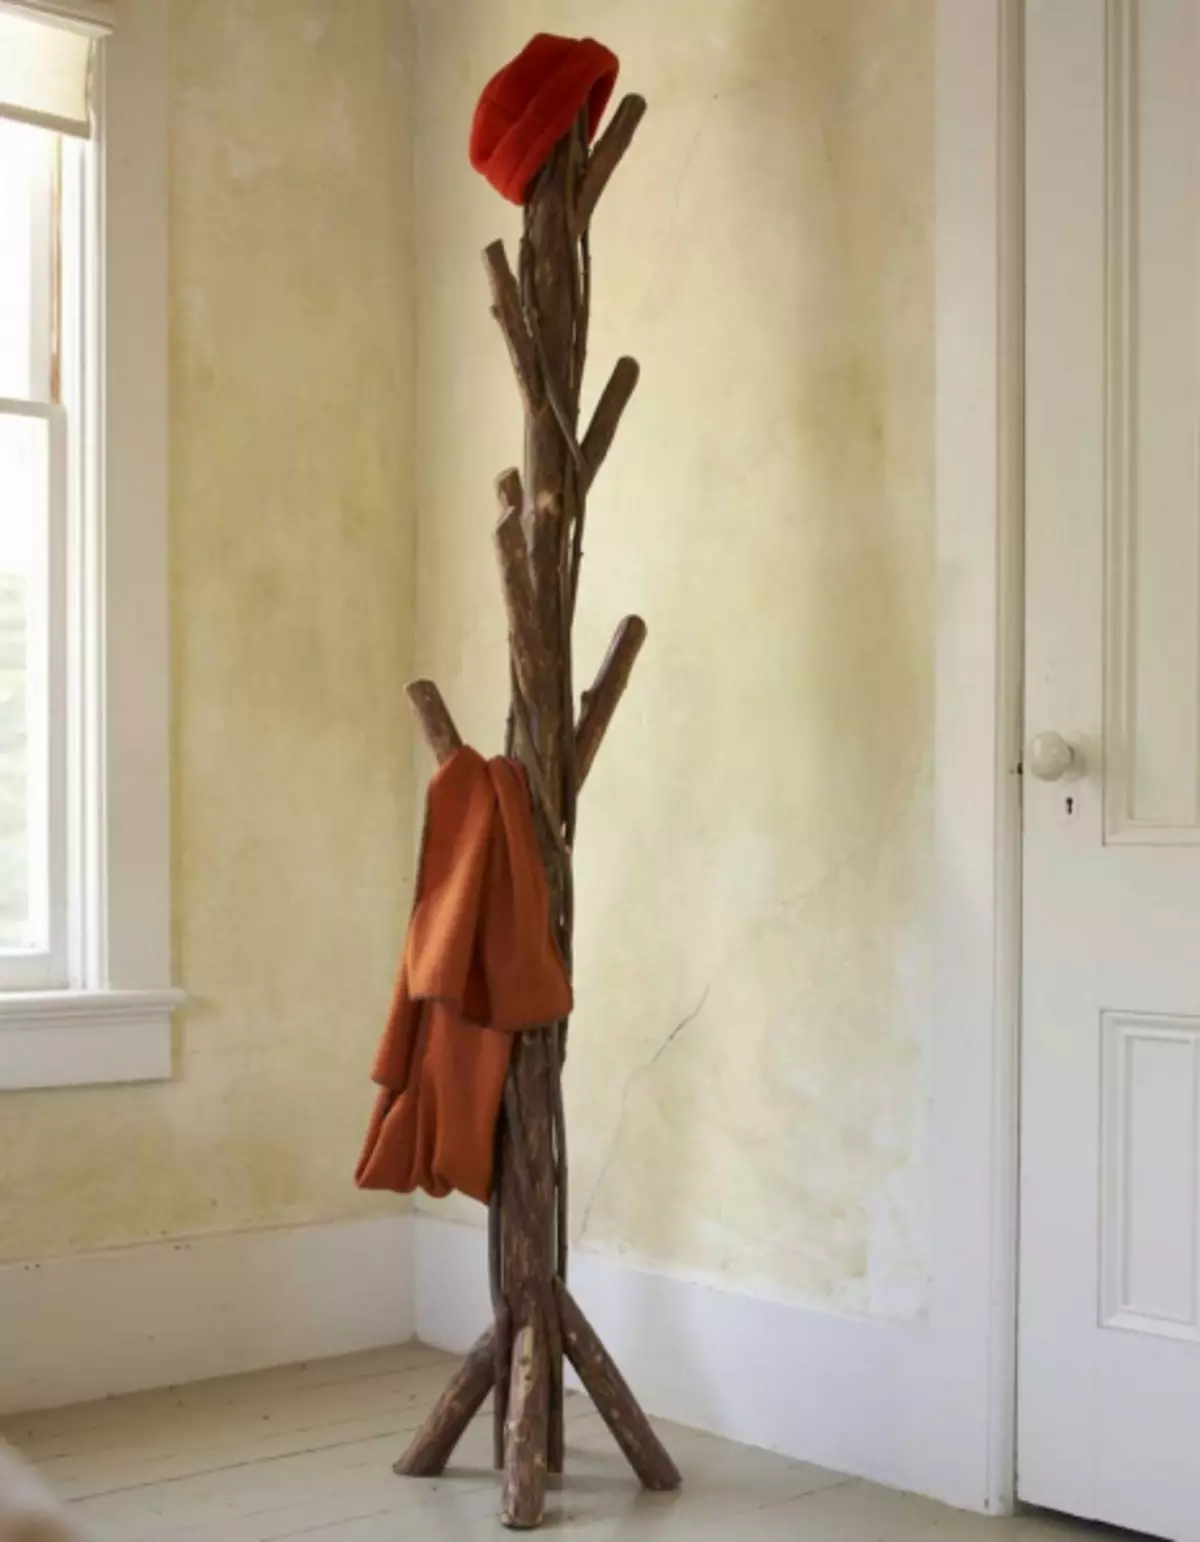
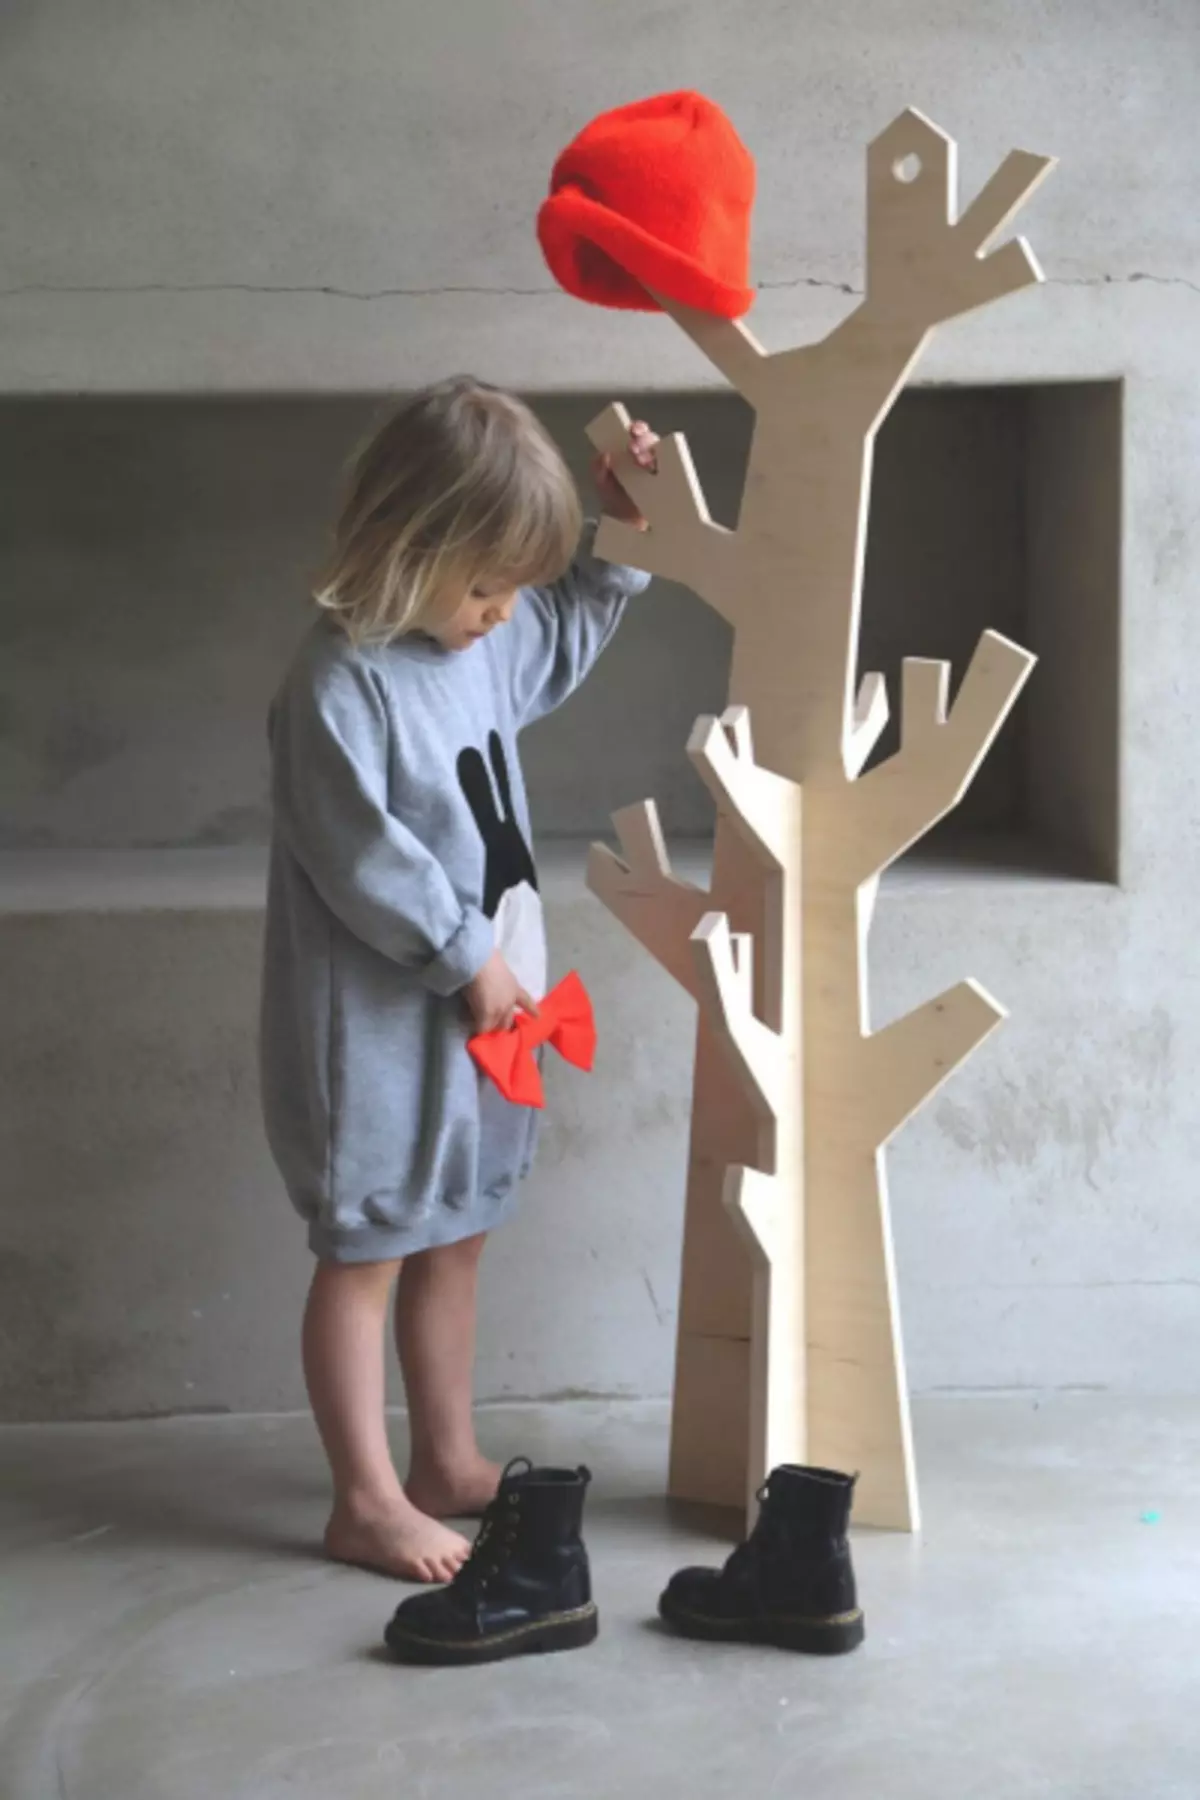
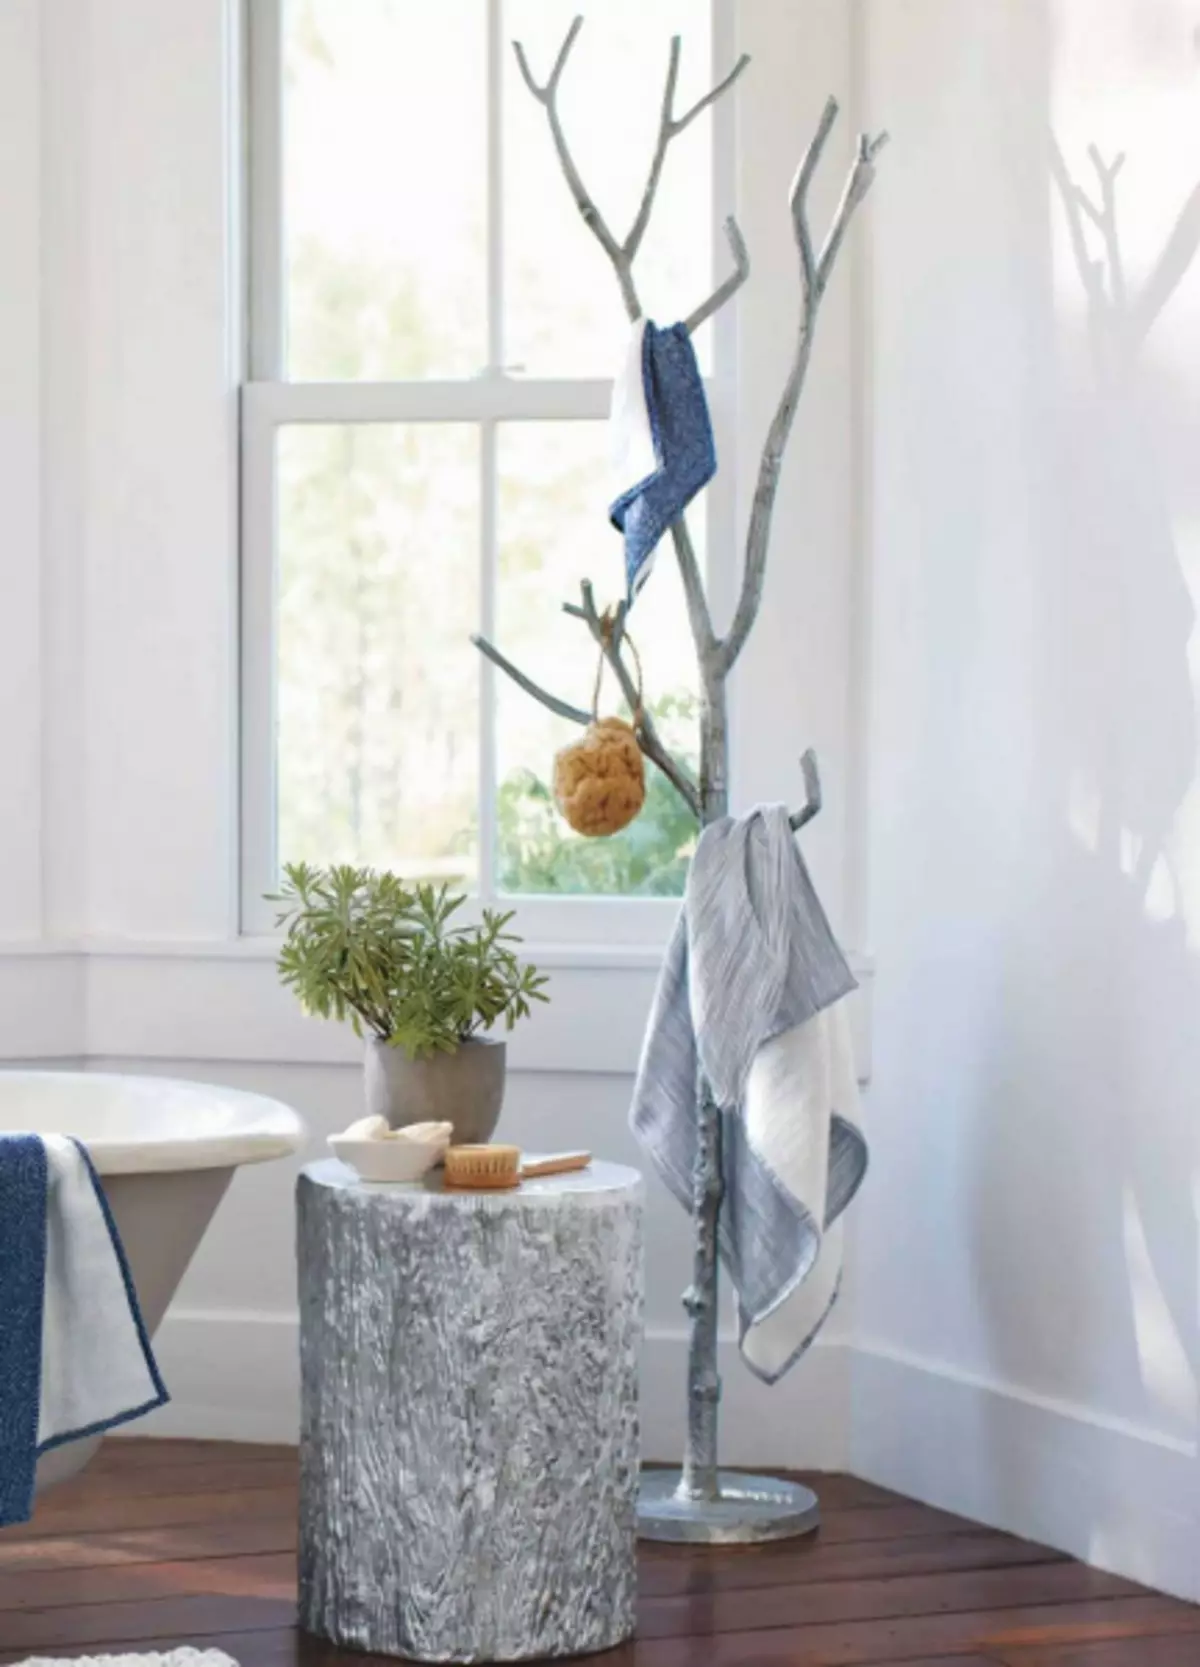
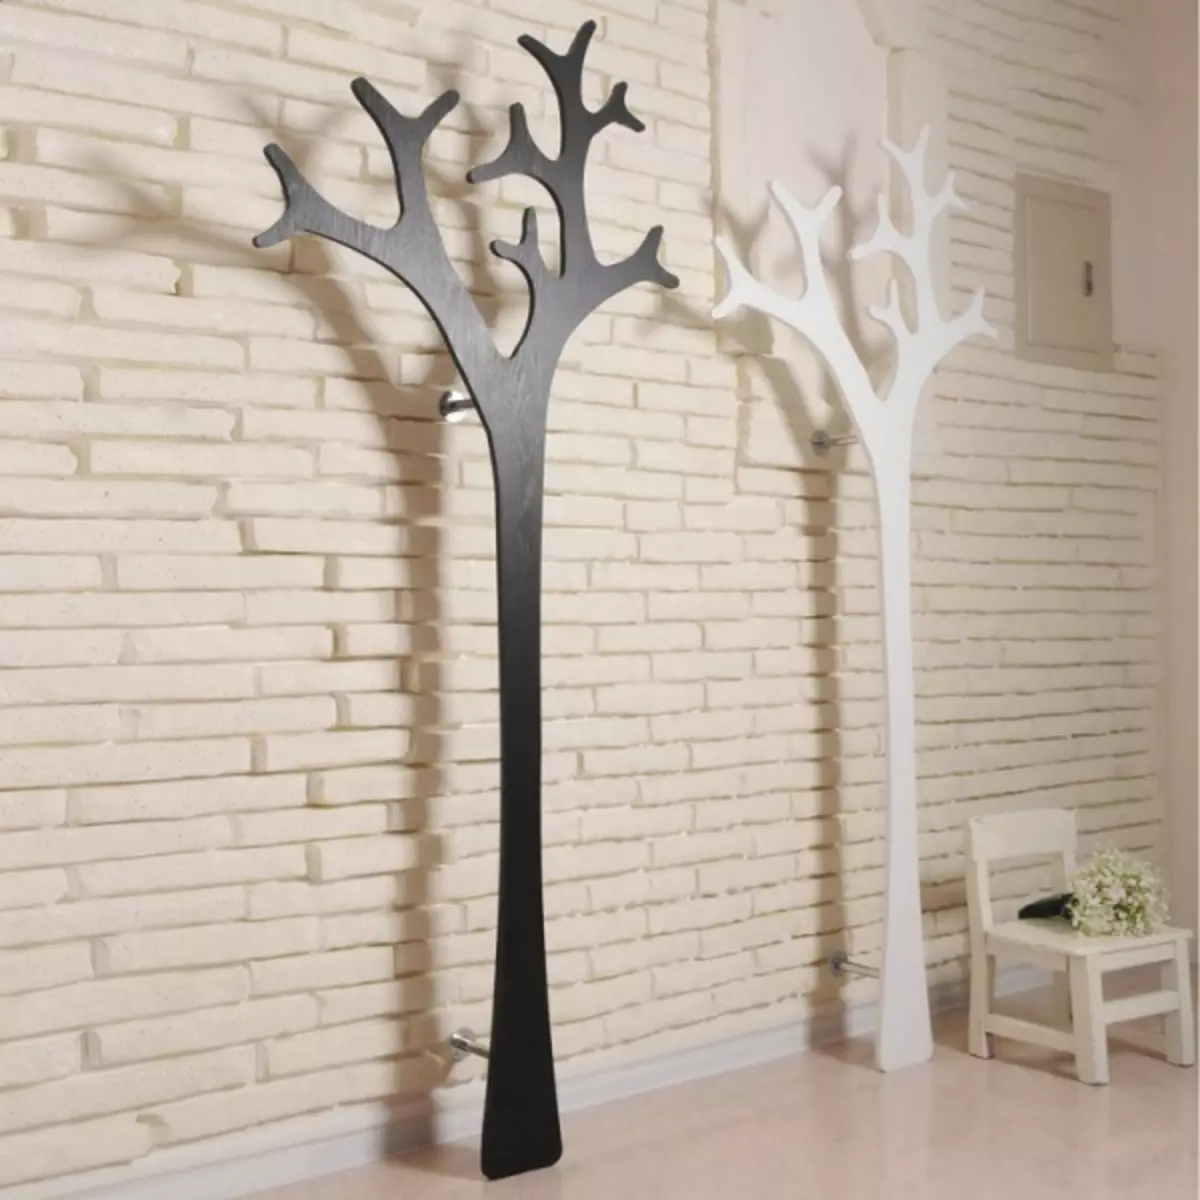
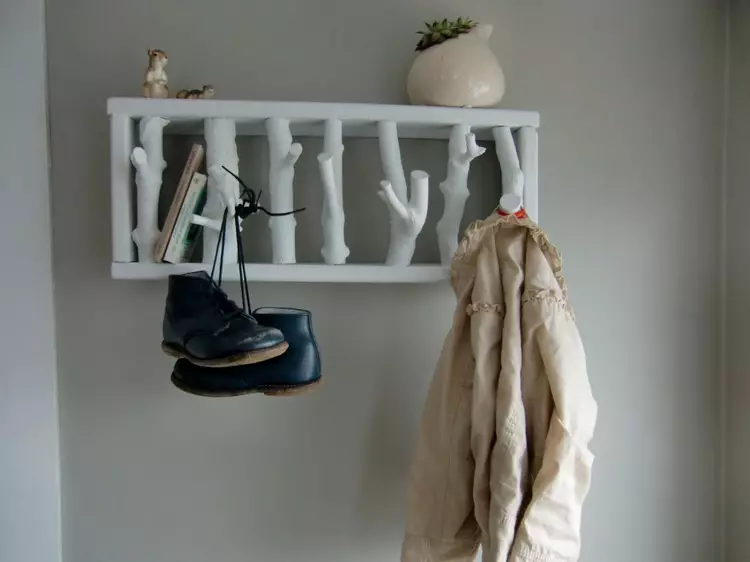
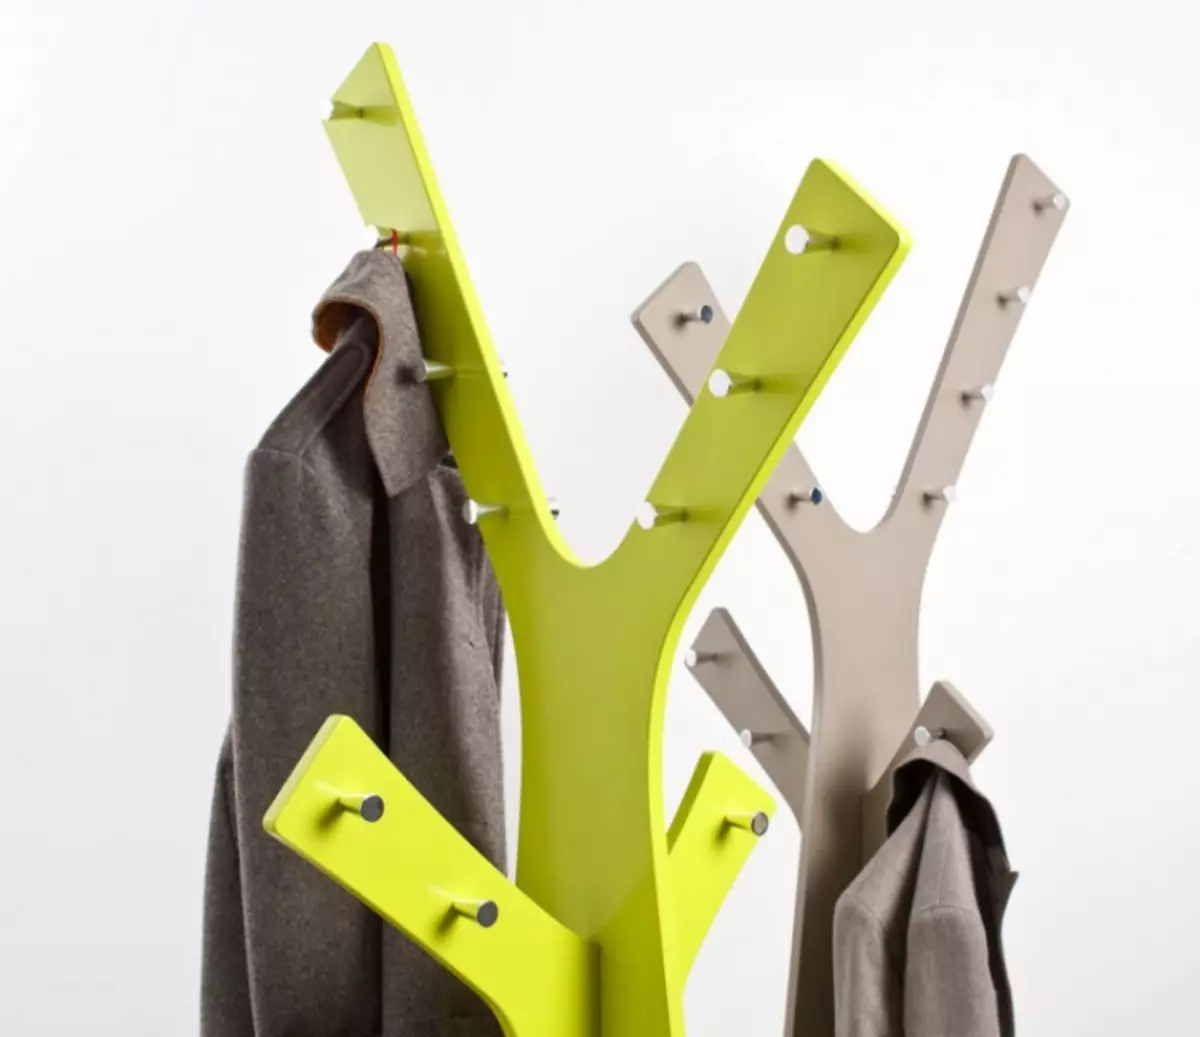
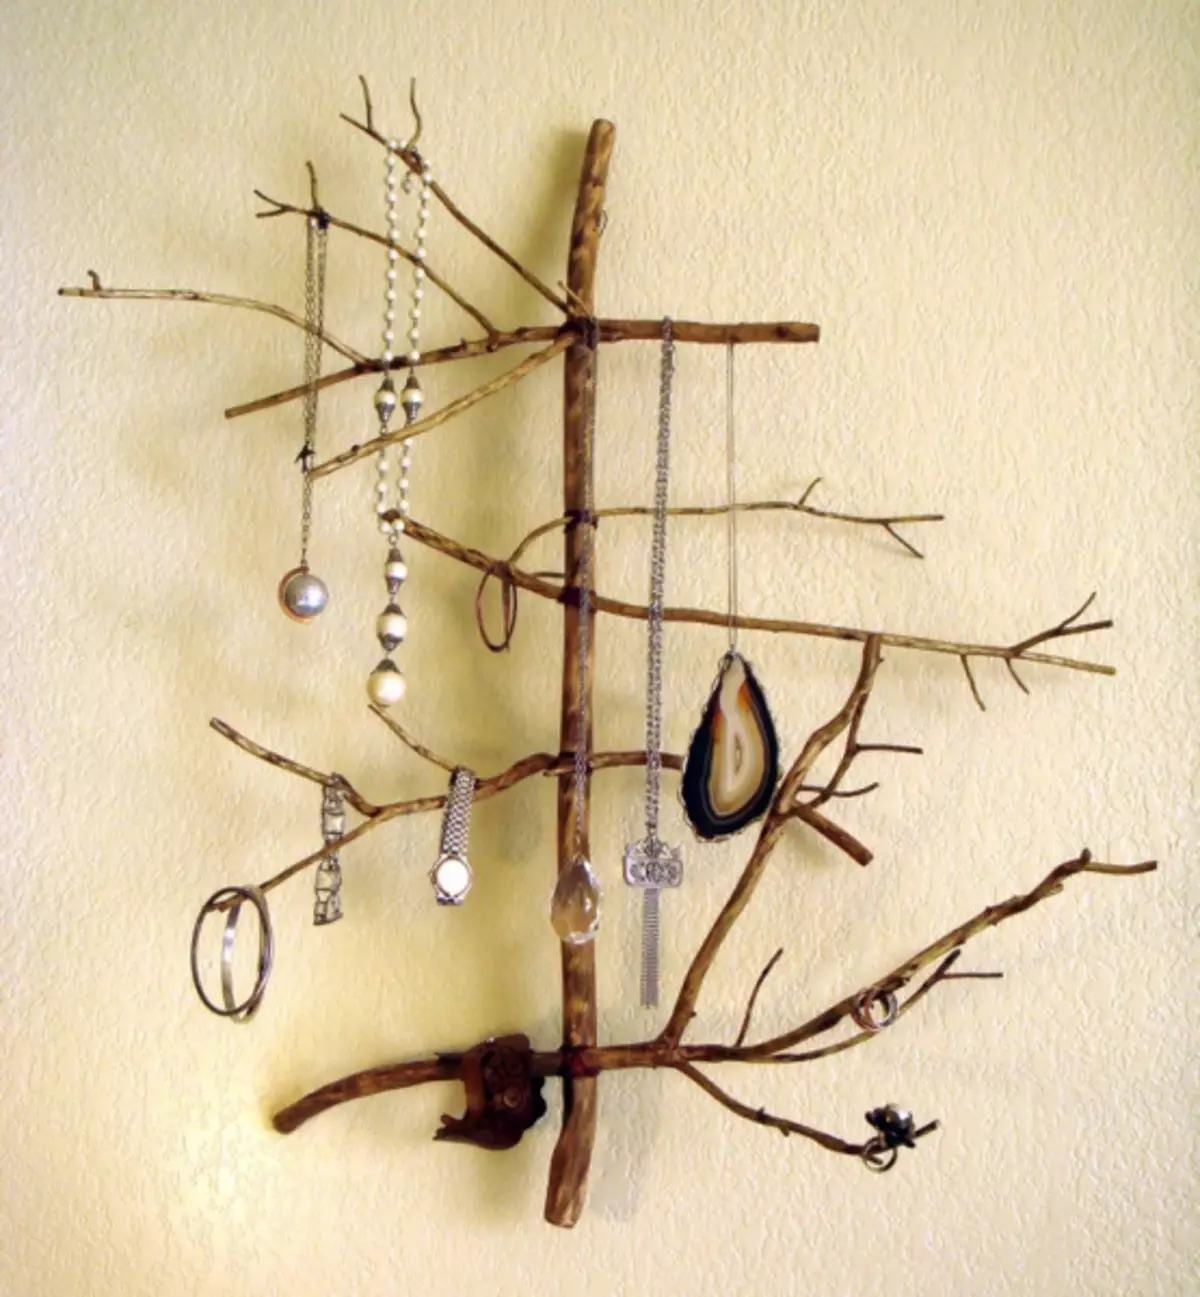
- Popular to date has become a veil of a tree on which hooks for things are located. It can be chopped out of a piece of wood, or simply draw on the wall, placing the hooks on the branches.
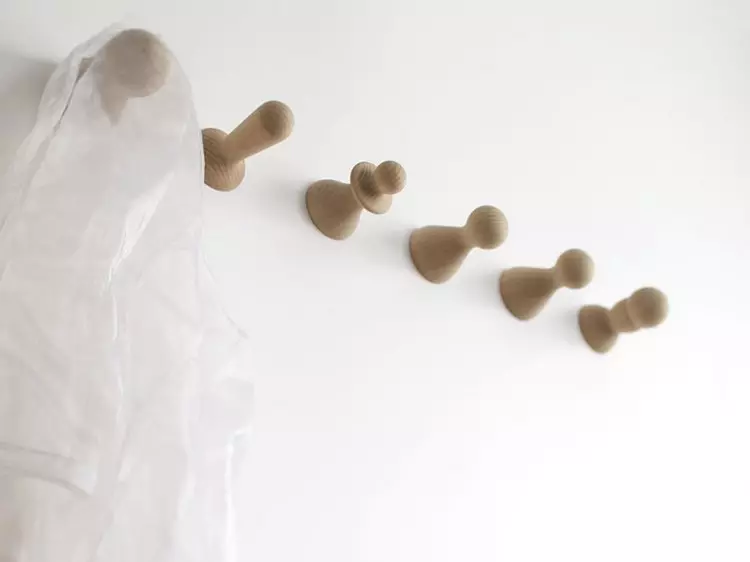
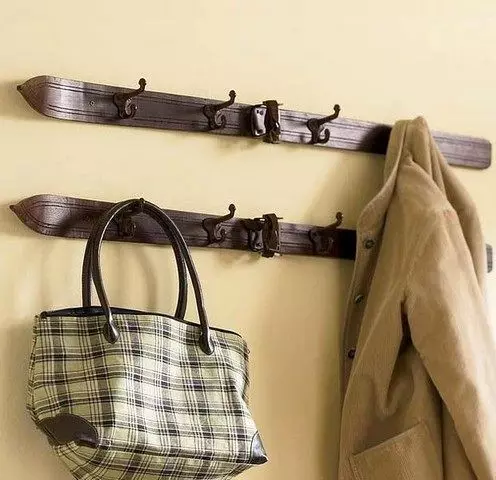


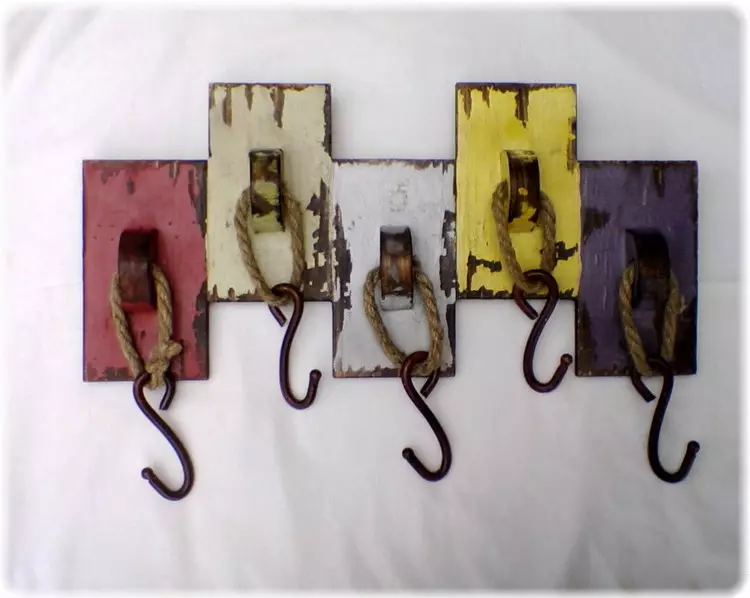
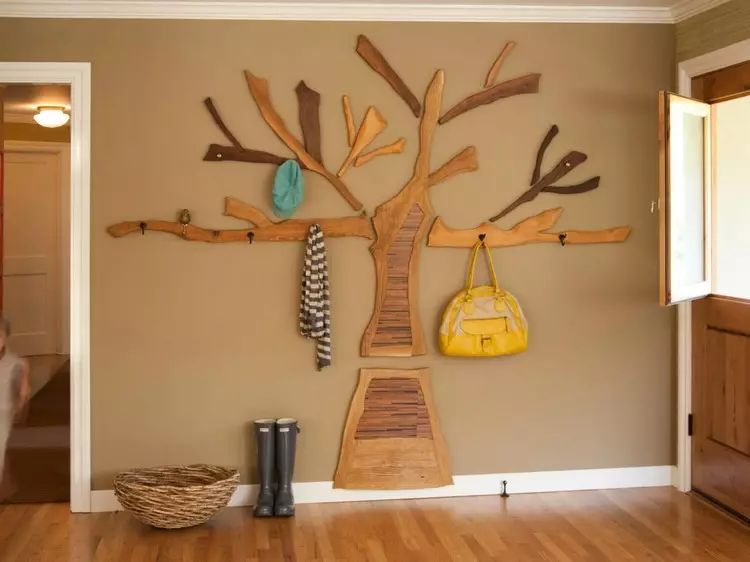
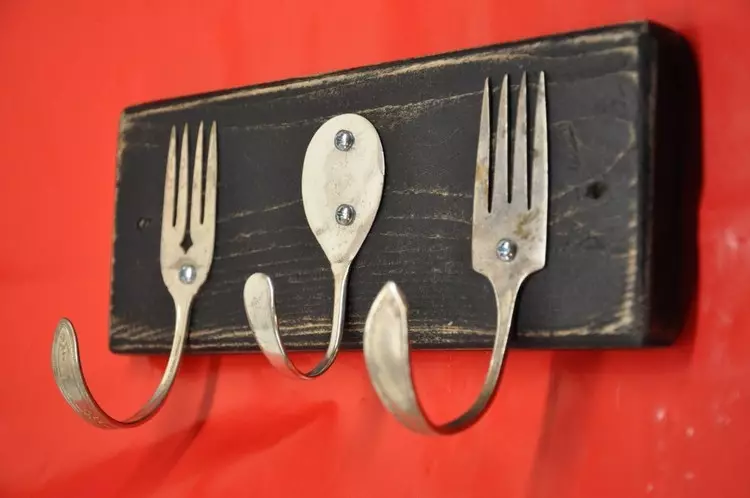
Master class "Hanger of real wood"
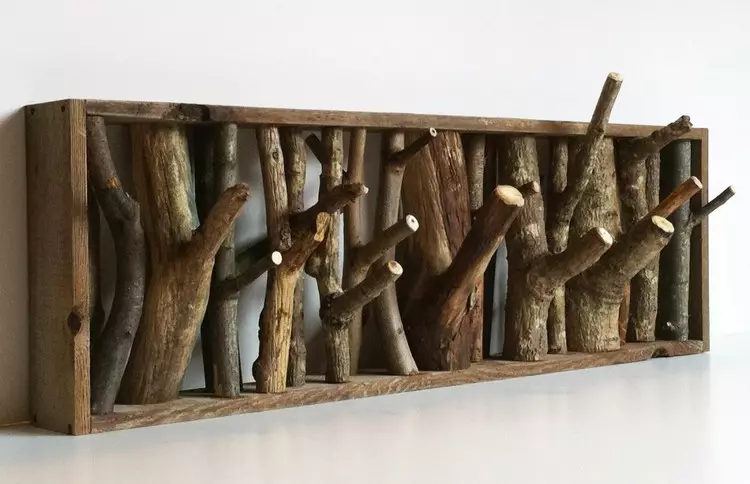
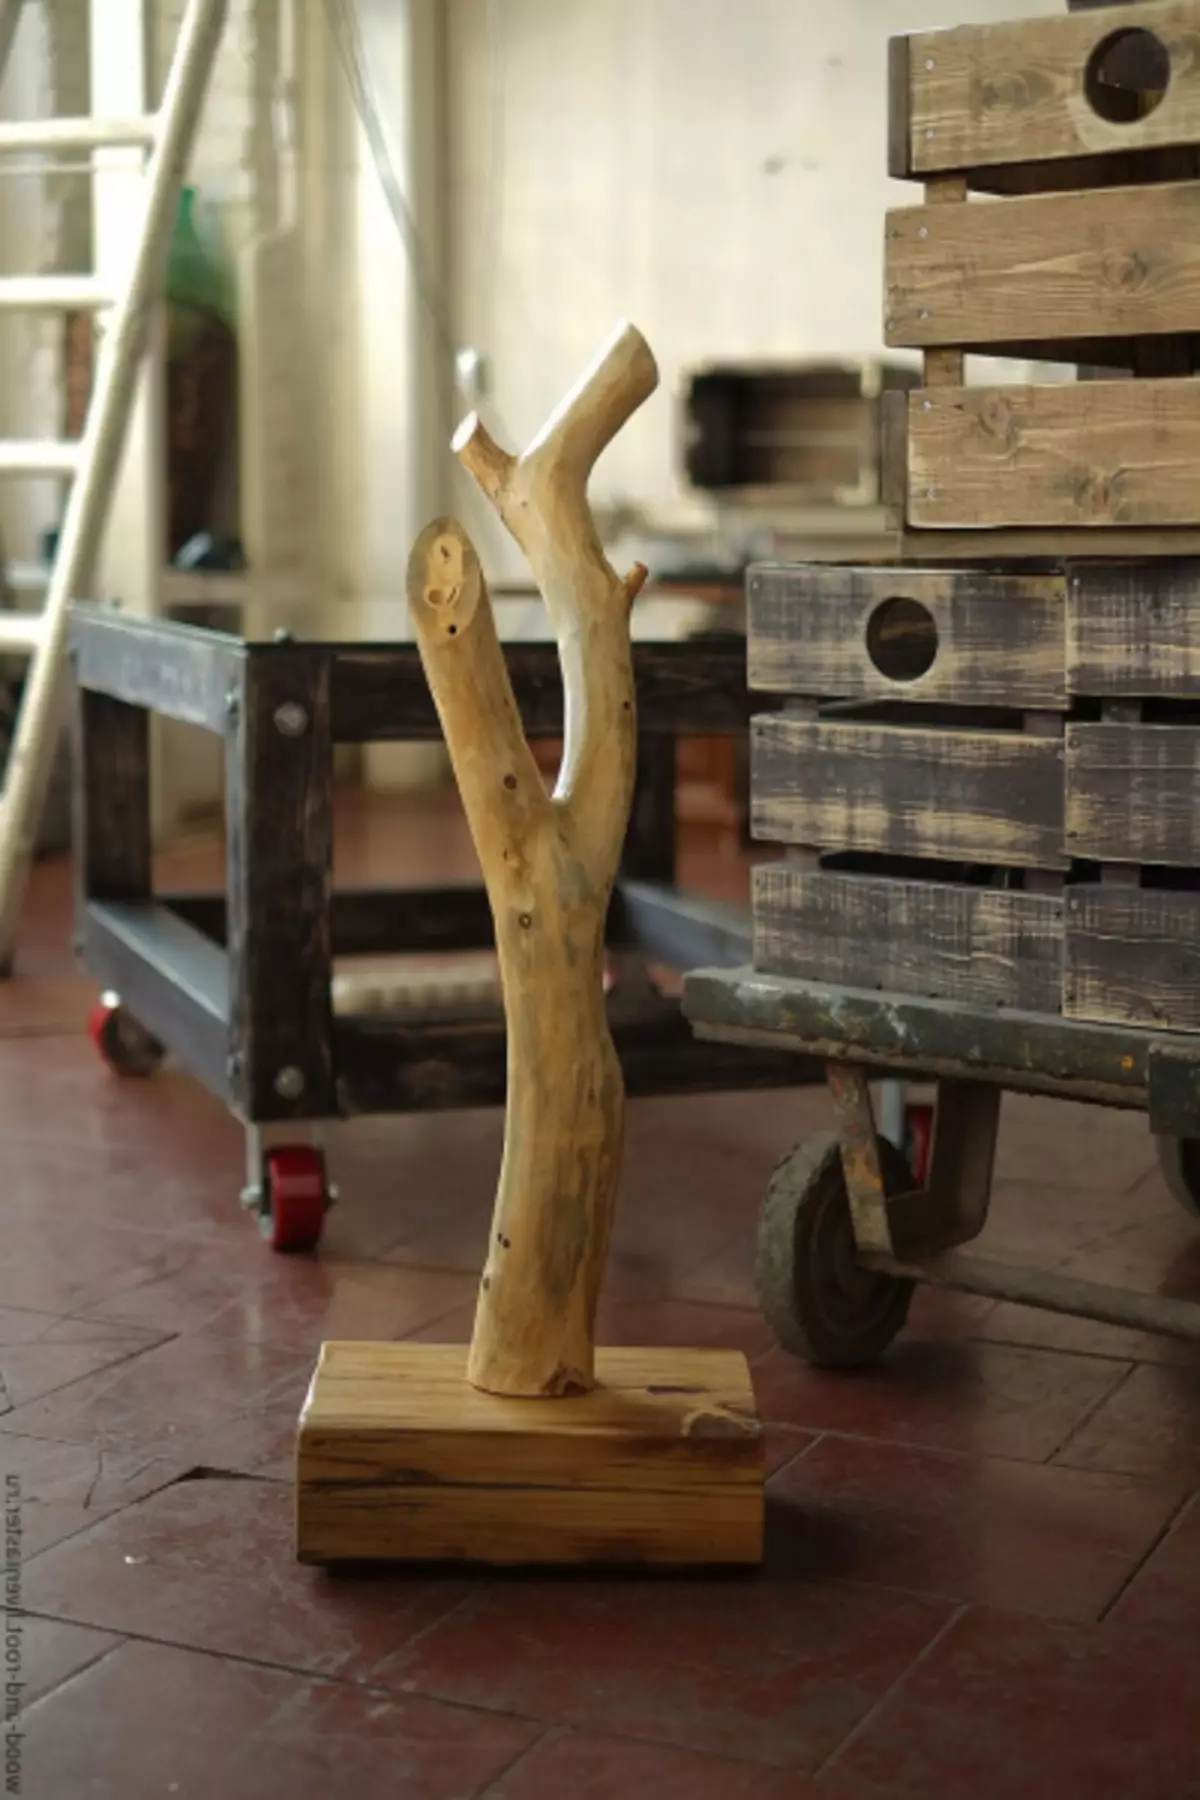
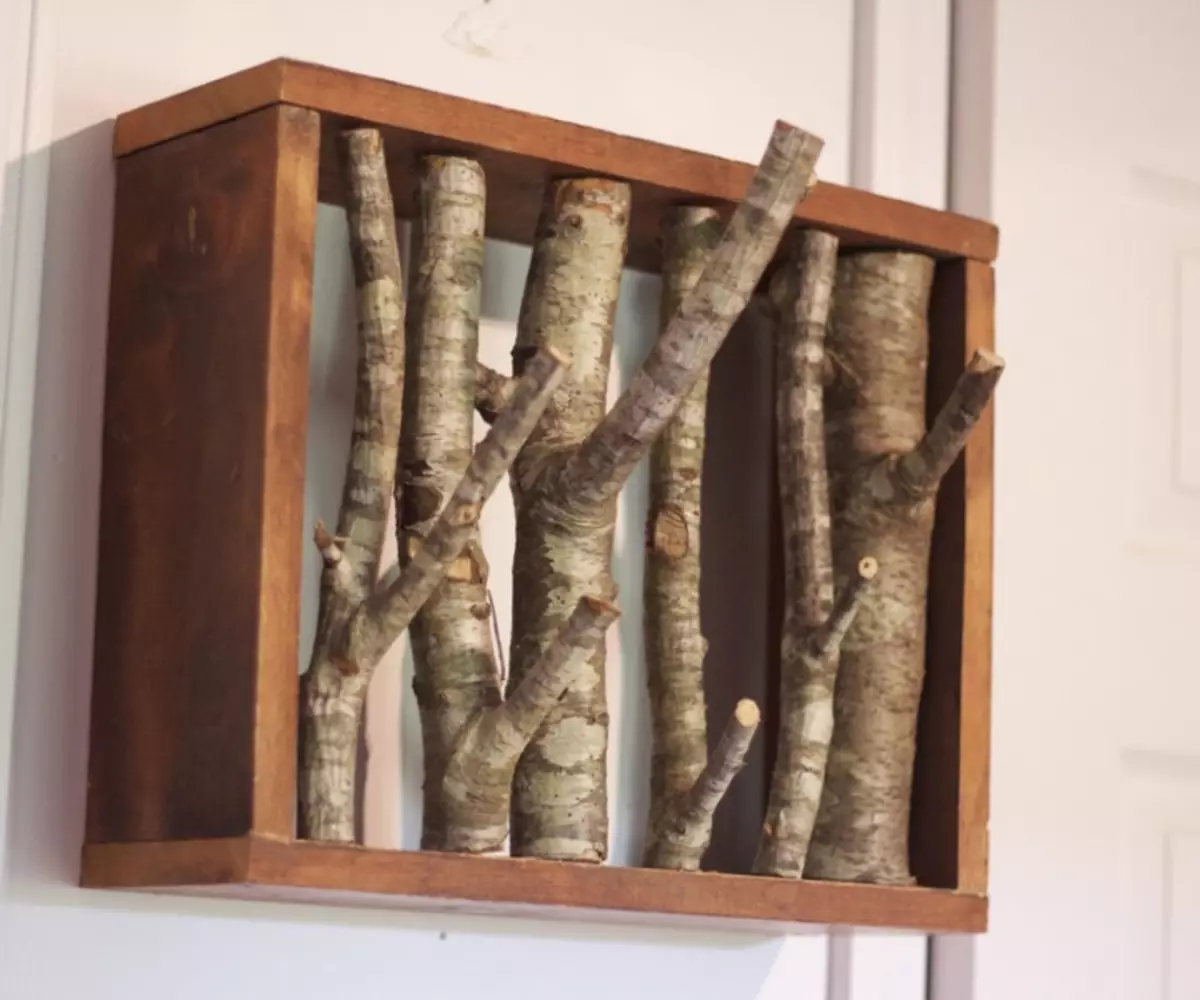
Under the word "tree" mean not just a wooden material (board), namely pieces of the real natural tree. Oak chocks are suitable for this work, perhaps even with bitch, which will be perfectly serve instead of banal hooks.
Progress:
- The first step will be raised the decks and split them in half the desired size. It is best to do it outside the apartment, because the whole garbage will be quite difficult.
- To navigate in the optimal sizes of the desired decks, make the blanks of about 15 * 15 centimeters, the drying diameter is not more than 3-4 cm.
- One side of the chip will need to be aligned with an electric brangle.
- The next stage of the process will prepare the surface to operate. The tree would be nice to handle special means from fungi and insects. From above, it is best to cover with a transparent varnish to preserve the naturalness of the color. Of course, you can also apply paints that will look much more interesting.
- Mounting to the wall our hanger will help the self-tapping screw. First you need to drill a chamfer, then a hole is prepared. The diameter should bother with a screw. Such precaution will help prevent the option of damage to our product.
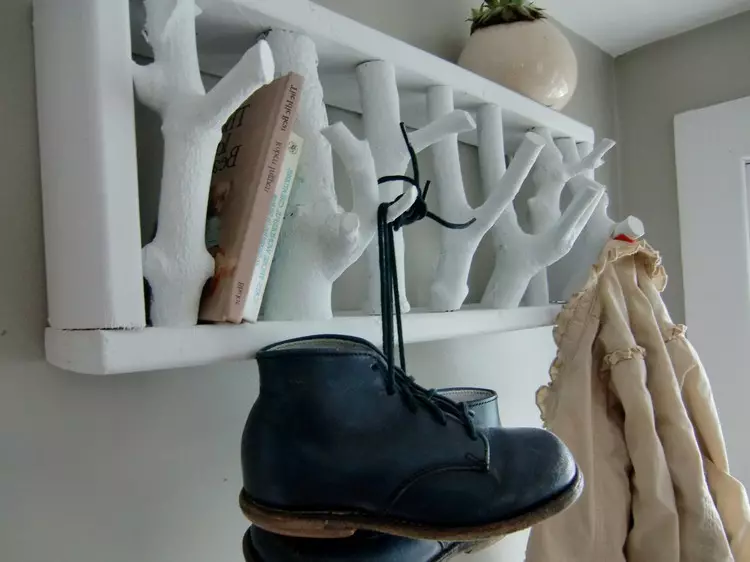
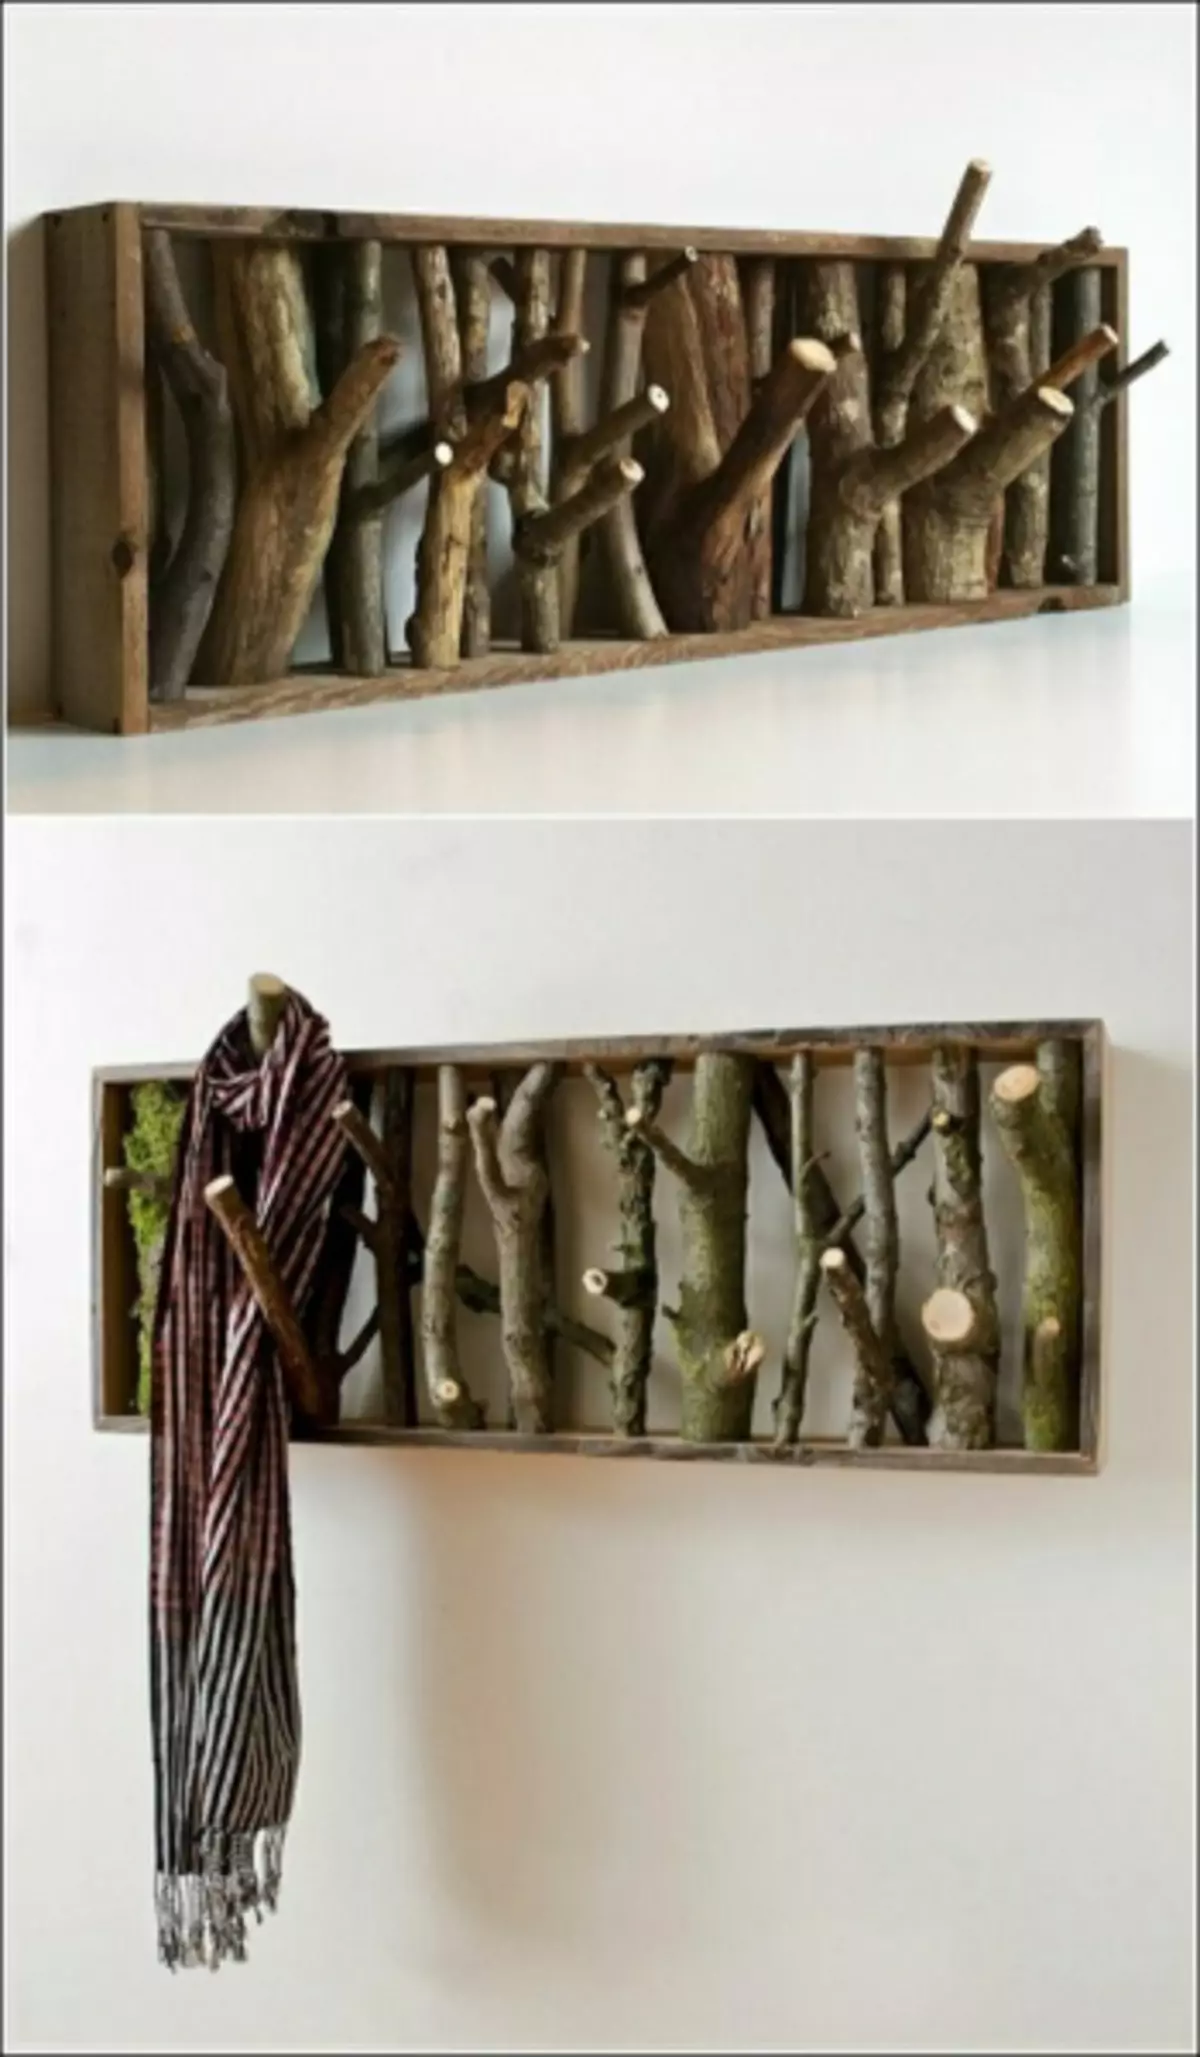

The hanger undoubtedly will attract attention, as well as screens up the boring atmosphere of the room. Most often, this option is placed in a country house or in the country, less often in apartments or mansions.
Stock Foto Wooden hangers in the interior
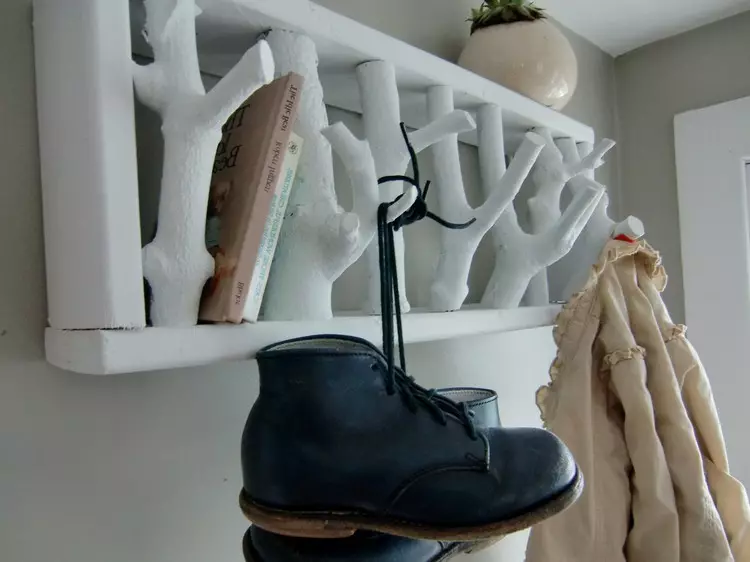
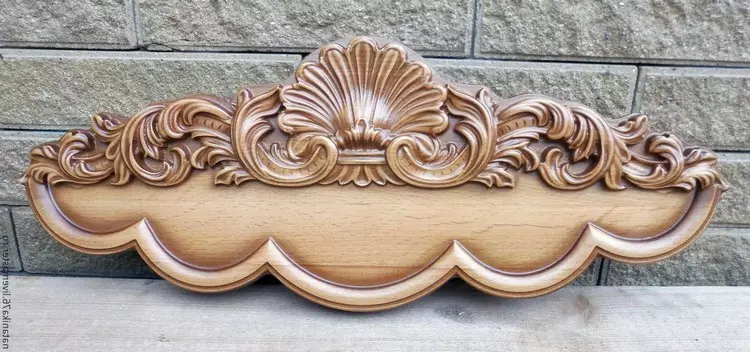
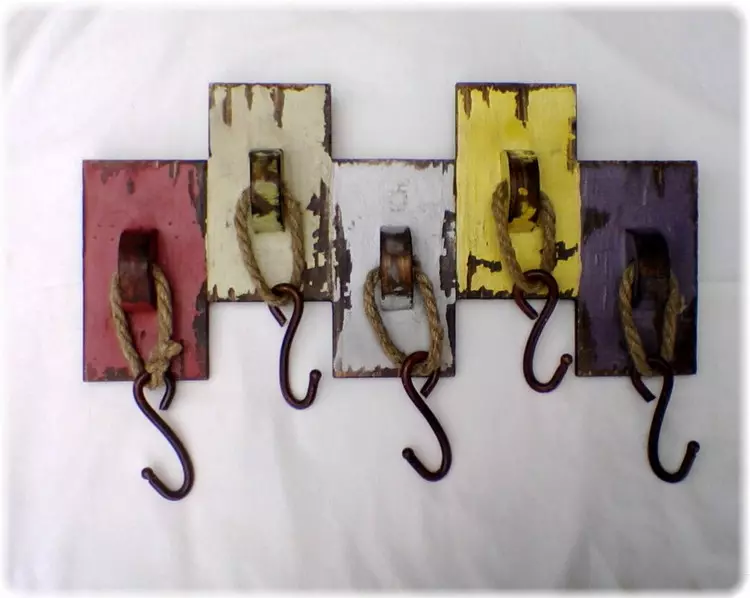
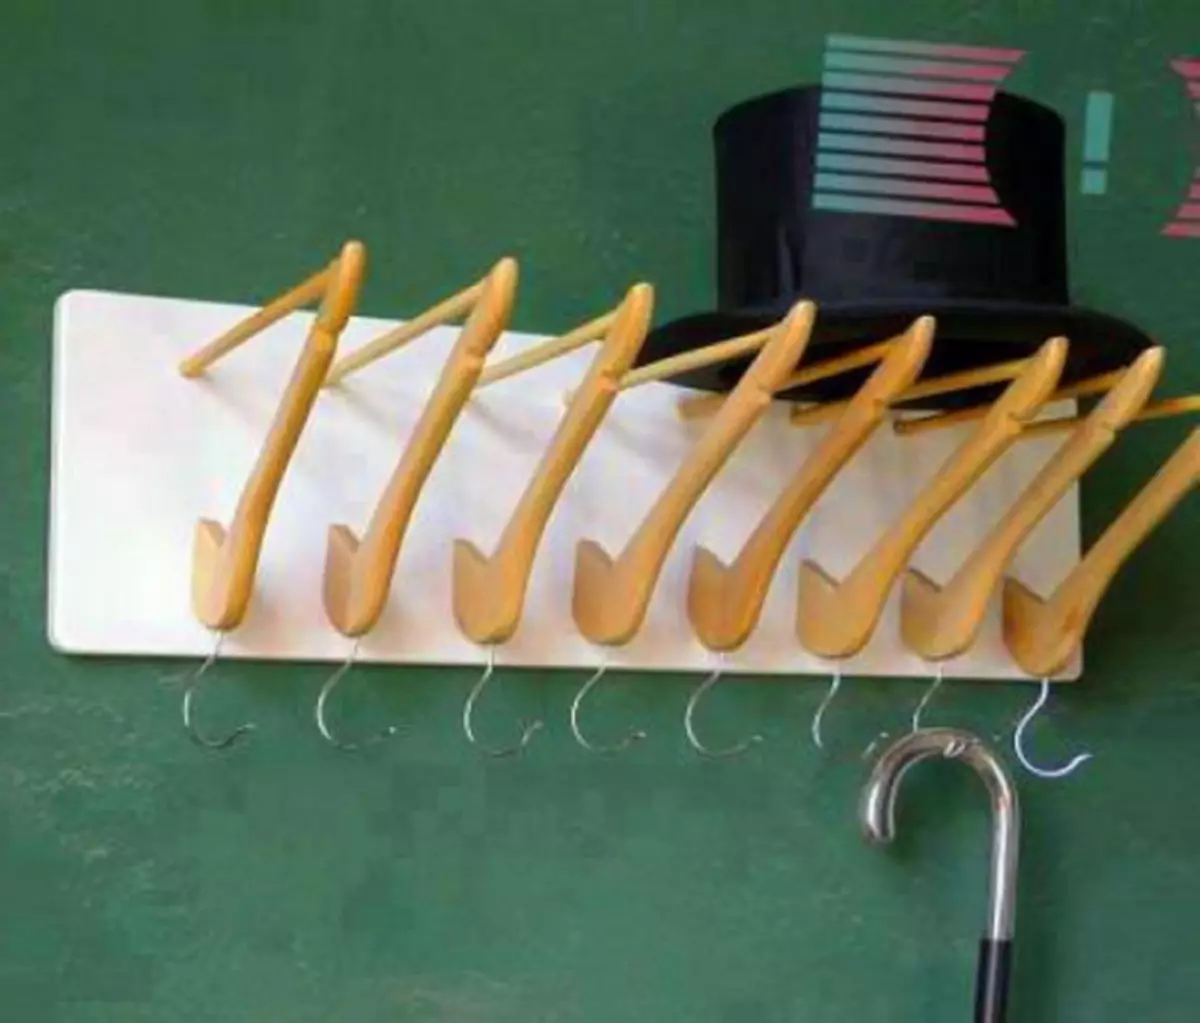
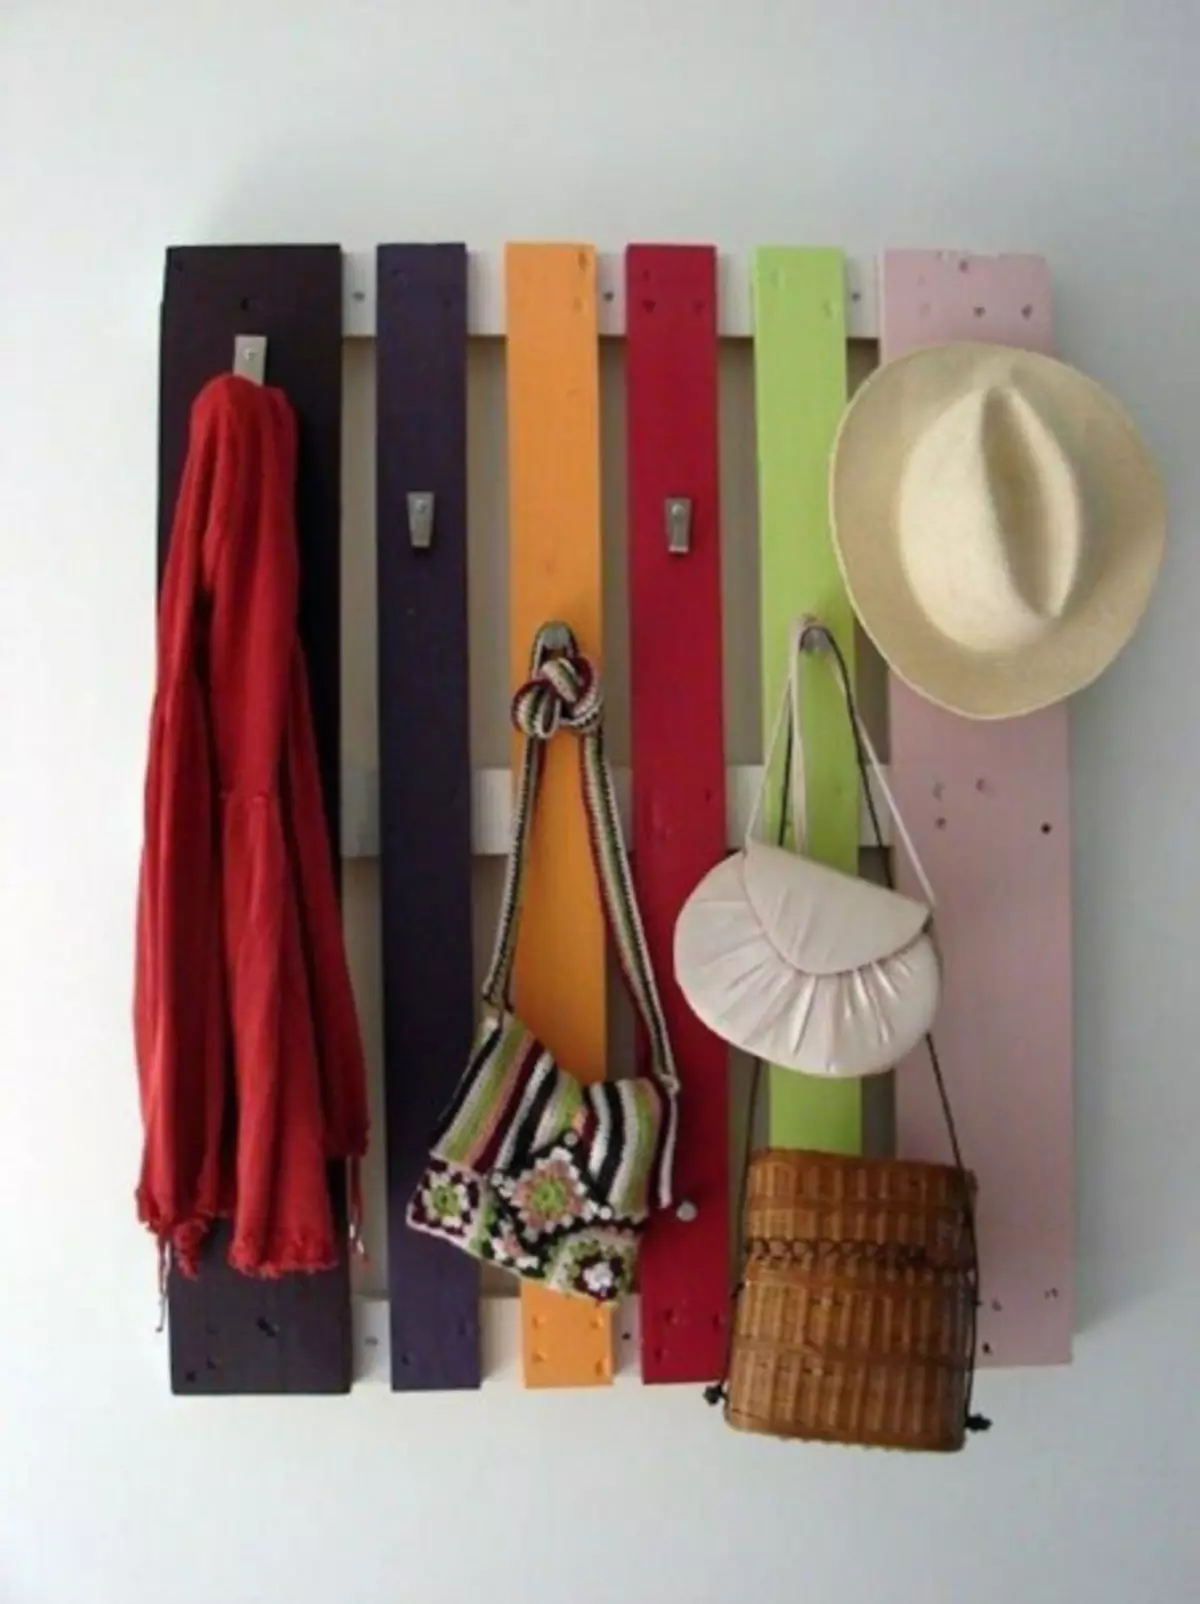
As you can see, you can make a wooden wall or floor hanger - for clothes or for jewelry, for children and for adults, for dressing room or for an entrance hall. It can be both classic and some unusual hanger from a tree - from skis, hammers, old things, fence or doors, from pallets and so on. The main thing is to connect fantasy, and for inspiration I suggest look at the photo of various wooden hangers that can be made with your own hands.





It can be concluded that there are quite a lot of hanger options, as well as the ideas of their incarnation, and each of them is unique in its own way. Therefore, choose which of ideas is best for your home and start doing your author's masterpiece. This will help you drawings and infirm materials. The main thing is to have the original idea and the mood to implement it.
Article on the topic: how to make glue and glue glass
