
It is possible to make the walls smooth and smooth, if the walls to avoid a variety of problems at the stack of wallpapers and their last wallpaper helps to avoid the walls of the wallpaper and their further operation. Regardless of the type of coating, the work is performed at the final stage. Putty is carried out and in the case when paint will be on the surface of the walls. Depending on the architectural features of the room, all work will take from 1 to 3 hours. The main thing is to strictly follow certain rules.
Builders answer: is it possible to glue the wallpaper for plaster without putty
Today you can hear from the mouth of experienced and not very builders that the finish putty under the wallpaper is not always necessary. This is explained by this ideal state of walls in new buildings. In fact, even the correct, in the architectural plan, the wall needs pre-processing. The reason should be sought in the physicochemical nuances of the surface of the wall, wallpaper and selected glue.
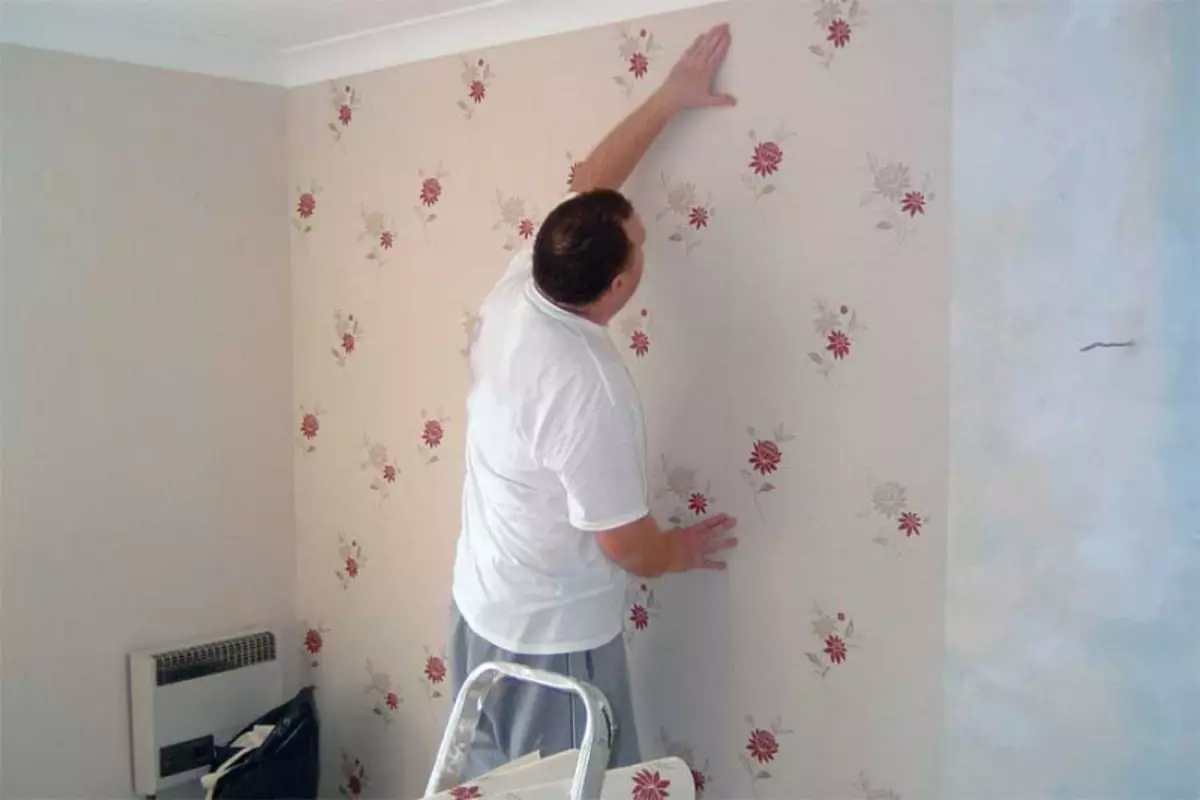
Specialists recommend glue wallpaper on plaster without putty if the walls in the room are perfectly smooth and having grunted
There are several reasons why it is better to cover the wall even in a new building:
- The newcomer will immediately figure out in the nuances of the use of materials;
- You can easily align even the geometrically incorrect surface;
- If various errors will be allowed during operation, then applying putty can be repeated any required number of times;
- Economical consumption of building materials;
- It is all right to splash, it enhances the grip between the wallpaper and the wall surface;
- Low cost of work.
How aggressively skeptics did not oppose the preliminary shtpocking of the walls, it is necessary to conduct it. A simple, inexpensive and effective procedure allows you to get rid of all jambs in the room. Even if mistakes are allowed on one or another stage, it is easy to take a spatula and remake everything.
The cost of the finish putty under the wallpaper
Despite the fact that this procedure does not require impressive financial costs, it is still necessary to take a calculator in the hands. The more accurate the calculation is carried out, the less problems arise.
Depending on the area and features of the wall, 1 meter square leaves from 70 to 95 rubles. The specified value is not fixed.
This becomes especially obvious when it comes to corners and various irregularities. In this case, the price tag can increase 3-4 times.
Article on the topic: Pros and cons of plastic windows
The cost of the finish putty, as a rule, depends on the features of the walls in the room and its total area
In order not to overpay for an easy job, be sure to remember the nuances below:
- First you need to select a wall of the wall where the most thick layer of plaster;
- It is advisable to spend along the entire surface of the wall by the level, which will tell all the depressions and bulges;
- It is not recommended to put a putty, if there are obvious chips on the wall.
The cost of work depends largely on the preparatory phase. It is necessary to think in advance what area is required to be processed. Those younger house, the less the construction mixture is required and vice versa. At the same time, even in the new building, the angles and various deepents will require more attention than the rest of the walls.
Splatten wallpapers: Right tool
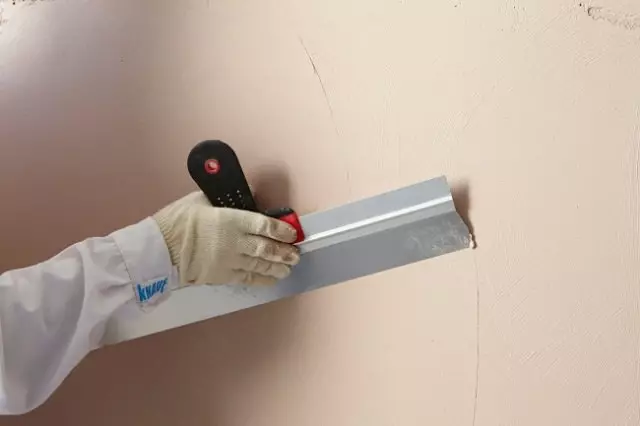
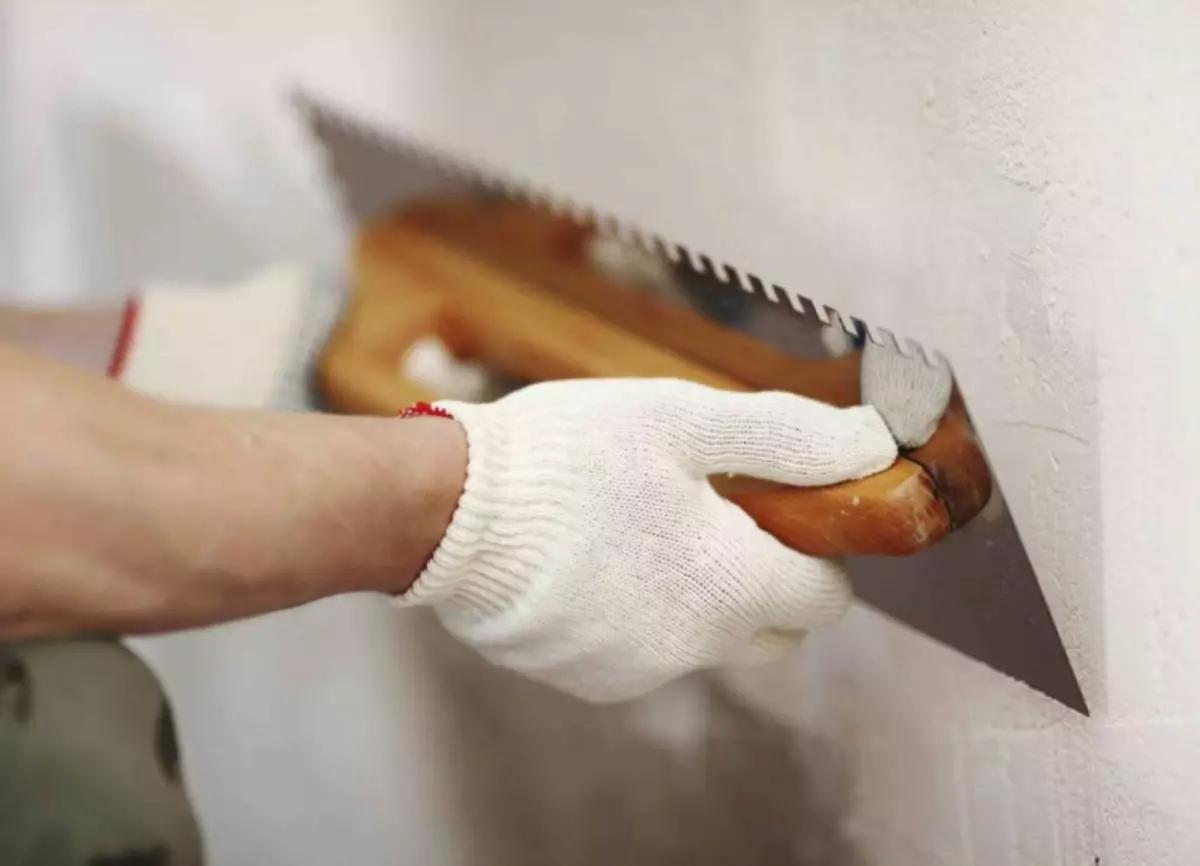
It is useful to remember the beginners that the devices for plaster and putty have a certain external similarity, but one instead of another is strictly prohibited.
Before you begin in the shtlock, you should prepare in advance and prepare the right tools and high-quality materials for work
The following recommendations will help correctly select the desired tool. First, the surface of the blade is always a bit thinner, which allows it to be slightly bending with a slight press on the handle.
Secondly, the more flexible the blade is, the easier it is to apply a solution into several layers on concrete walls. The secret of success lies in a uniform distribution of the solution throughout the wall.
In addition, there are some more important characteristics of a properly selected tool:
- The label should be a mark on the passage of the necessary certification tests;
- The edges of the blade are always a bit rounded;
- The blade must be literally perfectly smooth, otherwise the solution will be spread.
It is strongly recommended to give the issue of selecting a tool to work enough time. Most often, newcomers are confused 2 sufficient similar things - to apply plaster and putty. Indeed, if we talk about the external component, then in both cases it is a shovel with a handle. In fact, the unit necessary for putting the unit is much thinner and is able to bend. Thanks to this quality, the building mixture is evenly applied.
We start work: how to put the walls under the wallpaper
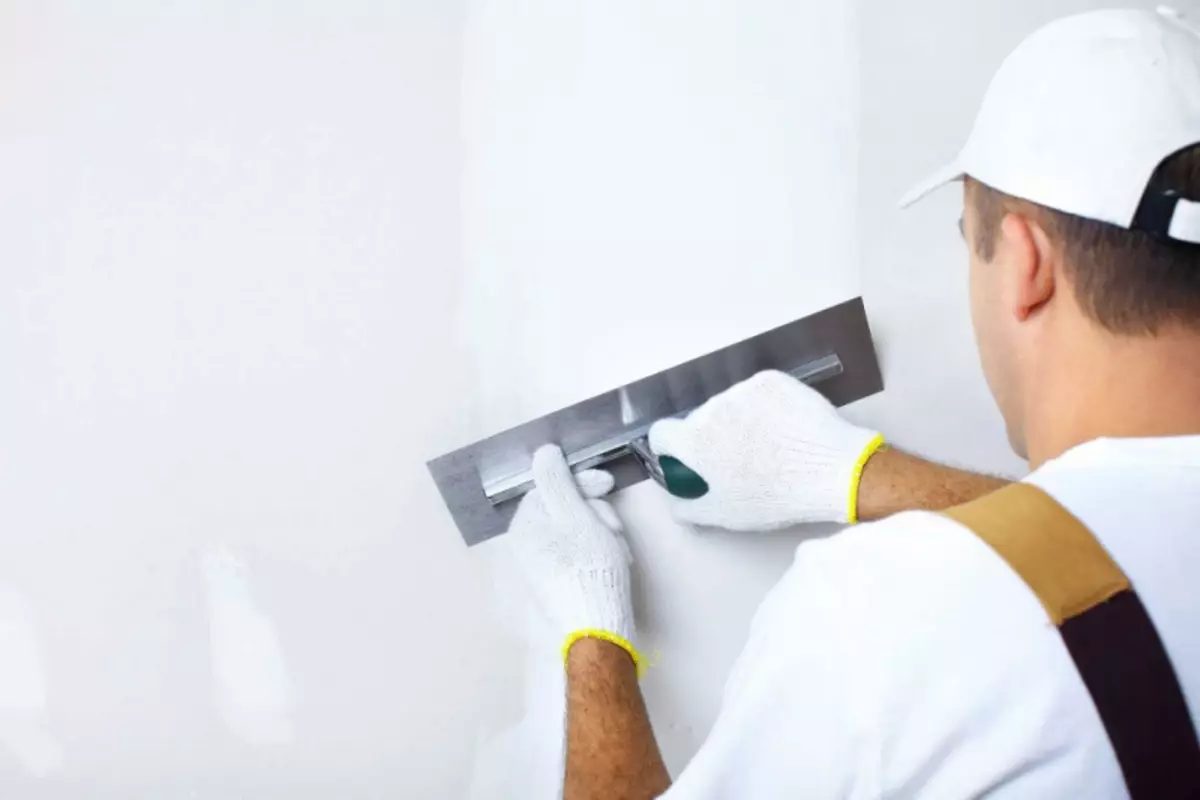
In addition to the spatula, it is necessary to buy bars and an abrasive grid to control the quality of work performed. It will not be superfluous to recall that whatever the tool brand does not choose, we are always talking about new products. Simply put, it is not recommended to take older or used construction materials.
In order to correctly and high-quality walls with their own hands, it is better to familiarize yourself with the advice of experienced specialists in advance
First, it will definitely be traces of past layers of paint and building mixtures. Secondly, even the short use does not effectively affect the functional characteristics of the instrument, so it is mandatory to buy only a new tool.
Article on the topic: Parquet's cycle do-it-yourself: Homemade squabble machine, floor cyclishing and handmade grinding machine
Deli Council will be the recommendation to abandon the use of gypsum putty. Despite the insignificant cost of one packaging, there are many problems when it occurs. The most common is the sticking of lumps to the soldier.
Otherwise, in the store you need to purchase the tools listed below:
- Several clamps and holders;
- Fuganok grid;
- Several sanding skins;
- 2-liter bucket with a slightly rounded corner of the bottom.
Regardless of the degree of difficulty of work, everything is performed only using new tools. Bucket, Fuganok, sandpaper - everything needs to be thrown immediately after the completion of the process of applying a building mixture. Reuse is not allowed, because a used tool cannot evenly distribute putty on the wall.
Selection Rules: What put the walls are better to put the walls under the wallpaper
An error will be an attempt to survey friends, acquaintances and relatives who passed through such trials. Not to believe and advertising slogans telling about the universal nature of a particular building mixture.
The first thing is necessary to remember - universal putty mixes do not exist. This is chosen taking into account the geometry of the wall, the presence of plaster and so on.
You can choose high-quality putty in specialized stores
Opens a list of popular building mixes acrylic variety. It is not cheap, but it fully justifies its premium status. It is applied quickly and does not spread. One bag is quite enough for a standard living room or bedroom.
In addition, the following recommendations will be helped to handle the walls before sticking:
- Gypsum-cement - are in the premium price segment. Dry mixture is taken for cooking in the required amount and diluted with water. Even if there is more mixture on a separate wall area than it was planned, it won't hurt the plaster. For use in residential premises, a packaging with LR / KR marking is required.
- Oil-adhesive variety - rarely dated due to a variety of reasons. First, the mixture based on the olifa lies even on perfectly smooth walls. Secondly, there are constantly harmful evaporation, not the best way to affect the health of people. At the same time, builders focus on the fact that this type is permissible to use in places where people staying, for example, in the basement.
- It should not be too much emphasized on such inscriptions as "finishing" and "starting" putty. Both terms do not have a value significant for the entire process. Regardless of the type of putty, it is applied on the plate with plaster in two layers.
- In order to understand how much the mixture is necessary for 1 meter square walls, the characteristics specified on the package should be studied.
By adopting a decision, yes, the walls are put on the wall today, it is worth paying attention to the study of the characteristics of the mixture before purchase. Each selected taking into account the characteristics of the room and the planned time of the people in it. The last item is especially important if plans to use a putty based on a bit of toxic olifa.
Article on the topic: How can you remake the sofa with your own hands?
Lightweight mixes for putting out walls under the wallpaper with their own hands
In some cases, no significant temporary and physical costs are required to prepare walls. If this takes place, the choice is made in favor of acrylic or water-dispersion putty. The first is suitable for those cases when glued wallpaper is planned near the chipboard, and the second for the premises where the OSB is required. Speaking about the benefits of the water-dispersion option, it is worth noting its ready-made appearance.

If you need to quickly prepare the wall, then you can choose an acrylic or water-dispersion putty
In stores it is sold in large buckets from a divorced mixture. The main thing is to hermetic close the capacity after the completion of the work, otherwise the putty will have to throw out.
If we talk about acrylic varieties, then it is put on, as well as a mixture on the basis of olifa, non-residential premises.
This substance has the following characteristics:
- Low price;
- Economical flow;
- The presence of unsafe evaporation.
It is not always necessary to buy an expensive putty. In order to protect yourself from unnecessary spending, it is worth previously analyzing. For non-residential premises, where paint will be used instead of wallpaper, it is recommended to purchase an acrylic putty, and for residential premises - water-dispersive.
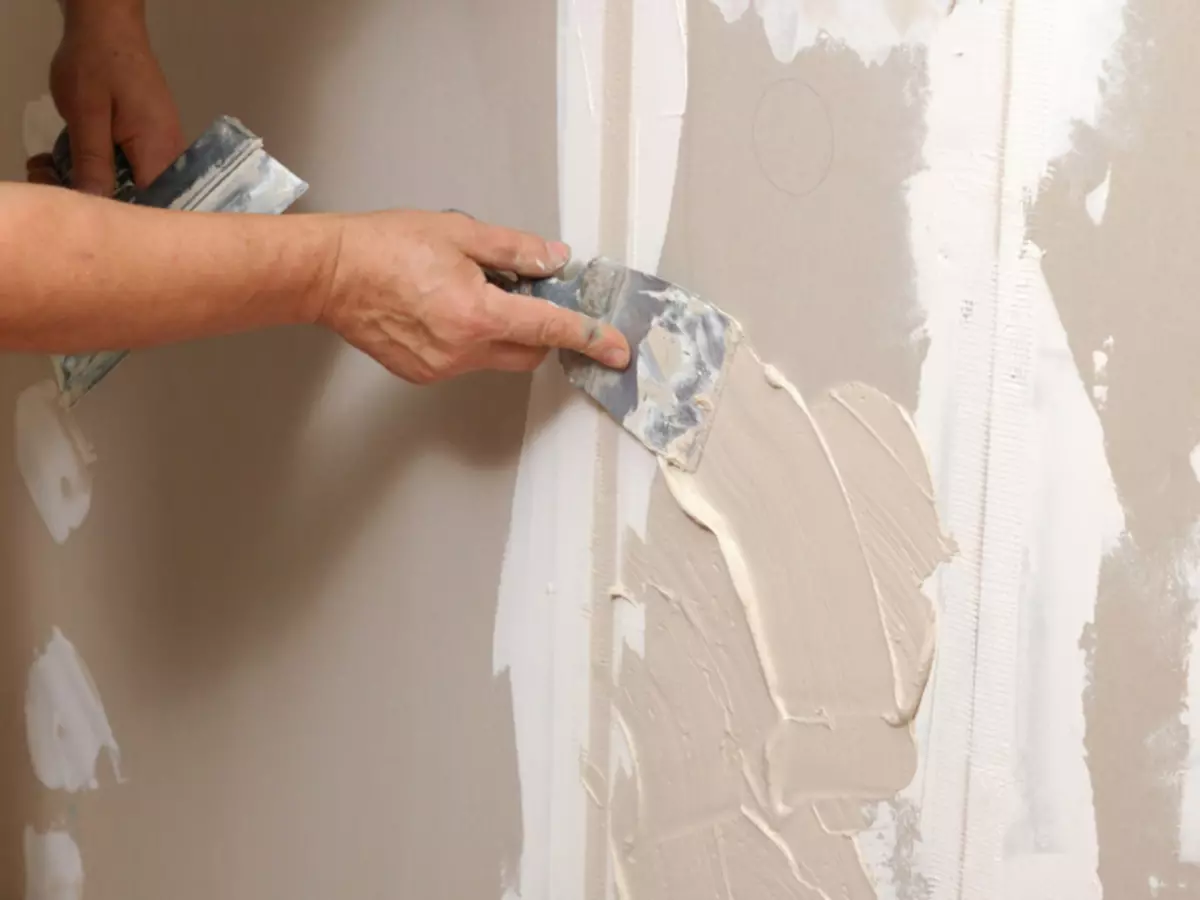
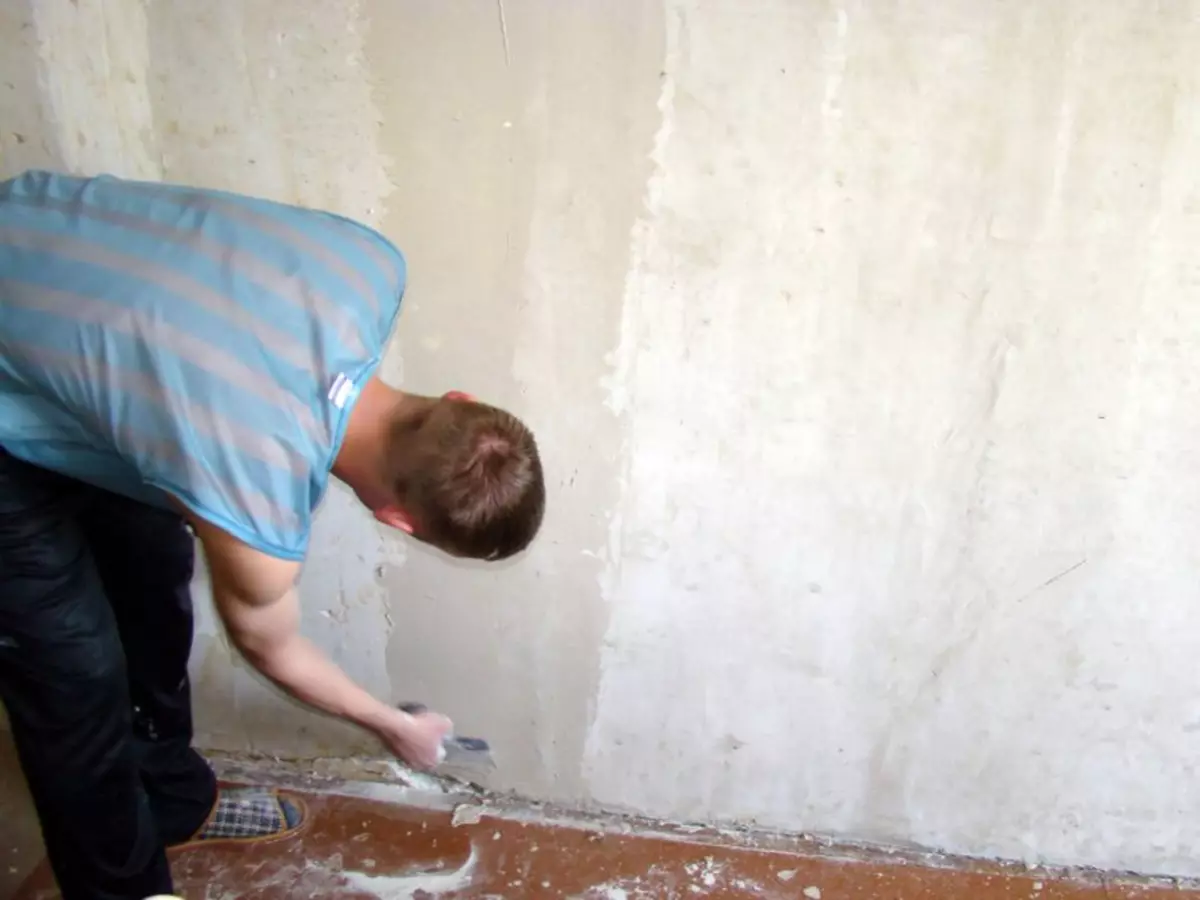
Practical stage or whether to put the walls before sticking wallpaper
Once everything you need purchased, you can safely start. It is important to remember that the walls are sweeping at room temperature and moderate humidity. First you need to remove traces of old wallpaper and paint. After that, careful drying of the room is made. In most cases, it goes exactly 24 hours. At the next stage, it is necessary to check with the level of the geometry of the wall, the putty of which is scheduled.
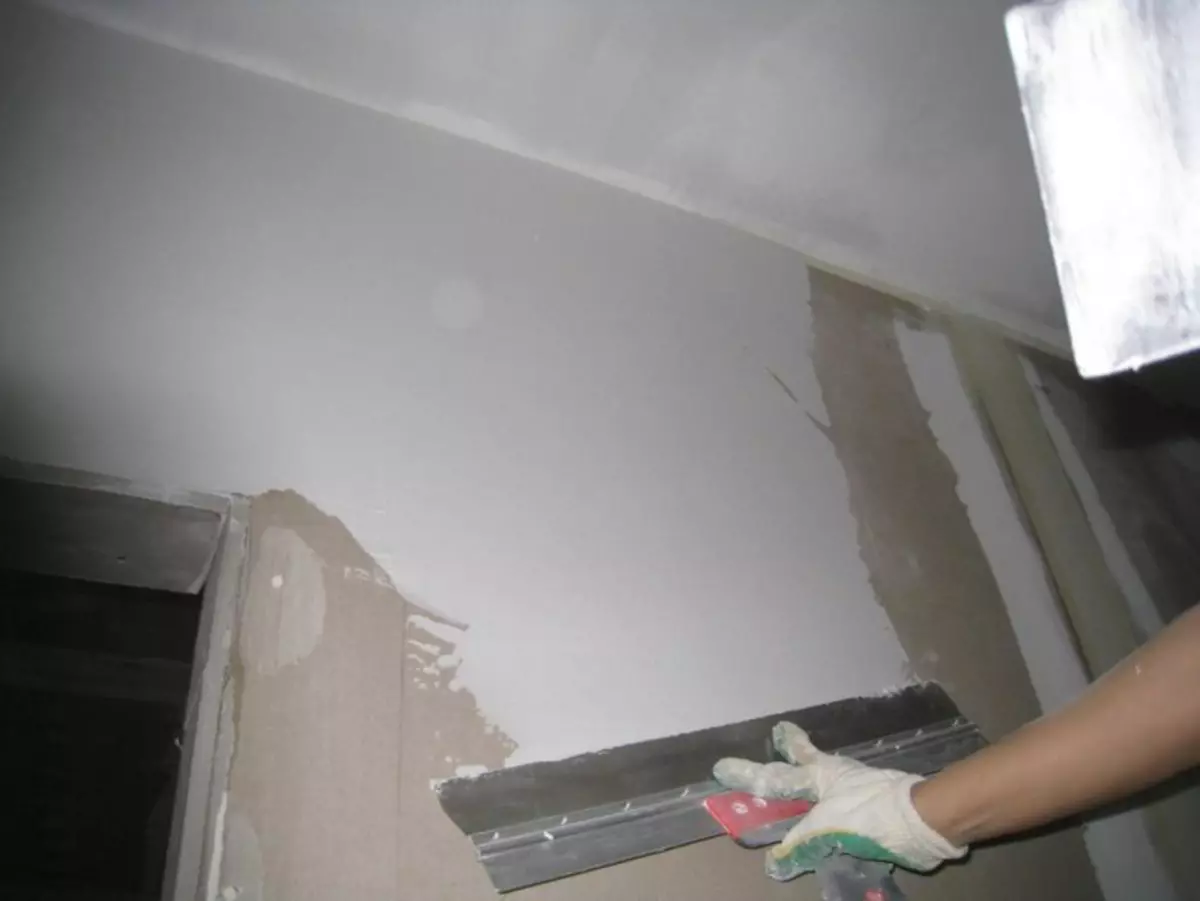
Many specialists recommend before sticking wallpaper. Be sure to hold the walls of the walls so that they become smooth and smooth.
If everything is fine, then the further procedure is as follows:
- Pour on the size of the bucket of warm water;
- Carefully fall asleep the mixture;
- The duration of the swelling of the mixture is 25 seconds;
- Stir all for 2 minutes to a homogeneous state;
- After another waiting for 1 minute, repeat the kneading.
Wall putty with your own hands under the wallpaper (video)
Applying putty on the wall - a mandatory procedure even in new buildings with perfectly smooth walls. It is carried out only with the use of new tools and after careful study of the characteristics of the selected mixture. Reduce the likelihood of errors will help preliminary preparation. It is carried out in order to determine the type of surface and the minimum required amount of putty.