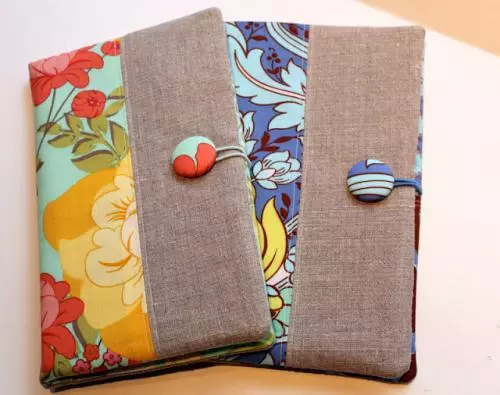
Not to love notepads can only one who never used them. Indeed, it is difficult to overestimate their convenience, but sometimes you want to add a little more functionality. For example, so that you can wear business cards in it, calendar or something else, constantly necessary. That's why I decided to make a universal notebook in the form of a folder for documents and papers with your own hands. I gave it to my mother and now she will not part with him.
Required materials and tools:
- the cloth;
- scrunchy;
- button;
- two pieces of cardboard;
- Basic sewing supplies;
- invisible.
Cut out Loskutka
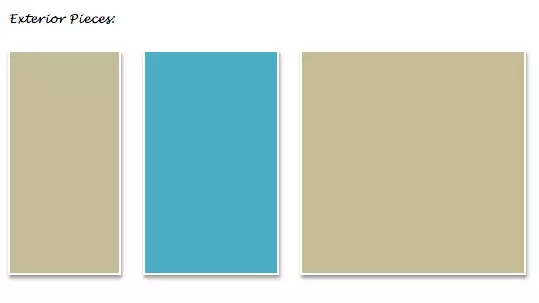
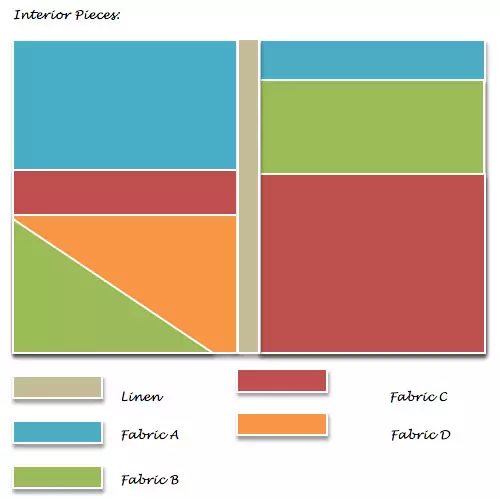
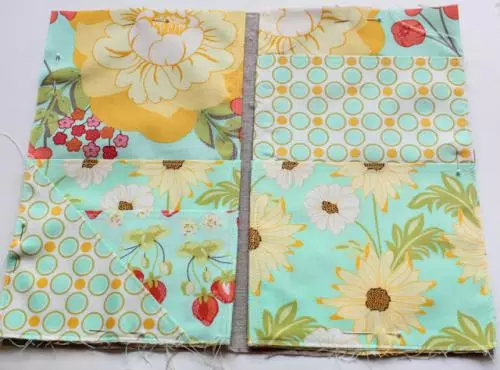
Focusing on the drawings, cut the necessary details. I will give you my measurements to be easier, but they can be varied at will. Exterior: Cut 1 part - 25x9 cm, cut 1 part - 25x 10 cm, cut 1 part - 25x 16.5 cm. Crossing: Cut 1 detail-25x33 cm. Inner part: Cut 1 part - 25x33 cm, cut 2 parts - 25x 16.5 cm, cut 1 part - 25x 16.5 cm (tissue B), cut 2 parts - 25x 16.5 cm (fabric C) - fold in half, top down, cut out 1 part - 16.5x12 cm ( Fabric d) - Fold in half, top down, cut 1 part - 12x12cm (tissue B) - fold in half diagonally.
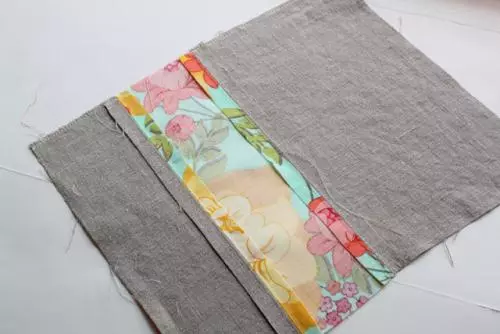
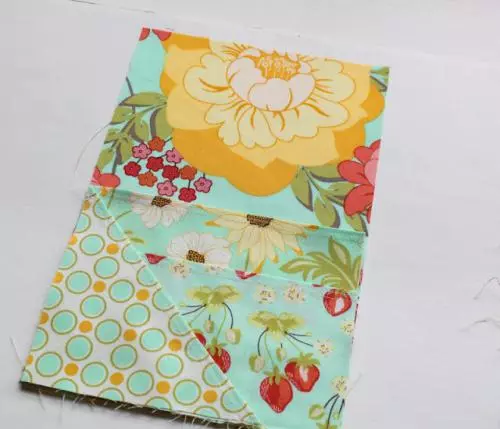
Send external parts
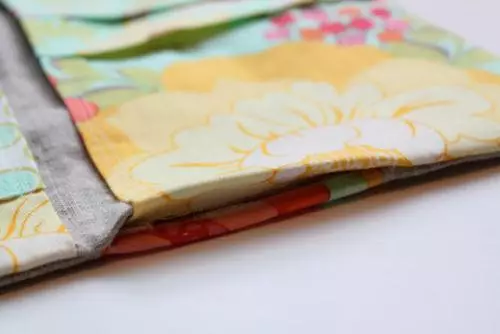
Sust three details intended for the outside. Be sure to push, as shown in the photo. There you can see the desired result.


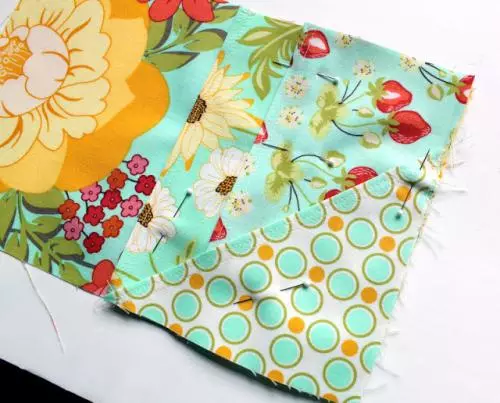
We make pockets from the left
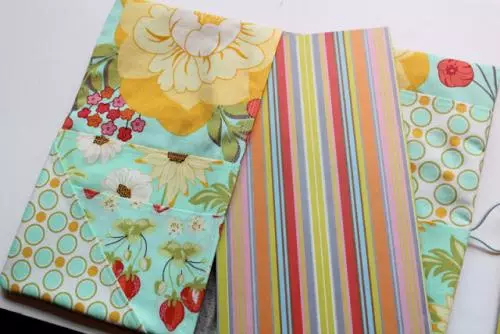
Now start applying internal pockets on the inner rectangle. Secure them with invisible. When I paid your attention to the details that we fold, I did not say that I shot the fold line. It is not necessary to do this, but it seems to me that so pockets will look neat and lasts longer. So, attach pockets of your future folder for documents and papers. And now push, trying to make seams as close as possible to the edge.
Article on the topic: crafts for children from cotton disks do it yourself with photos and videos
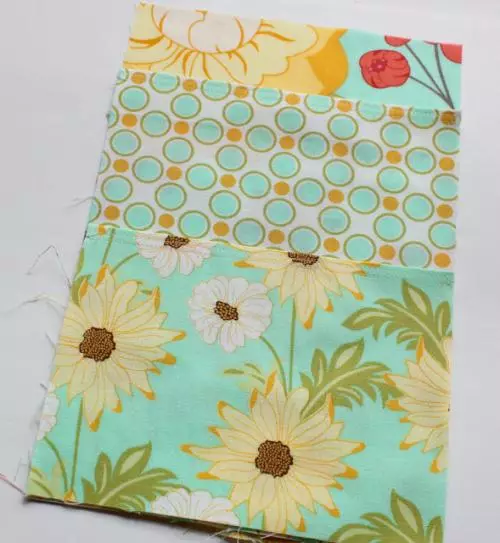
Send your pockets on the right
Take the second rectangle, intended for the basis of the right part of the inner side of the folder. Attach prepared pockets to it. I suggest to make one high, for documents, and the second smaller, for small cards or reminders. Stretch up the edges just as you did on the left side.
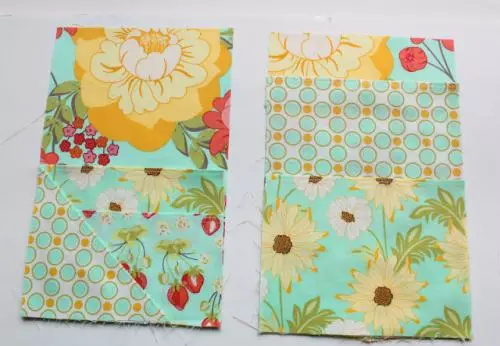
Sew outer and internal parts
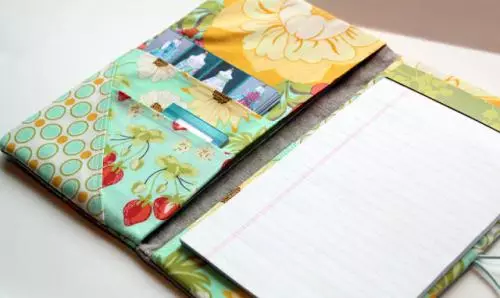
Put the external part of the folder for documents and papers that you create your own hands, invalid to yourself. Attach it with the help of invisible to the left and right inner parts with pockets. Sew these parts from above, below and by outer edges. Internal edges do not touch yet.
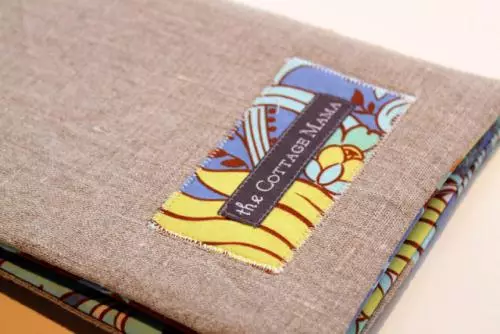
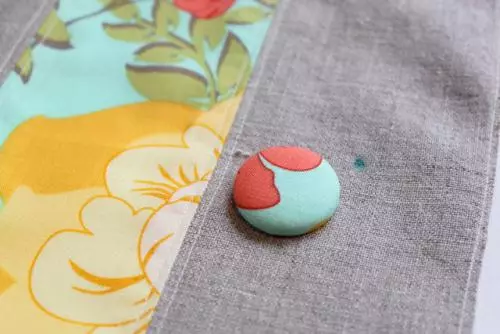
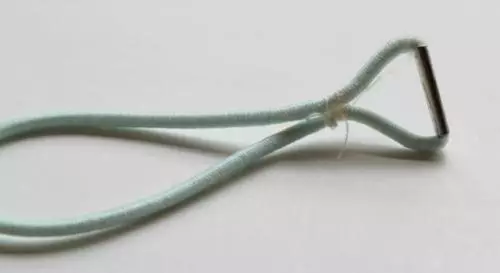
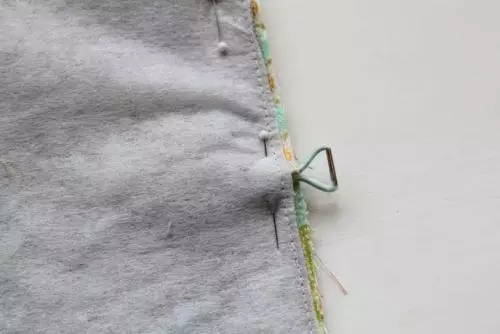
We make a buckle
Take an elastic hair band, make a loop from it for the button and the remaining end in the side bottom. On the outside of the top, visit the button or button.
Sealing folder
To make a folder for documents and papers more dense, I cut out two pieces of cardboard 22x14 cm and inserted them. Now you can sew the inner sides of the folder so that the cardboard does not fall out. That's all, you created a folder for documents and papers with your own hands! Use with pleasure!