
Which of us did not master in childhood the fleet from paper ships? It is worth several times to fold the sheet several times, and here you are no longer flat paper, but a real bulk figure. The technique of creating such crafts in Origami technique came to us from Japan at the beginning of the last century and very loved the kids. After all, you can not just create boats, but also arrange real sea battles, a launch of the vessel on the stream. Therefore, in this article we will analyze how to make a boat out of paper, consider all the options in step bypass.
In addition to the classic boat, you can create sailboats and even yachts from paper. Dexterity of hands and no magic! We offer several options for creating paper boats that are suitable for both adults and children.
Classic model
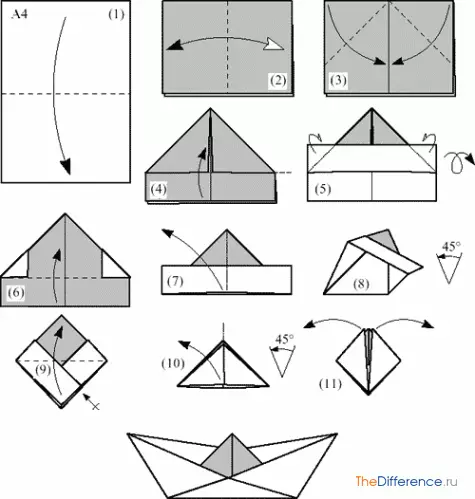
For this product, the usual sheet of A4 office paper is suitable.
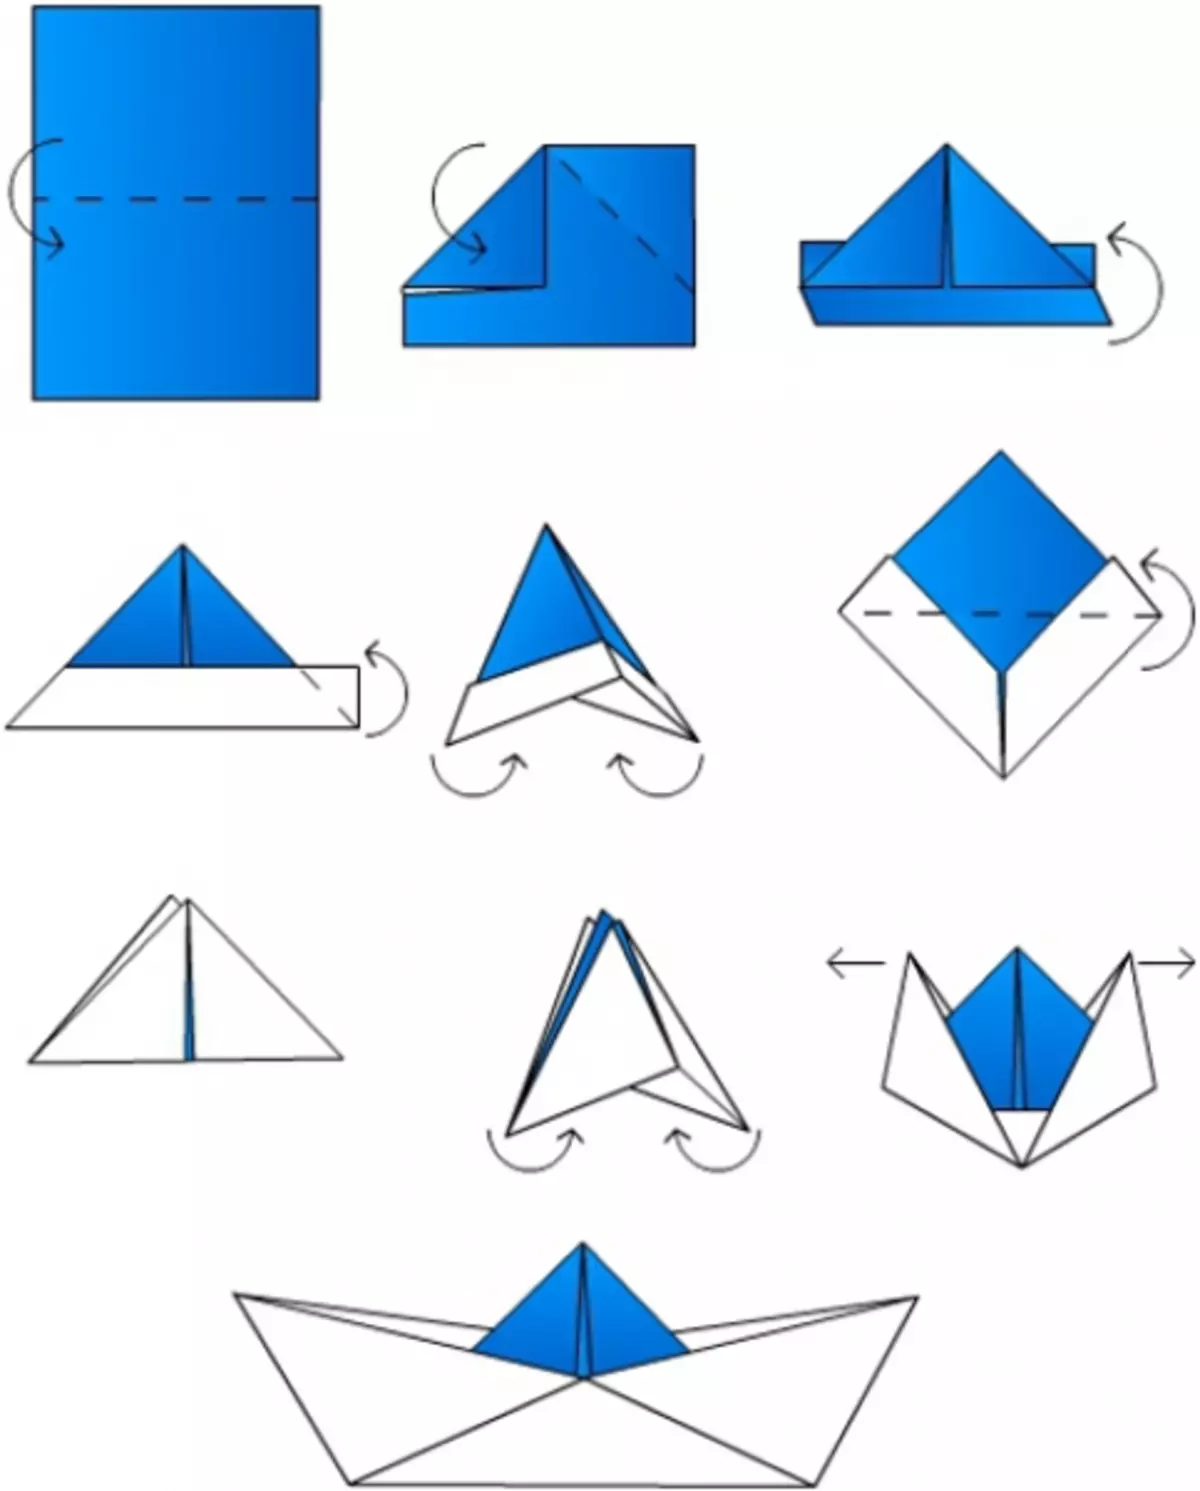
Phased master class:
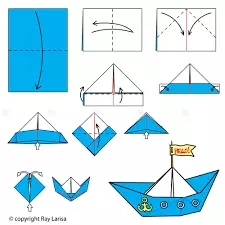
- Fold a sheet of paper in half;
- Select the upper corners to the center at right angles;
- Check the lower corners of the sheet;
- The corners formed around the edges are lowered in the opposite direction;
- Take the workpiece for the corners and connect them with each other. As a result, there should be a square with a pocket;
- The free edge of the pocket needs to bend upstairs on each side. As a result, it turns out a triangle;
- Next, connect the corners to get a square;
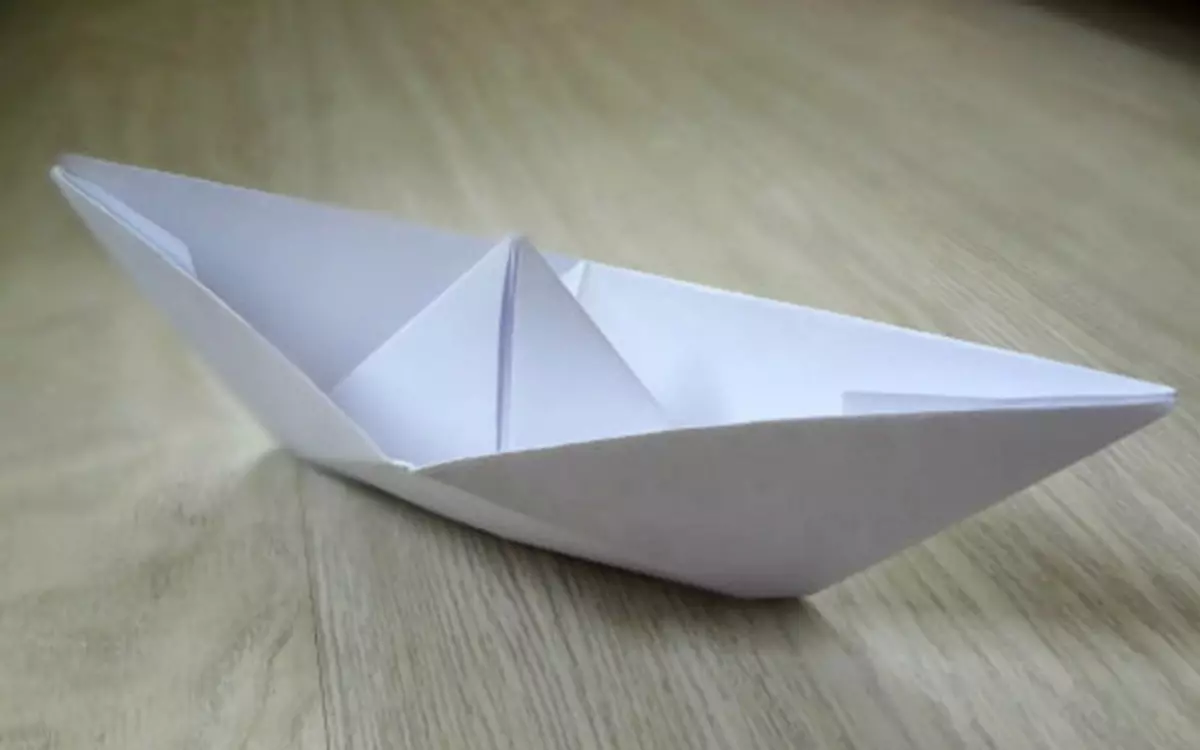
- Holding the middle, you need to pull over the corners from above. The product should be revealed and transformed into the ship.
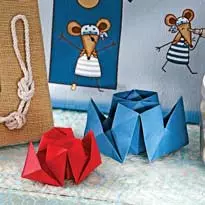
So it turned out that the coaster!
Create a sailboat
To create a ship with a sail, you will need a sheet of A4 format and scissors.
To begin with a sheet of paper, you must give the shape of the square. Cut extra piece. Bend the list diagonally twice and open. As a result, it turns out a blank with the outlined lines. Now you need to form an envelope, for this, from three sides, alternately need to add the corners with a sharp edge to the center.
Article on the topic: Amigurumi. Parrot pose lovely
The lower part be bent in the opposite direction, retreating the initial bend of about 1 cm. Fold the future ship in half so that the central diagonal breaks into the other side.
Fold the workpiece by sending the center inside. In this case, the lower edge is turned up so that the support for the ship is formed.
That's all, the product is ready!
Two-pipe ship
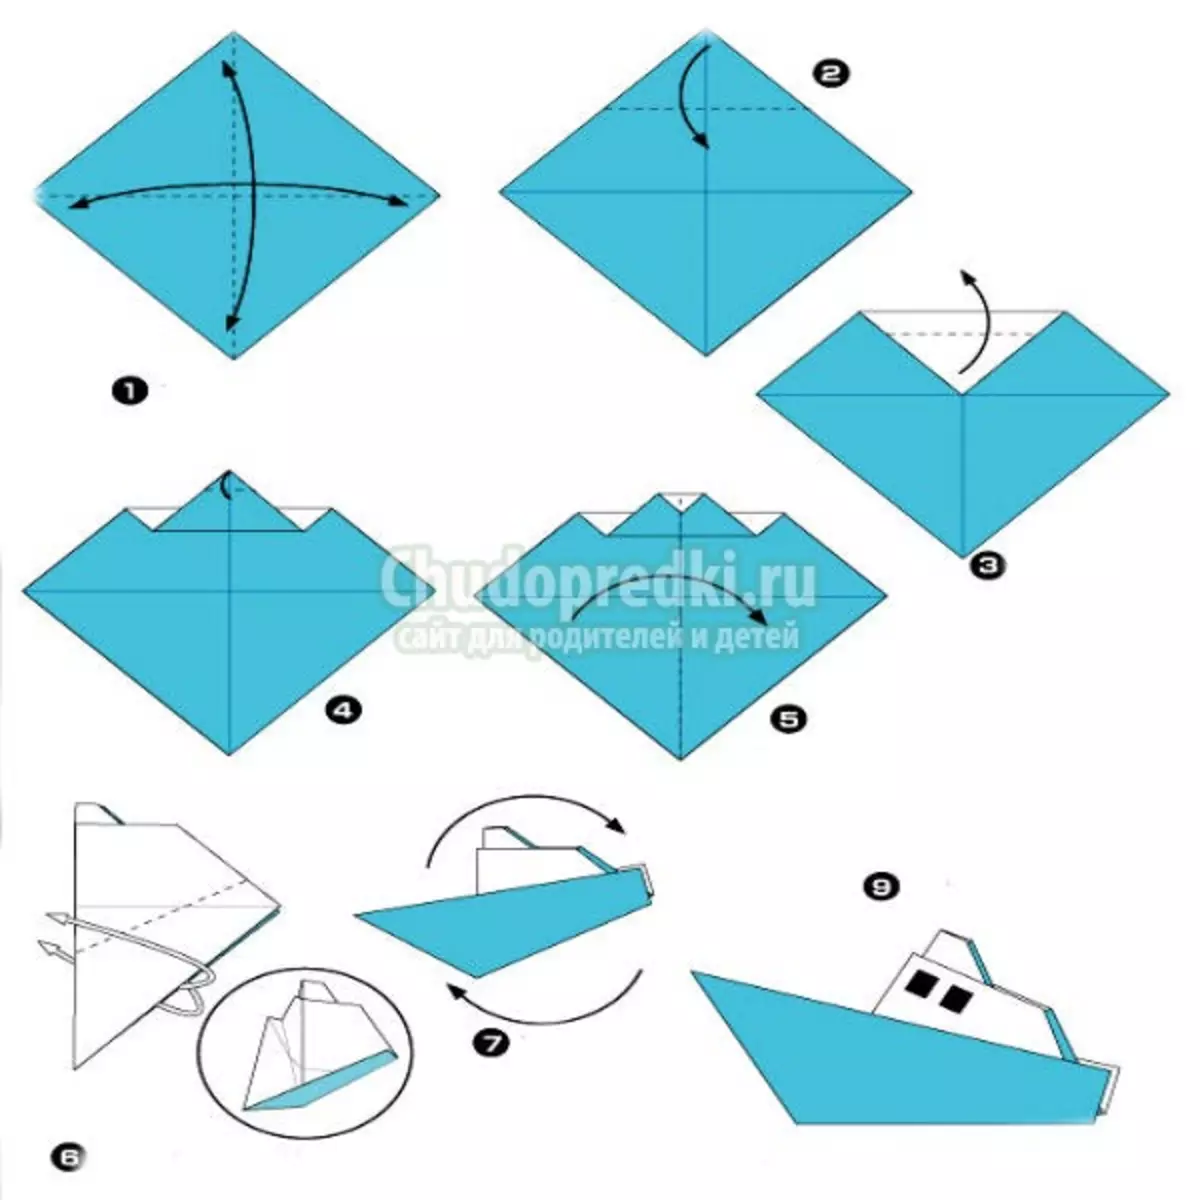
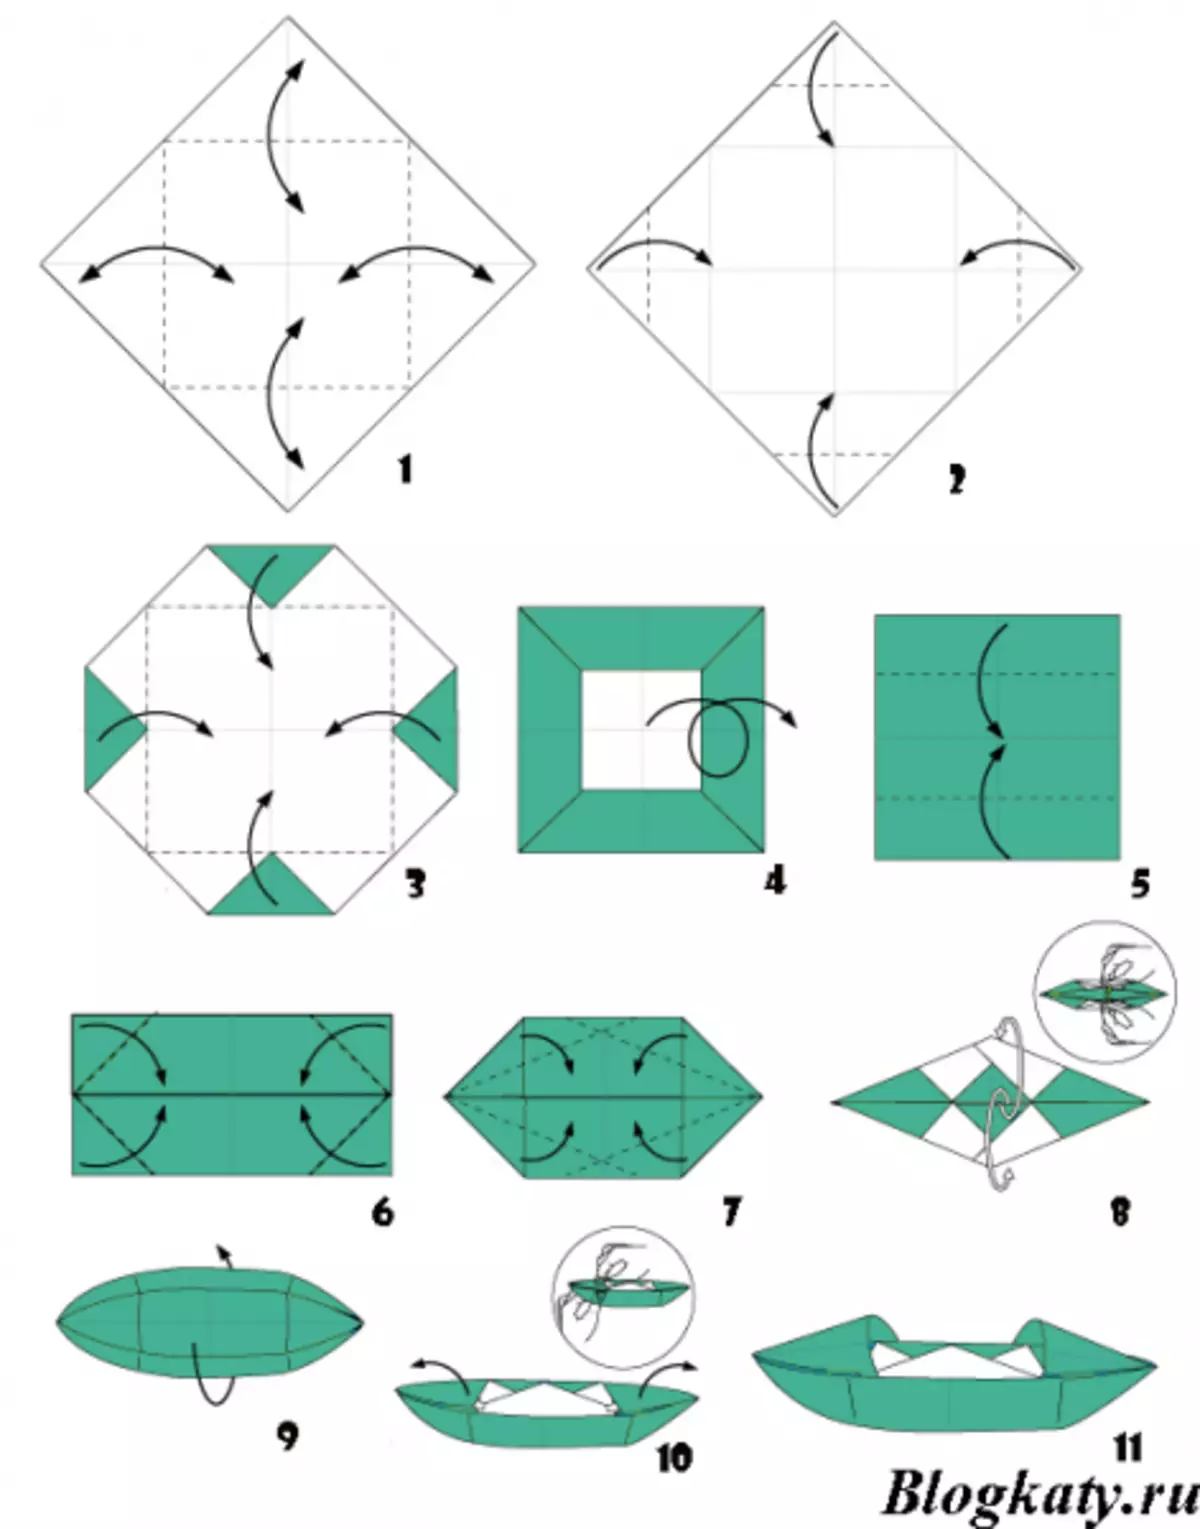
For a vessel with two pipes, as for the previous model, you will need a sheet of square shape.
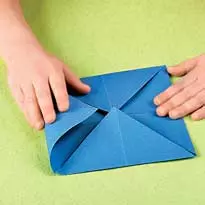
Fold the sheet diagonally twice. As a result, it turns out a blank with the outlined lines. Leaf angles. Turn to the center.
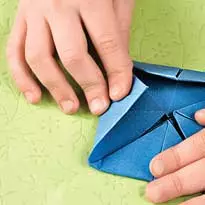
Turn over the workpiece with the laid items down and start the corners to the center again.
Then again (already the third) turn the resulting square and start the corners to the center.
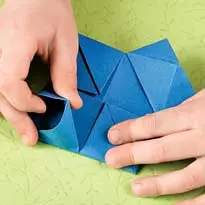
Turn over the workpiece and move the two angle, forming the pipe.
Pull the remaining corners and deploy them, while folding the figure in half.
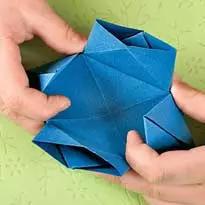
Two-pipe boat ready!
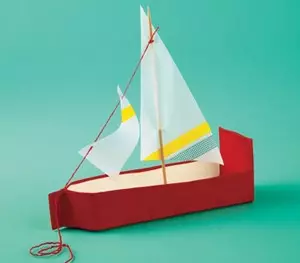
Paper yacht
For the yacht, we need a square sheet of paper. Next, proceed according to the instructions.Bend the sheet diagonally twice. Nizhny angle overload to the middle and move back. Make a hat.
Paper yacht ready!
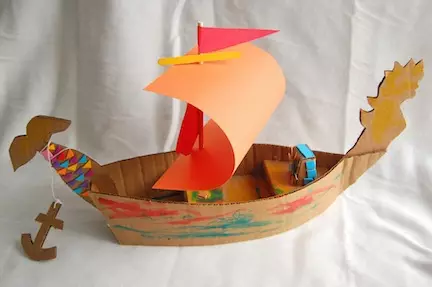
But the idea of a boat of paper:
Several useful tips
To create boats, you can use multi-colored paper. The main thing is to choose medium density material, since very thick or thin paper can be badly held. For a paper boat, it is suitable for office paper and pages of newspapers or magazines.
If you stop your choice on color paper, choose the soaked, and not glossy, since the latter can suck around the edges after several folds. Suitable for ships and writing paper - the one that is used for notebooks, notebooks and books. In stationery stores you can buy crafting paper, origami masters admit that this is one best options.
Article on the topic: Cross embroidery scheme: "Coffee theme" free download
Kraft paper - the result of recycling waste paper. It is easily bent, while keeping the shape well. But from the tracing or parchment paper it is better to refuse.
Child can offer to color the product at its discretion. If in the future you plan to start a boat to water, then use oil paints or waterproof markers. Another idea is to pre-paint the sheet to create a boat in different colors. For example, one side in blue color, and the other is in red. So you will have an original two-color product.
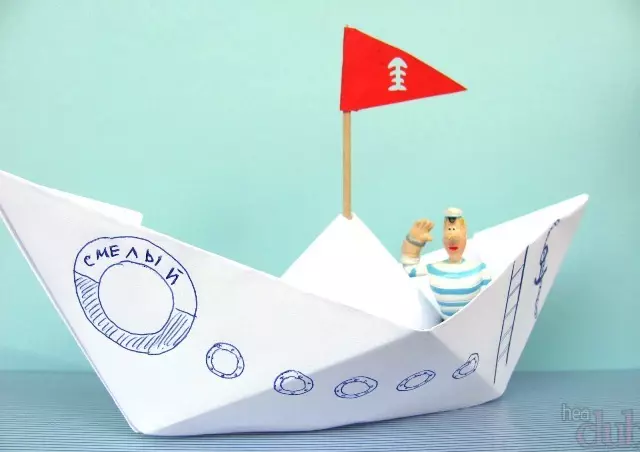
You can also improve the products, having trained masts with flags. As a mast, use small toothpicks. Flags can be selected from the colored paper on your own, or take advantage of the ready-made patterns that are shown in the photo below. To make a boat waterproof, you can dip it into paraffin.
Here are some more schemes that will help make a boat:
Video on the topic
If you still have questions, how to make boats from paper, these video will help you deal with everything and make your fleet.