
Good afternoon, dear needlewomen!
Very soon there will be a bright holiday of Easter, there is still time to prepare and make different crafts with your own hands.
I have already told about knitting Easter eggs crochet. You can see here >>.
Most recently, Irina Ruevich made a video - a master class on knitting the most beautiful Easter eggs with beads, I placed it in the same mentioned article. Even if you are not so knit, I advise you to just admire.
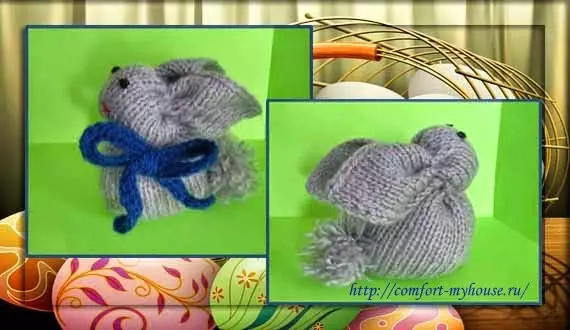
Today I want to tell you about making an Easter rabbit with your own hands. It will be a rabbit amiguri.
Easter rabbit amiguras knitting
Easter rabbit is bound by the knitting needles, but if you wish, you can also connect the crochet, and you can make a flap of fabric. We will need:- quite a bit woolen / half-walled or other yarn of gray (or any other) color
- Spokes number 2-2.5
- pencil
- cotton wool or holofiber
- needle
- Threads of red and black.
Easter bunny do it yourself
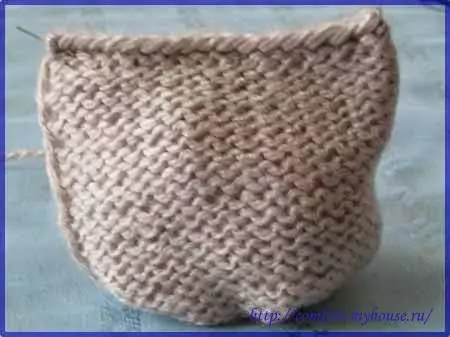
1. It is necessary to connect the square of 20x20 centimeters in front of the face. At first I knit a small sample, I make a calculation, as a result of which I find out what you need to score 34 loops on the knitting needles.
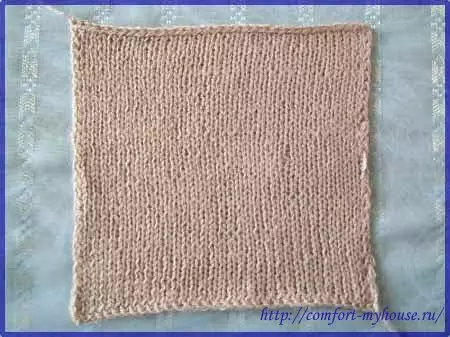
2. Ready square is well smoothed iron through a wet fabric.
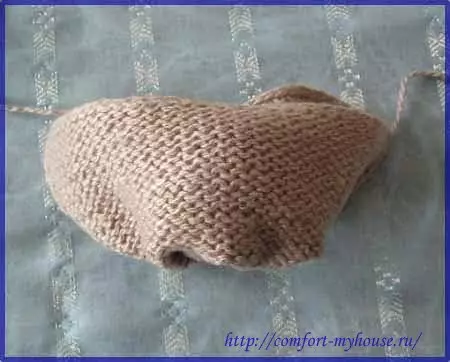
3. On three sides of the square, we mark the middle and draw a pencil triangle, as shown in the photo.
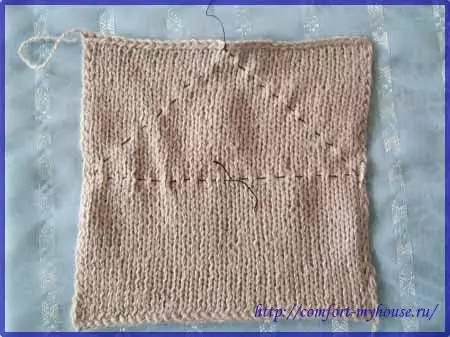
4. Enlighten with a needle with a thread of medium stitches around the perimeter of the entire triangle, starting with the middle of the long side. It is best to start with the middle, because it will be so more convenient to pull.
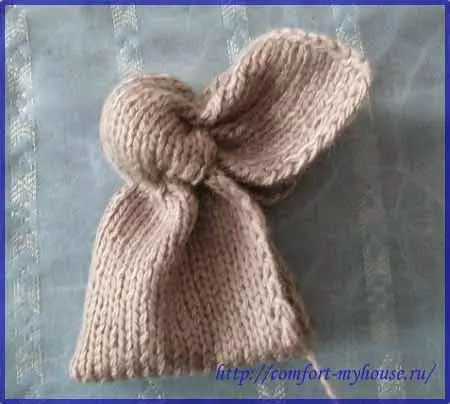
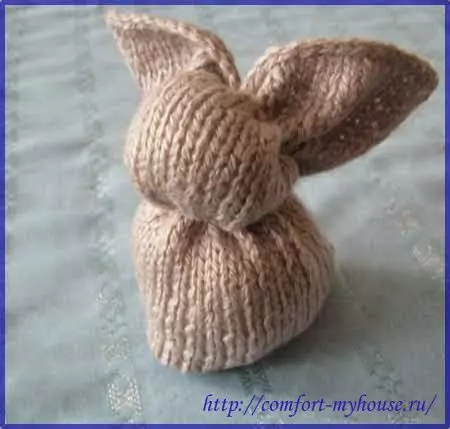
5. Thebells in the ends of the thread and tighten it by forming a future head.
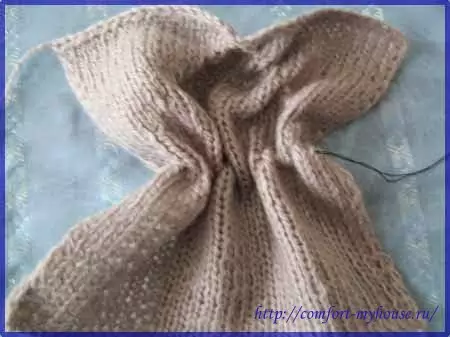
6. In the middle put a filler and finally tighten the thread, tie the ends. Now they have already formed the head and ears of our rabbit.

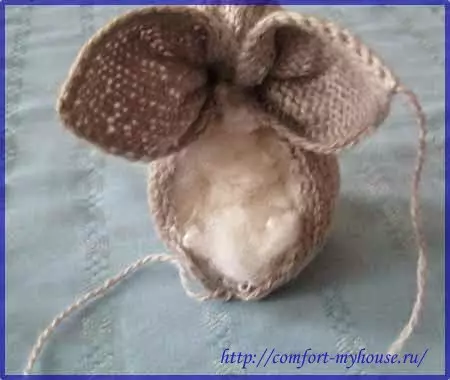
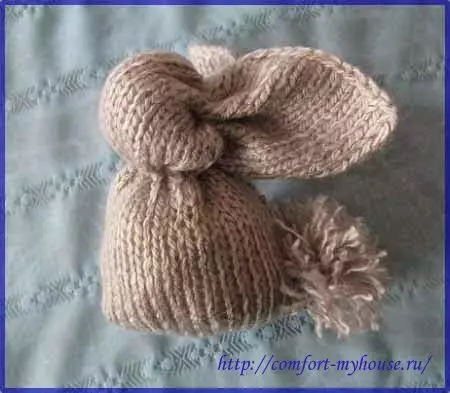
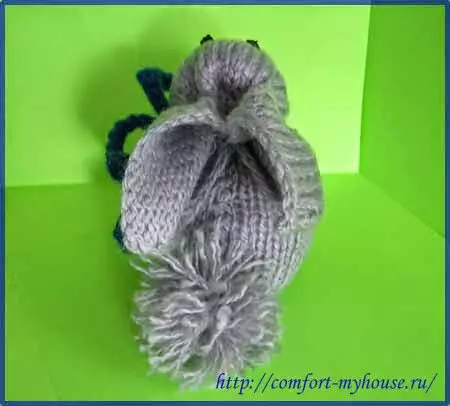
7. Put the billet of the rabbit in half so that the head is inside, stepping the bottom edge on the typewriter or manually.
Article on the topic: Pansies in the pot in a pot: master class with photos and video
8. Soak on the front side, stuff the torso with a hollowberry and sew the back of an Easter bunny.
9. The rabbit is relied on a fluffy tail, as we use a pomponchik. For the manufacture of Pompon in this case, the classic method of winding through a cardboard circle is not very suitable or on a fork. I wound up the thread just on my finger, tied up and cut the thread in the middle.
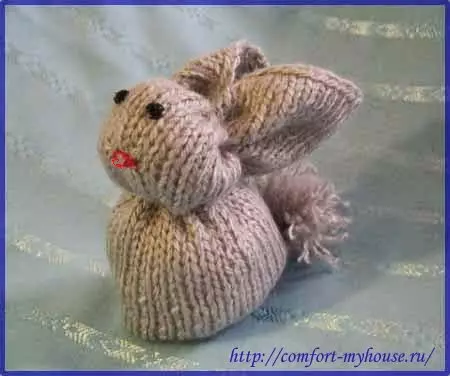
10. Rounds and mouth embroidered with black and red threads, respectively.
11.I tied for a rabbit with a bunch of crochet.
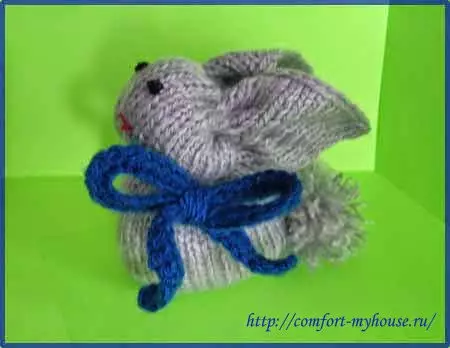


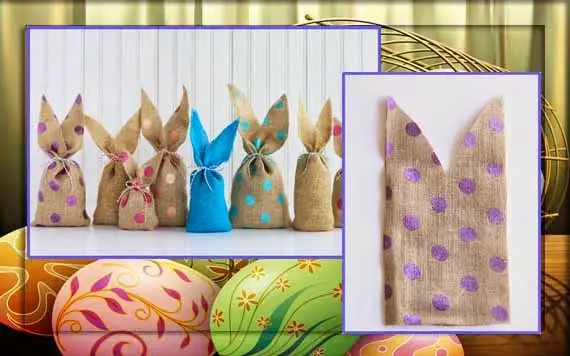
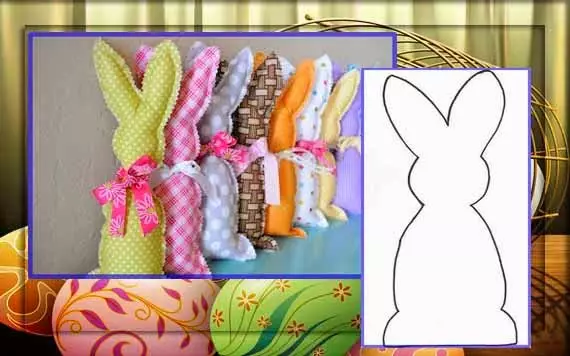
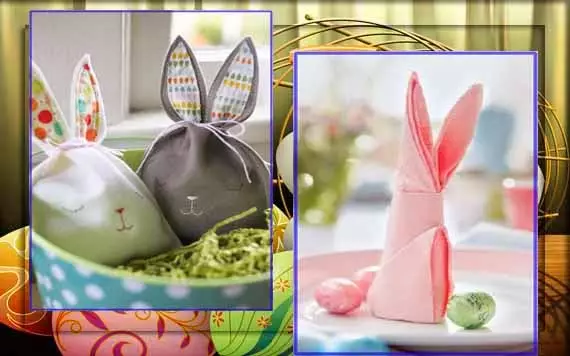
A cool Easter bunny, made by his own hands, may not be so beautiful, but very similar to that original, whose idea I liked my unusual and simple execution. If you like to sew more, pay attention to these adorable rabbits (or bunnies?), Here and patterns are attached.
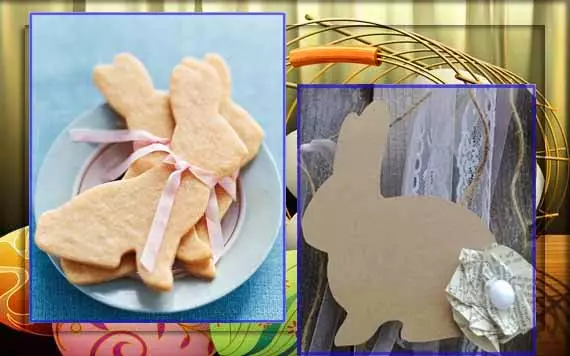
And also look at other creative ideas of Easter rabbits.
Master class on folding rabbit from napkins See here >>.
And how do you prepare for Easter? Share photos of your work!
Do not skip new publications!