
Fans of photo shoots and simply photographs with close people are often interested in how to make an envelope for photos with your own hands to store all memories. In the 21st century, all innovative technologies and photographs can be perfectly stored in electronic form on any removable media. What if there is no electricity, and at the guests are relatives? This is how the envelope is useful, in which they will gently lie the photo from any holiday.
We disassemble several options
Inventory for work:
- Tool for raging;
- scrapbooking paper;
- pencil;
- Decor details.
Stages of creation.
The size of the envelope depends on the size of the photos that will be stored in it. If this is the usual photos of 10 sizes to 15, the envelope will have dimensions of 2 cm more so that the photos are not crushed, did not bent, but lay without extraneous influences.
It is necessary to take a sheet of paper A4 format.
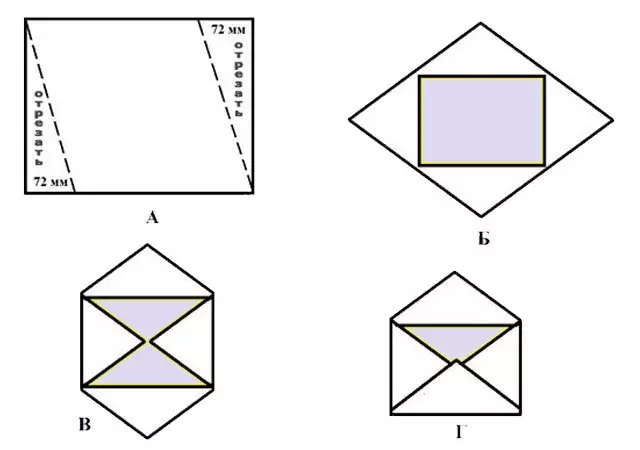
To work with paper, you need a special tool, but if there is no one, perfectly suitable comfortable materials. The scrapbooking sheet on the working surface is located in the album orientation. From the left side there is an indent of 6 cm, after which the fold line is carried out. A 10 cm + 3 mm is deposited from the horizontal line obtained for the comfort of the photographs of the envelope. After that, another straight line is created. From this direct horizontal line, 6 cm is also postponed and the scissors are neatly cut off.
The sheet must be placed in the orientation "Book" and draw a line by retreating from the left edge by 3 cm. From the straight line, it is necessary to postpone 15 cm + 3 mm for the convenience of placing the photo inside the envelope. After that, another straight line is drawn. From this straight line, 3 cm is also deposited and the scissors are neatly cut off.
In the resulting workpiece, it is necessary to cut off all the corners. They are cut along the fold of the fold before the intersection of the lines. As a result, a cross-shaped figure is obtained on the desktop before your eyes. In places where the indent was 3 cm, there are valves. Now, from each valve, it is necessary to cut off 1 cm. Initially, one valve is fixed in the glue, the resulting long sides fall over and is fixed on the glue.
Article on the topic: Openwork cake for girls crochet: Scheme and description with video
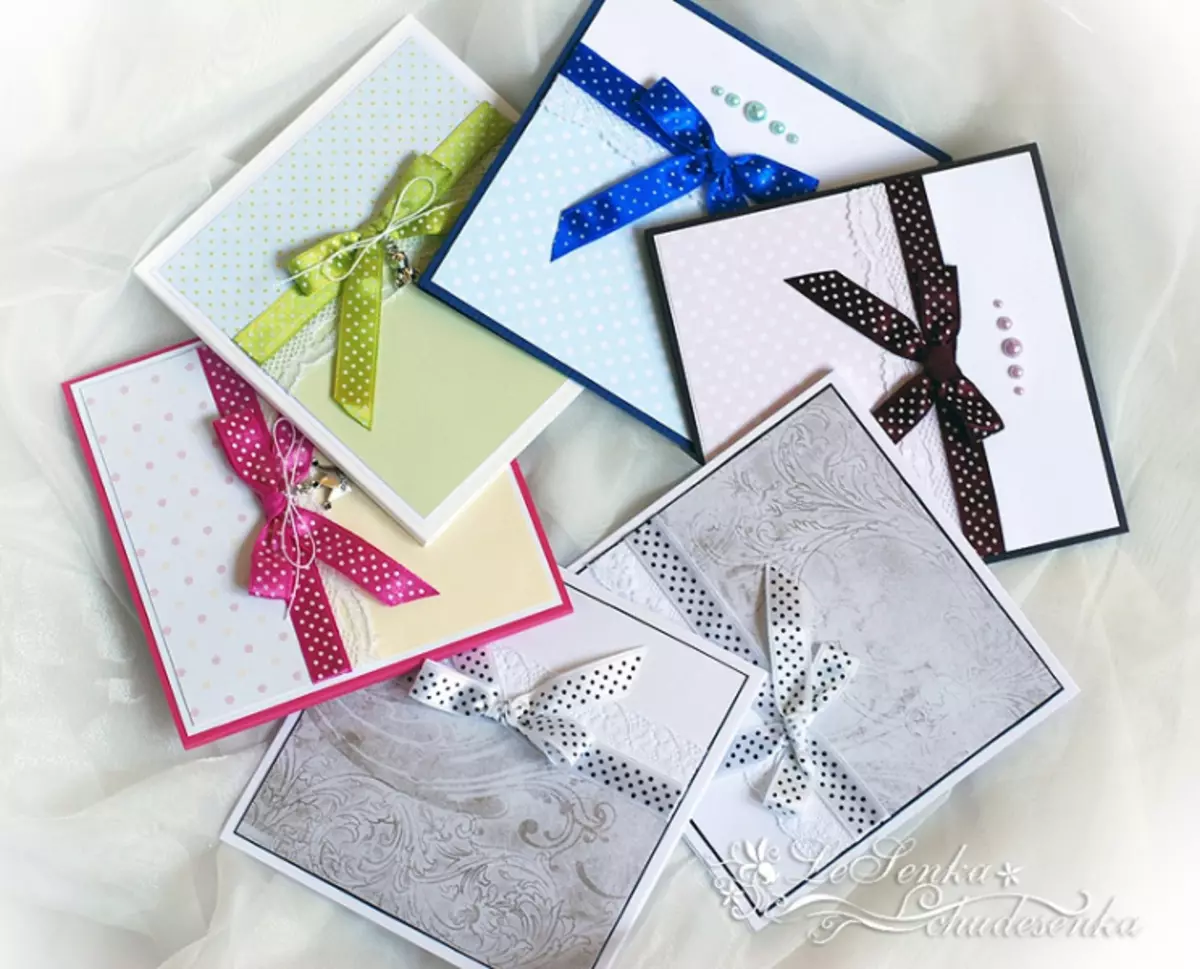
For the decor of such an envelope, you can use anything: satin ribbons, queen paper, ordinary paper, tracing paper, beads and more. In the resulting envelope, you can safely fold the photos and put in the place intended for them. There they will wait for their queue for viewing and memories.
Having curious holes at hand, make the envelopes in the method of scrapbooking at home is completely simple and accessible.
Inventory for work:
- paper for scrapbooking and ordinary thin paper;
- white cardboard;
- Color paper;
- Decor details;
- satin tape;
- glue and scissors;
- line;
- pencil;
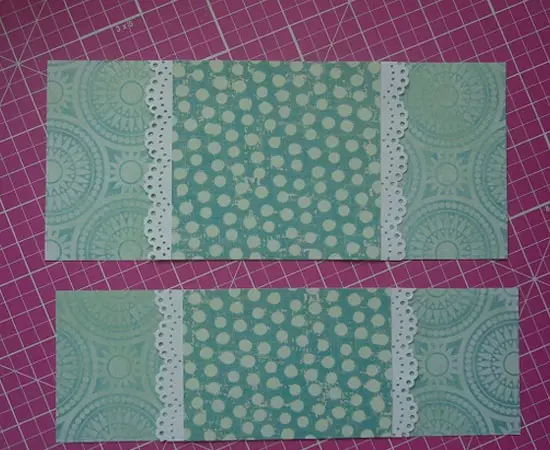
Stages of creating an envelope. Relying on the above 10 × 15 template, it is necessary to cut the blank from white cardboard.
Based on the cut out of the workpiece, it is necessary to cut two rectangle from colored paper, identical to the upper parts of the envelope.
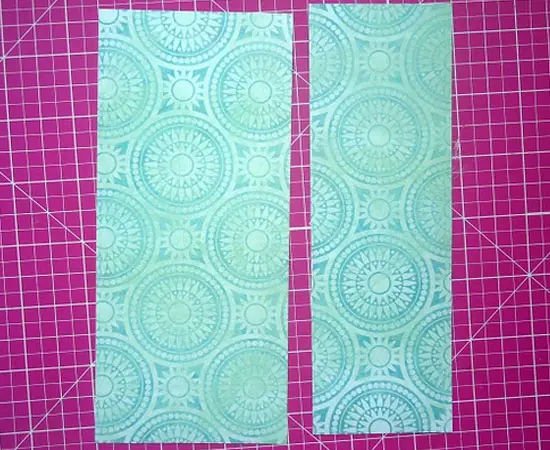
For the middle of the envelope from another paper, a blank is cut out, identical to the width of previous billets, but less than the length.
It is possible to give the tenderness to the envelope to be performed using a lace roller, which should be located on the sides of the blanks.
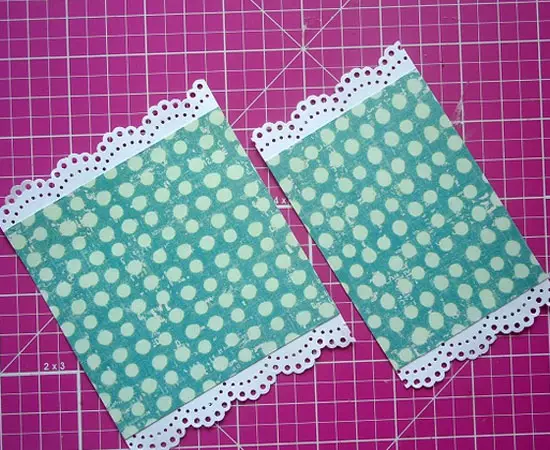
Performed details with decorative finish must be attached to the parts of the larger envelope.
To impart the unusual compositions, it is recommended to go through the glued lines and color parts with a zigzag seam using a sewing machine.

Before gluing the final color item, it is necessary to position the envelope of the satin ribbon across the envelope and secure it with glue.
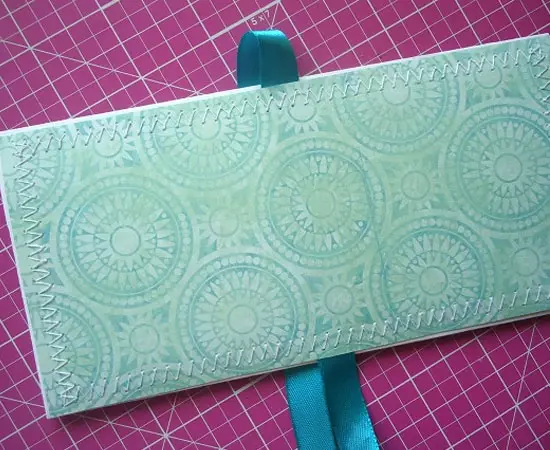
If desired, the envelope can be placed on the inscription. The inscription may contain information to which holiday or day belongs to the photos located in the envelope. The butterfly exhibited by the figure holes perfectly complement the exposure of the envelope. The tape is tied in a bow, and the envelope is ready for the attachment of photos.