
Easter card, with their own hands, which is very easy to do, is a pleasant opportunity for children with mom or in kindergarten when you can do, and then give a memorable postcard to relatives or friends.
Kaleidoscope postcards
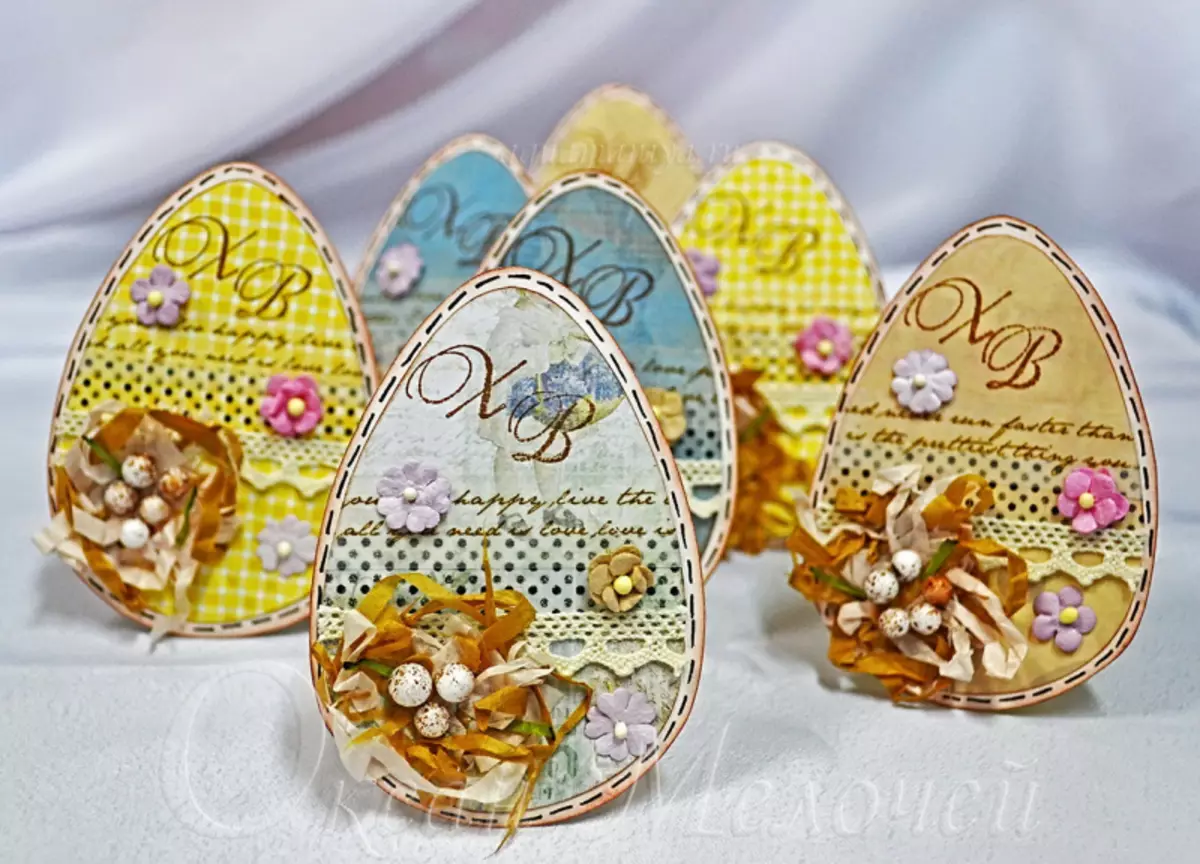
Postcards in the style of scrapbooking are very beautiful, this master class will help make Easter cards, as in the photo below.
- For the manufacture of such a postcard you need to take a piece of color cardboard, which will be the workpiece of our future postcard, fold it in half. Special paper knife cutting through the pattern in the front of the postcard the outline of the egg and remove the sliced piece.
- On the inside of the postcard, on the part where the hole is located, glue a piece of decorative paper so that the hole becomes like a multicolored egg.
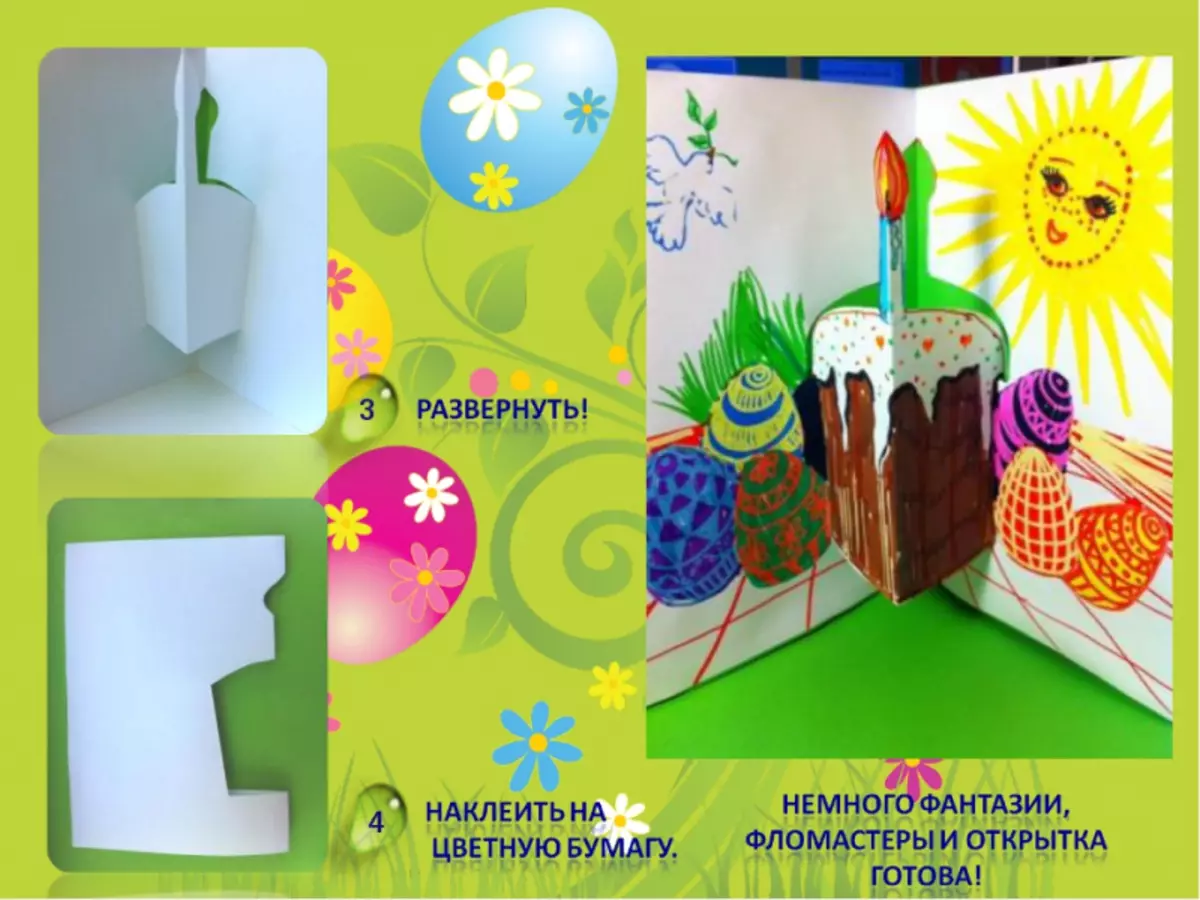
- Open the postcard on the inside and take the entire surface of the decorative paper of another pattern.
- The contour of the egg, which was carved from the first page, on the one hand to decorate patterned paper, and on the other to write wishes on the holiday. You can glue to one end of this egg braid, and the other end of the braid into the middle of the postcard.
- Decorate with lace or braid front part postcard.
All is ready.
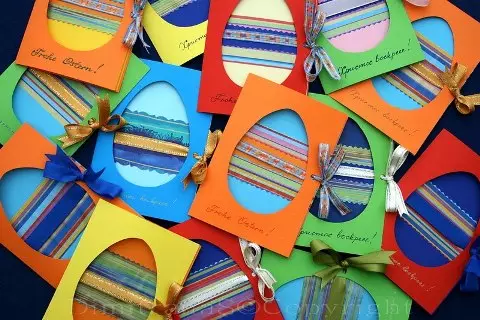
Postcards appliques on shoulder even kids.
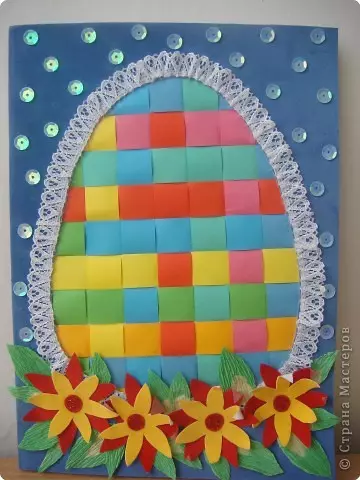
- From multicolored paper cut strips of the same width. Weave from them in a checker manner a simple braid.
- From multi-colored cardboard cut the basis for the postcard. Paper knife cut a hole in the form of large, on the entire page, eggs.
- From the wrong side to glue a "braid".
- Reduce it from the inside with colored paper.
- Plug the contour egg with braid or lace, decorate the bottom of the postcard with flowers cut from colored paper.
- Free postcard space decorate sequins or sparkles.
- Instead of a braid, you can use a mosaic from pieces of colored paper.

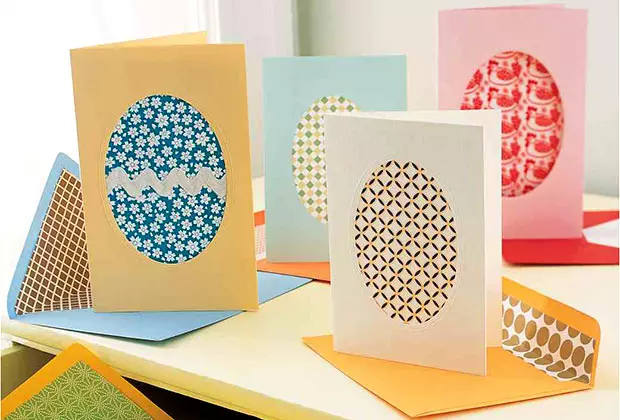
Postcard with multicolored stripes:
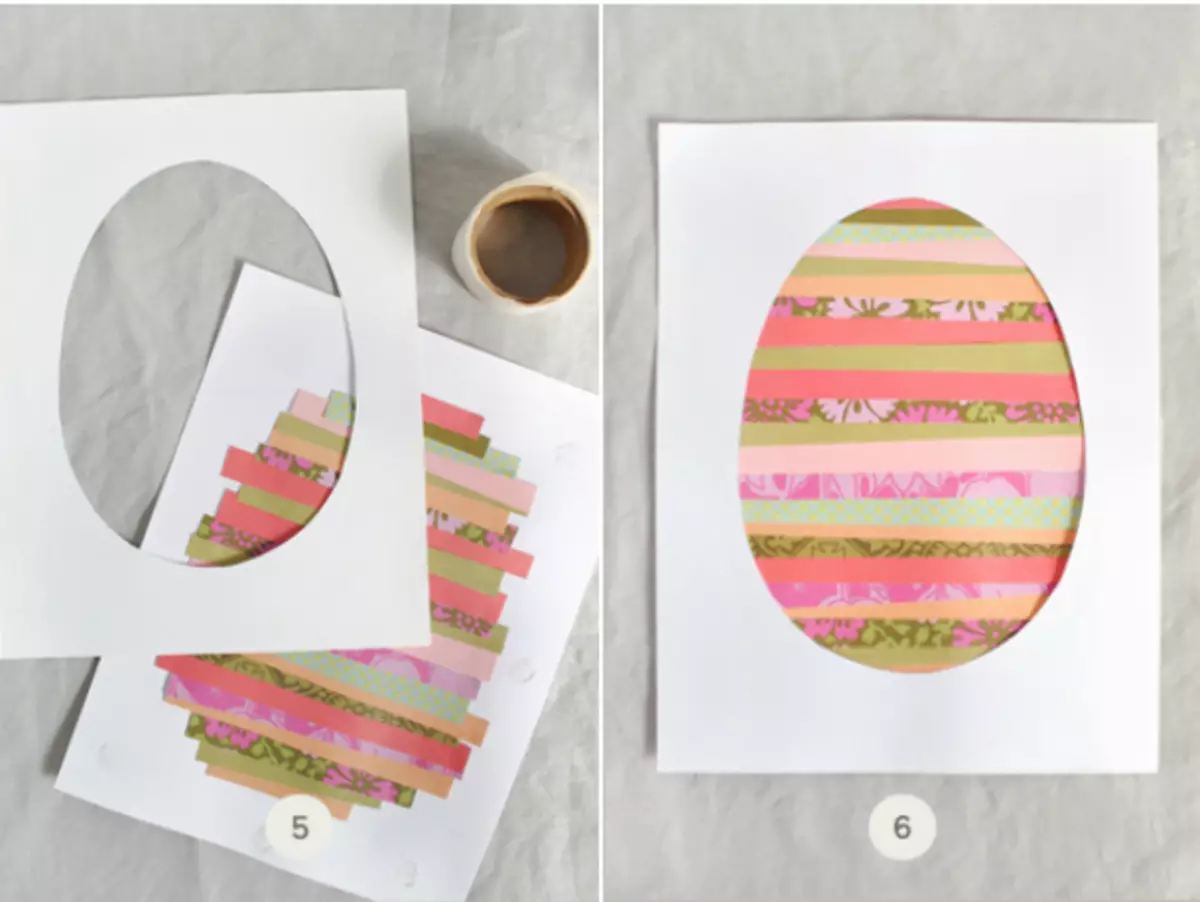
- Take two identical sheet of paper of any color. In one of them cut the silhouette of the egg. To postpone.
- On the second sheet of paper on the central part of it from top to bottom to stick a strip of multi-colored tape. If there is no scotch, you can cut into bright strips an old log or different ribbons, ribbons and stick glue strips.
- Take the first sheet, smear it along the contour of glue and glue on the second so that multicolored stripes are visible in the hole.
- A hole package from two sides to do holes, to turn ribbons in them and tie on the bows.
Article on the topic: Cow, Sheep and Googl Amigurumi. Knitting schemes
Pasta postcard:
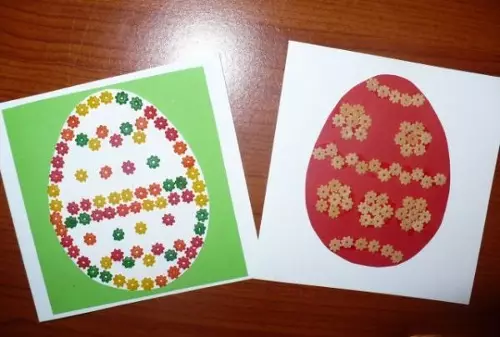
- Small pasta (asterisks) Coloring different colors. Hang.
- On a piece of colored cardboard stick the egg pattern cut out of the paper of another color.
- Plug the egg ornament from Makarochka.
Easter bunny:
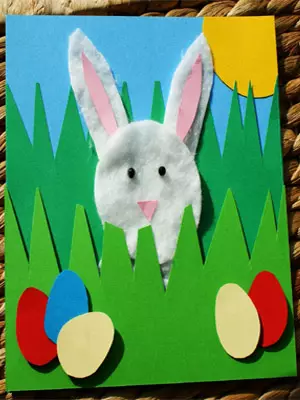
- On the cardboard billet, glue herbs and eggs cut from multi-colored paper.
- Head and ears hid bunny cut out of a cotton disk. Decorate the ears with pink stripes.
- Glue another layer of grass so that the bunny is slightly covered.
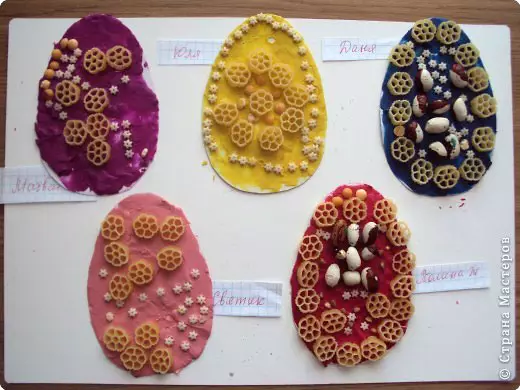
Card from beads:
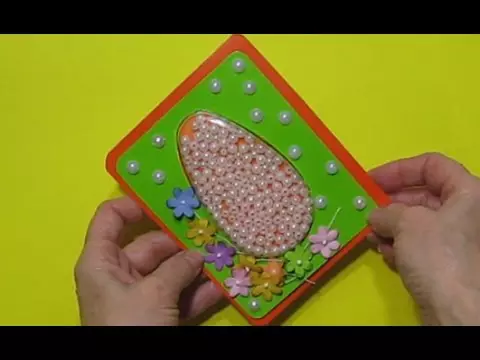
- Connect two multicolored pieces of cardboard, in one of which the egg pattern is cut.
- Fill the space of the template by beads with glue, closely laying them, so that the likeness of the pearl egg is obtained.
- Decorate the background of postcards more rarely located beads.
- The bottom of the egg to reorganize with artificial small flowers.
Folding postcard:
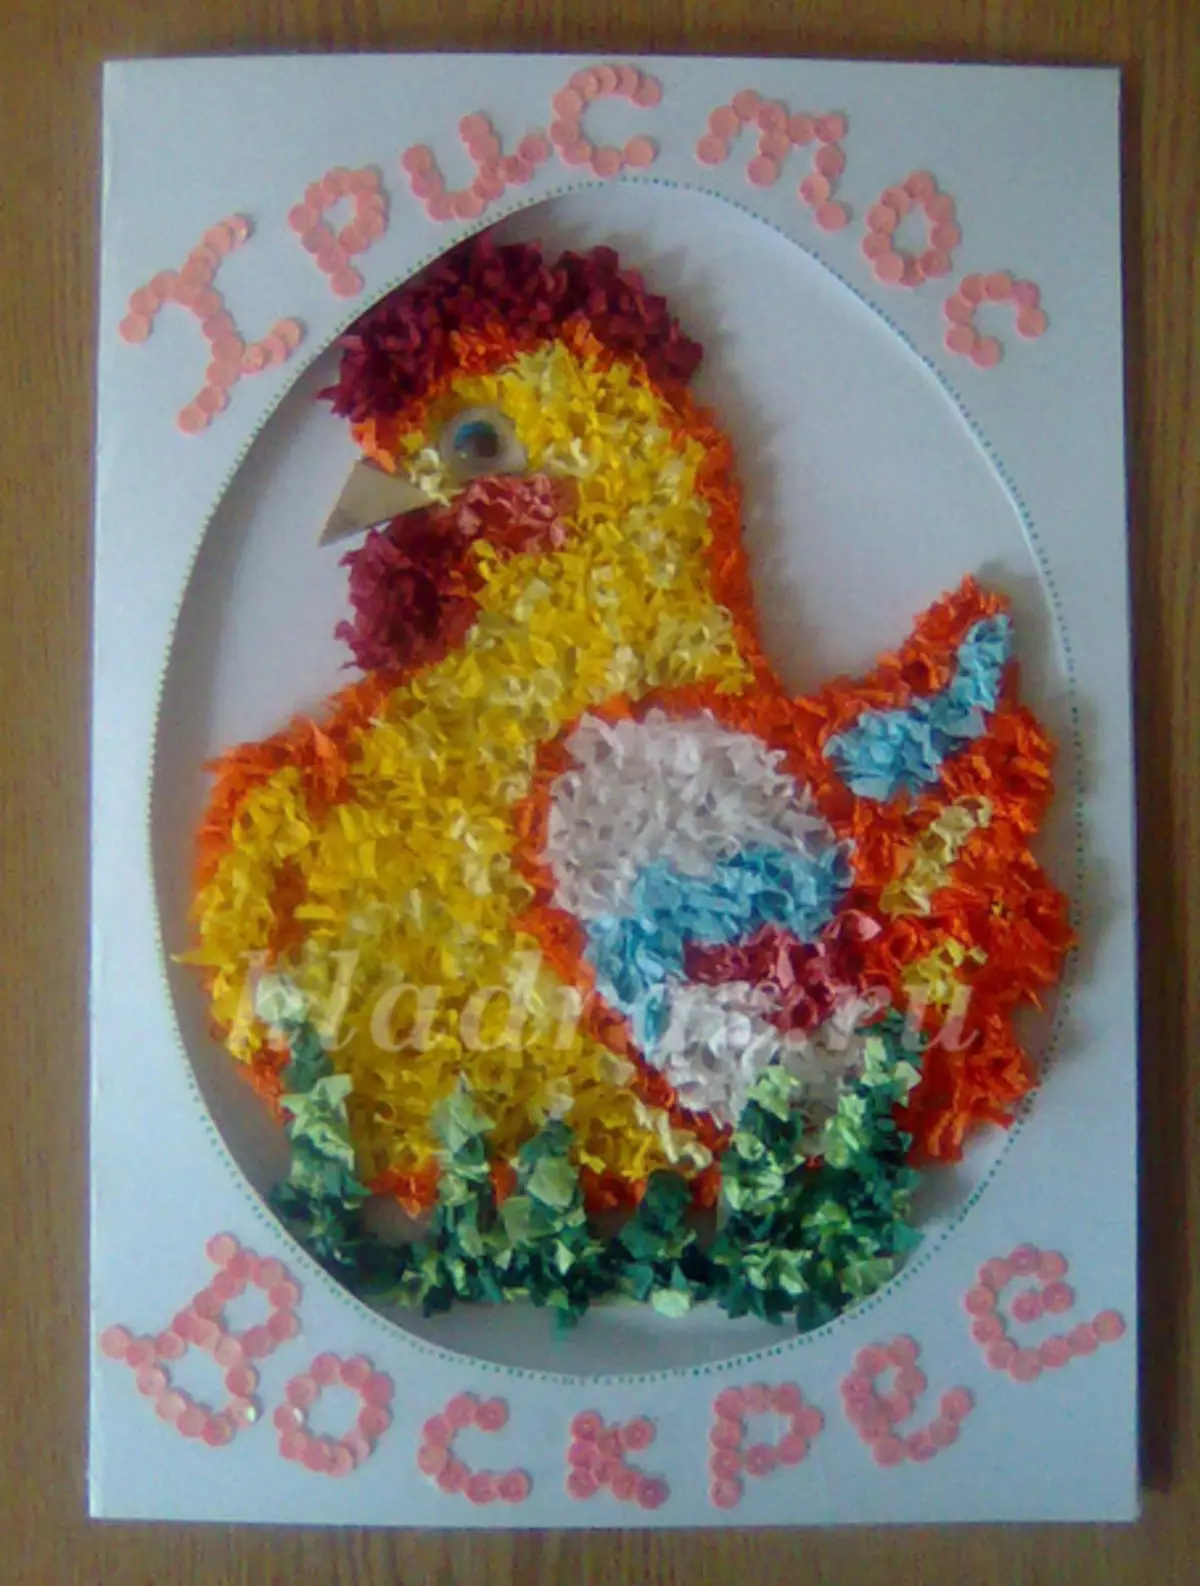
Postcard "Chicken" in the style of torch.
On a piece of cardboard, draw a pencil contours of the future chicken.
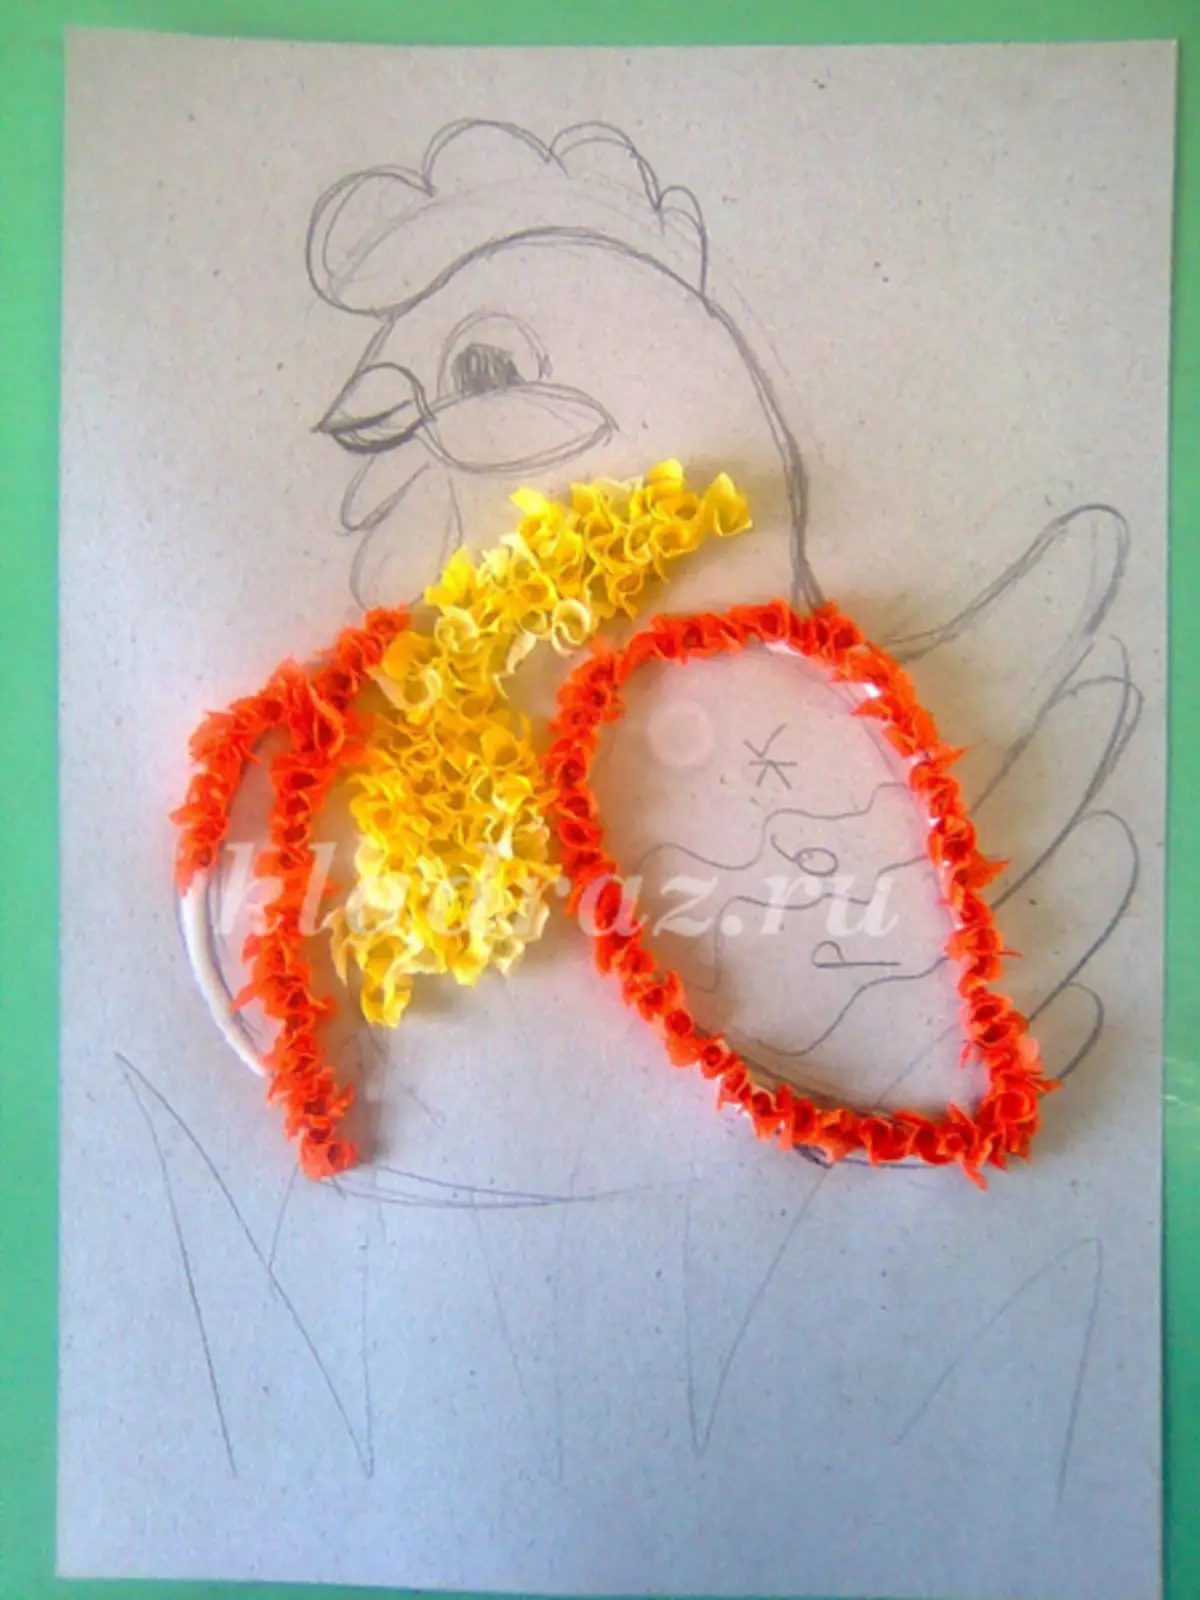
Dense napkins are crushed for the technique of a carriage.
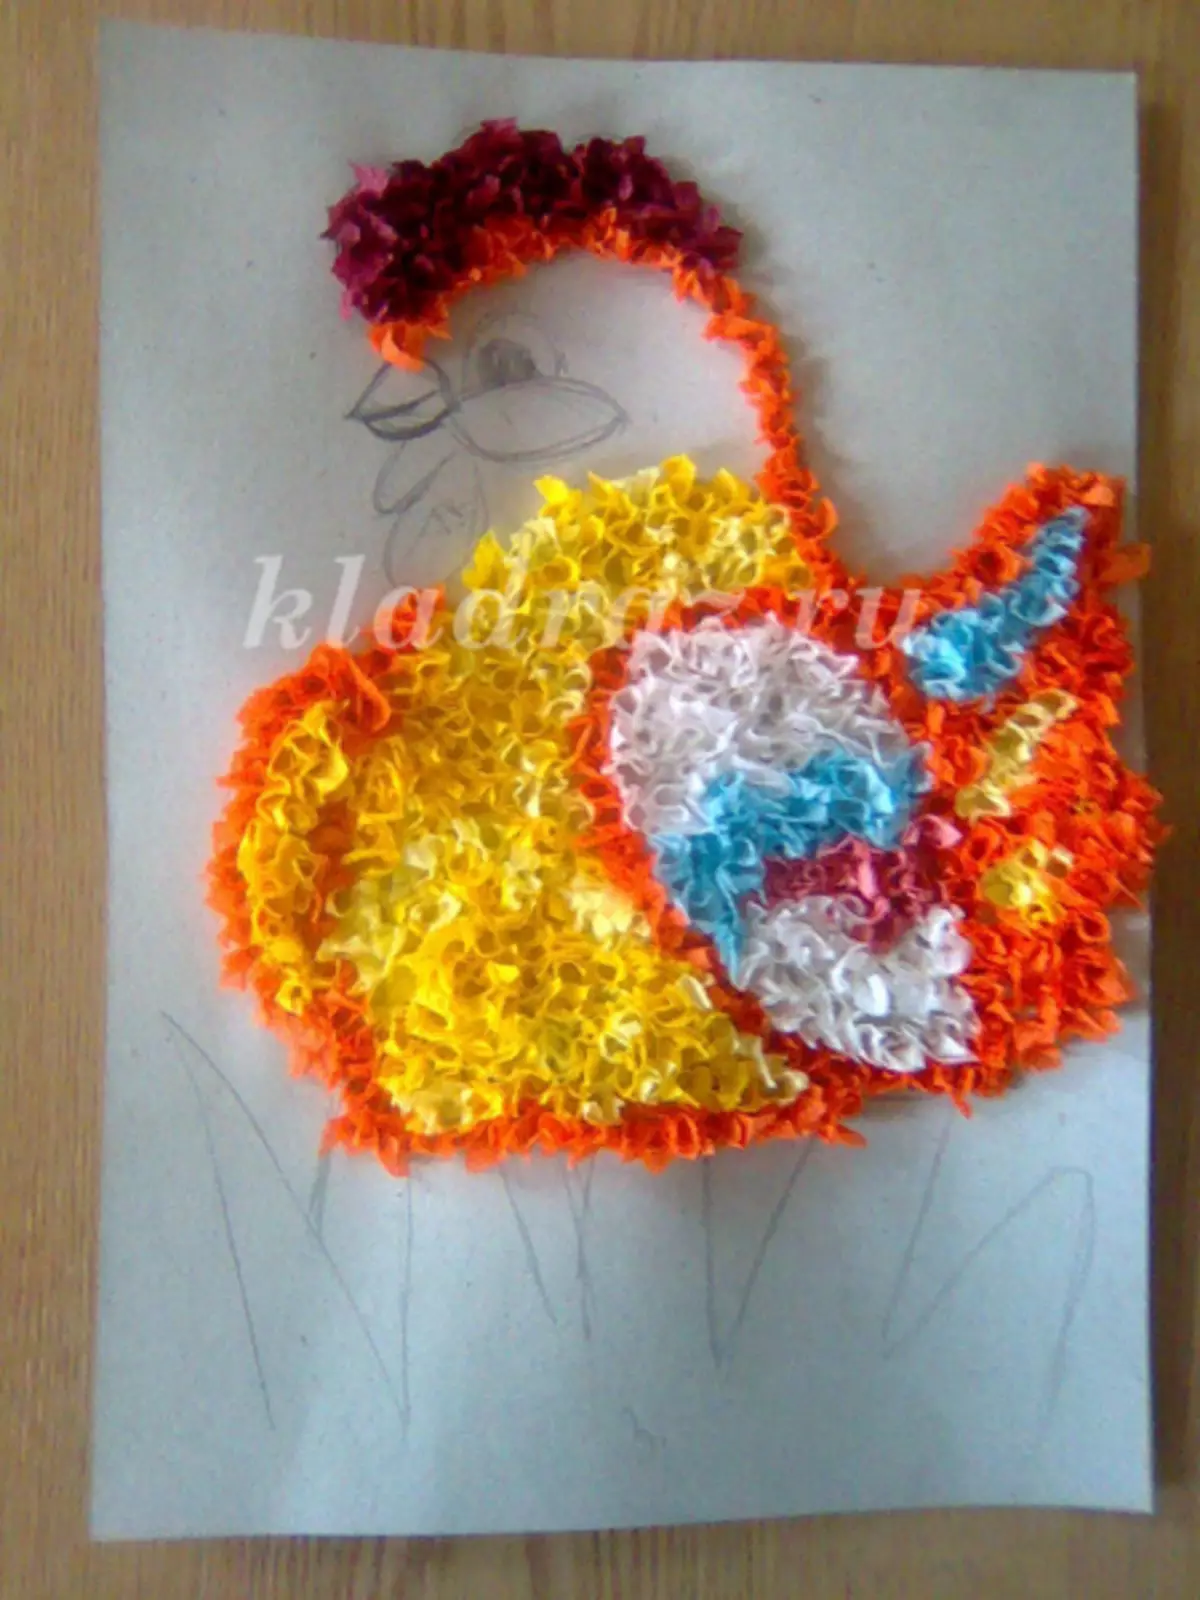
On each sector of the chicken template with the help of glue, apply napkins of the desired color.
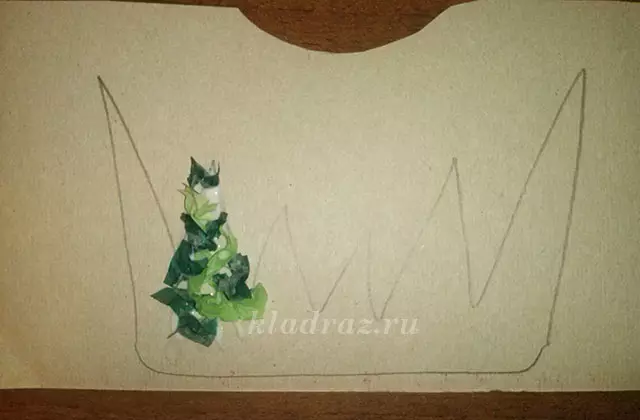
Gradually take all parts of the body of the chicken.
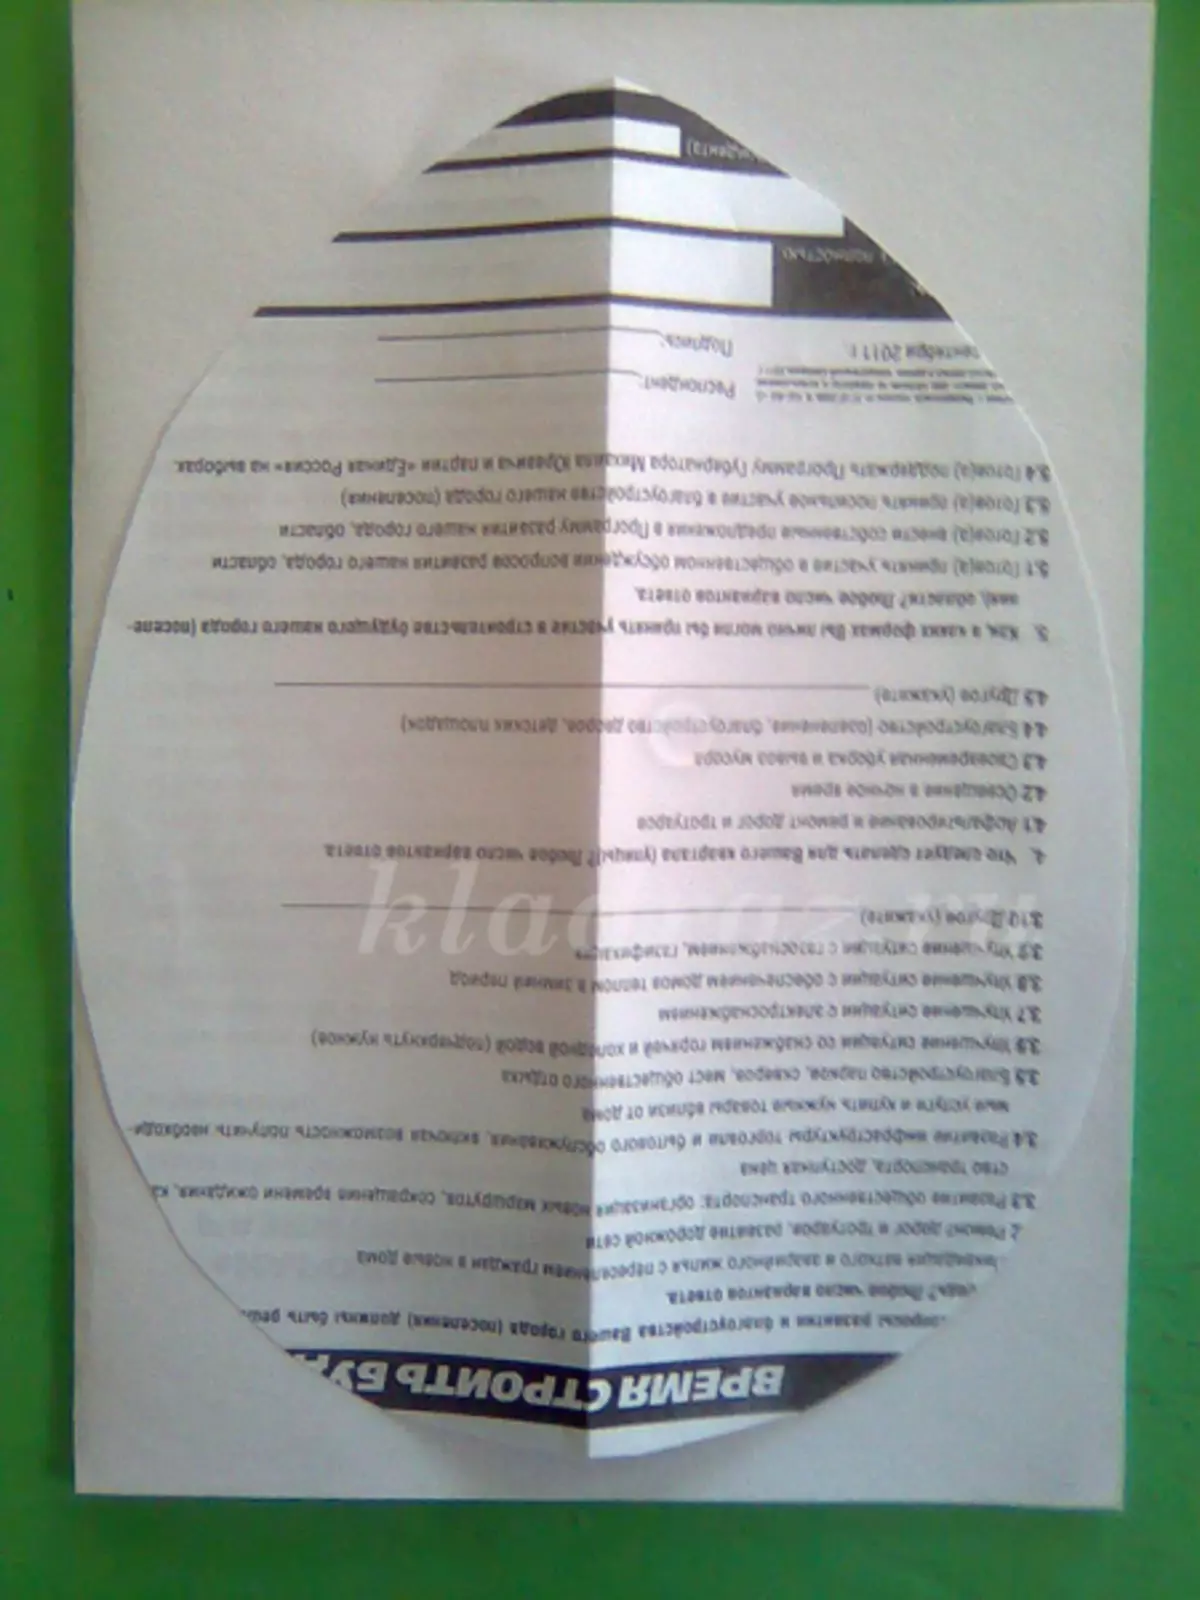
On the second sheet of paper, cut the hole almost on the entire sheet in the form of an egg.
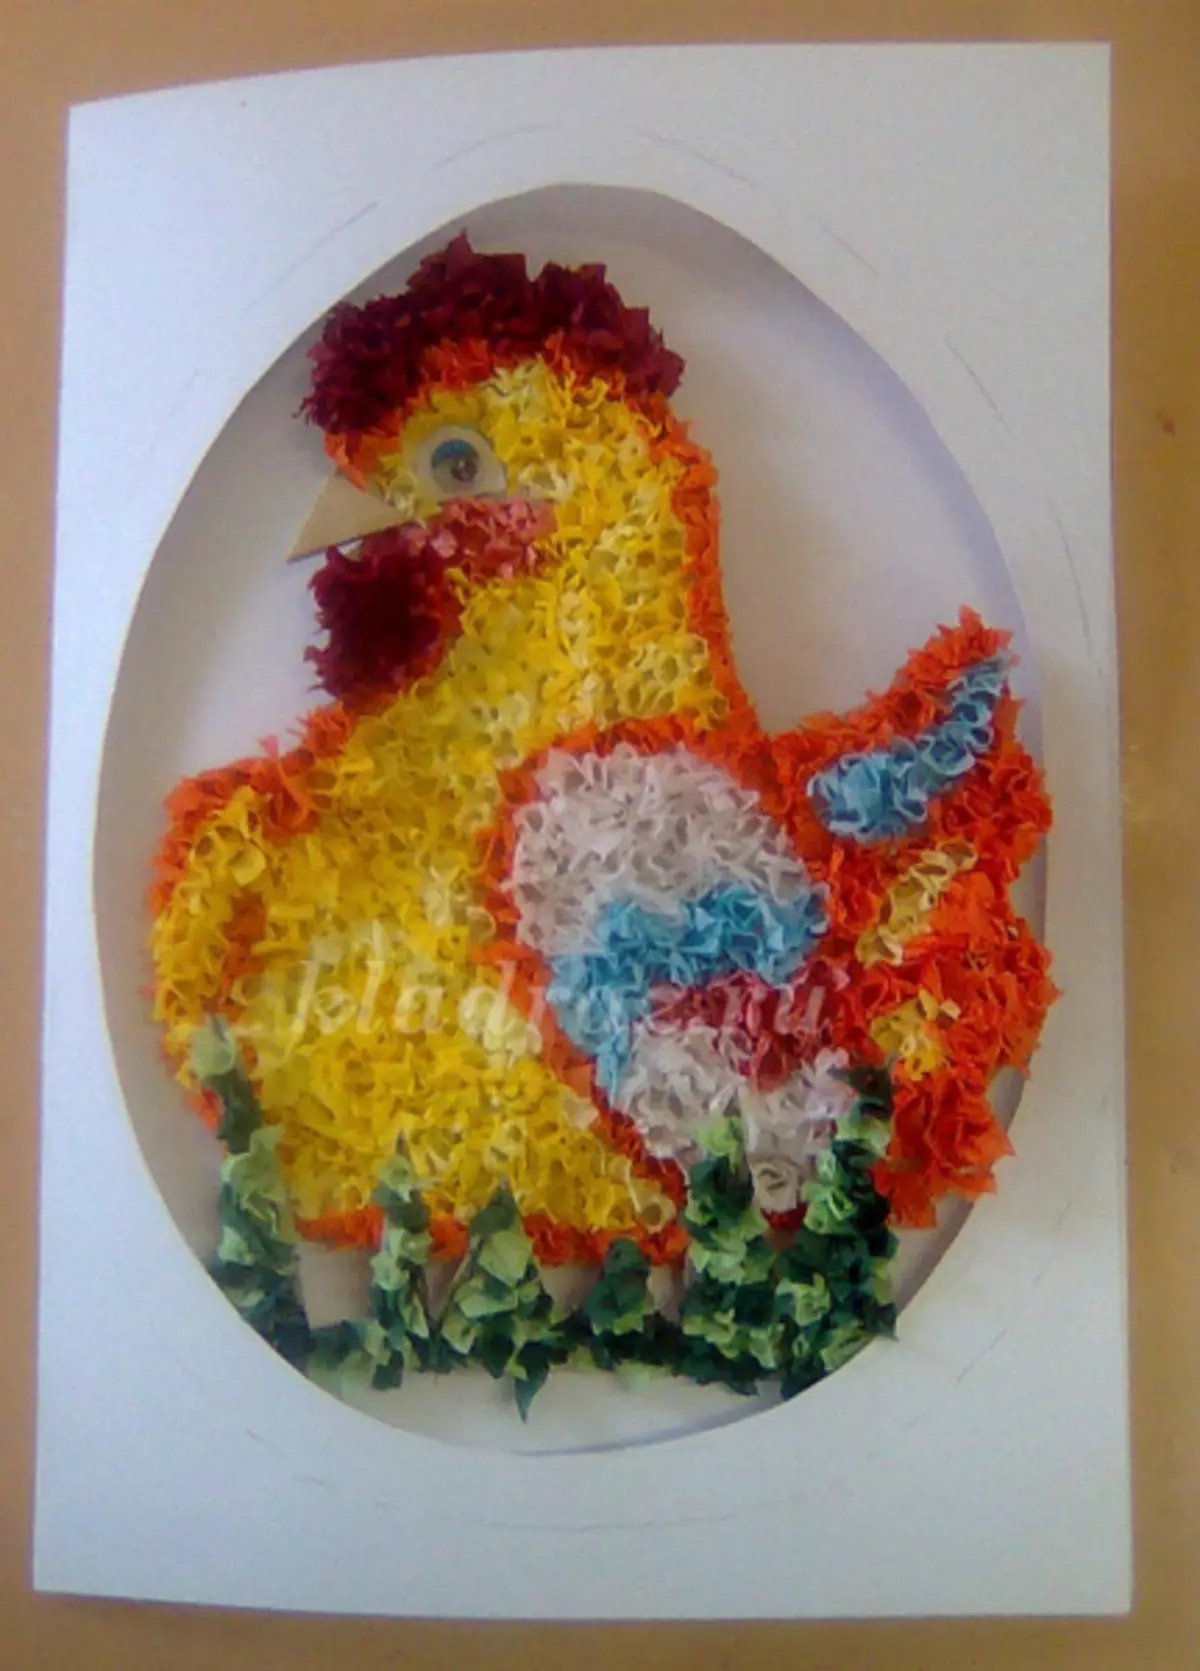
We glue the top sheet so that the chicken is inside the egg.
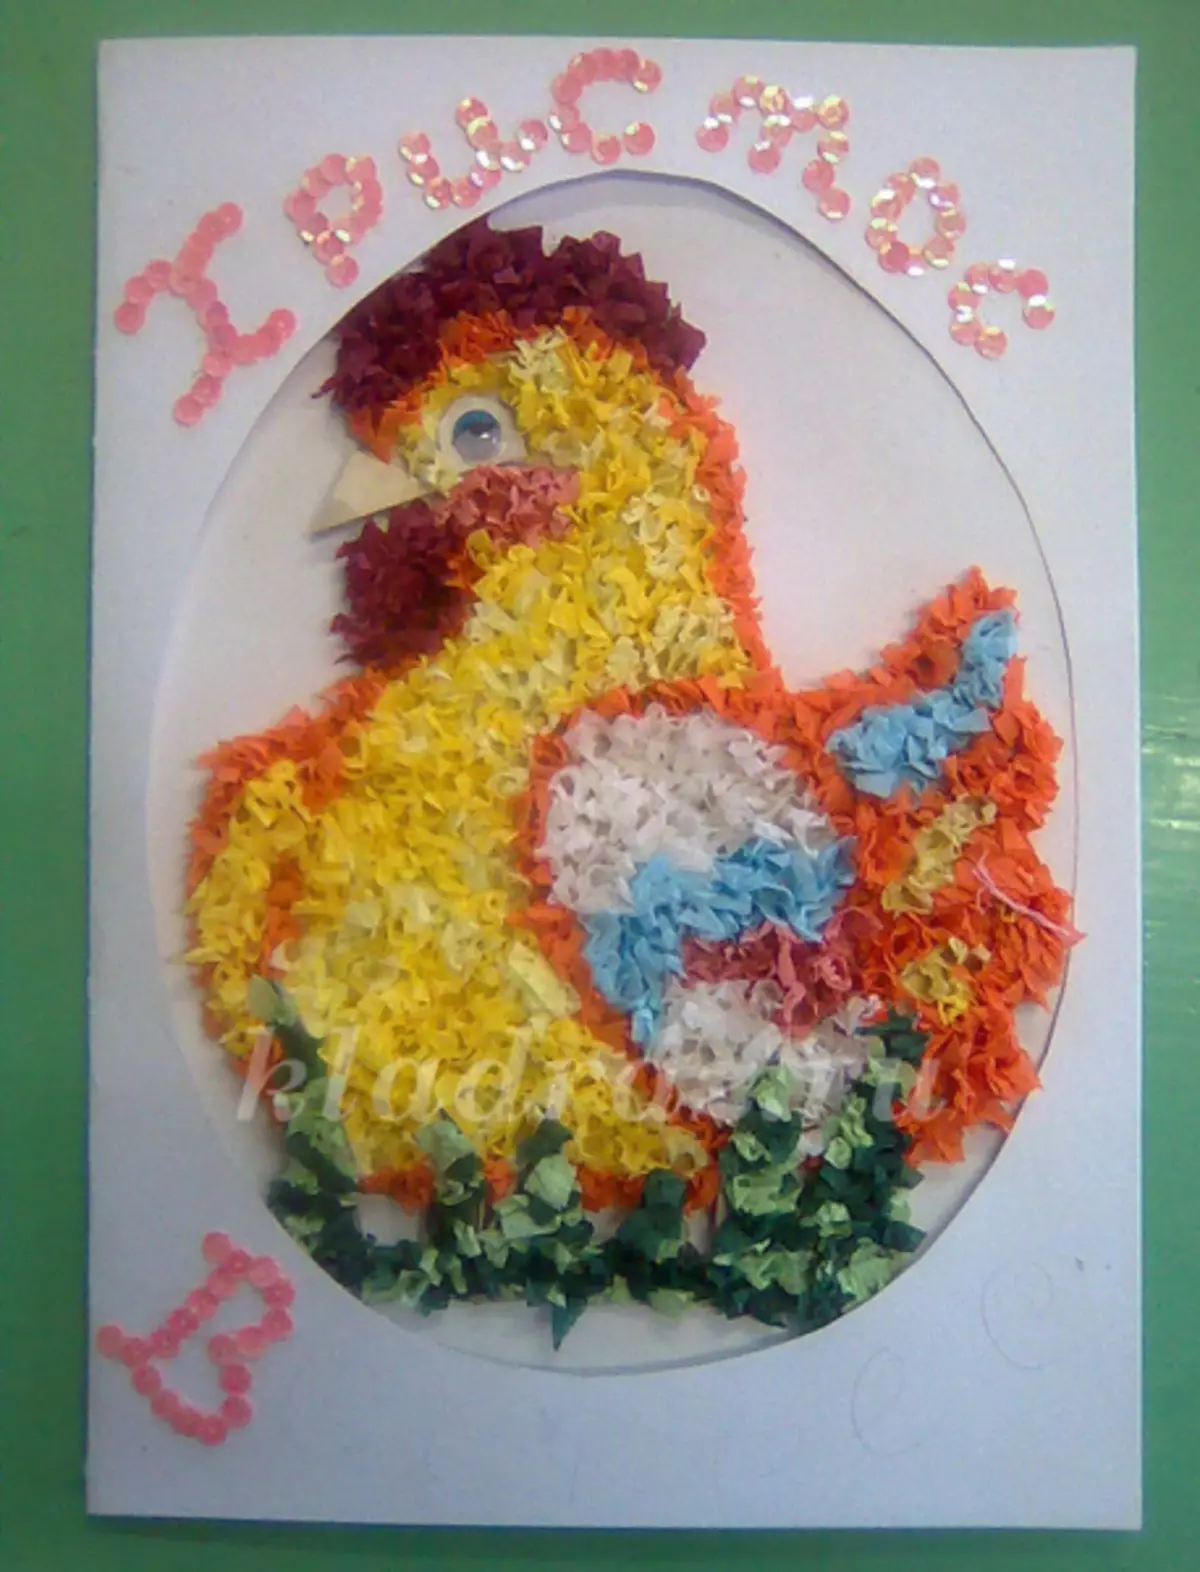
Color sequins make the inscription "Christ Risen".
Paper Basket Postcard:
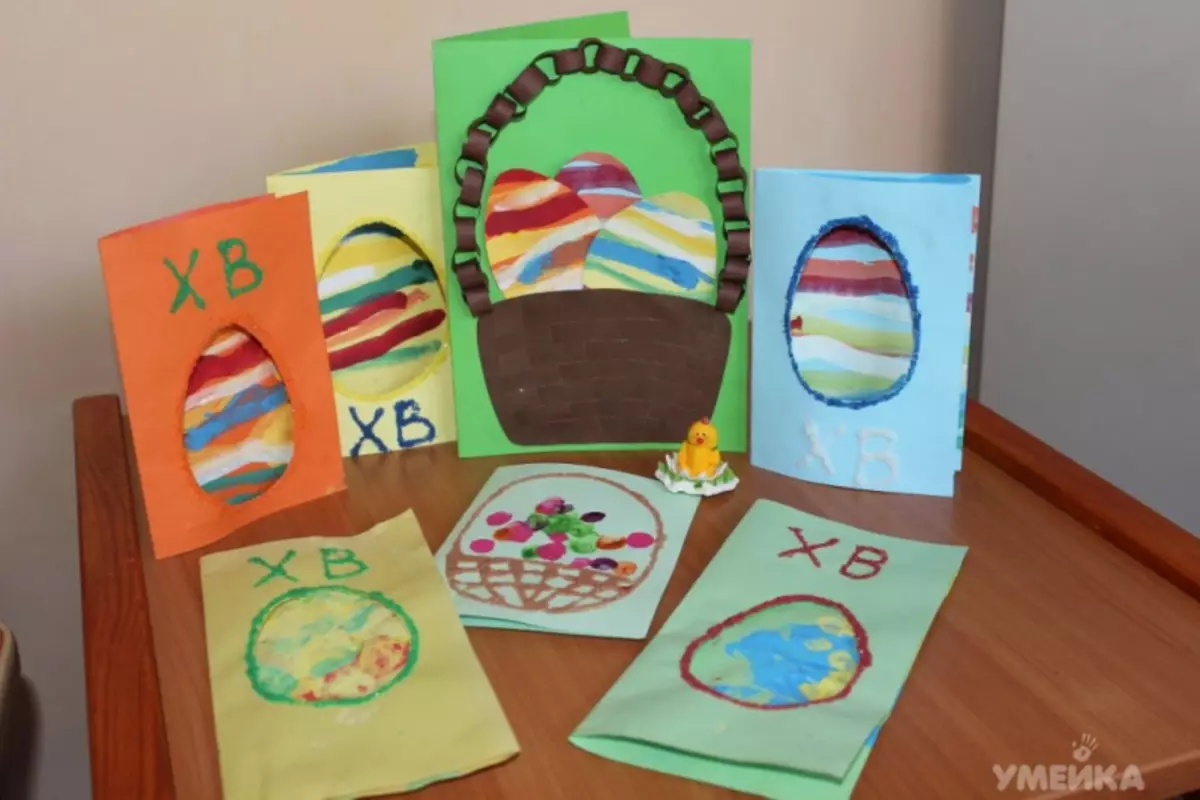
- From color brown or yellow color cut strips.
- On the blank for a postcard from color cardboard, stick a "braid" from the strips so that the basket formed.
- From the same strips glue the chain and form a handle from it for a basket.
- Basket decorate Easter attributes - eggs, flowers, etc.
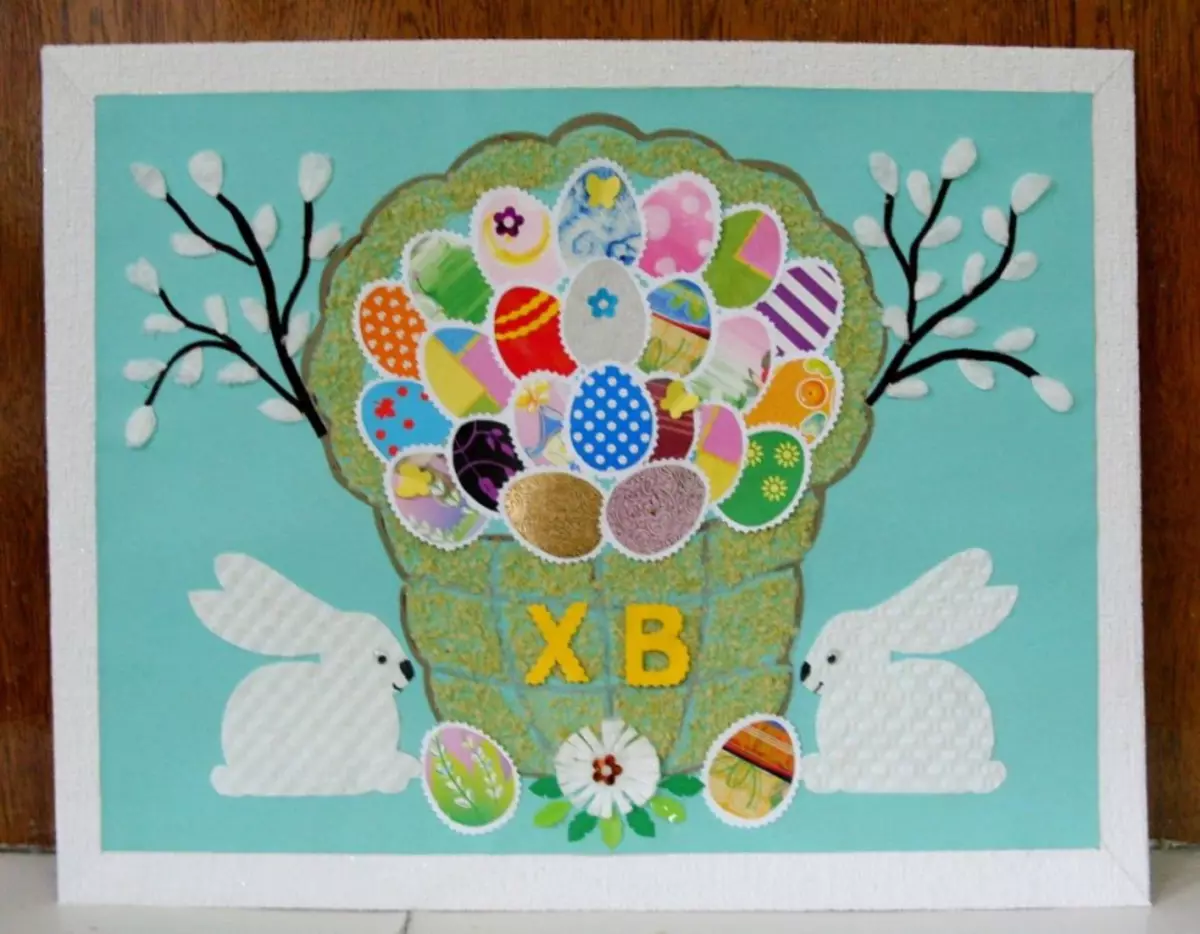
Fabric card:
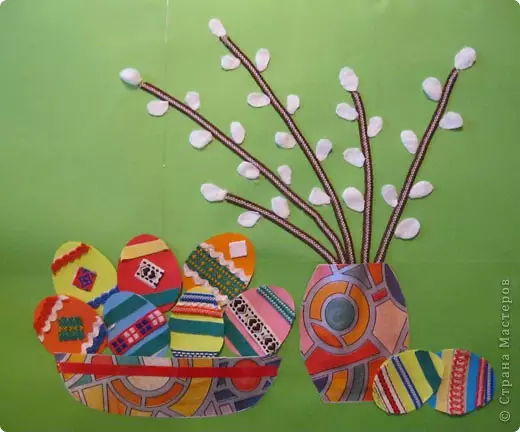
- Cut out of multicolored looskuts contours of eggs, baskets and vases.
- Glue them with plow glue to the cardboard blank postcard.
- With the help of the braid to form verb branches.
- From white cloth cut small mugs and stick them around the braid.
- Slices of braid decorate a basket, a vase, eggs.
Article on the topic: Decor of the New Year's balls Lace from the loaf
At the bottom of the article there is a video selection, in which you can familiarize yourself with the additional description of the creation of Easter cards.