
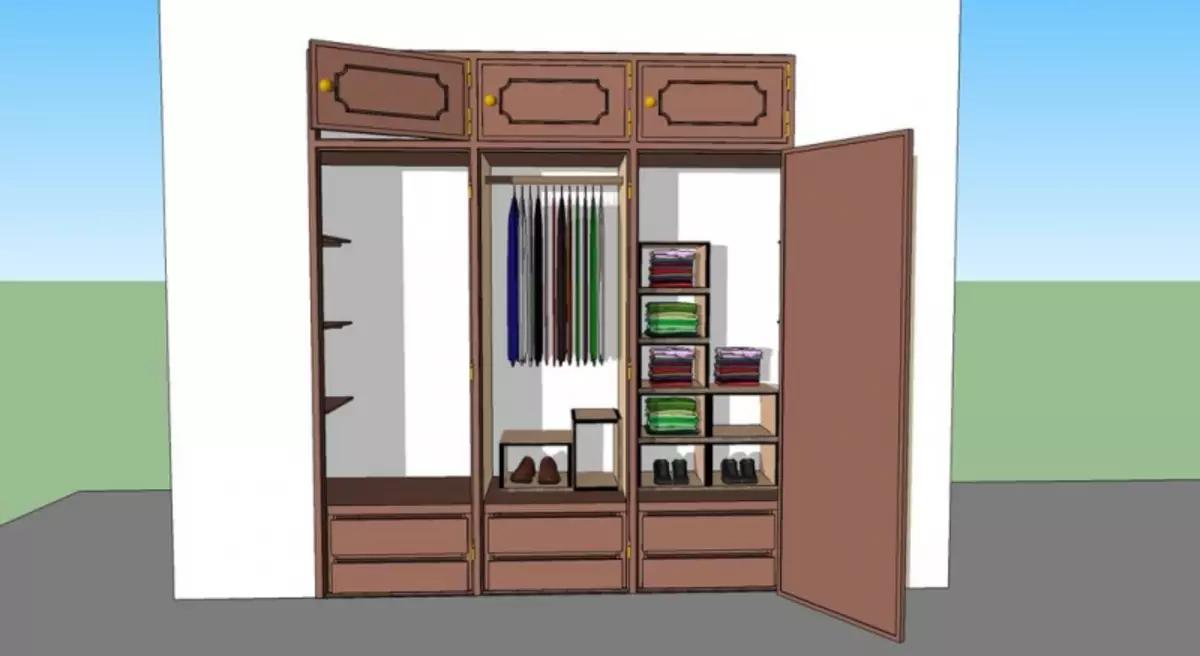
Cardboard shelves collected by their own hands will be useful in everyday life, who have a lot of things, but to store them compactly, due to the lack of a cabinet with due rods, difficult. Cardboard shelves can be composed, as you like to you, and send cabinets into large niches. Details of the manufacture of shelves made of primary materials are described in detail in step-by-step instructions.
Materials
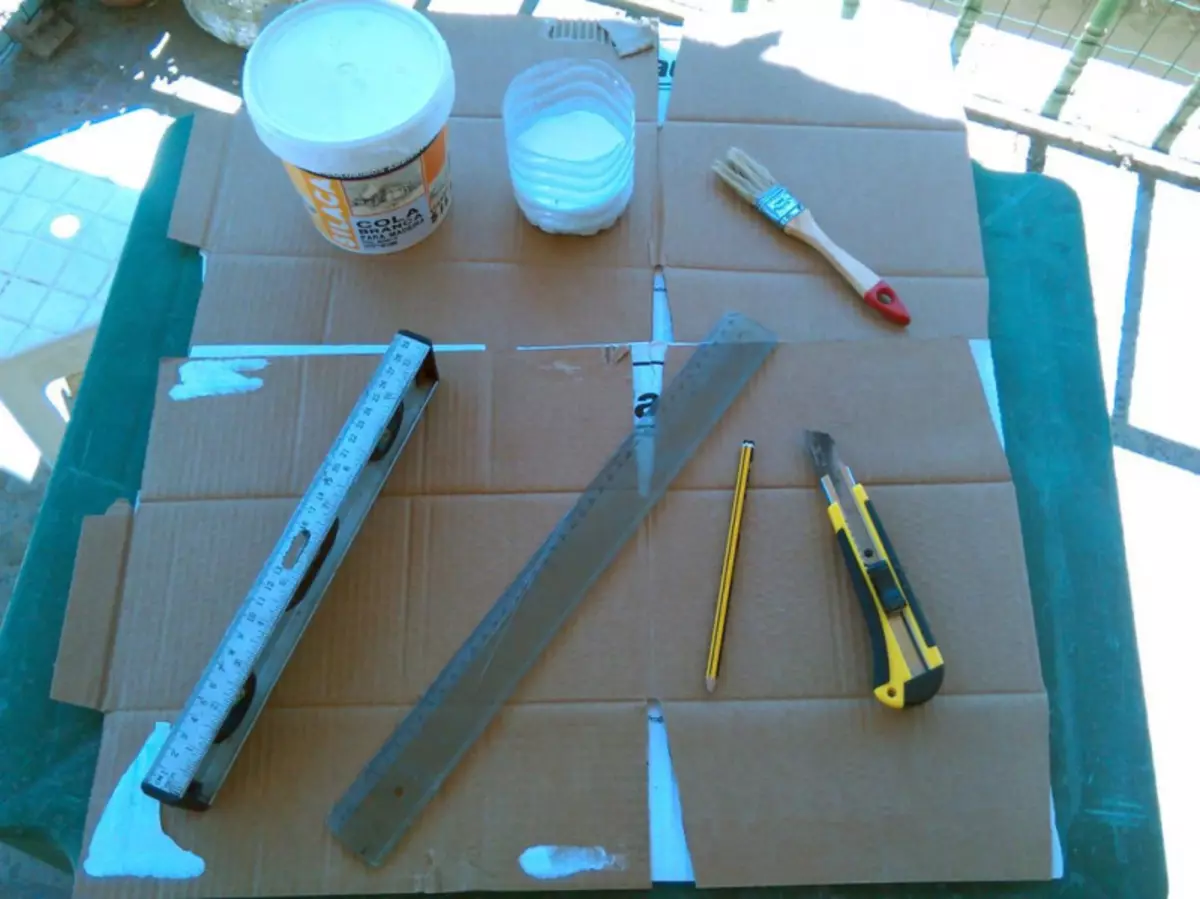
To work, you will need to prepare:
- cardboard boxes of the same size;
- level;
- line;
- sharp knife;
- brushes;
- water;
- Glue joiner.
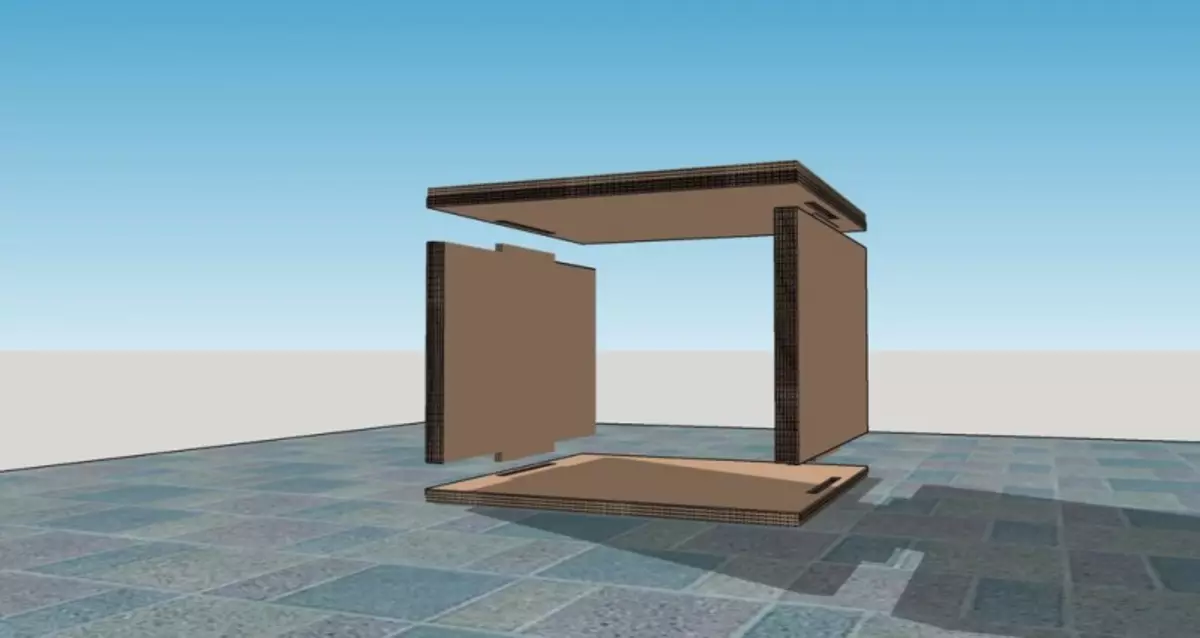
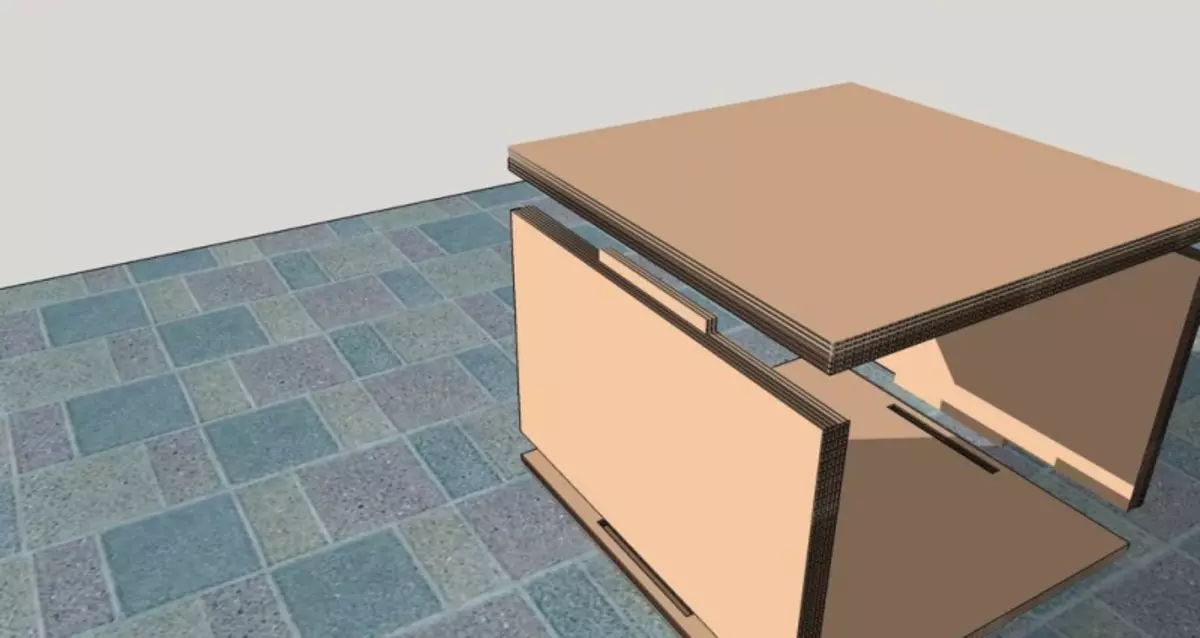
Step 1 . Prepared boxes you need to carefully disassemble. In the future, they should be cut to glue with each other in cardboard cubes. The principle of the assembly of the shelves you can see on the schematic figures.
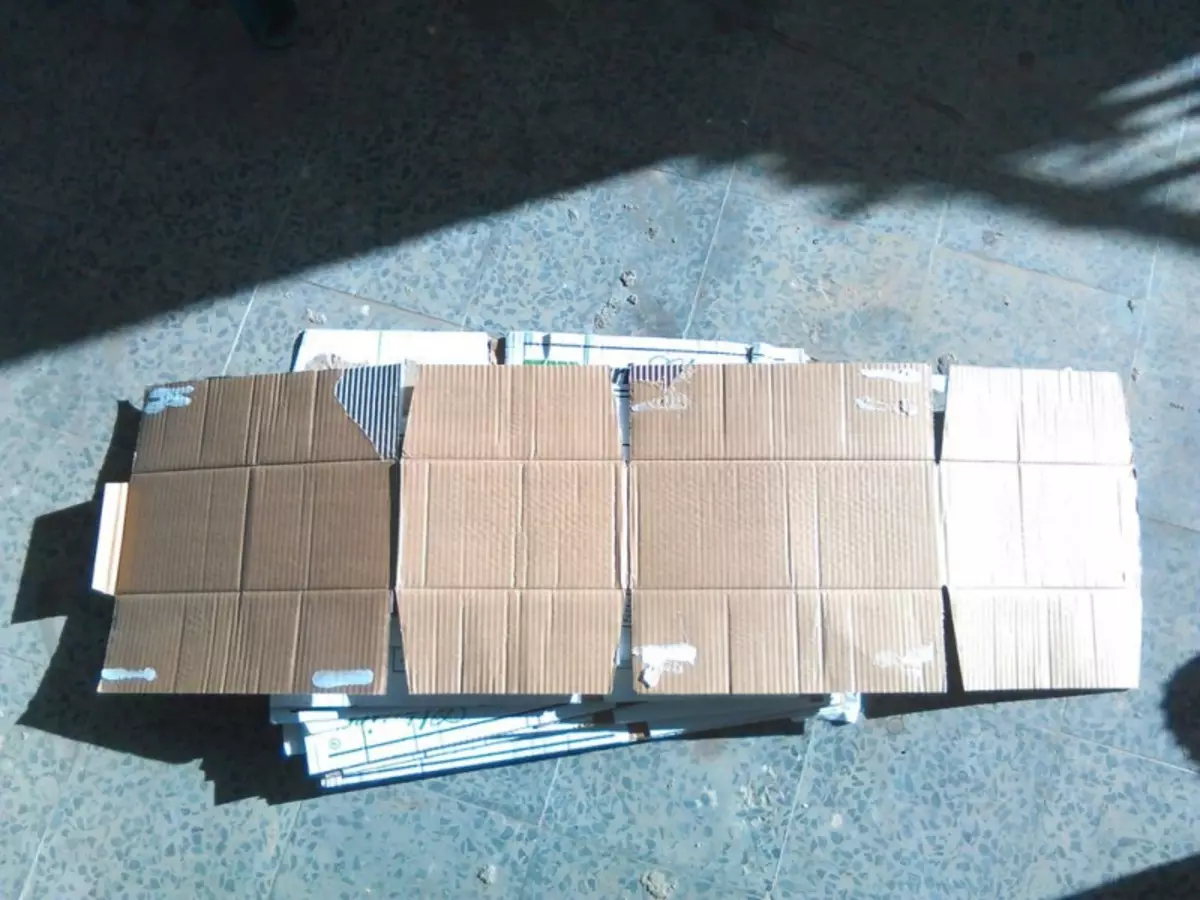
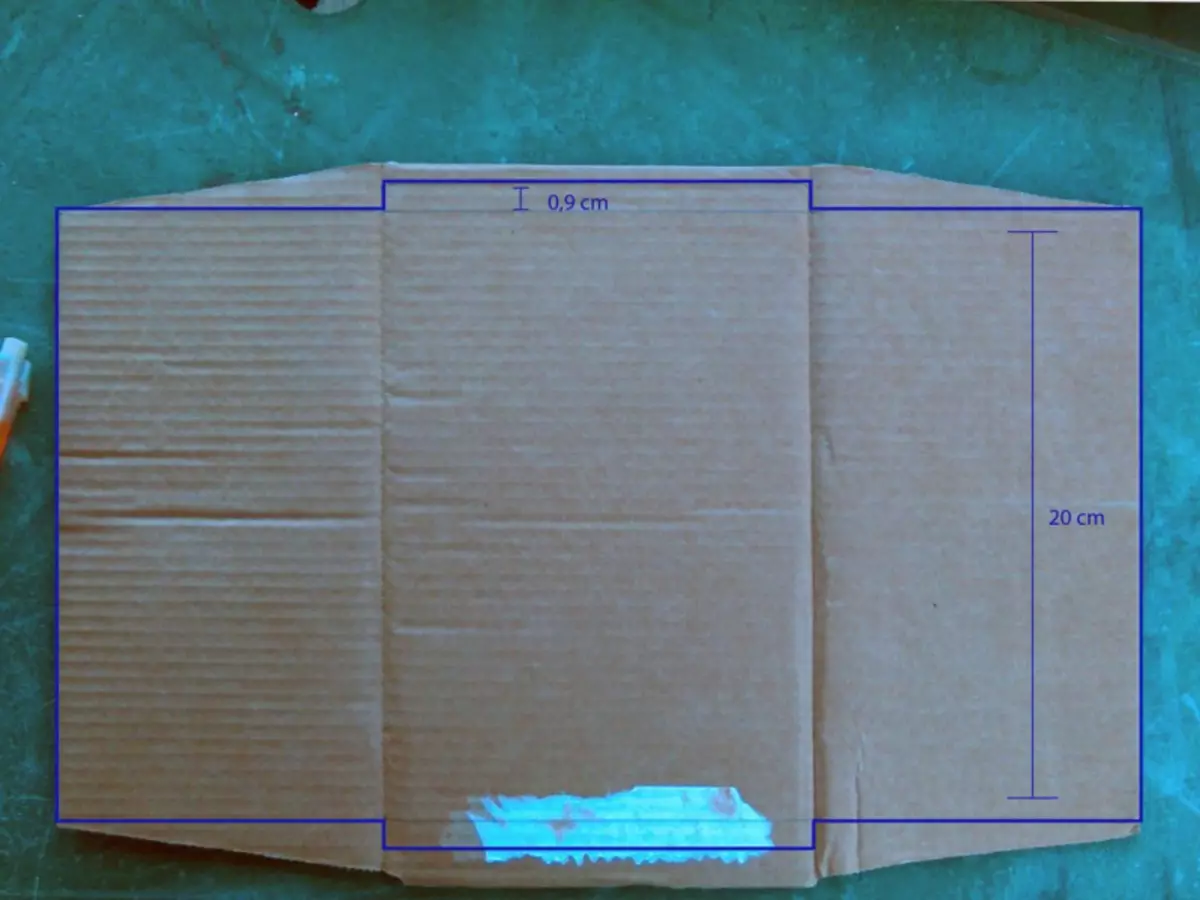
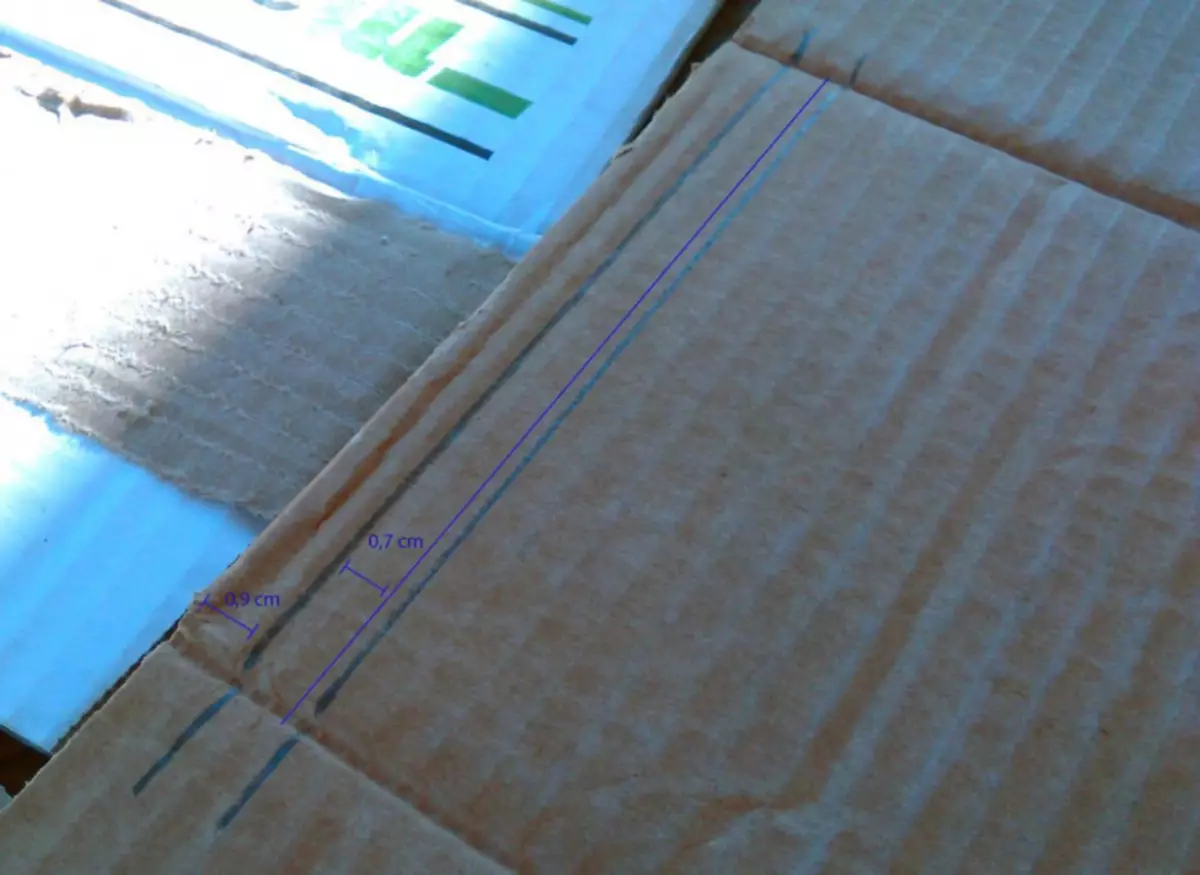
Step 2. . By cutting the box to the components, on each of them, apply the markup in the photo.
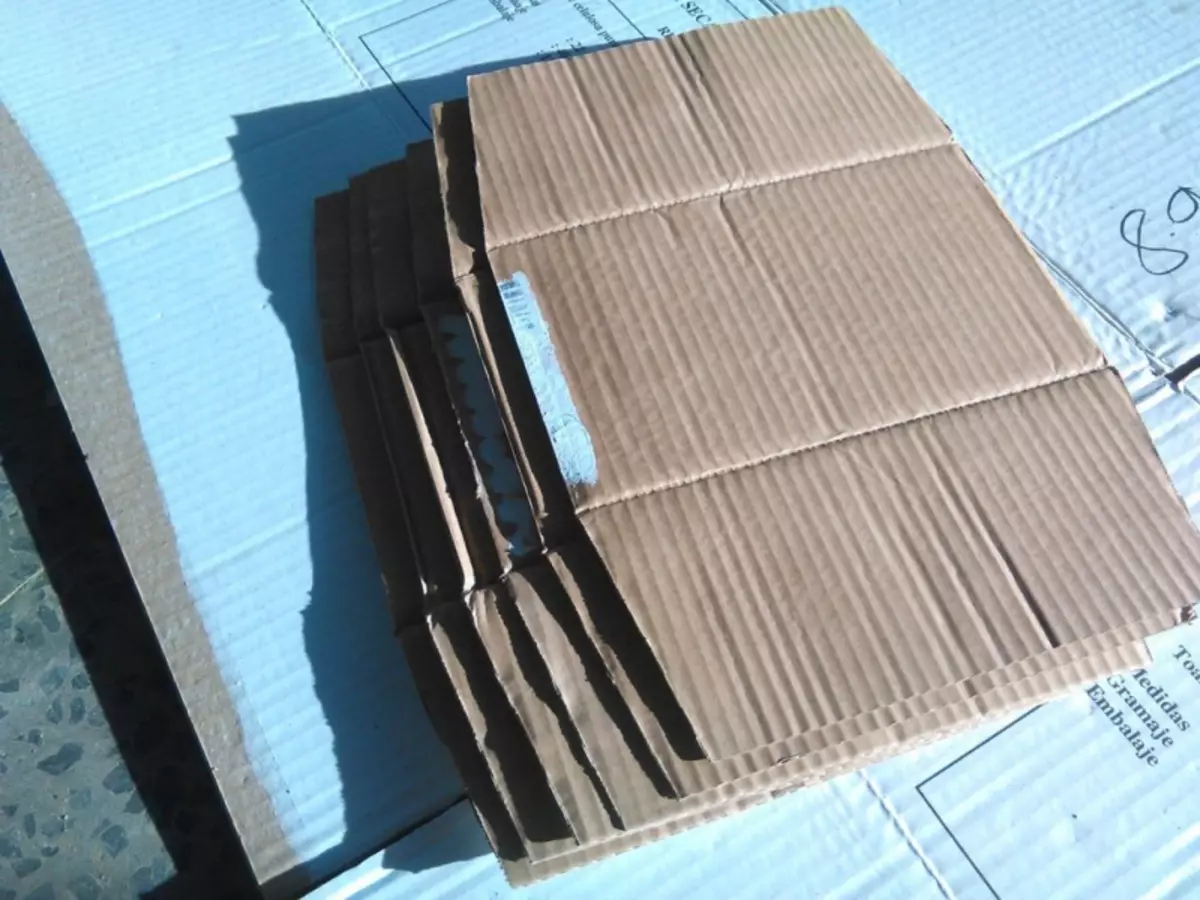
Step 3. . According to the applied markup, cut the blanks to create the shelves.
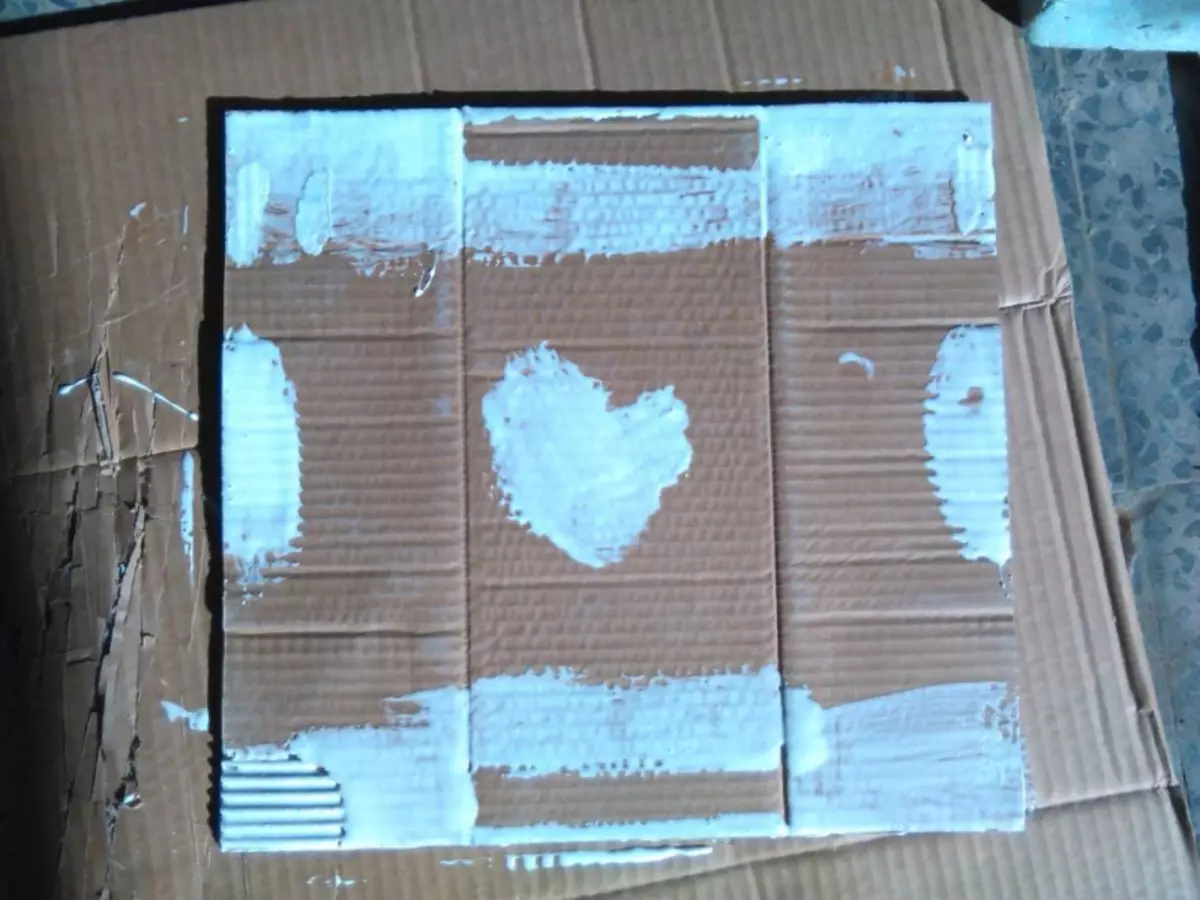
Step 4. . Using glue and brush, glue cardboard blanks with each other. Adjust the parts on the outer edge and the glue material gradually apply in the central part of the elements.
Please note if the glue is too thick, it can be slightly diluted with water.
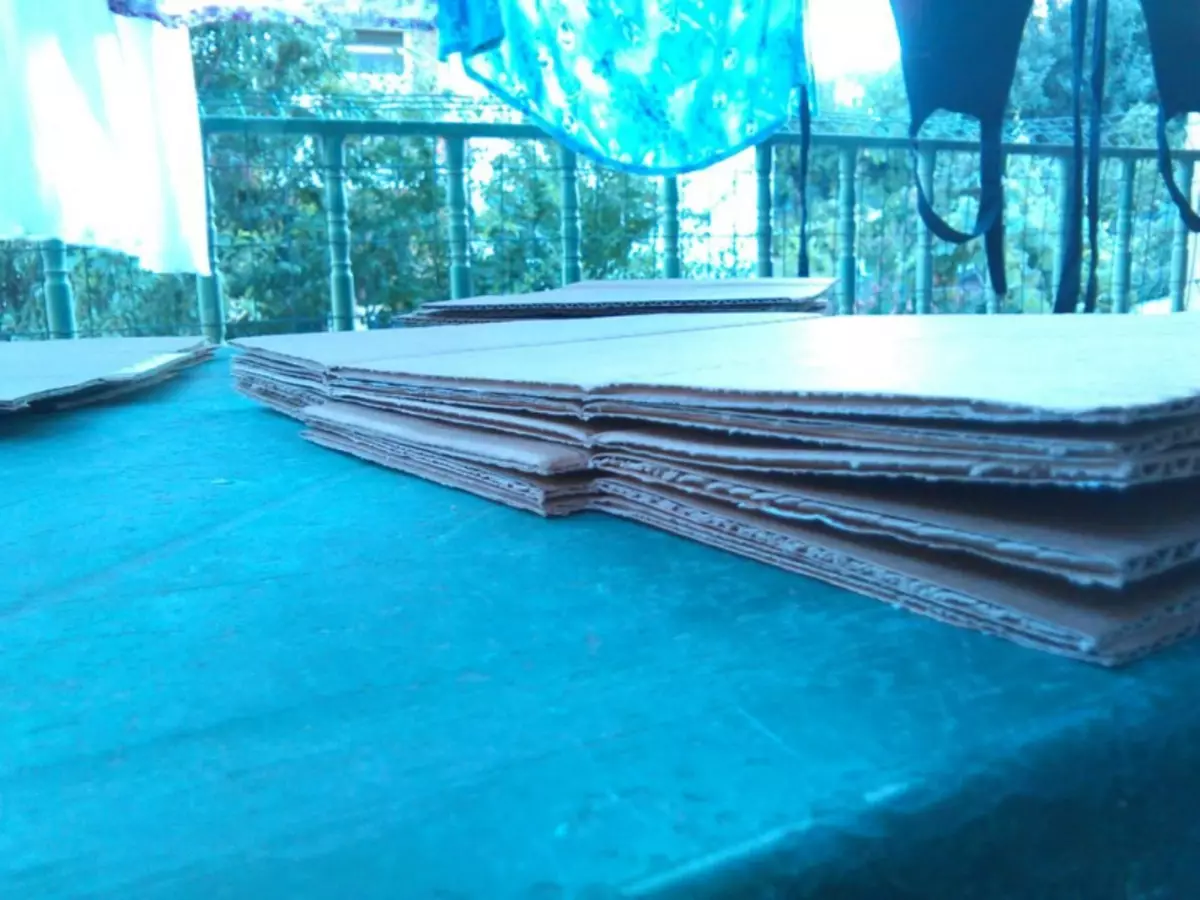
Step 5. . After gluing each element, send the resulting material under the press. As the latter, you can use a dense piece of plywood or foam plastic, which will need to get up my legs. Give glue to grab and glue the next cardboard layer. Total layers will need four to six, which depends on the initial thickness of the cardboard boxes.
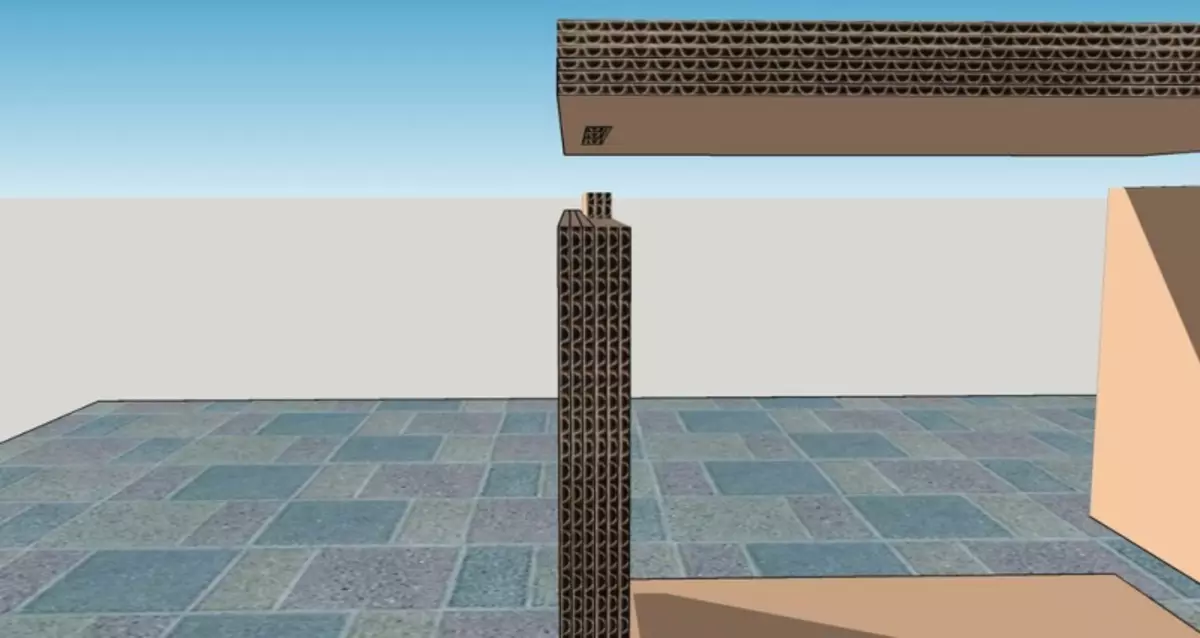
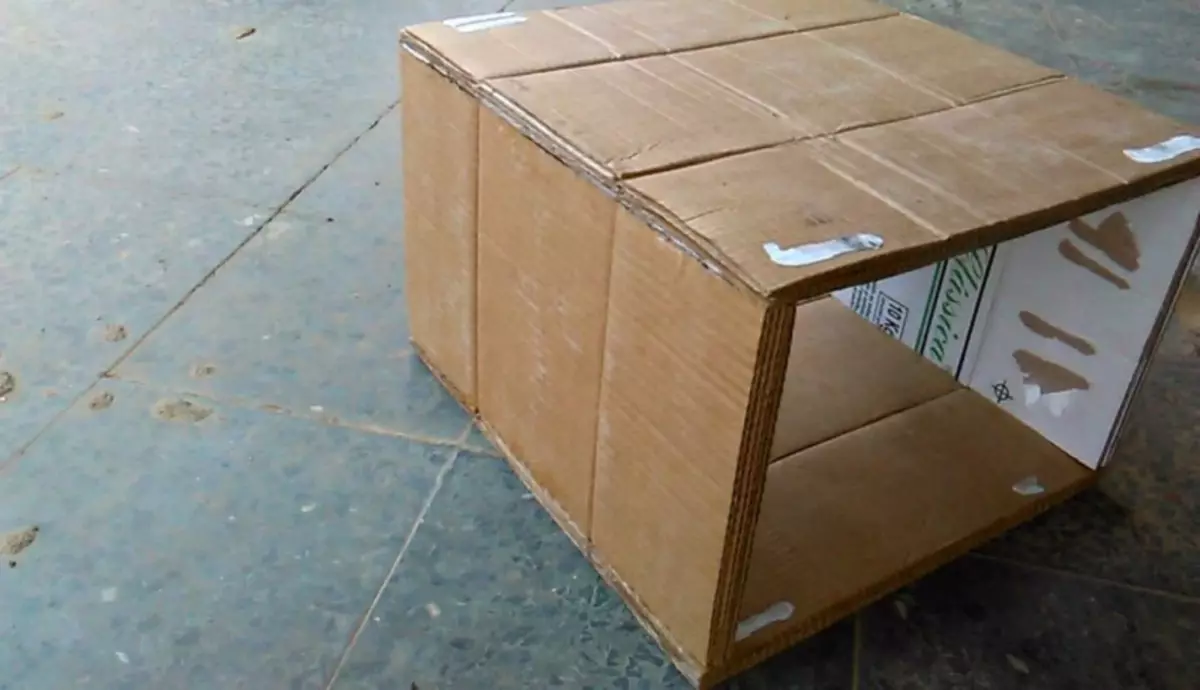
Step 6. . In places where the grooves under fastening will be located, the cardboard is not needed by glue. So you will be much easier to cut them after gluing.
Step 7. . After the glue on the blanks is completely dry, you will need to collect the shelves. Places of contact details necessarily melt glue. Create part parts themselves, inserting protrusions on parts in the grooves.
Article on the topic: how to sew a Japanese doll Kyoko YoneyAma
Step 8. . In fact, the shelves are ready. You need to decorate them. To do this, envelop the products with paper or paint, pre-applying primer to the surface.
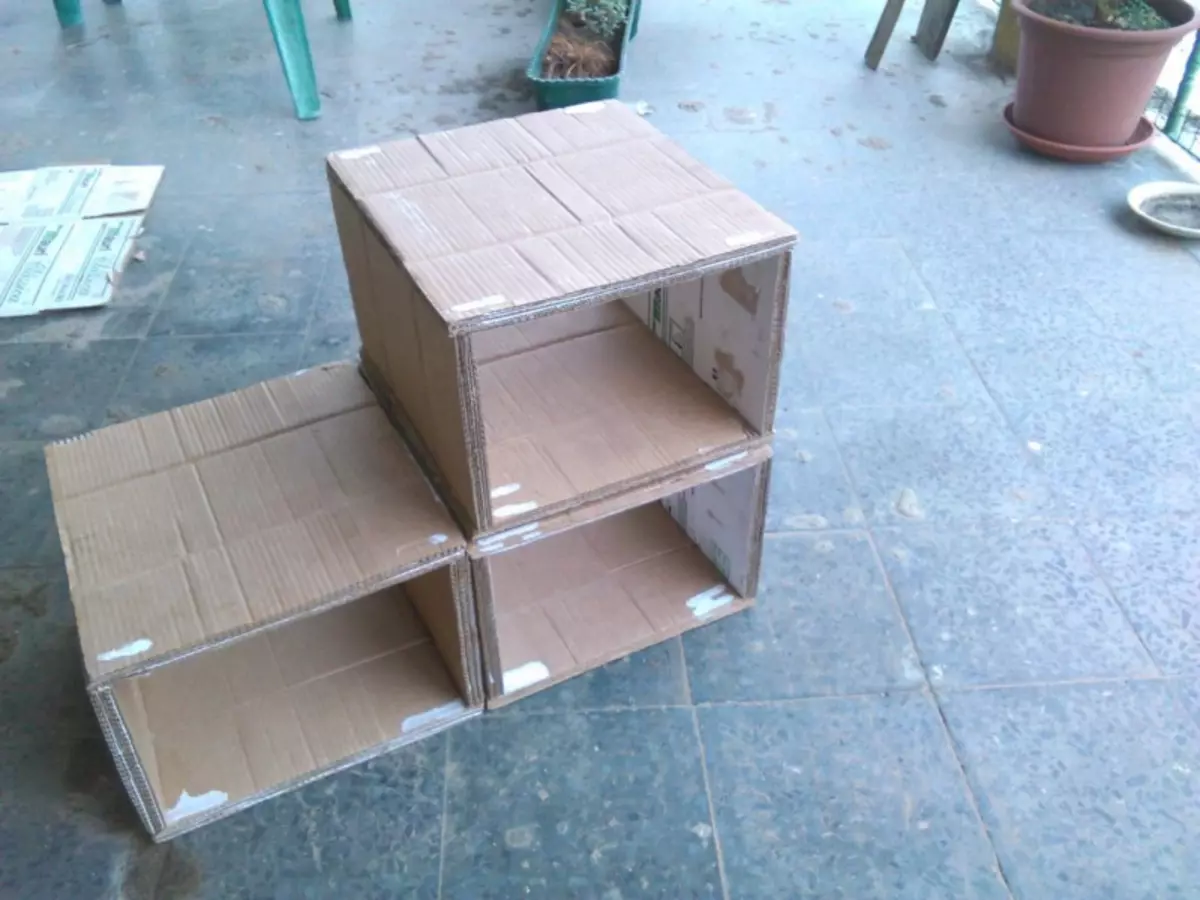
Shelves are ready!